
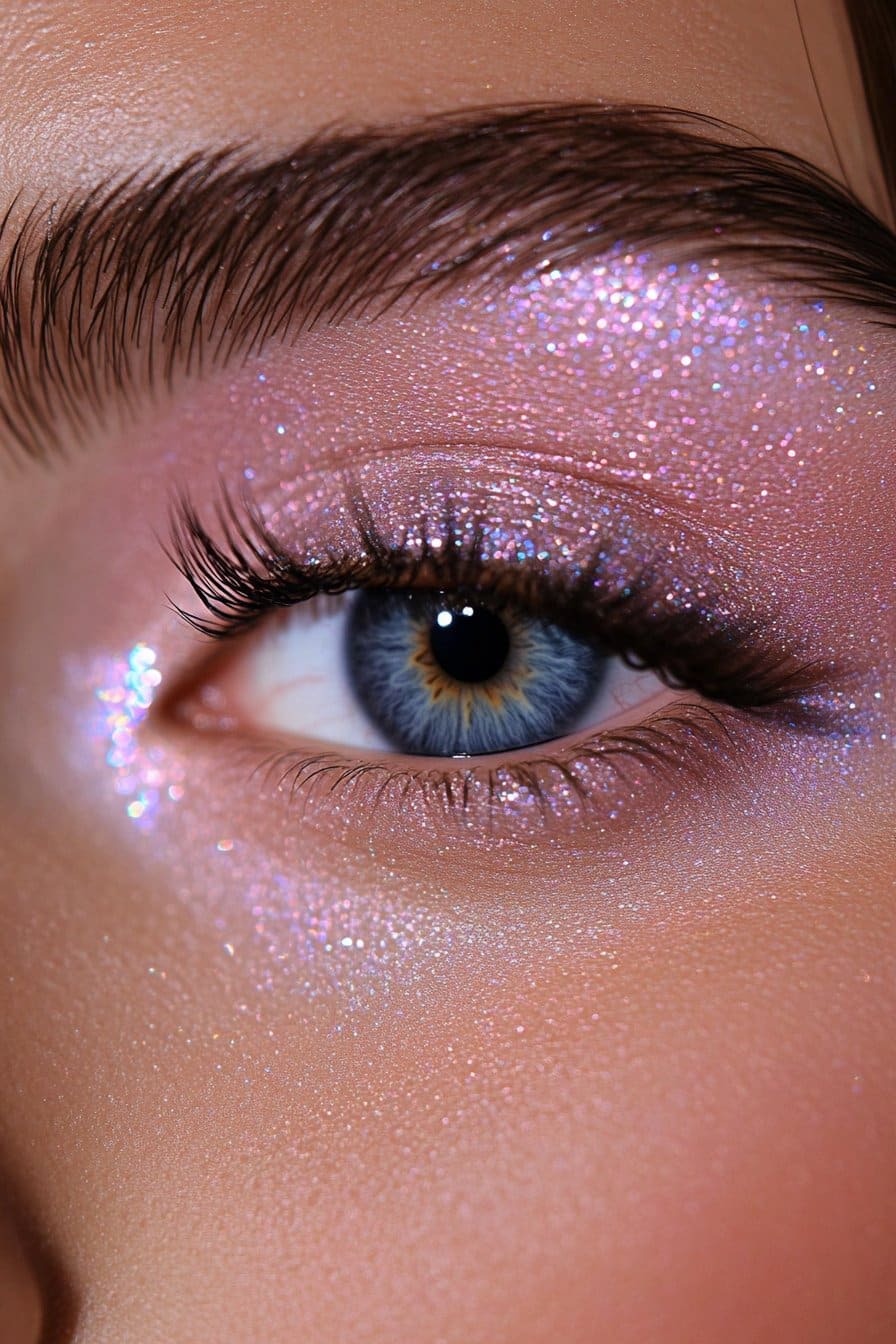
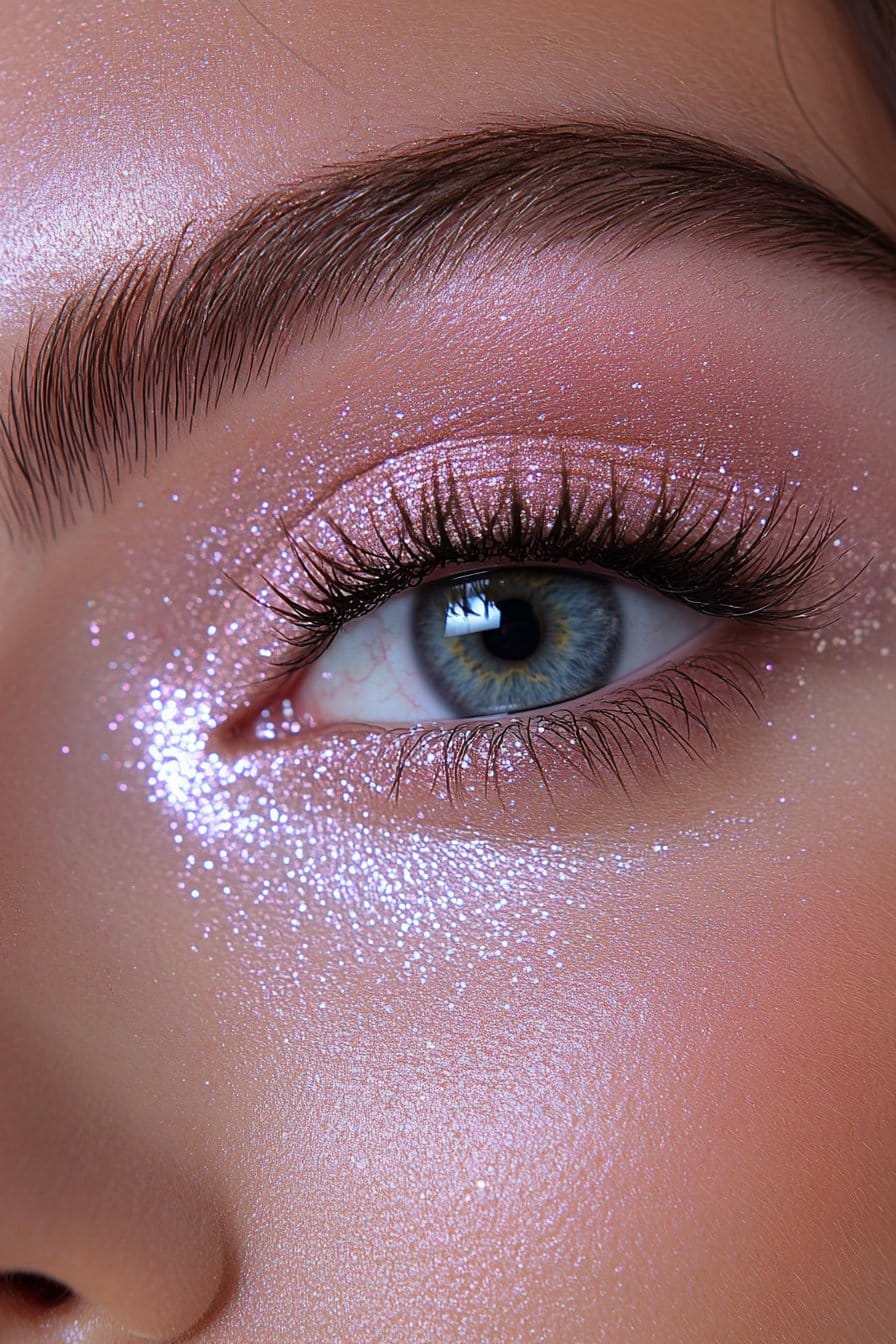
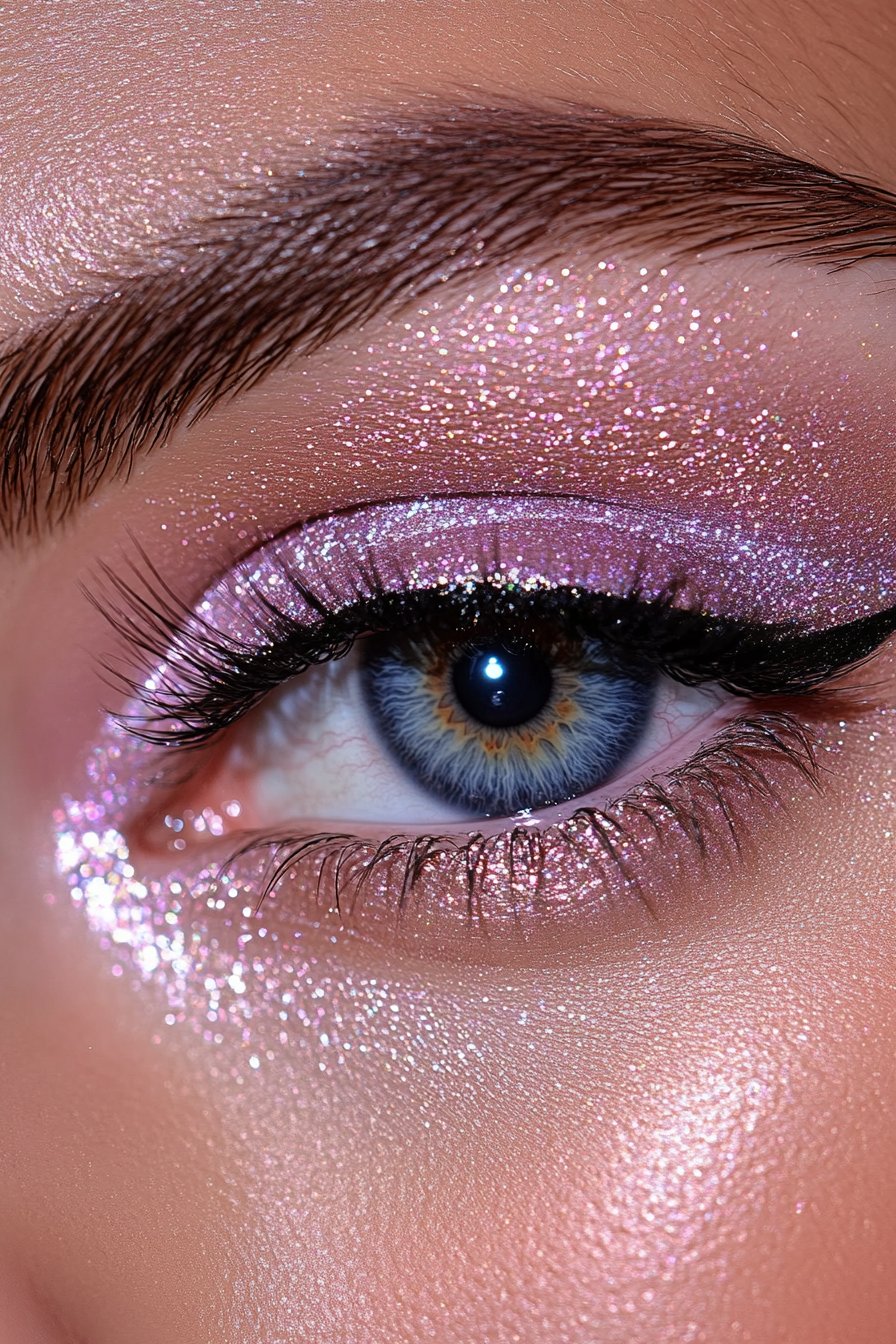
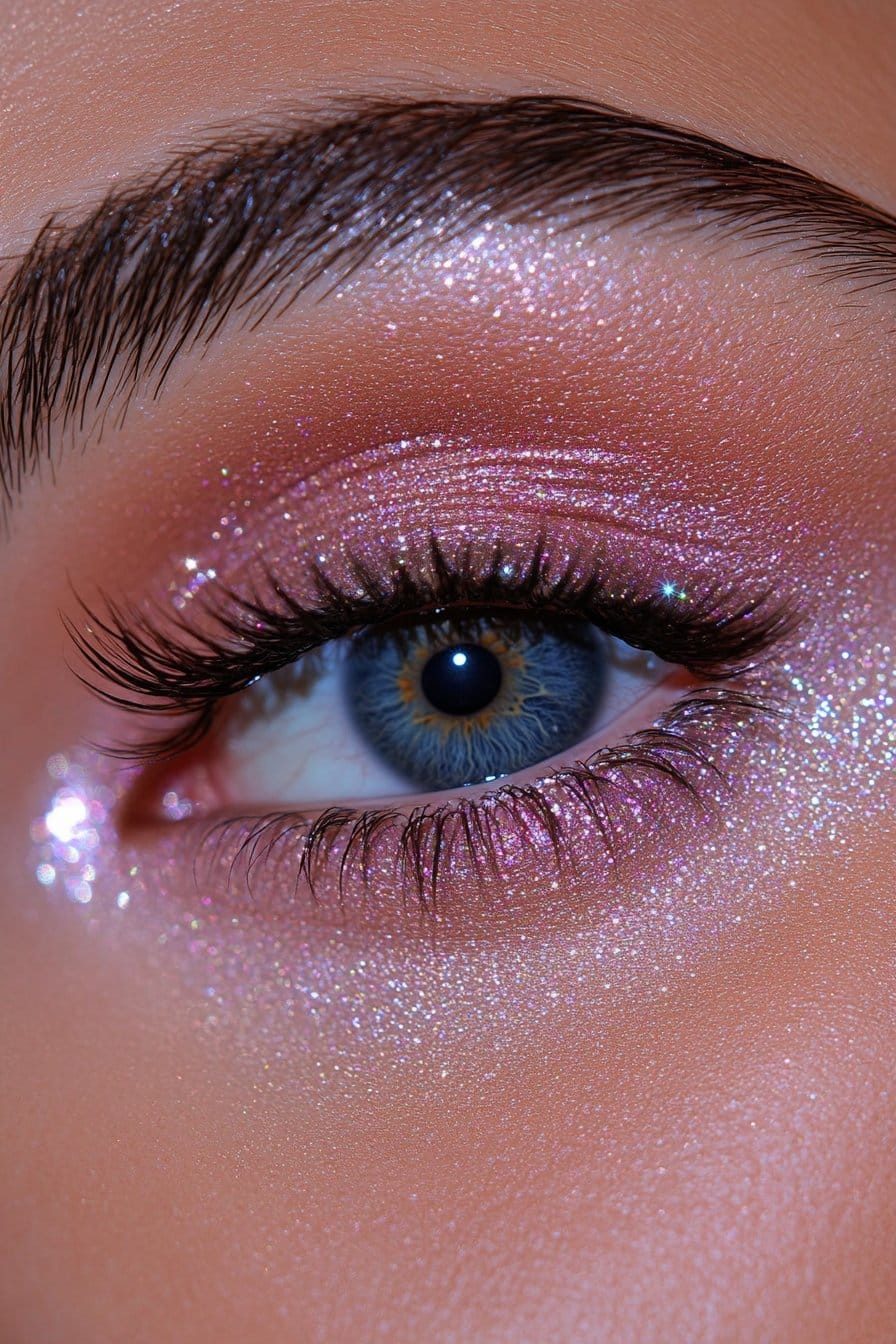
Glitter eye makeup became the coolest trend at the time Euphoria hit our screens. These simple glitter eye makeup looks aren’t going anywhere, and they’re more wearable than ever.
Subtle shimmer and bold, sparkly designs have made glitter eyeshadow a makeup bag essential. I’ve watched it change any look from simple to breathtaking. It’s surprisingly versatile for both everyday wear and special occasions.
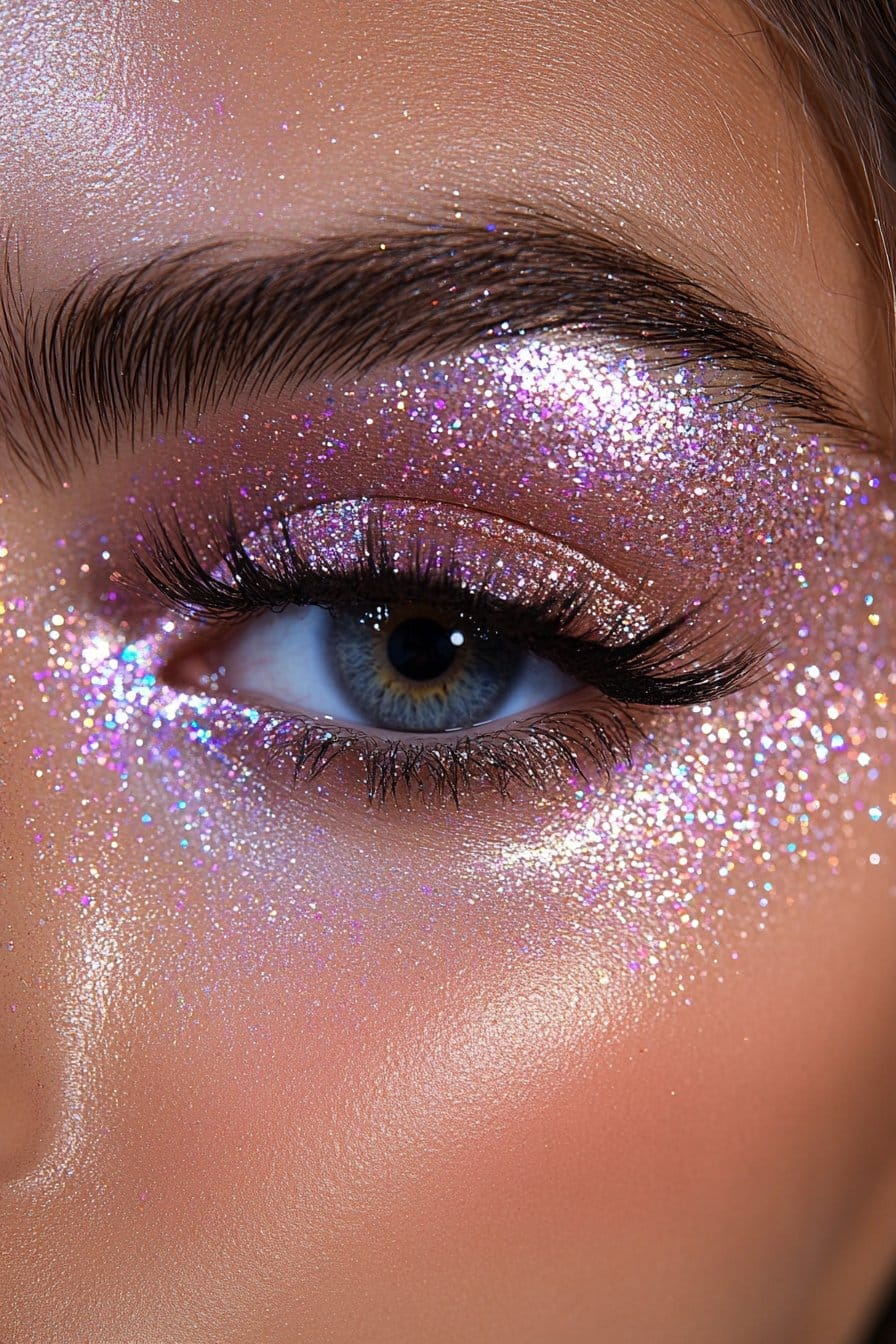
You don’t need to be a professional makeup artist to rock this trend effectively. Countless options exist to create stunning glitter eye makeup looks, from loose powder to pressed palettes. We’ve curated 17 foolproof techniques that anyone can become skilled at. These techniques draw inspiration from classic cut creases to dramatic party looks.
Classic Gold Glitter Eye

My journey as a professional makeup artist has shown me that gold glitter eye makeup is one of the most versatile and stunning looks. Belle Hathaway, my mentor during my early days in New York, taught me how to become skilled at this classic look with the right technique and products.
Gold Glitter Eye Makeup Tutorial
Start by applying an eye primer to create a smooth base. A layer of matte or shimmer eyeshadow before adding glitter creates better adhesion for the glitter particles. Your fingertip works best to pat (never sweep) the gold glitter onto your lid. The glitter should be concentrated on the center of your eyelid, then blended towards the inner corner with gentle patting motions.
Best Products for Gold Glitter Eyes
My work with Belle at Fashion Week helped me find that there was cream-to-powder liquid shadows are a foolproof choice. These formulas contain larger glitter and shimmer particles that create stunning dimensional effects. Beginners should start with buildable formulas that can go from a subtle wash to an intense sparkle.
Tips for Long-lasting Wear
Safety comes first – always use cosmetic-grade glitter instead of craft glitter. On top of that, it helps to apply a thin layer of lash glue as a base when using loose glitter. A stiff, flat synthetic brush prevents fallout throughout the day. You can clean up stray glitter with a gentle swipe of a cotton pad with makeup remover. A setting spray seals your look and keeps your glitter in place all day.
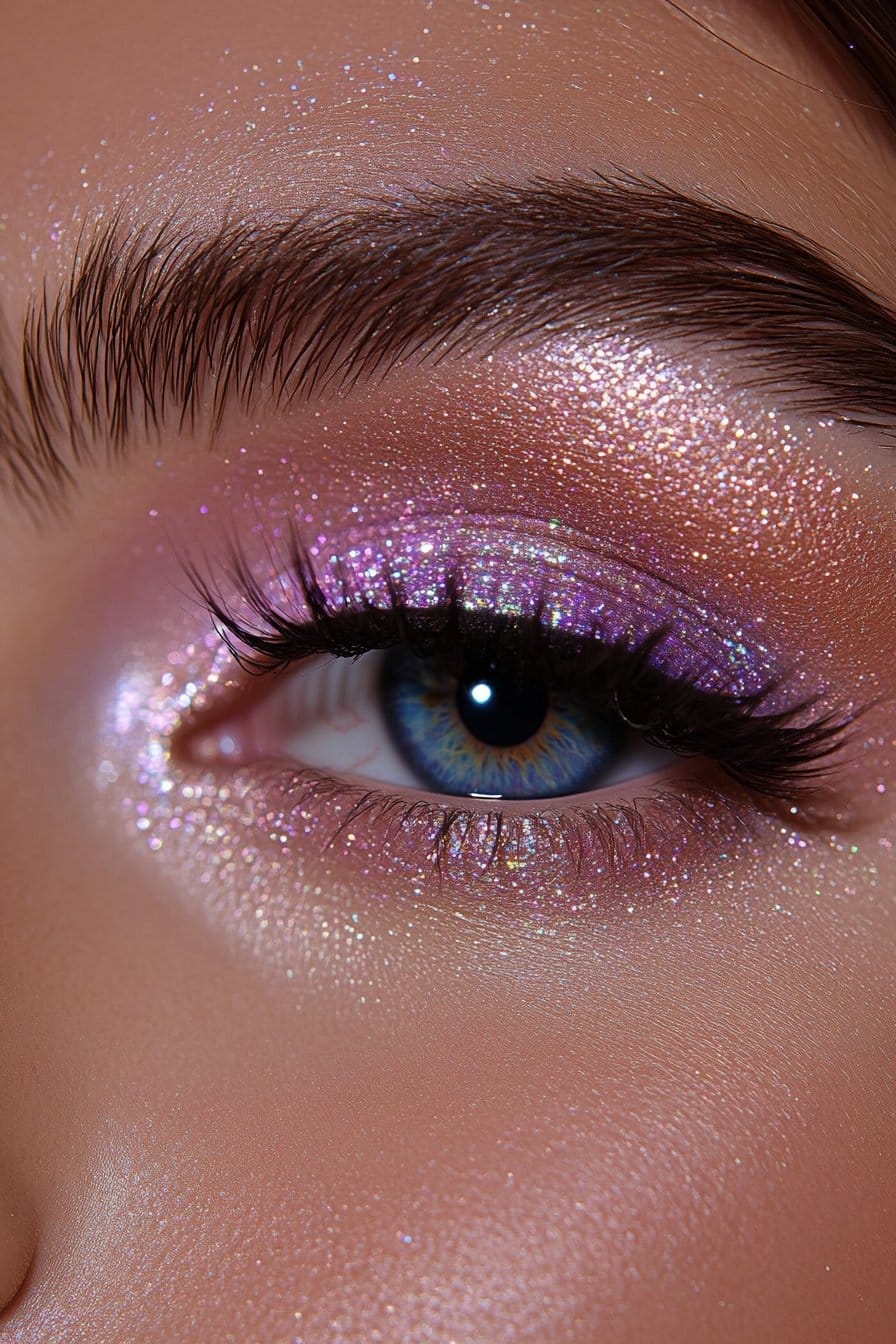
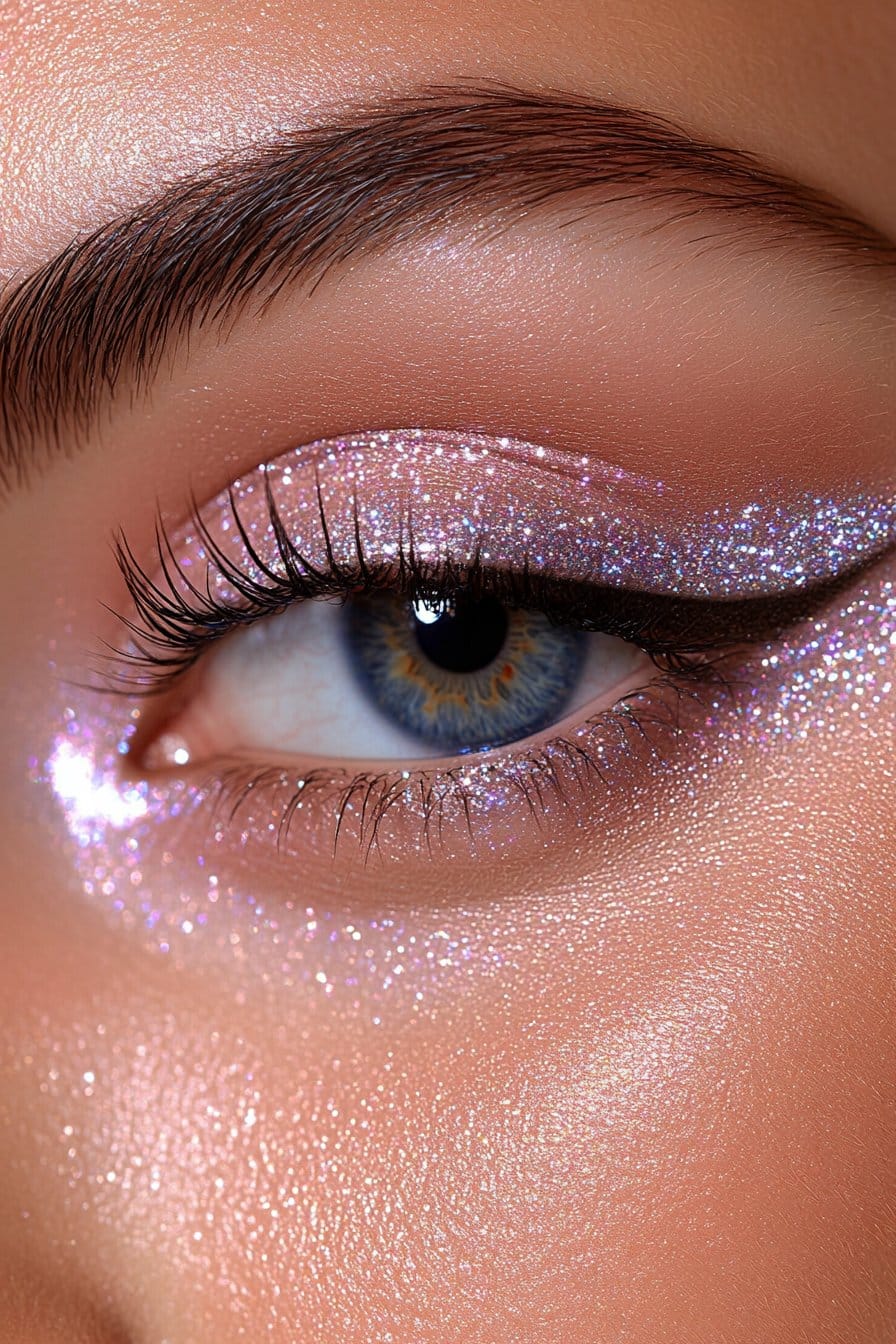
Subtle Silver Sparkle
My time working with Belle Hathaway at New York Fashion Week showed me how silver glitter eye makeup can be subtle and sophisticated. The runway shows taught me to create looks that work both on the catwalk and in real life.
Simple Silver Glitter Application
We prepped eyelids with a reliable primer to make the look last. A pointed eyeliner brush slightly dampened with setting spray works best for application. Belle taught me to start with a thin layer of regular eyeliner as a base that gives the glitter something to grip. This technique stops fallout and places the glitter exactly where you want it.
Daytime Appropriate Glitter Looks
Fine glitter pigments work better than chunky particles to create office-friendly sparkle. Peach, soft gold, and nude tones mix well with subtle silver accents. Belle’s signature look adds a touch of silver shimmer to the eye’s inner corner that creates a professional yet striking effect.
Product Recommendations
The fashion shows helped me test these products that really work:
- MAC’s Dazzle Shadow Liquid Eyeshadow stays silky for 8 hours
- Kulfi’s Zari Eyes Eyeshadow feels moisturizing with its cream-to-powder formula
- Urban Decay’s Heavy Metal Glitter Eyeliner in Glam Rock adds just enough sparkle for work
The secret to subtle silver sparkle lies in picking products with finer glitter particles. These products work best with an eyeshadow primer made for glitter. Your subtle sparkle will stay put all day with this combination.
Euphoria-Inspired Glitter Tears
My time with Belle Hathaway during New York Fashion Week taught me to become skilled at creating glitter tears – a trend that .gained immense popularity through the TV show Euphoria
Glitter Tear Makeup Steps
The look builds on your regular eye makeup, so start with your base face and eye makeup. Match your eyeshadow color with your chosen glitter shade. A lighter eyeshadow shade makes the glitter stand out beautifully. The tears should cascade down your cheek in asymmetrical shapes. Add more glitter near your eye and let it fade as you move downward.
Product Selection
Belle’s training showed me that cosmetic-grade glitter is a vital part of this look. These glitters come with circular cuts, unlike craft glitters with sharp edges. Here are some reliable options I trust:
- Urban Decay Heavy Metal Glitter Eyeliner
- Burberry Shimmer Dust
- NYX cosmetic glitters
Safety Considerations
We learned that craft glitter can seriously damage your eyes. Cosmetic glitters use polyester that softens in your eye, while craft glitters contain sharp plastic or metal. Natural oils like coconut work best for cleanup – just apply them in gentle circular motions. A roll of tape helps remove stray glitter without ruining your base makeup.
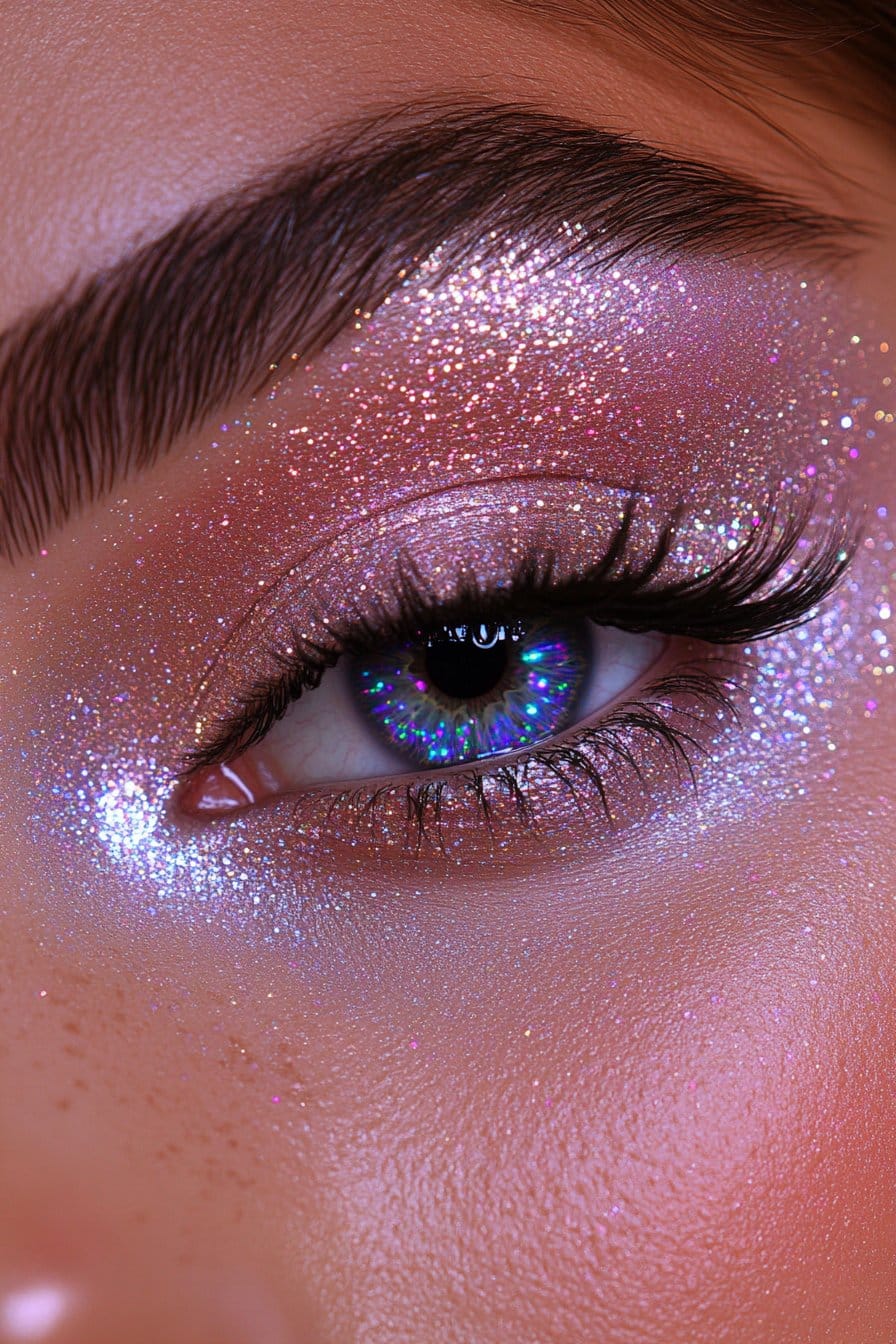
Rainbow Glitter Cut Crease
My signature style emerged when Belle Hathaway taught me how to create rainbow glitter cut crease looks at New York Fashion Week. This eye-catching design blends precision with artistic flair. Makeup enthusiasts at any skill level can master this stunning technique.
Cut Crease Technique
A sharp contrast between two eyeshadow colors defines the cut crease technique by creating a defined line across your eyelid’s crease. Your eyes will appear wider as this look draws attention to the lid colors. Beginners should map the rainbow shape with open eyes to keep the brightest color slightly hidden.
Color Selection
Belle taught me that picking the right color combination is a vital part of this look. Start with:
- Yellow as your base shade
- Orange for transition
- Blues and purples for depth
- Glitter overlay for dimension
Yellow eyeshadow works best closest to your natural crease, while each following color creates an upward curve. This approach creates a natural rainbow gradient that reflects light beautifully.
Application Tips
Prime your eyes and set them with a light eyeshadow. The rainbow shape should be checked in both closed and open eye positions. A white base helps pack colors to achieve maximum vibrancy. Glitter application needs a special adhesive – pat the product onto designated areas and never swipe.
Clean lines make this look stand out, so patience during application matters. Belle always stressed that the crease line’s precision determines the final result. Sharp edges and perfect rainbow curves can be achieved with concealer and a flat synthetic brush.
Smokey Eye with Glitter
I became skilled at the smokey eye with glitter technique under Belle Hathaway’s guidance, and it became my signature look. This classic style might seem intimidating, but I found it’s just about layering and patience.
Smokey Eye Base Creation
Eyeshadow primer ensures your look lasts longer. The process starts with a neutral transition shade that’s slightly darker than your skin tone. A dark brown or black eyeshadow comes next, and you gradually build intensity at the outer corner. Belle taught me to keep the darkest shade close to the lash line. This creates depth without overwhelming the eye.
Glitter Placement
A specialized glitter primer creates the perfect base for glitter application. The glitter works best when placed on the center of the lid where light reflects most effectively. Your fingertip will give you better adhesion than brushes for the most intense payoff. Note that tapping off excess product before application prevents fallout.
Blending Techniques
A flawless smokey eye depends on your blending technique. The lid needs back-and-forth motions, followed by upward strokes toward the brow bone. Your blending brush should be clean between colors to avoid muddiness. Belle stressed that blending should follow the direction you want the eyeshadow to move. This ensures a smooth gradient effect.
Essential products for this look include:
- Glitter primer for secure adhesion
- Dark matte eyeshadows for the base
- Chunky glitter for maximum effect
- Clean blending brush for smooth transitions
Inner Corner Glitter Pop
Belle Hathaway taught me that inner corner highlighting can completely change any eye look. She showed this simple technique’s impact through her work with countless celebrity clients.
Inner Corner Highlighting
Your eyes’ inner corners naturally sink inward, which can make them look tired. All the same, a lighter shade in this area makes eyes look bigger and brighter. A small, precise brush works best to apply the product. Without doubt, you’ll get the best results by creating an inverted ‘v’ shape from the inside corners that sweeps onto both upper and lower lids.
Product Selection
My time with Belle showed that picking the right product is vital to create the perfect inner corner pop. Here are the products she swears by:
- Pressed glitter shadows that apply with precision
- Pearlescent highlighters that give a subtle shimmer
- Cream-to-powder formulas that last
Stay away from chunky glitter formulas – their particles are too big to apply with precision. Cream eyeshadow sticks give you great control and staying power. The largest longitudinal study at fashion shows showed that a slightly damp brush makes the sparkle more intense.
Success with this technique comes from choosing products that work with your eye look. To name just one example, warm gold tones blend naturally with neutral shadows and work well for evening looks too. It’s worth mentioning that you should tap off extra product before applying to avoid fallout.
Glitter Eyeliner Look
My apprenticeship with Belle Hathaway showed me that glitter eyeliner creates a perfect balance between drama and precision. Working with Belle during Fashion Week taught me that becoming skilled at this technique creates endless possibilities for eye makeup looks.
Glitter Liner Application
We sketched the desired shape using an eyeshadow one shade darker than your complexion. A piece of tape beneath your lower lash line at an angle ensures a straight wing. The perfect application needs a flat brush with eyelash glue – dot it above the tape line and apply glitter in small sections.
Product Options
Belle showed me these standout products that deliver exceptional results:
- Urban Decay Heavy Metal Glitter Eyeliner for quick-drying, water-based formula
- NYX Professional Makeup Face & Body Glitter for intense sparkle
- Juvia’s Place gel-based liner for water-resistant wear
Precision Tips
Your brush needs setting spray to help the glitter stick together during application. The glitter adheres better when applied over a regular eyeliner base. Short strokes create a controlled and even application.
Belle stressed the importance of proper cleanup – keep cotton swabs and makeup remover close for any mistakes. A setting spray like Urban Decay All Nighter helps the look last longer. Note that glitter particles should be – craft glitter can cause serious eye damage.cosmetic-grade only
Floating Glitter Crease

My experience with floating glitter crease started during a challenging runway show. Belle Hathaway taught me this advanced technique that quickly became a favorite among our celebrity clients.
Crease Mapping
We mapped the perfect floating crease with exactness and patience. You should create a shape slightly higher than your natural crease line, especially if you have hooded eyes. A matte concealer works best as your base – I learned from Belle that the ELF matte concealer delivers perfect results.
Glitter Application
A flawless floating crease depends on the right glitter application technique. You’ll need these key products:
- NYX multitasker mixing medium
- Fine cosmetic-grade glitter
- Small flat synthetic brush
Apply the glitter mixture using short, precise strokes along your mapped line. Of course, you should avoid applying too much product at once – Belle always emphasized that building up the intensity gradually creates the most striking effect.
Fixing Techniques
The biggest problem with floating glitter crease is migration into fine lines. Your base should be set really well with translucent powder before applying glitter. Medical tape helps remove any fallout without disturbing your base makeup. Note that you should avoid chunky glitters if you have fine lines or creases, as they can settle and create an uneven appearance.
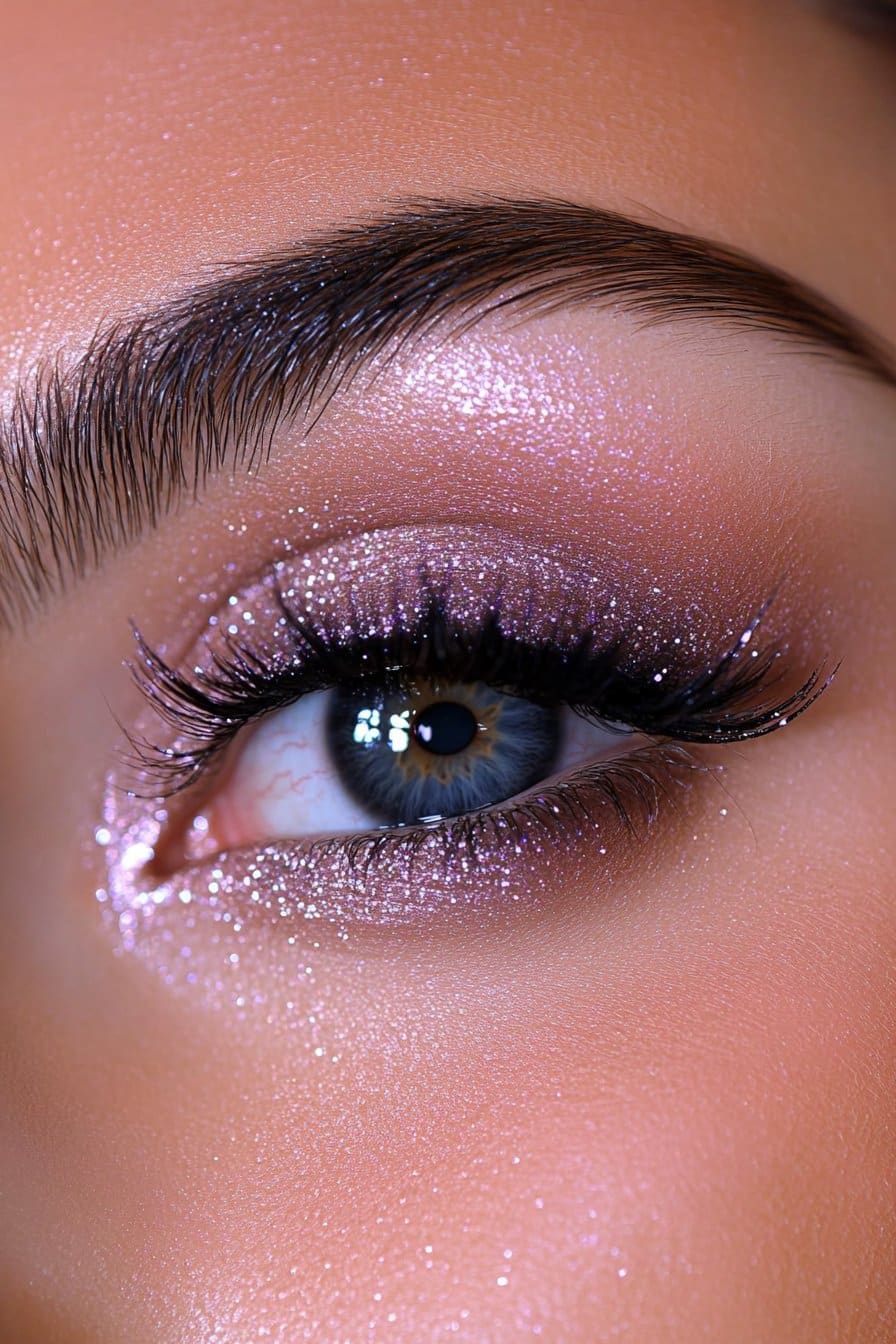
Metallic Rose Gold Glaze
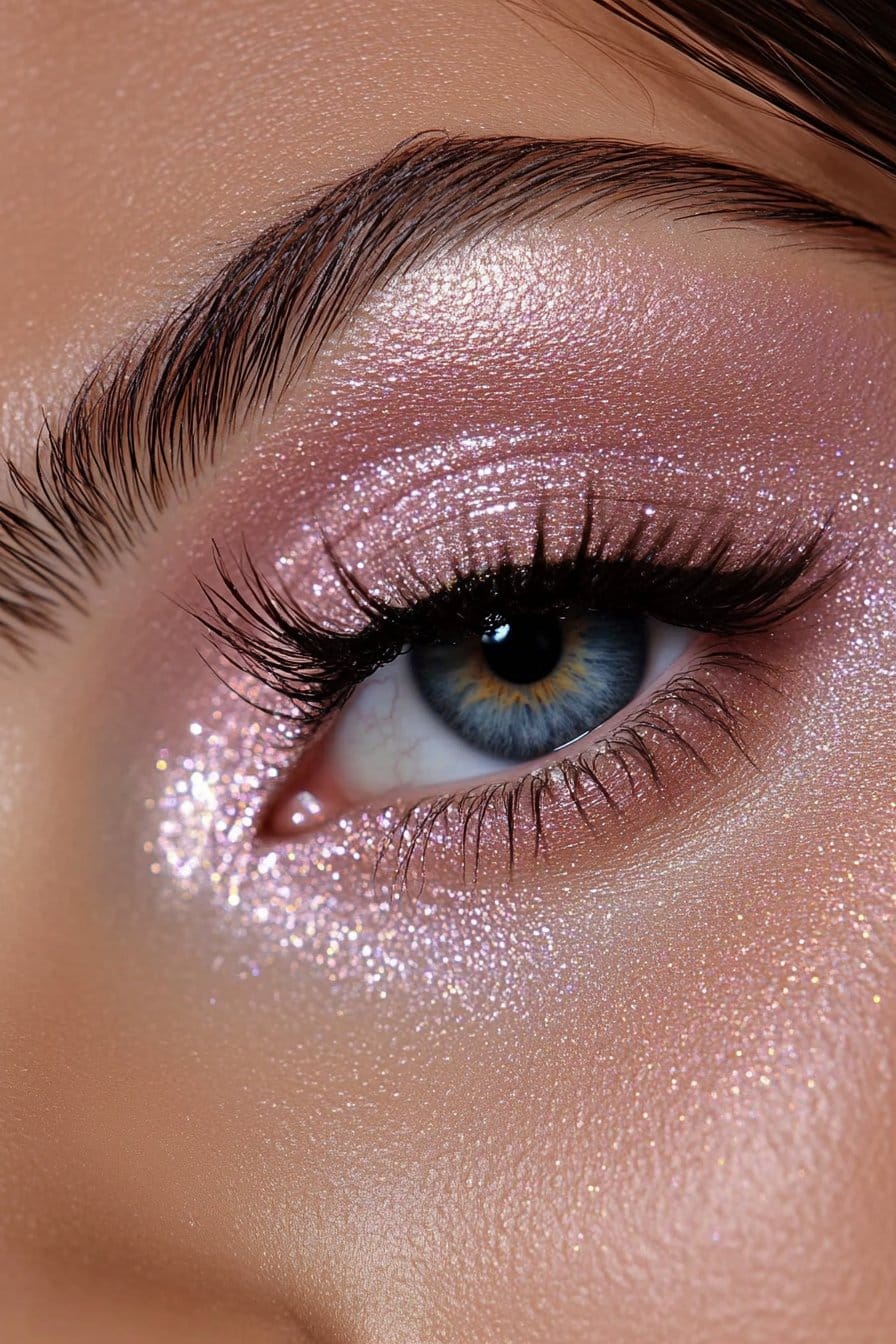
Belle Hathaway sparked my passion for rose gold eye makeup during a celebrity photoshoot in Los Angeles. Her guidance showed me how this versatile shade works well with every eye color and skin tone.
Rose Gold Application
Proper layering makes rose gold eye makeup stand out beautifully. We applied a shimmer shadow as the base, focusing on the lid’s center and inner part. Belle’s technique involved using the ring finger to apply makeup, as body heat helps the product melt and stick better. A small blending brush works best to add dimension by layering liquid shadows from the inner lid outward.
Product Selection
Belle helped me find exceptional products that create stunning results through many runway shows:
- Stila Magnificent Metals: Available in ‘Rose Gold Retro’, this liquid eyeshadow creates an intense metallic finish
- Urban Decay Naked Cherry Palette: Perfect for creating rose gold base shades
- Pat McGrath Divine Rose: Features VR Rose Venus, a duochrome shade that moves beautifully in different lighting
Belle’s most valuable tip combines rose gold with cool-toned plum to keep eyes looking fresh. The color should build up slowly on the lid’s center to achieve maximum effect.
Graphic Glitter Wings
My approach to eye makeup completely changed after learning how to create graphic glitter wings from Belle Hathaway. She shared her signature techniques that lift this dramatic look beyond simple winged liner during a high-profile photoshoot.
Wing Creation Steps
Start by sketching your desired wing shape with an eyeshadow one shade darker than your skin tone. Place tape beneath your lower lash line at an angle to create crisp lines. The adhesive dries quickly, so dot eyelash glue above the tape line in small sections.
Glitter Selection
You’ll need specifically designed for eye makeup. Belle taught me about these products:cosmetic-grade glitter
- NYX Professional Makeup Face & Body Glitter to create intense sparkle
- Urban Decay Heavy Metal Glitter Gel that allows controlled application
- Waterproof glitter adhesive that provides long-lasting wear
Clean-up Tips
Medical tape helps remove fallout without disturbing your base makeup. Stubborn glitter comes off easily with oil-based makeup remover when you use gentle lifting motions instead of rubbing. Belle’s best tip was to press a makeup remover-soaked cotton pad against the lid for 30 seconds before wiping. This method will give you thorough removal without irritating your eye’s delicate area.
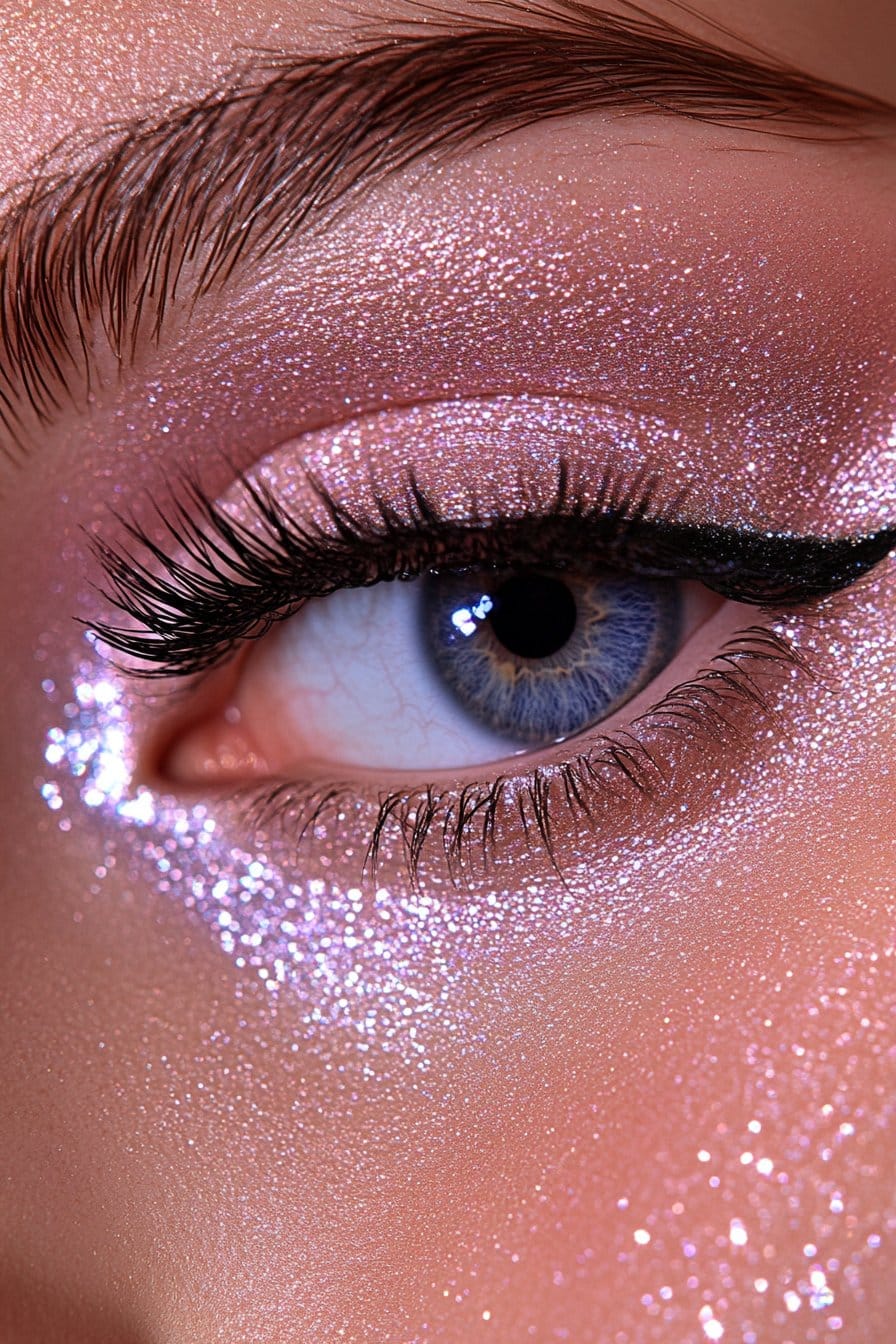
Scattered Stardust Effect

My makeup game changed after learning about the scattered stardust effect from Belle Hathaway. She shared her secrets behind this ethereal look during a private masterclass at her Los Angeles studio.
Loose Glitter Application
Start by preparing your base with an . A flat brush slightly dampened with setting spray works best to pick up the glitter. We layered the product on top of an eyeshadow primer to help it stick better. Belle showed me a clever trick – using regular Scotch tape to clean up any loose particles that fall during application.adhesive specifically designed for eye makeup
Safety Measures
Always use cosmetic-grade glitter – these come with rounded edges, unlike craft glitters that contain harmful dyes and sharp edges. Cosmetic glitters use polyester that softens if it gets in your eye. You should rinse with artificial tears or sterile solution if irritation occurs. Contact lens wearers need extra care since irritation can be more severe.
Setting Techniques
Belle taught me that everything in creating lasting scattered stardust depends on proper setting. Here are the must-have products:
- Glitter primer for original adhesion
- Setting spray to intensify sparkle
- Oil-based makeup remover to gently clean up
The removal process needs a cleansing oil-soaked cotton pad pressed onto your eyelids for one minute. Keep your eyes closed during cleanup to stop product migration. This method will give a clean removal without irritating your eye’s delicate area.
Double-Wing Glitter Accent
The double-wing glitter accent became my signature technique while working with Belle Hathaway at her Los Angeles studio. This eye-catching style combines classic eyeliner artistry with modern sparkle and makes eyes appear bigger and more feminine.
Wing Creation
You need to map out your double wing by creating a classic cat eye liner and extend a second line from your bottom lash line. Belle’s technique involved using white eyeliner between the two wings to highlight the space, creating a more striking look. She recommended using complementary colors like blue for inner eyes paired with dark violet pigment for darker eyes.
Glitter Placement
Adding sparkle to your double wing creates the magic. A black gel eyeliner serves as your base – Belle taught me this creates the perfect foundation for glitter adhesion. The glitter should be carefully placed along both wing lines using an angled brush. Pro tip: Apply the glitter in small sections to maintain precision and prevent fallout.
For best results, use these products:
- Benefit’s Stay-on Tray as primer
- Maybelline Gel Eyeliner for base creation
- Too Faced Glitter Glue for adhesion
- Makeup Forever loose glitter for sparkle
This look ended up changing focus away from any dark circles and drew attention to your eyes’ center. My experience with countless celebrity clients at Belle’s studio showed that dampening your brush slightly with setting spray helps enhance the glitter’s effect while ensuring precise placement.
Halo Eye with Glitter
I attended Belle Hathaway’s masterclass in New York and found that there was something amazing about the halo eye technique. This beautiful method creates a spotlight effect that makes your eyes look bigger and more defined.
Halo Eye Technique
The halo eye stands out by creating contrast between dark outer corners and a bright center. You’ll need to apply dark eyeshadow at both inner and outer corners of your eye. Then blend the shadows upward to create a semi-circular shape. The dark shades should have a rounded edge when you look down, before adding any glitter.
Glitter Application
Getting perfect glitter placement starts with good preparation. Your lids should be slightly tacky when you apply concealer to their center. These products give amazing results:
- Eye primer for longevity
- Dark matte shadows for depth
- Shimmer or glitter eyeshadow for center highlight
Place the glitter directly onto the center where you applied concealer. Pro tip: A damp brush intensifies the sparkle and stops fallout.
Blending Tips
Good blending can make or break this look. Several clean eyebrushes help create an uninterrupted finish. Start with darker shades and work your way toward the center. The colors should flow smoothly between dark and light, which creates a soft color diffusion. The final look should end up resembling a spotlight effect, with the brightest point at your lid’s center.
Important: Dark brown base with gold glitter works best for beginners. This combination creates beautiful contrast while staying wearable for occasions of all types.
Glitter Lower Lash Line
Belle Hathaway shared her secret technique for applying glitter to the lower lash line in an exclusive masterclass. This overlooked area can boost any eye makeup look with the right application.
Lower Lash Application
The soft, crepey skin under your lash line needs primer to keep the product in place. A small blending brush with your chosen base shadow creates definition right on the lower lash line. Belle taught that the lower lashes need extra care because this area is more sensitive than the upper lid.
A flat definer brush works best for precise application. Sweep back and forth while pressing the shade to get maximum color payoff. Pro tip: The lash line looks best with darker shades that gradually build to lighter tones outward for an uninterrupted blend.
Product Selection
Belle showed me these game-changing products for lower lash line application:
- NYX Crystal Pewter Liner for controlled sparkle application
- La Splash Eyes Shadow Sealer as glitter adhesive
- Makeup Studio Two Way Gel for lasting hold
The magic happens through layering techniques. A waterproof base prevents smudging on the lower lash line. Belle stressed that removal needs an oil-based makeup remover with gentle lifting motions instead of rubbing. This approach gives a full clean without irritating the delicate under-eye area.
Important Safety Note: Cosmetic-grade glitter designed for eye makeup is the only safe option. Craft glitter can cause serious eye damage and should never touch this sensitive area.
Minimal Glitter Dots
Belle Hathaway taught me about the understated elegance of minimal glitter dots at her Los Angeles studio. This technique combines precision with creativity.
Dot Placement
Your pupils serve as guides to arrange dots below your lower lash lines. The most natural look emerges from placing two dots close to the bottom lash lines. You can create more drama by experimenting with placement a few millimeters away. Belle taught me to achieve perfect symmetry by starting with the center dot under each eye. This center dot serves as an anchor point for additional placements.
Product Options
The right products transform this technique completely. Belle showed me these game-changers:
- White eyeliner for original mapping
- Clear lash glue for secure adhesion
- Cosmetic-grade glitter in varying sizes
A stiff, flat synthetic brush works best for application. Belle recommended using the round end of a makeup brush dipped in setting spray mixed with black eyeshadow when you need extra precision.
Creative Variations
Classic double dots beneath each eye provide a starting point for more artistic expressions. You can create descending sizes for a fade-out effect or add dots at inner and outer corners for extra emphasis. Pro tip: Mix metallic shades at the corners while keeping the center dots in classic colors for a modern twist.
A cotton pad with makeup remover helps with cleanup. Clear tape lifts away stray glitter without disturbing the base makeup – a technique Belle used to save countless looks during fashion week shoots.
Glitter Gradient Effect
I learned about glitter gradient effects during a private session with Belle Hathaway in her New York studio. She showed me how this technique creates depth and dimension by carefully layering colors.
Gradient Technique
A perfect gradient starts with proper preparation. You should apply an eyeshadow base to make colors pop and stay longer. We used a small brush for the lighter brown areas where darker shades meet the skin to create smooth transitions. Belle taught me to apply golden shades that add beautiful shimmer and create stunning contrast against the concealer base.
Color Selection
The right color combinations make all the difference. These combinations work really well:
- Warm undertones with brown for softening harsh lines
- Chunky shimmer textures for added sparkle
- Peach and soft gold for natural transitions
Blending Methods
Great blending depends on your tools and technique. You can use fingertips or damp brushes to apply chunky shimmer – this helps the glitter stick without falling off. Blend outward with gentle circular motions to create depth and dimension. Pro tip: Tap the brush to remove excess product before application.
Belle stressed how important it is to layer colors gradually. You should start with the lightest shade and work toward darker tones. This ended up creating a smooth transition between colors while keeping the gradient effect. You can clean up edges with concealer using a flat synthetic brush to perfect the gradient curve.
Festival Glitter Explosion
My countless festival seasons with Belle Hathaway helped me become skilled at creating show-stopping glitter looks that last from sunrise to sunset. Belle’s creative approach to festival makeup changed the way I think about glitter application and safety.
Festival Makeup Tips
A specialized glitter fixating gel creates a strong foundation to layer multiple glitter shades. Belle showed me how to slightly dampen my brush with setting spray before application. This ensures the glitter sticks perfectly to the skin. Pro tip: Each eye needs individual attention to prevent the adhesive from drying before glitter application.
Product Selection
The right products make all the difference at festivals. Belle showed me made from plant cellulose, specifically eucalyptus. These eco-friendly alternatives sparkle just like traditional glitters and keep our environment safe. Products should have biodegradable glitter optionsOK biodegradable WATER and OK biodegradable COMPOST certifications.
Safety Measures
Your eyes’ safety comes first when working with glitter. Belle always emphasized using cosmetic-grade glitter because it has rounded edges, unlike craft varieties. These special glitters soften if they touch your eyes. Natural oil-based products work best to remove glitter. Just use gentle circular motions. Important: Craft glitter and metal-based products can seriously damage your eyes, so never use them.
Belle taught me the value of proper prep and removal techniques. Sensitive skin needs a thickened aloe vera bonding gel. Festival glitter needs more care than regular makeup during removal. The best method is to press an oil-soaked cotton pad against your lids for 60 seconds before wiping away.
Conclusion
My trip learning glitter eye makeup techniques with Belle Hathaway changed my approach to makeup artistry. Her Los Angeles studio became my training ground, where she taught me that glitter makeup means more than sparkle – it expresses confidence and self-expression.
These 17 looks range from subtle inner corner accents to bold festival explosions that prove glitter eye makeup suits everyone. Belle always put safety first and taught us to use only cosmetic-grade glitter and proper adhesives. Her techniques, from precise application methods to clever cleanup tricks, made these looks achievable for makeup enthusiasts at any skill level.
The most valuable lesson Belle taught wasn’t about perfect application. She showed us how to adapt these techniques to our own style. She believed everyone deserves to feel confident wearing glitter, whether it’s a minimal dot accent for daily wear or a dramatic double-wing for special occasions.
Note that becoming skilled at glitter eye makeup requires practice and patience. Start with simpler looks like the classic gold glitter or subtle silver sparkle before moving to complex techniques. Each time you create these looks, you’ll find new ways to express your creativity and boost your natural beauty.