
Red eye makeup looks might seem too bold to pull off. I used to think the same way until I found how adaptable this trend really is.
Gigi Hadid and other celebrities have welcomed red eyeshadow into their makeup routines, showing it’s not just for the runway. My five-day journey with red eye makeup brought me countless compliments that completely changed my viewpoint. Different shades of red can enhance every skin tone beautifully – deeper crimsons make darker complexions glow while lighter reds perfectly suit fair skin.
The versatility of red eyeshadow ranges from subtle sheer washes to dramatic smokey eyes. I’ve put together 17 wearable looks that work in everyday life. These step-by-step breakdowns will help you confidently wear this eye-catching trend that’s set to dominate 2025.
Classic Red Smokey Eye
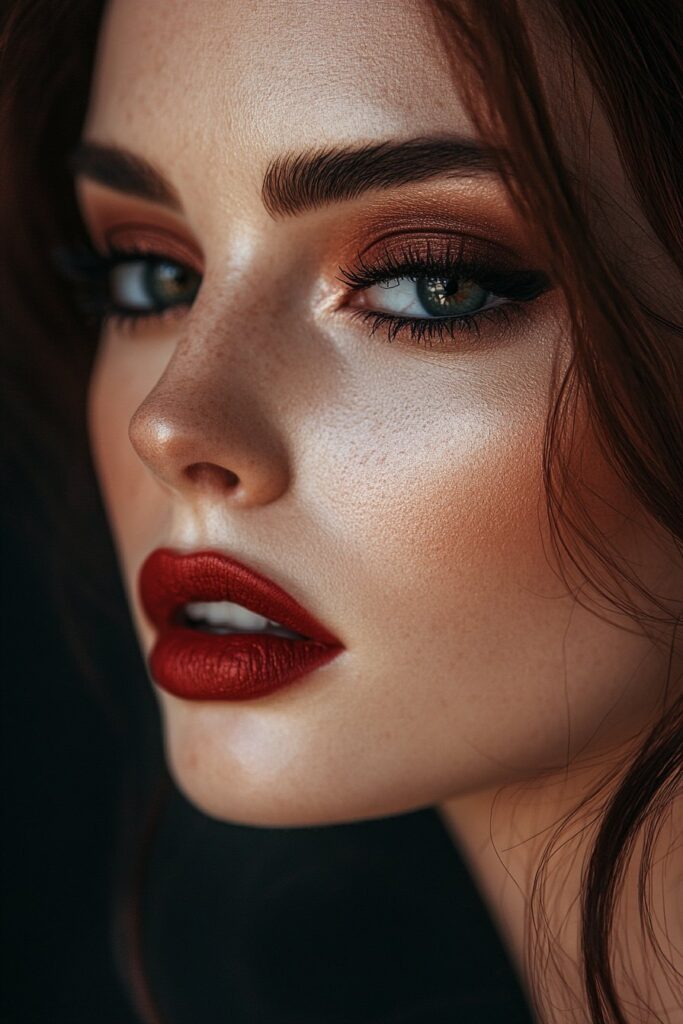
A classic red smokey eye starts with understanding the basics of this timeless look. Note that you’ll need three coordinating eyeshadow shades to create a red smokey eye: a base color, a crease shade, and a highlight.
Red Smokey Eye Techniques
Apply a neutral eyeshadow on the entire lid as your foundation. A smaller crease brush helps blend dark shades into the outer corner and work inward to create depth. Success depends on smooth transitions between colors.
Product Selection Guide
You’ll need these items to create a flawless red smokey eye:
- A creamy, blendable eyeliner
- A neutral eyeshadow palette with matte shades
- Dense fluffy brushes for blending
- Volumizing mascara for definition
Belle Hathaway’s Pro Tips
Belle Hathaway, a celebrated makeup artist from Savannah, Georgia, knows the value of proper blending. She suggests using gentle, small motions until the transitions look soft yet distinct. Her signature technique builds colors gradually to create depth and dimension.
Common Mistakes to Avoid
Several issues can impact your red smokey eye look. Too much blending turns colors muddy. Makeup without primer tends to crease and fade, particularly with darker shadows. Creating harsh lines is also problematic – focus instead on soft, seamless transitions between shades.
Burgundy Cut Crease
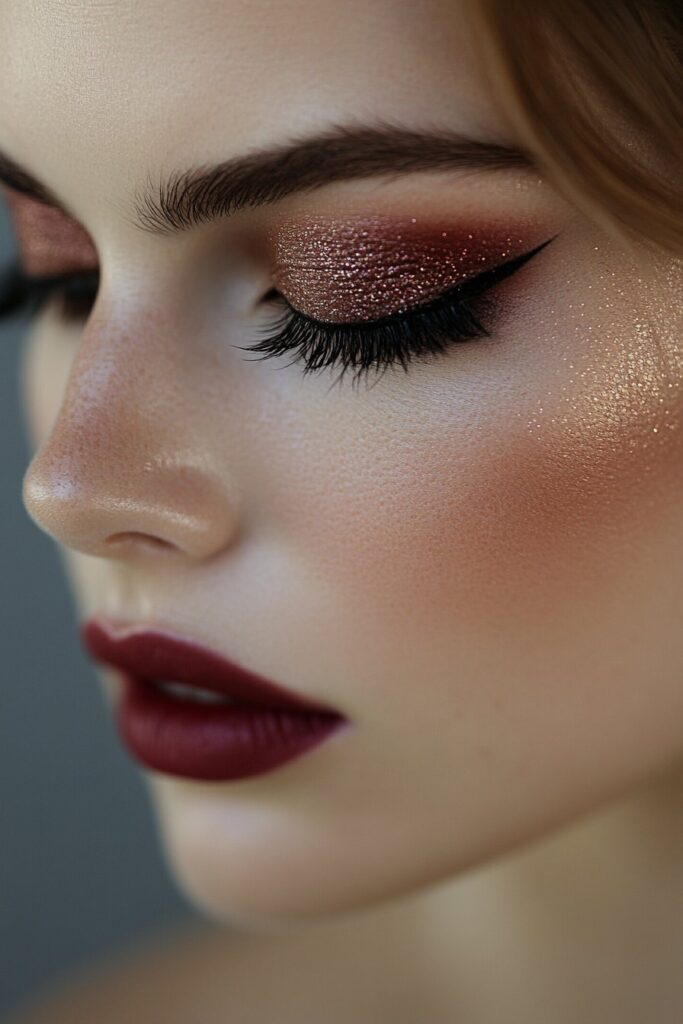
Burgundy cut crease makeup has become my go-to look after learning it from Belle Hathaway during a masterclass in Los Angeles. This eye-catching technique combines precision with drama and works perfectly for special occasions.
Cut Crease Application Steps
Start by priming your eyelids with concealer. Use gentle tapping motions on the outer part of your eyelid. Your eyelash curler’s curve should rest at the inner corner to create a precise cut crease line. The edges need careful blending to avoid harsh lines while keeping that distinct shape.
Best Burgundy Shades
The right burgundy shades come from palettes that have both matte and metallic finishes. Deep wine-colored mattes create magic in the crease, and shimmery burgundies make the lid pop beautifully. Look for palettes that include:
- A dark berry transitional shade
- Deep burgundy for intensity
- Metallic wine tones for dimension
Blending Techniques
Small, precise brushes work best with burgundy shades. The color should go on with tapping motions first. Then blend it using circular movements to create smooth transitions. Belle taught me to blend in small steps that keep the cut crease’s distinctive shape without any harsh edges.
A bone-toned shade helps soften the edges for a professional finish. The metallic shades need a flat shader brush to pack color onto the lid. This creates stunning results while keeping those precise lines.
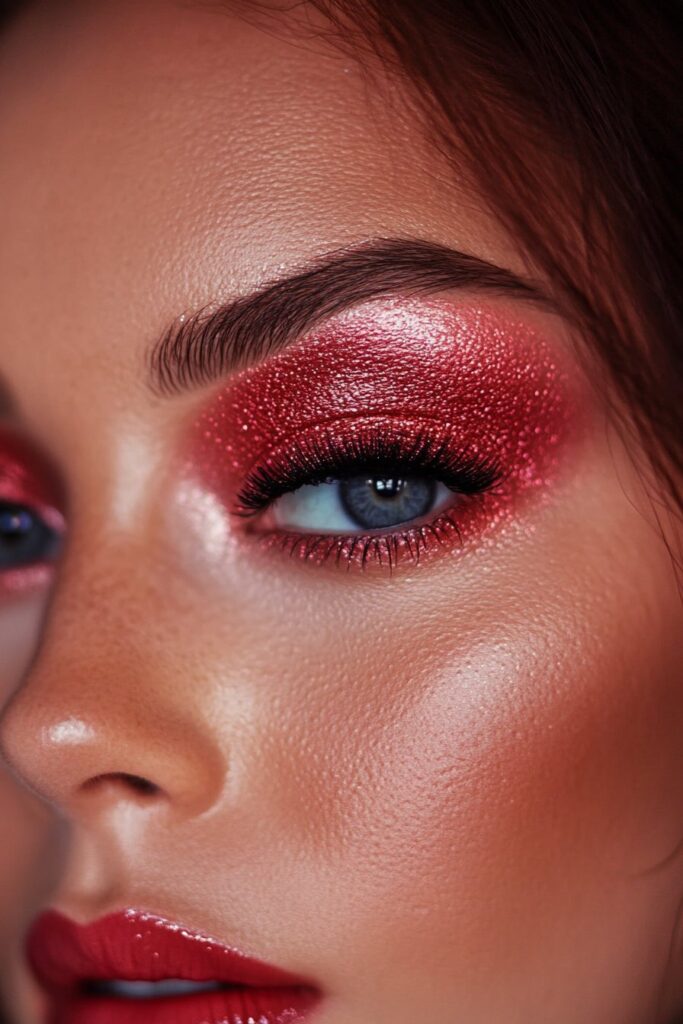
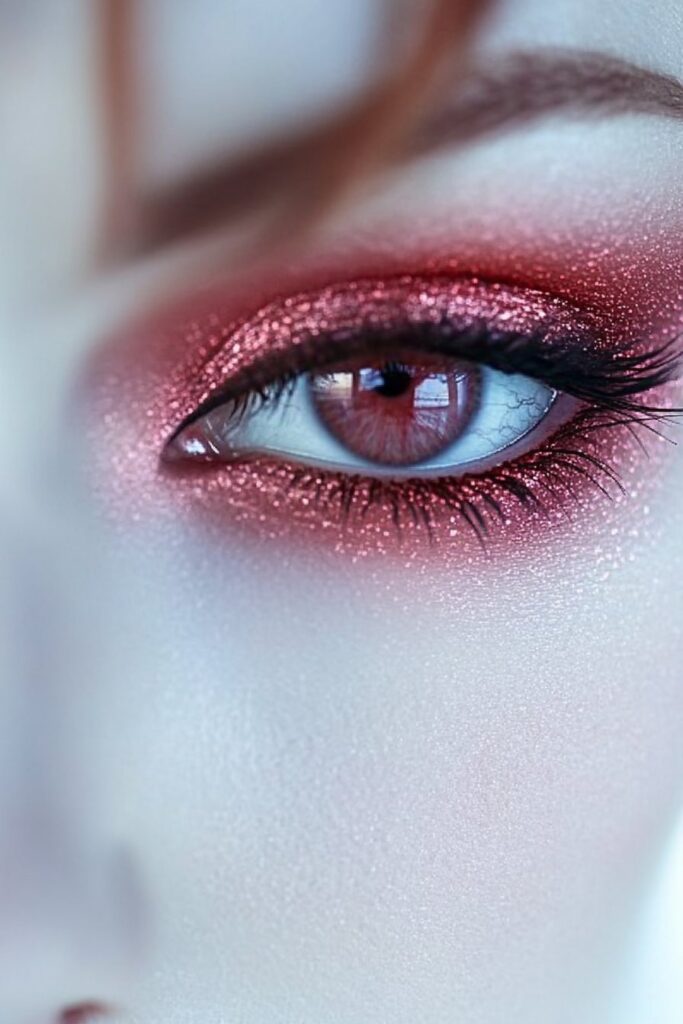
Ruby Glitter Halo Eye
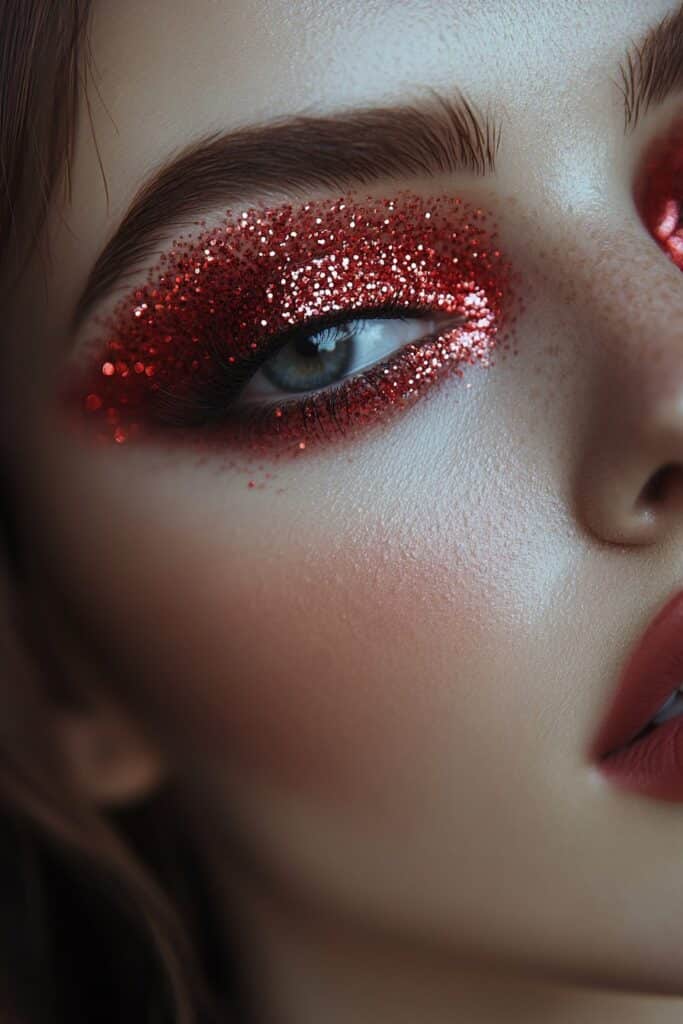
My journey to become skilled at simple red eye techniques led me to find that there was a mesmerizing world of ruby glitter halo eyes through Belle’s masterclass in New York. This striking look creates a spotlight effect that makes eyes appear larger and more defined.
Halo Eye Basics
The halo eye technique places darker shades on the inner and outer corners while highlighting the center of the lid. This creates a rounded, semi-circular shape that draws attention to the iris. Belle showed me that perfect symmetry between both corners creates the signature halo effect.
Glitter Application Tips
A flawless ruby glitter application needs a light touch at the start. Belle taught me to use a glitter adhesive base first and tap the glitter gently onto the lid’s center. The intensity should build up gradually instead of applying too much at once.
Product Recommendations
These products create this stunning look:
- NABLA Ruby Lights Glitter Palette featuring intense ruby with gold and holographic violet reflects
- L’Oréal Paris Brilliant Eyes Shimmer in Blush Jewel for the center highlight
- A reliable glitter adhesive to prevent fallout
The perfect ruby glitter halo eye depends on layering technique. Start with matte shadows for the corners and build up the glitter intensity in the center. Careful blending of the edges creates smooth transitions between the dark corners and the glittery center.
Metallic Red Foil Look
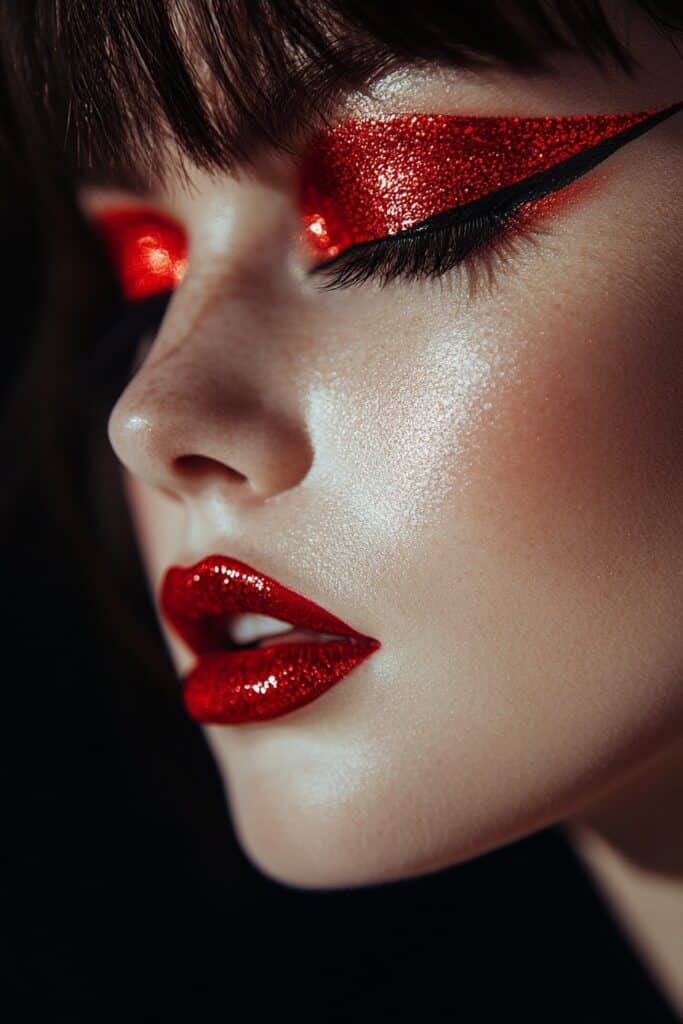
I began my trip into metallic red foil looks at Belle Hathaway’s exclusive masterclass in Savannah. She showed me this technique that would revolutionize how I do eye makeup. The foil method turns regular eyeshadow into a molten liquid-like shine that catches every light.
Foil Application Method
The success of foil application depends on good preparation. Start by applying an eye primer to create a smooth base for the shadow to stick. Next, dampen a dense-bristled brush with setting spray – Belle taught me this works better than water and makes the look last longer. The secret lies in getting the right moisture level – your brush should be damp but not soaked.
Best Metallic Products
These products that Belle showed me will give you stunning results:
- L’Oréal Paris Infallible Paints Metallics Eye Shadow collection
- NYX Professional Makeup Foil Play Cream Pigment in Red Armor
- DE’LANCI Red Eyeshadow Palette with metallic finishes
Lasting Power Tips
Using the right products with proper technique will keep your foil look fresh. Mixing your shadow with a makeup base like primer or setting spray creates a metallic finish that won’t crease. The quickest way to get maximum staying power is to apply in light, dabbing motions instead of sweeping strokes. Belle stressed that layering is crucial – start thin and build up gradually to get intense color that lasts all day.
The metallic foil effect creates quite a dramatic statement, so keep the rest of your makeup minimal. This look appears especially stunning when you have good lighting, creating a dimensional effect that photographs beautifully.
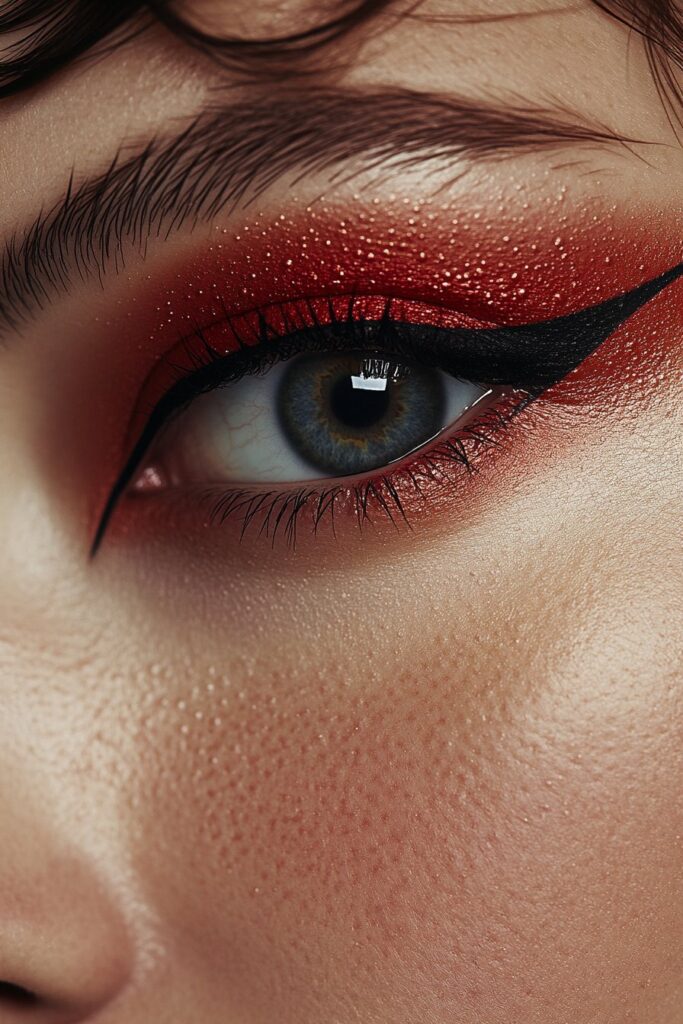
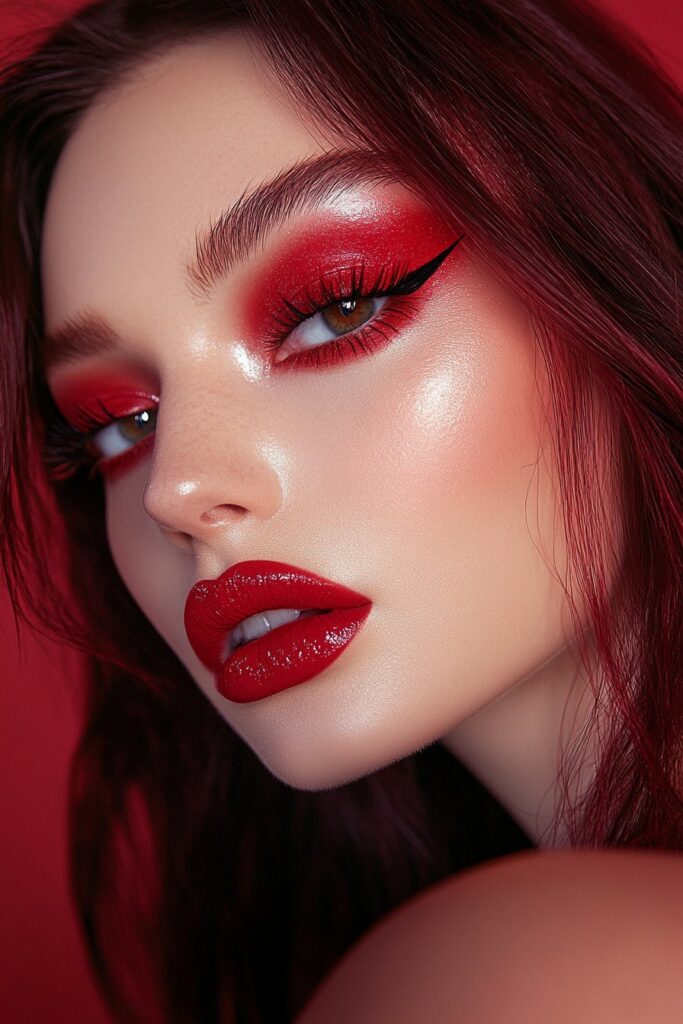
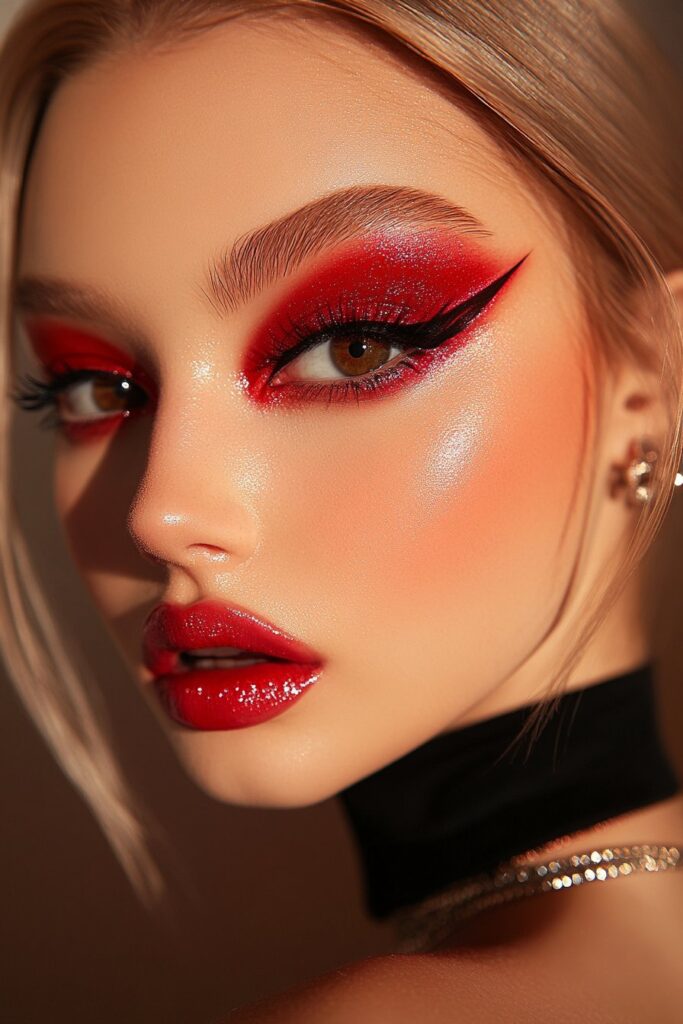
Wine-Colored Graphic Liner

Wine-colored graphic liner changed my point of view on bold eye looks forever. Belle Hathaway’s masterclass in Los Angeles introduced me to this striking technique that combines precision with artistic flair.
Liner Techniques
We started with clean, sharp edges and precision application for graphic liner. Belle taught me the floating crease technique – drawing a single line across the lid’s crease. Light strokes help achieve the perfect line. Creating geometric shapes draws attention to your eyes while you retain control of clean edges.
Color Selection
Burgundy stands out as a flattering shade that improves every eye color. Wine-colored liner adds warmth and depth to blue, green, and gray eyes, while black, brown, and hazel eyes get beautiful complementary tones. Belle recommends a neutral base before applying the burgundy liner.
Tools Needed
You’ll need these items to become skilled at this look:
- A precise liquid or gel liner with a compact nib for sharp lines
- A detail liner brush that gives complete control
- A good primer or concealer as base
Belle emphasized using waterproof formulas for extended wear. The success of wine-colored graphic liner ended up depending on products with high pigment concentration that set to a bulletproof finish. In spite of that, Belle suggests practicing with a kohl pencil before moving to liquid formulas if you’re new to graphic liner.
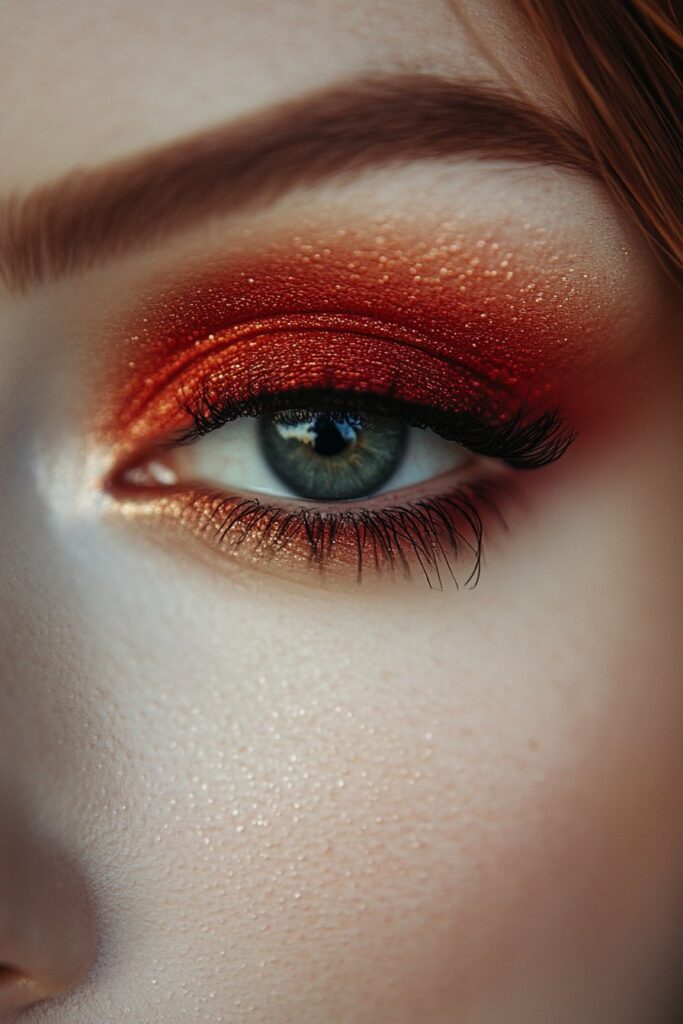
Sunset Red Gradient

My approach to creating dimensional eye looks completely changed after attending Belle Hathaway’s masterclass in Miami. The sunset red gradient technique combines warm oranges, pinks, and deep reds that mirror a setting sun’s rich hues.
Color Layering Guide
A warm orange eyeshadow should cover the outer two-thirds of your lids. This creates an uninterrupted gradient effect as your base. The outer third needs a hot pink shadow, which you’ll blend at the meeting points. The magic happens with a touch of sparkle. A shimmery white shadow on the inner corner and under your eyebrow arch adds extra dimension.
Brush Selection
Perfect sunset gradients need the right brushes. A smaller, denser blending brush ensures precise color application. The flat blending brush creates that perfect blurred shadow effect on the lower lash line. Both fluffy and dense brushes give you better control over color intensity and placement.
Blending Tips
Belle’s perfect sunset gradient technique starts by dividing your eyelid into thirds. The colors should flow smoothly into each other, but too much blending can muddy the look. Blend upwards in circular motions, and switch to a clean blending brush between colors. The lower lash line should match your eyelids’ warmth. Use the same color sequence to create a harmonious effect.
Red Chrome Effect
Belle Hathaway’s exclusive masterclass in Miami opened my eyes to the amazing world of red chrome effects. The technique looked daunting at first but quickly became one of my favorite eye makeup looks.
Chrome Powder Application
Chrome powder needs different application techniques than regular eyeshadows. We applied a black or dark red base shadow and let it set completely. The next step uses your fingertip or a dense synthetic brush to press the chrome powder onto your lid. Belle showed us that pressing motions work better than sweeping to get the most intense color.
Product Selection
Belle’s recommended products to create the perfect red chrome effect:
- A traditional red nail polish with red chrome powder gives true ruby tones
- High-quality eyeshadow primers help makeup last longer
- Dense synthetic brushes work best for metallic applications
Safety Guidelines
Safety matters most with chrome effects. Never put nail chrome powders near your eyes because they can damage your cornea. Eye-safe products made specifically for the delicate eye area are essential. Belle warned that sparkle powder and metallic eye makeup might irritate your cornea, especially when you have contact lenses.
Products designed for eye application give the best results. The chrome powder can go on before the color if you want a softer look. This creates a more wearable finish that keeps the beautiful metallic sheen.
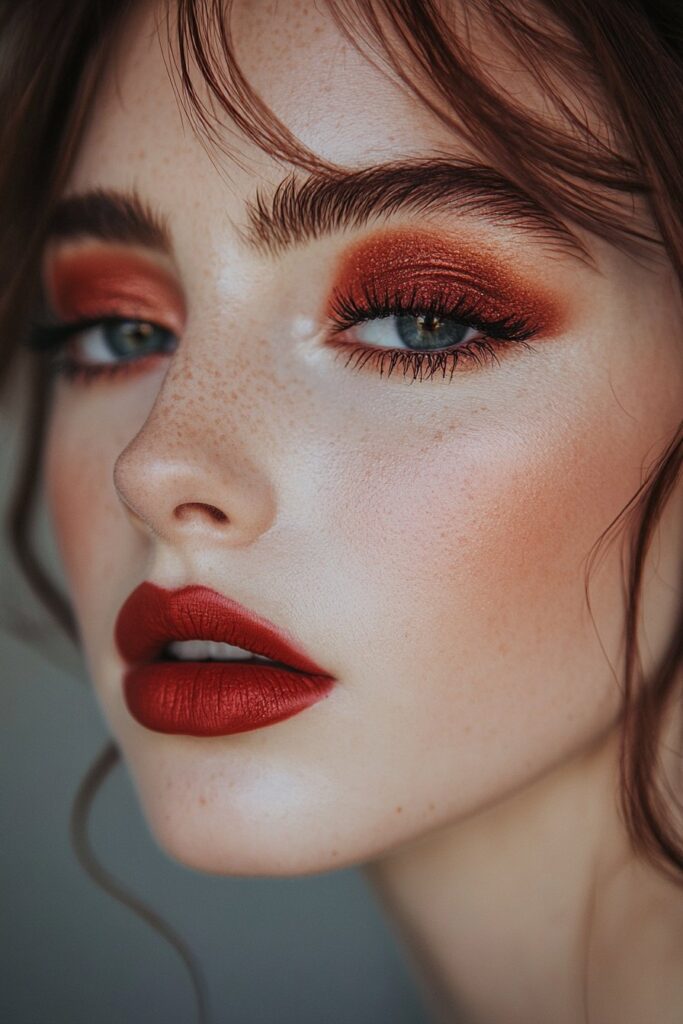
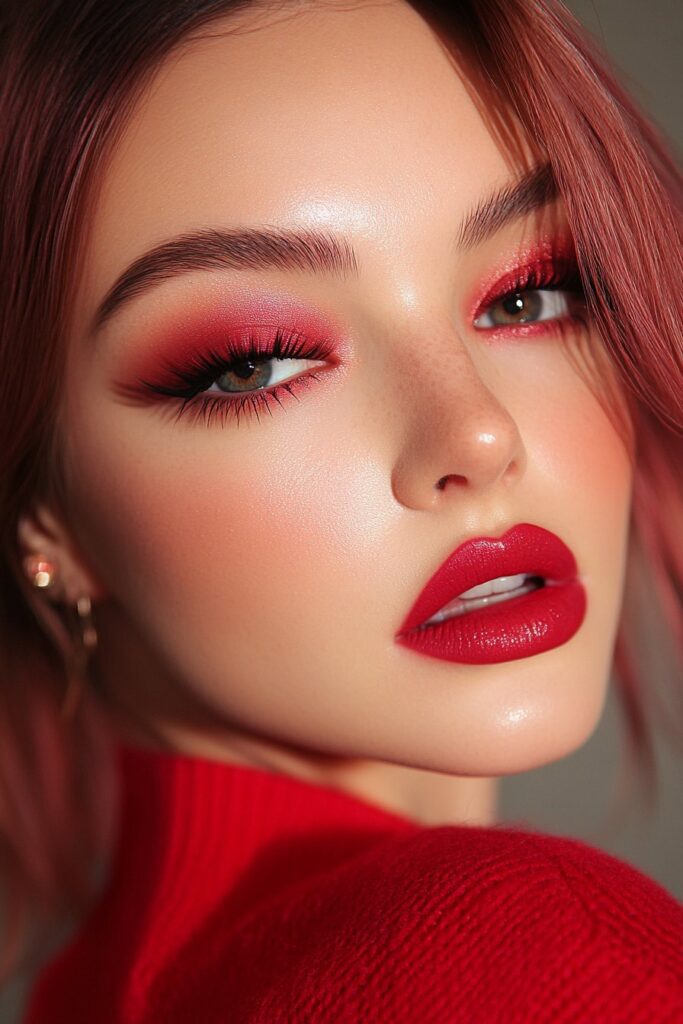
Matte Red Statement
I became skilled at applying matte red eyeshadow after attending Belle Hathaway’s advanced technique workshop in Savannah. Her guidance taught me that matte finishes create striking looks without shimmer or glitter.
Matte Application Tips
We started with proper eye preparation to achieve successful matte application. “A smooth canvas is crucial for matte shadows,” Belle emphasized during our session. Yes, it is essential to apply concealer and setting powder to create the perfect base. Flat brushes work best to place the original color while clean fluffy brushes should only blend.
Color Intensity Guide
Belle’s recommendations for fair skin include starting with rusty-reds or orange-tinted shades. Medium skin tones look radiant with primary reds, and deeper complexions shine in burgundy hues. The color builds more effectively when applied in gradual layers rather than heavy applications.
Setting Techniques
“The secret to long-lasting matte eyeshadow lies in the layering technique,” Belle shared during our workshop. The process ended up requiring thin layers with thorough blending between applications. Professional results come from these steps:
- Prime eyes with concealer
- Set with translucent powder
- Layer colors gradually
- Blend edges with clean brushes
Note that your remaining makeup should stay minimal when wearing a bold matte red eye. This balance allows your eye makeup to become the focal point of your look.
Red and Gold Duo
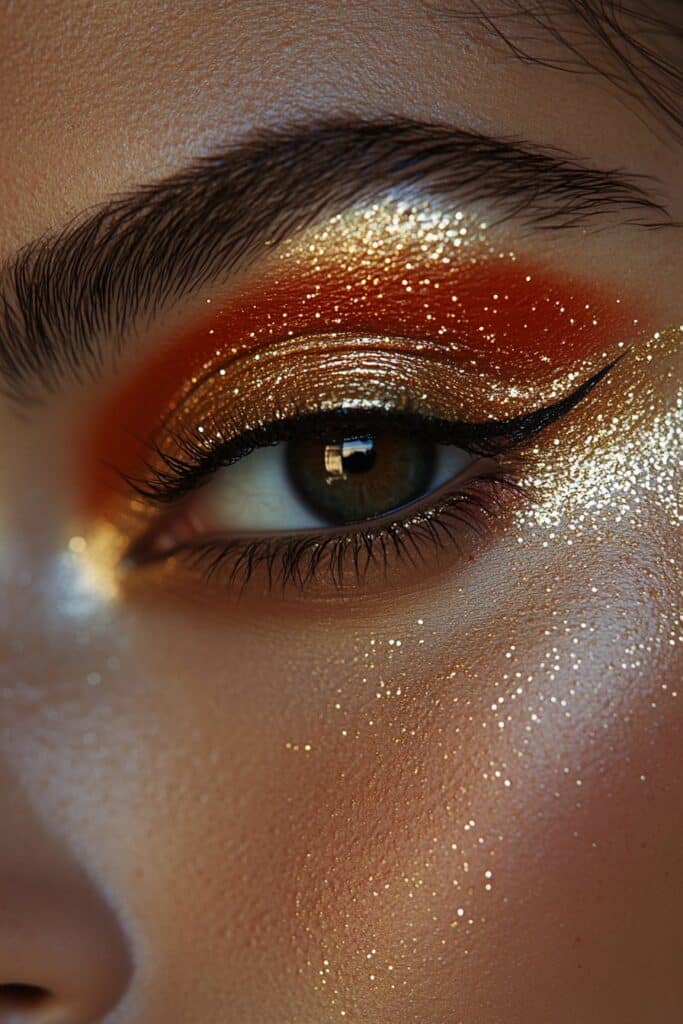
I discovered the beauty of red and gold eyeshadow at Belle Hathaway’s intimate workshop in Los Angeles. This stunning combination creates a regal look that works on skin tones of all types, as Belle showed on her models.
Color Combination Tips
We focused on selecting complementary shades to make red and gold work together. Belle suggests using rose gold with softer reds for light skin. People with deeper skin tones look radiant with yellow-gold against rich crimson shades. “Gold eyeshadow and matte red lipstick create a perfect festive charm,” Belle shared during our session.
Application Order
A perfect look starts with the right preparation. Start with an eyeshadow primer and add concealer to create a smooth base. Pack the red shade on the outer corner and build it up slowly. The gold goes on the center of the lid to create a stunning spotlight effect that catches light beautifully.
Product Pairing
Belle helped me find these perfect combinations to create this luxurious look:
- L’Oréal Paris Brilliant Eyes Shimmer in Crown Gold for intense metallic finish
- Colourpop’s Fade into Hue palette for rich red tones
- Makeuprevolution Blush palette’s highlight shade for inner corner brightness
“The secret lies in using a gold cream base before applying powder shadow for extended wear,” Belle explained as we practiced. This technique will give a vibrant metallic effect that lasts all day while keeping the striking contrast between warm gold and deep red tones.
Sheer Red Wash
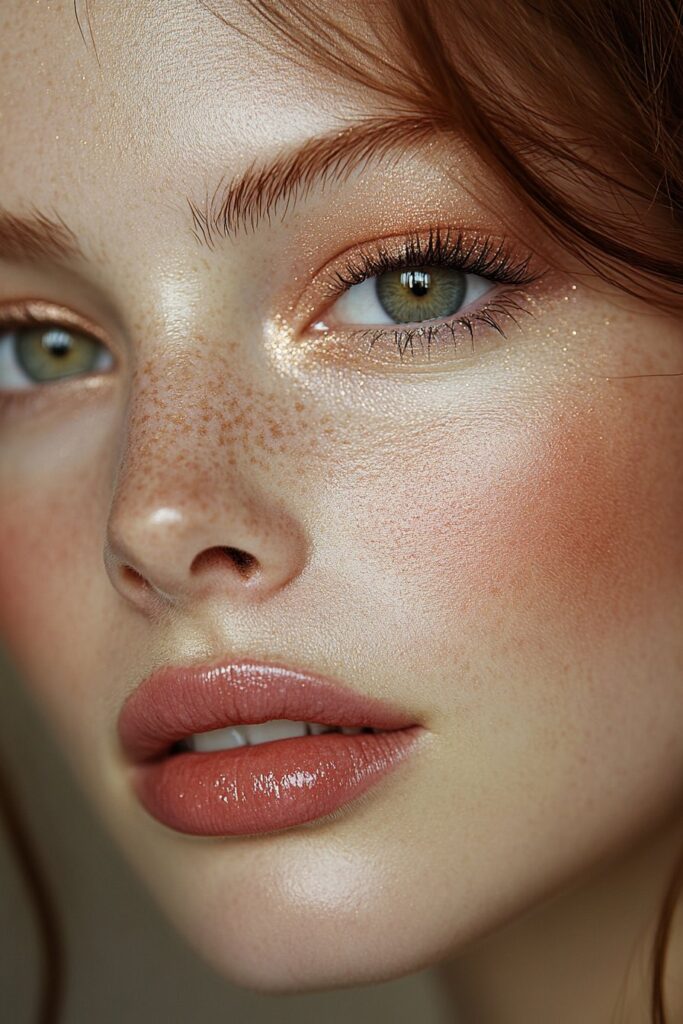
Belle Hathaway shared her signature technique to create ethereal sheer red eye looks during her intimate workshop in Savannah. Her approach reshapes bold red eyeshadow into a wearable everyday style.
Subtle Application Methods
The eyeshadow application works best when limited to the natural shape of closed lids. We traced a light outline with the brush and applied pigment at the center before blending outwards. This technique creates a natural look that suits office environments and daytime events.
Day Look Tips
“Clear up the skin around your eyes using concealer before applying any red shadow,” Belle emphasized during our session. This prevents red tones from making eyes look tired. Softer red tints work well on lighter complexions, while deeper skin tones shine in burgundy shades. A nude lipstick and subtle bronzer help maintain perfect balance with minimal makeup.
Product Selection
Belle showed us several products that excel at creating sheer washes:
- L’Oréal Paris Infallible Paints to build color
- DE’LANCI highlighter palette to open up the look
- Cream-based shadows to smooth application
“The key to a successful sheer red wash lies in choosing products with silky, blendable formulas,” Belle shared. These products create that coveted translucent effect and maintain color integrity throughout the day. Eye primer should always be your first step to prevent creasing.
Red Cat Eye Evolution

My experience at Belle Hathaway’s advanced masterclass in New York opened my eyes to the amazing rise of red cat eye makeup. The classic technique has now become contemporary artistry. “Cat eye makeup isn’t just about wings anymore,” Belle shared during our intensive session, “it’s about personal expression and modern interpretation.”
Modern Cat Eye Techniques
Contemporary cat eye styles have moved beyond traditional shapes. We developed the ‘batwing’ technique that works exceptionally well for hooded eyes and dips into the outer corner crease for better visibility. On top of that, Belle taught me the ‘smudge shadow’ technique that gives softer definition without harsh lines.
Color Selection
Your eye color and undertone determine the right red shade. Belle suggests true reds to improve natural color for green eyes, while blue eyes shine with yellow-orange based reds. Brown eyes give you more options – the complementary flecks in your iris can guide your red shade selection.
Wing Variations
Belle showed three distinctive wing styles:
- Classic wing: Starts thin at inner corner, gradually thickening outward
- Graphic wing: Features clean lines with abstract shapes
- Double wing: Creates drama with parallel lines for extra definition
“The secret to a perfect wing lies in understanding your eye shape,” Belle emphasized. The sort of thing I love about hooded eyes is they look best when you apply liner while looking straight ahead. Upturned eyes naturally complement the cat eye shape and follow the natural lash line curve. Belle taught me that precision tools and steady hand positioning create those sharp, clean lines.
Red Glam Spotlight
I found that there was something magical about the red spotlight eye technique while sitting in Belle Hathaway’s Miami studio. Belle’s explanation showed how this technique creates an illusion of larger, more defined eyes by placing colors and highlights strategically.
Spotlight Eye Technique
The spotlight technique begins with precise concealer application. “Draw a line in the center of your lid, then create two points from the socket to the lash line forming a V-shape,” Belle showed. We created a canvas for the dramatic center highlight. The real success comes from filling the inner and outer sections with deeper red shades first and blending them carefully for smooth transitions.
Dimension Building
Multiple shades need strategic layering to build dimension. “Keep it really deep in the corners and light in the center,” Belle emphasized. Small amounts of product work best at first, and intensity builds gradually for a professional finish. The edges between shadows blend together to create that coveted spotlight effect without harsh lines.
Highlight Placement
“Lighter shades in the inner corner draw light, making eyes appear bigger and brighter,” Belle shared during our session. The highlight needs careful placement in these key areas:
- Center of the lid for the spotlight effect
- Inner corner to brighten eyes
- Brow bone for lifted appearance
Belle suggests using a creamy highlighter without sparkle under the brow for a clean, defined look. This technique looks stunning when paired with deeper red tones in the outer corners and creates beautiful dimension that catches every light.
Crimson Watercolor Effect
My eyes opened to a delicate yet striking technique when I attended Belle Hathaway’s Savannah workshop to learn watercolor eye makeup. “Watercolor effects create depth without heaviness,” Belle explained as she showed this innovative approach to red eyeshadow.
Watercolor Technique
A smooth canvas needs proper preparation to achieve the watercolor effect. We applied an eye-safe primer first. The next step uses water-activated liners or eye-safe pigments mixed with setting spray. “Think of your eyelid as an artist’s canvas,” Belle advised and showed us how to create soft, translucent layers that build dimension without looking heavy.
Product Selection
Belle introduced me to specific products that excel at creating watercolor effects:
- Velvet Matte Eyeshadow in Crimson, with blended pigments for true red tones
- Water-activated liners from Glisten Cosmetics for precise color control
- Vegan-friendly shadows with macro pigments for optimal blending
Blending Methods
Successful watercolor blending depends on understanding moisture levels. “Control the wetness of your brush,” Belle emphasized and showed how different water amounts affect color intensity. Light layers work best to start, with each layer drying slightly before adding more depth. Clean, damp brushes between colors help maintain clarity and prevent muddiness.
Belle’s technique involves tracing areas with clean water first, then dropping pigment at the top so it flows naturally. This creates signature watercolor drips that make this technique uniquely artistic. The water does most of the work, so avoid using too much pressure while blending – unless you want sharp lines.
Red Negative Space
My understanding of negative space eye makeup clicked at Belle Hathaway’s Los Angeles workshop. She showed how strategic gaps in red eyeshadow create striking designs. “Negative space isn’t about what you add—it’s about what you leave untouched,” Belle explained as she revolutionized traditional techniques into modern art.
Negative Space Design
Negative space design needs precise planning. A clean canvas emerges when you apply concealer. The magic happens when you define your eyes’ shape with eyeliner and leave intentional blank spaces on your lids. “Think of your eyelid as a canvas where bare skin becomes part of the artistry,” Belle shared during our session.
Precision Tips
Prime your eyelids well – this step is vital to achieve the overall look. The negative space comes alive when you start at the inner corner and use light strokes to draw a thin line along your crease. Liquid liner creates cleaner edges than pencil. Belle suggests using a Q-tip with makeup remover to perfect your lines.
Tool Selection
You need these tools to execute flawlessly:
- A fine-tipped felt precision liner
- Synthetic brushes for concealer application
- Dense powder brush for setting products
- Waterproof liquid liner for lasting wear
Gel or liquid liners give you the most precise lines. “The success of negative space designs depends heavily on your tool choice,” Belle emphasized while showing how different brushes affect line precision. White liner adds extra pop, though this represents a slight change from traditional negative space concepts.
Velvet Red Finish
My experience at Belle Hathaway’s exclusive Savannah workshop taught me how to create velvet-finish eye makeup that adds luxurious depth to red eyeshadow looks. “Velvet finish isn’t just about the products,” Belle explained, “it’s about understanding texture and layering.”
Velvet Effect Creation
The velvet effect starts with proper skin preparation. “Using an eye primer will help those pigments grip onto the lids and stay put,” Belle emphasized. Duochrome shadows create that signature dual texture similar to velvet fabric. You can create dimension by packing two finely milled, shimmery nude shadows in your eye’s center.
Product Layering
The velvet-finish makeup’s success relies on strategic layering. Belle showed me these essential products:
- A mattifying primer for oily skin areas
- A hydrating primer for dry patches
- A pore-blurring primer for close-up perfection
Start with a lightweight foundation or tinted moisturizer to even out your skin tone. “The key lies in building thin layers,” Belle showed, as each layer contributes to the plush, velvety effect.
Setting Methods
The velvet finish setting demands precision. Belle taught me to apply translucent setting powder on the T-zone while keeping the glow elsewhere. Setting spray locks everything in place without dulling the velvet effect during evening events. “Most duochromes typically have built-in priming properties, but you’ll definitely want some extra insurance,” Belle advised, recommending Urban Decay All Nighter Setting Spray for lasting wear.
Red Editorial Look
Belle Hathaway’s editorial makeup masterclass in New York changed my perspective on artistic red eye makeup. Belle’s experience from traditional beauty to avant-garde artistry began in Savannah and shaped her unique approach to editorial looks.
Editorial Techniques
Red eye makeup for editorial work needs flawless skin preparation. “Editorial makeup keeps the skin fresh and natural, focusing attention on one striking feature,” Belle explained while showing her signature technique. We focused on creating depth through strategic color placement instead of heavy application.
Avant-garde Elements
Beauty standards have been revolutionized by avant-garde makeup since the early 80s. Belle showcased unconventional placement techniques that challenge creative boundaries. Her approach involves:
- Creating abstract shapes with red pigments
- Experimenting with texture contrasts
- Incorporating geometric elements
- Learning negative space designs
Photography Tips
Editorial photography demands an understanding of how makeup appears through the lens. “Factor in location and lighting conditions,” Belle advised during our session. She stressed the importance of mood boards that communicate the desired style and vision effectively. Professional lighting that enhances red tones while preserving skin’s natural luminosity creates striking editorial shots.
Red Monochromatic Magic
My experience at Belle Hathaway’s exclusive Miami workshop taught me the art of red monochromatic makeup. This technique goes beyond eye makeup and creates harmonious looks for the entire face. “Monochromatic makeup keeps the color palette consistent across eyes, lips, and cheeks,” Belle explained as she shared her signature approach.
Color Story Creation
The success of monochromatic looks depends on your skin tone. Rusty-reds work well with fair skin, while primary reds enhance medium skin tones. Deep complexions look stunning in burgundy shades. “Pick shades that complement your complexion,” Belle showed us how red undertones create different effects on various skin types.
Face Harmony
Balance comes from the right application techniques. The process starts with eye makeup using a fluffy but firm shadow brush from lash line to crease. Belle taught us to blend cheek pigment from the apples outward. Foundation helps soften the look if needed. The magic happens when you maintain color consistency while varying intensity across features.
Product Coordination
Belle’s essentials for a red monochromatic look include:
- A red pigment that works on eyes and cheeks
- A matching lip liner and nourishing balm
- Products that set and lock color
The right preparation makes all the difference – prime the eyes, moisturize lips, and smooth out the base for cheeks. “When it comes to cheek and blush color, blend out and diffuse the color so it doesn’t appear too intense,” Belle shared. You can also use foundation between layers to control intensity and blend seamlessly between facial features.
Conclusion
My experience learning red eye makeup techniques from Belle Hathaway changed my viewpoint about bold makeup. Her masterclasses in Miami, New York, and Savannah taught me that red eye makeup works for everyone. The secret is to choose the right shade and technique that matches your style.
Red eye makeup gives you countless options. You can create subtle daytime looks or dramatic evening statements. Belle showed me how sheer washes are perfect for office settings. Metallic foils create stunning special occasion looks. Her focus on proper technique and product selection helps makeup enthusiasts at any skill level achieve these bold looks.
Belle’s most important lesson was about confidence. It comes from knowing your features and becoming skilled at application techniques. The classic smokey eye builds a simple foundation for advanced looks like negative space designs or editorial statements. Each technique we learned opened creative possibilities that remained wearable.
Red eye makeup trends evolve constantly. These fundamental techniques provide a strong foundation to create both classic and innovative looks. Belle’s teaching proves that anyone can wear red eyeshadow with confidence if they have the right knowledge and practice. Give these looks a try – you might find your next signature style.