
Summer heat and sticky necks? I don’t know about you, but I’m not a fan of hair clinging to my skin when temperatures rise. Fortunately, summer updos for medium hair offer the perfect solution for staying cool while looking effortlessly stylish.
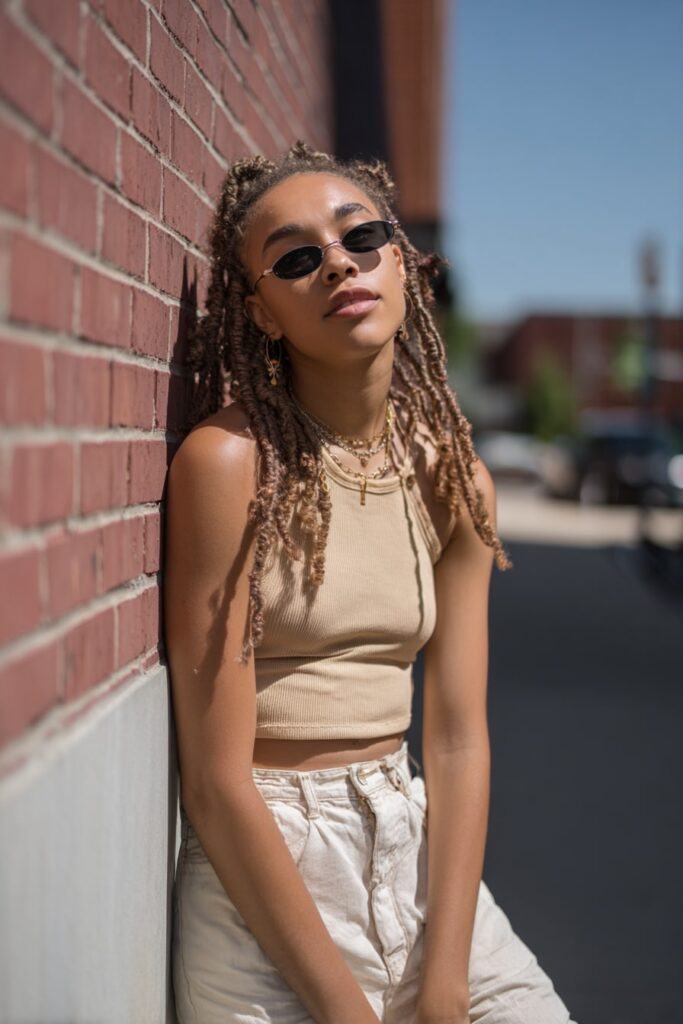
Honestly, medium-length hair provides the ideal canvas for versatile hairstyles. Whether you’re looking for casual updos for medium hair like a simple topknot or elegant updos for medium hair such as a romantic chignon, the options are endless. I’ve found that easy summer updos for medium hair don’t require extreme styling skills or hours in front of the mirror. In fact, casual summer updos for medium hair like the messy chignon continue to be trendy year after year. The best part? You don’t need super long locks to rock these styles – if the shortest hair at your nape is at least 4-5 inches long, you can create a beautiful updo.
As the temperatures climb, I’m excited to share my favorite hairstyles that will keep your neck free and your look fresh. From beach days to backyard barbecues, these 15 updos will stay put all day while turning heads for all the right reasons. Let’s transform your medium hair into your summer style secret weapon!
Messy Low Bun

The messy low bun remains my go-to style when I need something that looks effortlessly chic yet keeps hair off my neck during sweltering summer days. This versatile updo works on virtually any medium-length hair and requires minimal effort—perfect for those mornings when you’re rushing out the door.
Messy Low Bun Styling Steps
Creating this laid-back style takes just a few minutes:
- Gather your hair at the nape of your neck and secure with a clear elastic to form a low ponytail.
- Add texture by applying powder or spray to the crown area, then pinch and pull sections for volume.
- Twist your ponytail and wrap it around the elastic to form your bun shape.
- Secure with bobby pins, working around the bun to anchor it firmly.
- Gently tug on sections of your bun to loosen and create that perfectly undone look.
- Pull out a few face-framing tendrils for a softer appearance.
- Finish with a light mist of hairspray to lock everything in place.
For thicker hair, try dividing your ponytail into three sections first, then creating small knots with each section before pinning. This technique distributes weight more evenly and helps the style last longer.
Best Occasions for Messy Low Bun
One reason I adore this style is its remarkable adaptability. The messy low bun transitions seamlessly from:
- Casual everyday wear (perfect for errands or beach days)
- Office-appropriate professional settings
- Weekend brunches and casual gatherings
- Even formal occasions—just add a decorative pin or wrap a scarf around the base
Furthermore, this style works equally well with freshly washed hair or second-day locks. In fact, slightly dirty hair often holds the style better thanks to natural oils providing extra grip.
Tips to Make Messy Low Bun Last
To keep your summer updo intact all day:
- Start with texturizing products for better grip and hold
- Secure with high-quality bobby pins, inserting them in opposite directions
- Consider using a stretchy microfiber elastic that won’t tug or damage hair
- Apply hairspray before styling for additional texture and after for lasting hold
- For extra security, use the “double bun” technique (similar to tying bunny ears)
- Sleep in your bun overnight for enhanced texture the next day
Although messy buns appear effortless, a little strategic messiness goes a long way toward creating that perfectly imperfect summer look.
Twisted Crown Updo

For a regal yet practical summer hairstyle, the twisted crown updo has been my trusted companion. This gorgeous style wraps twisted braids around your head like a crown, creating an elegant look that keeps hair off your neck during hot summer days.
Twisted Crown Updo Styling Steps
I’ve found this style takes less than five minutes once you master it:
- Start by brushing your hair to remove tangles—some find it easier with wet hair, others with dry.
- Take a triangle section of hair near your part and divide it into two sections.
- Twist both sections toward your face, then cross one over the other toward the back.
- Add new hair from your hairline to the front piece before twisting again.
- Continue this pattern, adding hair only to the front section each time you twist.
- Once you reach the back of your head, stop adding hair and simply twist the strands together.
- Secure with a clear elastic and repeat on the other side.
- Join the two twisted sections by creating a hole in one twist and pulling the other through.
- Secure with bobby pins and remove the elastics.
The beauty of this style is that slight imperfections add character—I often gently pull sections to create more volume.
Best Occasions for Twisted Crown Updo
This versatile updo works for numerous settings:
- Formal events and weddings—it complements long dresses beautifully
- Romantic dates—creates an enchanting, feminine look
- Summer parties—keeps you cool while looking polished
- Everyday wear—a great solution for second-day hair that’s lost its freshness
Honestly, I’ve worn this style everywhere from beach outings to fancy dinner parties. The twisted crown transitions effortlessly between casual and formal settings.
Tips to Make Twisted Crown Updo Last
To ensure your crown stays put all day:
Spray bobby pins with hairspray before inserting them—they’ll grip better and stay secure. Cross your pins in an X pattern for maximum hold.
For summer humidity battles, I start with completely dry hair and apply texturizing products first. Moreover, keeping the twists tight against your scalp as you work ensures longer-lasting results.
If you notice any flyaways or loose sections, gently secure them with additional pins. Consequently, a generous blast of hairspray after styling will lock everything in place, particularly important for outdoor summer events.
Remember that practice makes perfect—my first few attempts weren’t Instagram-worthy, but now it’s my go-to summer style!
Half-Up Top Knot
The half-up top knot has become my ultimate summer hair savior when I want something that bridges casual and polished. This versatile style works wonderfully on medium-length hair, allowing you to keep the top section secured while the rest flows freely—perfect for staying cool without sacrificing style.
Half-Up Top Knot Styling Steps
I’ve mastered this look through trial and error, and now it takes me just two minutes:
- Start with day 2-3 hair for better texture and grip
- Section off just the crown area (think of it as a “halo” section rather than a straight line)
- Secure this section with an elastic at the top of your head
- Spray texturizing product and tease slightly for added volume
- Twist the ponytail and fold it over itself to create a messy bun
- Secure with another elastic, wrapping it twice around
- Pin any fallen pieces with 3-4 bobby pins
- Gently pull sections for that perfectly undone look
Best Occasions for Half-Up Top Knot
What makes this style my go-to is its incredible adaptability. I wear mine:
- For casual everyday errands when I need hair off my face
- During beach days and outdoor activities
- For office days when I want to look put-together yet trendy
- Even for evening events—simply add decorative pins for extra flair
Additionally, this style works equally well with straight hair or beachy waves, making it truly versatile across seasons and settings.
Tips to Make Half-Up Top Knot Last
To ensure your half-up top knot stays put all day:
- Apply dry shampoo or texturizing powder at the roots for extra grip
- Secure with quality elastics that won’t slip
- Use crossed bobby pins for maximum hold
- Initially create a tighter bun than desired—it will naturally loosen
- Finish with a light mist of hairspray
- For second-day wear, refresh with thermal dry conditioner on the loose sections
Essentially, this style provides that model-off-duty vibe with minimal effort—exactly what summer hair should be.
Braided Ponytail
I’ve always believed that braided ponytails offer the perfect marriage of polish and practicality for summer. This style combines the classic ponytail’s simplicity with a braid’s intricate texture—creating a look that keeps hair off your neck while adding visual interest.
Braided Ponytail Styling Steps
Creating this versatile updo requires just a few simple steps:
- Brush your hair thoroughly to remove tangles
- Gather hair into a ponytail at your desired height (I prefer mine mid-to-high for summer)
- Secure with a strong elastic that matches your hair color
- Divide the ponytail into three equal sections
- Cross the left section over the middle, then the right over the new middle
- Continue this pattern until you reach the ends
- Secure with another small elastic
For added flair, I often wrap a small section of hair around the base elastic to conceal it, securing with a bobby pin underneath.
Best Occasions for Braided Ponytail
The beauty of this style lies in its incredible versatility. I’ve worn mine:
- From yoga classes to business meetings
- At summer music festivals where it stays put despite dancing
- For elegant evenings when paired with statement earrings
- During active days when I need my hair completely secure
Since the style pulls hair away from your face and neck, it’s particularly ideal for hot, humid days when you want to look polished without feeling overheated.
Tips to Make Braided Ponytail Last
Through trial and error, I’ve discovered several secrets to making this style endure:
First, second or third-day hair provides much better grip than freshly washed strands. Actually, applying dry shampoo or texturizing spray adds tremendous staying power.
Secure any flyaways with hairspray applied to a small brush. Instead of constantly redoing your entire style, simply refresh the edges when needed.
For overnight longevity, sleep with a silk scarf or pillowcase to prevent friction. Therefore, your braid will remain neat until morning without unnecessary frizz or loosening.
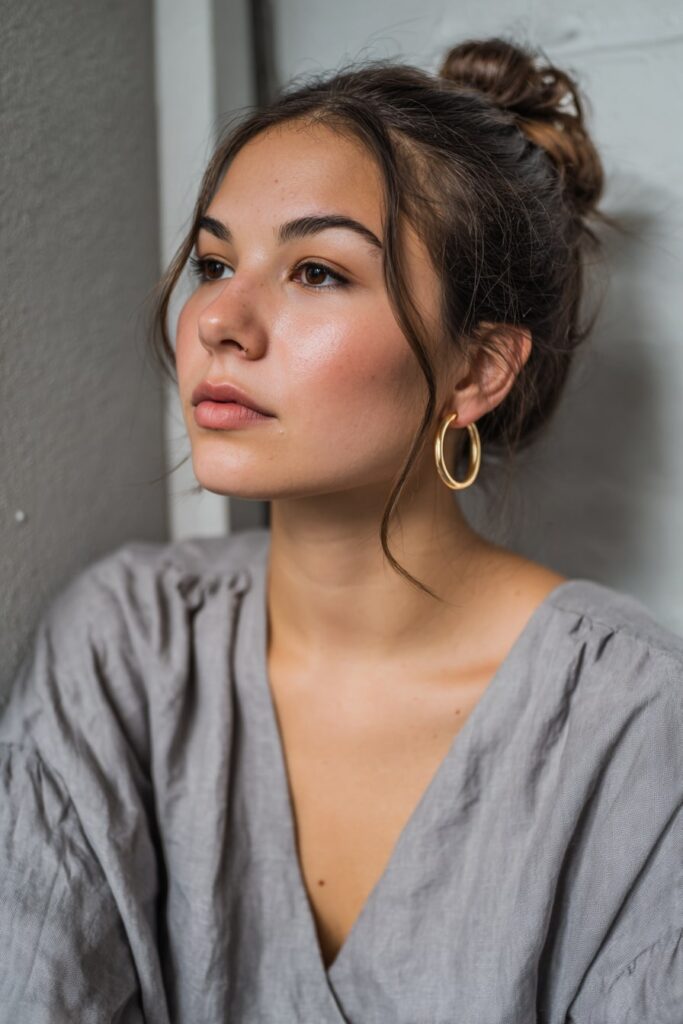
Romantic Chignon

There’s something undeniably elegant about a romantic chignon that transforms even the most casual outfit into something special. As a classic low twisted bun sitting at the nape of the neck, this updo has become my secret weapon for summer elegance with medium-length hair.
Romantic Chignon Styling Steps
Creating this sophisticated style requires patience but delivers impressive results:
- Start with day-old hair for better grip and texture
- Apply texturizing spray throughout your hair for additional hold
- Gather hair into a low ponytail at the nape of your neck
- Secure with a clear elastic band
- Create a small hole behind the elastic band using your fingers
- Pull the ponytail through this hole, creating an inside-out effect
- Fan out the hair and gently tease for volume
- Twist sections and pin them around the base to form your chignon
- Secure with bobby pins, crossing them in X-patterns for stability
- Pull out a few face-framing tendrils for a softer look
For added dimension, I sometimes incorporate small twists or a simple braid before forming the chignon.
Best Occasions for Romantic Chignon
This versatile updo transitions beautifully across settings:
- Weddings and formal events – it perfectly showcases statement earrings and elegant necklines
- Date nights – creates a feminine, sophisticated impression
- Summer garden parties – keeps you cool while looking polished
- Special dinners – elevates your entire appearance with minimal effort
Indeed, the romantic chignon works equally well with casual sundresses or more formal attire, making it an adaptable summer option.
Tips to Make Romantic Chignon Last
Through years of trial and error, I’ve discovered several secrets for extended wear:
First, backcombing your ponytail creates both volume and grip. Afterwards, secure bobby pins by “jackknifing” them – push the feet up through the edge of the bun, then fold back down toward the center.
Even so, begin with a tighter style than desired as it naturally loosens throughout the day. Subsequently, enhance longevity by strategically crossing pins in different directions to distribute tension.
Adding pearl pins or fresh flowers elevates this already elegant style. Plus, a light mist of flexible-hold hairspray seals everything without creating stiffness.
Boho Braids
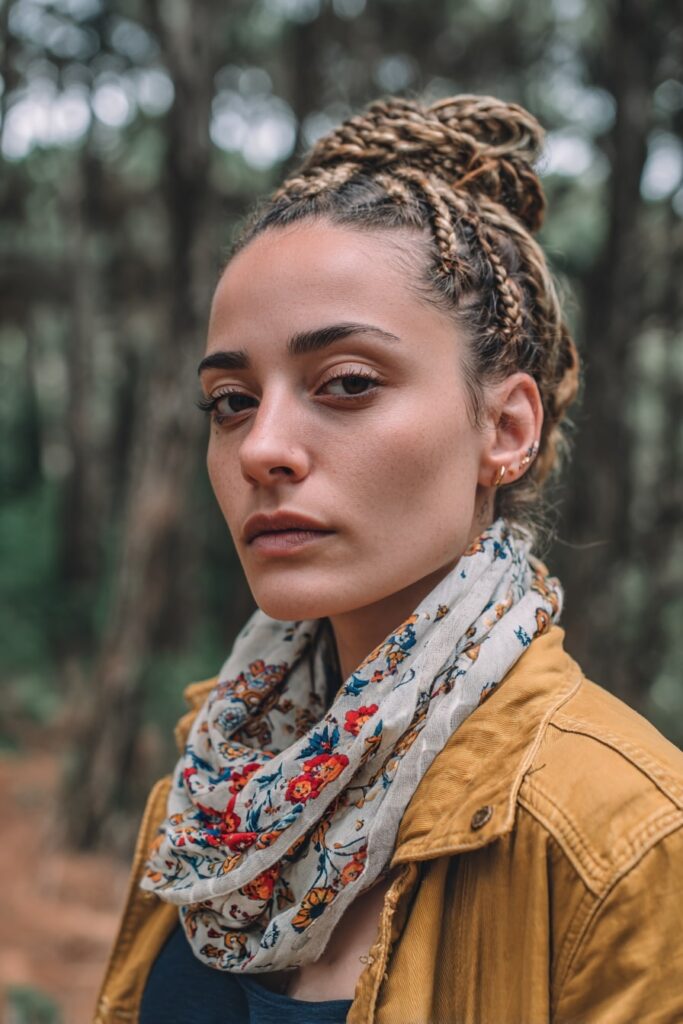
Boho braids have captured my heart as the perfect blend of carefree style and practical summer hair solution. This relaxed, undone style creates that effortlessly chic look while keeping your medium-length hair off your neck—ideal for those sweltering summer days.
Boho Braids Styling Steps
Creating this free-spirited updo takes just a few minutes once mastered:
- Part your hair down the middle for a balanced look
- Take a section from one side and divide it into three strands
- Begin French braiding by crossing the front section over the middle, then the back over the new middle
- Continue adding hair from the front to the previous section, bringing it over the middle
- Once past your ear, switch to a French lace braid by adding sections only from the front
- Secure with an elastic when you reach mid-head
- Repeat the same steps on the opposite side
- Join both braids by creating knots (2-3 knots typically works well)
- Tuck the ends underneath and secure with bobby pins
After securing, gently pull sections looser to achieve that signature relaxed bohemian feel.
Best Occasions for Boho Braids
This versatile style transitions seamlessly across settings:
- Casual outings and everyday wear—perfect for work or school
- Red carpet events—celebrities frequently sport this look
- Outdoor festivals and concerts—stays put despite dancing
- Beach days—keeps hair controlled in summer breezes
- Date nights—creates a romantic, feminine impression
Boho braids strike the perfect balance between polished and carefree, making them appropriate for almost any summer occasion.
Tips to Make Boho Braids Last
For maximum longevity throughout summer activities:
First, sleep with a satin scarf or bonnet to prevent tangles and frizz. On top of that, keep your braids moisturized with lightweight oil like jojoba or argan to maintain definition.
Primarily, embrace the gradually messier look—boho braids are meant to look undone. Nevertheless, when they start looking too frizzy, apply mousse and tie them down for about 30 minutes to refresh.
Above all, avoid overhandling your braids, as this causes unnecessary frizz. With these simple care techniques, your boho braids can remain stylish all summer long.
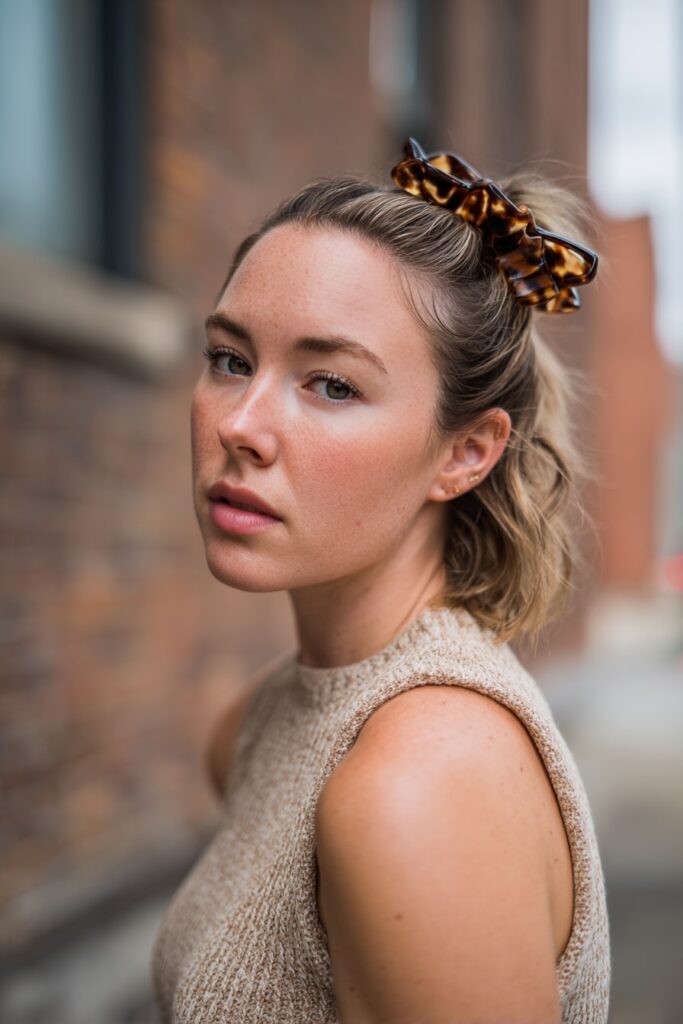
Space Buns
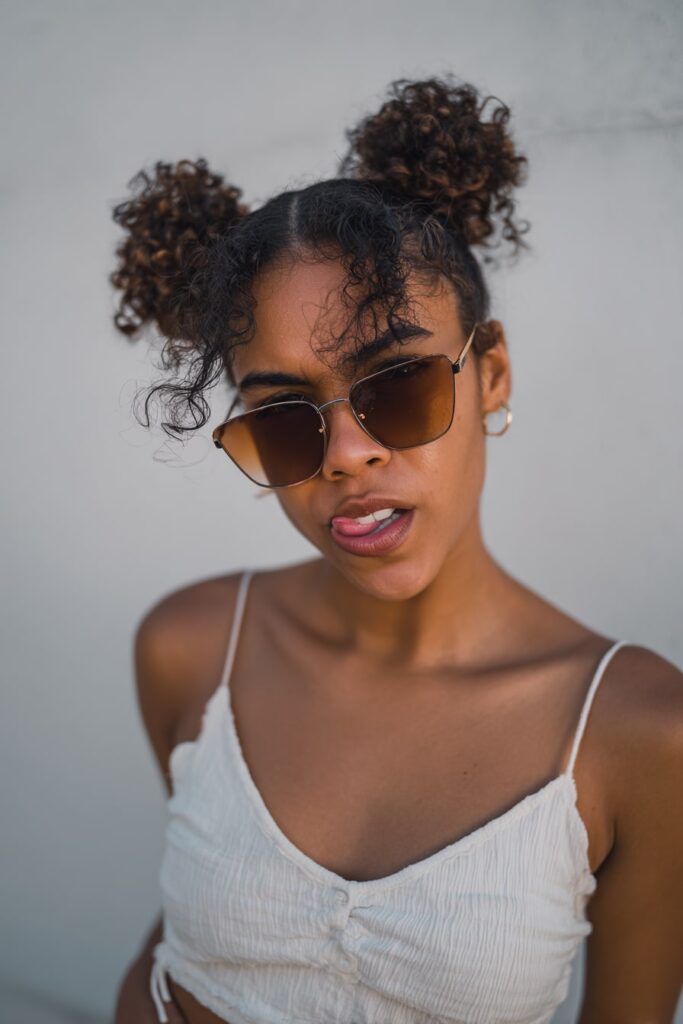
Space buns have quickly become one of my favorite playful summer hairstyles for medium hair, combining nostalgia with practical coolness. This Y2K-inspired double bun style has expanded from festival grounds to everyday wear, offering a fun alternative to traditional updos.
Space Buns Styling Steps
Creating space buns requires minimal tools but delivers maximum impact:
- Part your hair down the middle from forehead to nape using a fine-tooth comb
- Gather each section into high pigtails positioned symmetrically on your head
- Secure each pigtail with small elastics that match your hair color
- For added volume (especially with medium hair), lightly tease each pigtail
- Twist each pigtail away from your face, then wrap it around its base
- Secure each bun with another elastic or bobby pins
- Pull out face-framing pieces for a softer, messy look
- Finish with hairspray for all-day hold
Honestly, space buns look even better with second or third-day hair as natural oils provide extra grip.
Best Occasions for Space Buns
Surprisingly versatile, space buns transition across numerous settings:
- Music festivals and concerts—where they originated as a popular style
- Beach days—keeping hair controlled while adding personality
- Casual outings—perfect for shopping or coffee dates
- Gym sessions—functional yet stylish for workouts
For a more sophisticated take, try the half-up version by gathering just the top sections of hair into buns while leaving the rest down. This creates a more balanced look suitable for broader occasions.
Tips to Make Space Buns Last
From personal experience, these techniques ensure your space buns stay intact throughout summer activities:
Firstly, secure each bun with crossed bobby pins for maximum hold. Meanwhile, adding texturizing powder before styling creates grip that prevents slipping.
For summer heat battles, mist hairspray on the pins themselves before inserting. Additionally, lightweight hair nets wrapped around each bun provide invisible reinforcement.
Notably, embracing the gradually messier look works in your favor—space buns actually look better as they loosen slightly throughout the day.
Low Twisted Bun
Looking for an updo that brings timeless elegance with minimum effort? The low twisted bun has become my reliable companion for summer events and everyday wear. This classic style offers a sleek, polished appearance while keeping medium-length hair neatly secured away from your neck during hot weather.
Low Twisted Bun Styling Steps
Creating this sophisticated updo requires just a few minutes once you’ve mastered the technique:
- Gather your hair above your nape and secure it into a tight ponytail.
- Pinch and gently pull pieces around your crown to add volume and dimension.
- Pinch the top of your ponytail with your left hand as an anchor point.
- With your right hand, softly twist your ponytail clockwise two times.
- Begin wrapping your twisted ponytail counter-clockwise around your left index finger.
- Tightly twist the ends and continue wrapping under your bun.
- Remove your index finger to reveal the bun shape created.
- Hold the bun firmly against your head while securing with bobby pins around the outside.
- Finish with shine spray and a light mist of hairspray for all-day hold.
Best Occasions for Low Twisted Bun
The low twisted bun transitions beautifully between settings:
For weddings and formal events, this style exudes timeless elegance that complements fancy attire. Besides looking polished at professional meetings, it’s equally appropriate for casual outings. Overall, the versatility makes it perfect for hot summer days when you need something that looks intentional yet effortless.
Tips to Make Low Twisted Bun Last
Primarily, start with day-old hair or apply texturizing spray for better grip. Insert bobby pins by “wiggling” them as you push to ensure they’re secure. Accordingly, crossing pins in different directions creates maximum hold.
For added security, make a hole just above your elastic band, then pull the ponytail through to create additional tension. In brief, this twisted technique creates a bun that stays put through humidity and summer activities.
A stretchy hair tie (my favorites are from Gimme Beauty) provides the perfect foundation. Finally, embrace slight messiness—gently pulling pieces adds beautiful texture that actually helps the style last longer throughout the day.
French Twist with Claw Clip
The classic French twist remains a favorite in my summer hair rotation, especially when I can create it in seconds with just a claw clip. This timeless updo offers sophistication without the fuss—perfect for medium-length hair when temperatures soar.
French Twist Styling Steps
Creating this elegant style takes just 30 seconds once mastered:
- Brush through your hair to remove any tangles
- Gather all your hair at the nape like a low ponytail
- Twist your hair until half the length is tightly coiled (one twist for shorter hair, several for longer)
- Raise the twisted base upward against the back of your head
- Secure the top part of the twist against your scalp with a claw clip
- Let loose ends cascade over the twist for a softer finish
I’ve found that hooking my hair with one finger (for fine hair) or two fingers (for thick hair) around the base of the ponytail helps create that perfect coil. After experimenting with different techniques, I now twist my hair so it coils into itself, reaching elegantly around my crown.
Best Occasions for French Twist
This versatile style transitions beautifully across settings:
Formal events become instantly more elegant with a sleek French twist. Conversely, styled with loose curls cascading from the top, it creates a romantic look perfect for dinner dates. Throughout summer, I rely on this style for professional meetings, casual gatherings, and even beach days—simply switching my clip from professional to playful accordingly.
Tips to Make French Twist Last
For all-day hold even in summer heat:
Choose the right size clip—large clips work better for thick or wavy hair while smaller ones suit finer textures. Given that the clip does all the heavy lifting, invest in quality ones that won’t snap under pressure.
An open claw design lets your hair’s natural beauty shine through. Ultimately, starting with slightly “dirty” hair provides better grip than freshly washed strands.
As an added bonus, leaving a few face-framing pieces out softens the look while adding dimension that complements any summer outfit.
Side Braid Updo
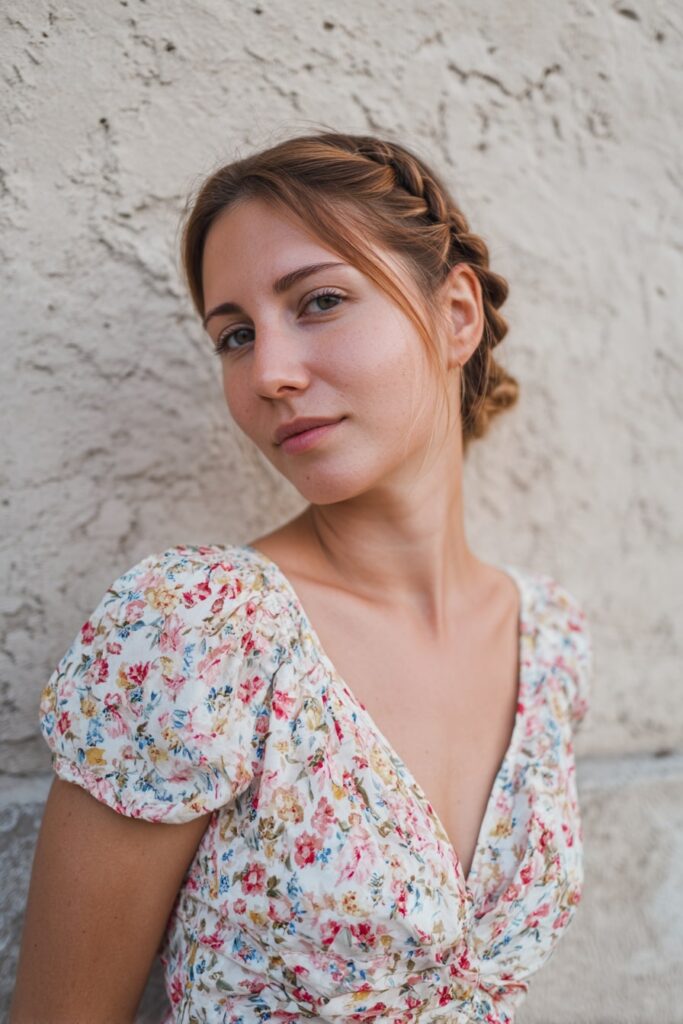
The side braid updo has always been my secret weapon for those sweltering summer days when I need something elegant yet practical. This versatile style combines the security of a braid with the sophistication of an updo, making it perfect for keeping medium-length hair off your neck while looking effortlessly stylish.
Side Braid Updo Styling Steps
Creating this stunning look is simpler than it appears:
- Start with a deep side part to create visual interest
- Grab a section of hair near your part at the front
- Divide this section into three strands and begin a Dutch braid (crossing strands under instead of over)
- Continue braiding, incorporating new hair from outside sections as you go
- Once you reach your ear, stop adding new hair and finish as a regular braid
- Secure the end with a clear elastic
- Gently pull apart your braid to create fullness and texture
- Gather all your hair (including the braid) into a low ponytail
- Twist into a messy bun at the nape of your neck
- Wrap your braid around the bun, tucking the end underneath
- Secure with bobby pins, crossing them for maximum hold
Best Occasions for Side Braid Updo
Obviously, this style works beautifully across various settings. For informal events, the side braid adds a relaxed yet put-together vibe. Typically, I wear mine to:
- Outdoor weddings and garden parties
- Summer dinner dates when I want to look polished
- Office days that transition to evening plans
- Boating or lakeside activities (it stays put remarkably well!)
Generally, any occasion where you need your hair to look intentional yet effortless makes this style shine.
Tips to Make Side Braid Updo Last
Importantly, starting with slightly “dirty” hair provides better grip and texture—this is one style that actually looks better on day two or three hair! Applying dry shampoo or texturing powder before braiding creates additional hold.
When securing with bobby pins, push them in and turn sideways rather than opening them—this technique ensures much stronger staying power. For humid days, a light mist of hairspray on your hands before smoothing any flyaways works wonders.
For active summer days, cross your bobby pins in different directions when securing the bun to distribute tension evenly and prevent slipping.
Textured Half-Updo
Half-up hairstyles offer amazing versatility, but adding texture elevates them to a whole new level of summer style. The textured half-updo has become my go-to option when I want my medium-length hair to look intentionally styled yet effortlessly cool.
Textured Half-Updo Styling Steps
Creating this charming style requires minimal effort with maximum impact:
- Start with day-old hair (it holds better) or apply texturizing spray to freshly washed locks
- Curl your hair with a 1″ wand, pulling each section as it cools to create soft waves
- Apply a small amount of hair oil to help sections glide smoothly
- Gather only the top layer of hair above your ears, leaving more hair down for a balanced look
- Twist the gathered section one full turn to the right, then push up slightly for volume
- Secure with bobby pins on both sides, crossing them for better hold
- Pinch and pull sections around your crown for added dimension
- Optional: Add your favorite hair clips or accessories for personal flair
Best Occasions for Textured Half-Updo
This versatile style transitions beautifully across settings:
- Casual everyday wear—perfect for keeping hair out of your face while still showcasing length
- Special occasions like weddings and proms—offers sophisticated styling without looking overly formal
- Beach days and outdoor activities—stays put remarkably well in summer conditions
- Office environments—strikes the right balance between professional and approachable
Tips to Make Textured Half-Updo Last
For all-day hold even in summer heat, I’ve discovered a few game-changing techniques. Specifically, applying volume powder before styling creates grip that prevents slipping. In reality, day-old hair works better than freshly washed strands for this style.
To maintain volume throughout the day, lightly tease the roots around your crown area. Yet I’ve found that using IGK Beach Club Volume and Texture Spray around your front hairline works wonders for added height. For extra security on humid days, spray hairspray directly onto your brush before bringing the sides back.
This half-up style truly gives you the best of both worlds—the freedom of wearing your hair down plus the practicality of keeping it off your face during hot summer days.
Sleek Low Ponytail

The sleek low ponytail exudes confidence unlike any other updo I’ve tried for summer. This ultra-polished style elevates my medium-length hair from everyday to elegant in minutes, offering a chic solution when temperatures rise. Currently, I’ve been reaching for this versatile updo more frequently, as it transitions seamlessly from day to night.
Sleek Low Ponytail Styling Steps
Creating this sleek look requires precision but not excessive time:
- Begin with the right foundation—either clean hair for maximum shine or 2-3 day hair for better grip
- Create your part (center parts look particularly chic, though side parts work beautifully too)
- Apply gel liberally to the top section where your hair will be slicked back
- Brush your hair smooth using a paddle brush or bristle brush, directing it toward the nape
- Secure with a hair tie at your desired height (I prefer mine low, just above the nape)
- For stubborn flyaways, use a recycled toothbrush with a small amount of gel to smooth baby hairs
- Finish with hairspray for lasting hold
Best Occasions for Sleek Low Ponytail
In comparison to other summer hairstyles, this style offers remarkable versatility:
This refined updo shines in professional settings, adding polish to business attire. Likewise, it creates a sophisticated foundation for evening events when paired with statement earrings. Henceforth, I’ve found it perfect for hot days when I want my makeup to take center stage—the sleek style beautifully showcases facial features while keeping hair contained.
Tips to Make Sleek Low Ponytail Last
To be sure your ponytail remains sleek throughout humid summer days:
For the purpose of maximum hold, apply got2b glued hairspray before styling, then smooth with a brush. Unfortunately, many ponytails loosen throughout the day, so I recommend strategic bobby pins placed horizontally for reinforcement. With this in mind, starting with slightly textured hair provides better grip than freshly washed strands.
For those with curly textures, refresh your ponytail curls with curl enhancer after securing the base. This style works with virtually any hair type when you have the right products and techniques.
Scarf-Wrapped Braid

Adding a silk scarf to braided hair creates a style that’s both functional and fashion-forward. I’ve fallen in love with scarf-wrapped braids as they instantly elevate my medium-length hair while providing that much-needed relief from summer heat.
Scarf-Wrapped Braid Styling Steps
Creating this eye-catching style takes just a few minutes:
- Start by brushing your hair thoroughly to remove tangles
- Secure a silk or satin scarf at the nape of your neck with a bobby pin
- Divide your hair into three sections, with the scarf forming part of one section
- Begin a standard three-strand braid, incorporating the scarf as your third strand
- Continue braiding down, keeping tension consistent throughout
- Secure the end with a clear elastic
- Gently pull on the edges of your braid to create volume
- Wrap any remaining scarf length around the elastic or let it hang freely
For a different take, try braiding your hair first, then wrapping the scarf around the finished braid for added texture and color.
Best Occasions for Scarf-Wrapped Braid
This versatile style transitions beautifully across settings:
- Beach days and outdoor activities – keeps hair controlled while adding personality
- Casual outings – perfect for errands or coffee dates
- Summer festivals – stays put despite dancing and heat
- Office environments – adds a professional yet creative touch to workwear
Primarily, I love this style for its ability to transform an ordinary day into something special. The pop of color from the scarf instantly brightens any summer outfit.
Tips to Make Scarf-Wrapped Braid Last
To ensure your scarf-wrapped braid stays perfect throughout the day:
Choose silk or satin scarves rather than cotton, as these materials won’t absorb moisture from your hair or cause friction. On account of this, your style will remain smoother longer. Apply a few drops of hair oil to the ends of each braid to prevent dryness and breakage.
For overnight protection, loosely wrap an additional scarf around your head before sleeping. As a result, you’ll wake up with your style intact and minimal frizz. Bobby pins strategically placed at the base and throughout the braid provide extra security for active summer days.
Bubble Braids
Bubble braids might be misnamed, but they’ve certainly earned their place in my summer hairstyle rotation. These aren’t traditional braids at all, but rather ponytails divided by elastics with puffed-out sections resembling bubbles. As someone with medium-length hair, I love how this modern style adds instant playfulness while keeping me cool.
Bubble Braids Styling Steps
Creating bubble braids is refreshingly simple:
- Prep your hair with texturizing spray or sea salt spray for better grip
- Secure your hair into a ponytail at your desired height (high, low, or even pigtails work beautifully)
- Place additional clear elastics every few inches down your ponytail, keeping equal distances between them
- Gently pull at each section between elastics to create that signature bubble effect
- Finish with lightweight hairspray to tame flyaways and add staying power
For medium hair, I find 4-5 evenly spaced bubbles creates the perfect look. You can adapt this style to half-up looks too—simply bubble just the top section while leaving the rest flowing.
Best Occasions for Bubble Braids
In essence, bubble braids offer remarkable versatility across summer settings:
- Music festivals and outdoor concerts—where they originated as popular styles
- Beach days—they control hair beautifully in sea breezes
- Casual everyday wear—adding interest to simple outfits
- Gym sessions—staying secure through workouts
What I appreciate most is how they deliver high visual impact with minimal effort. They look like you invested significant styling time while actually taking just minutes to create.
Tips to Make Bubble Braids Last
Through trial and error, I’ve discovered several techniques for extended wear:
First, begin with day-old hair rather than freshly washed for better grip. Similarly, applying dry shampoo or texturizing powder before styling creates additional hold that prevents slipping throughout the day.
Opt for silk scrunchies to minimize damage from multiple elastics. For active summer days, mist your hairspray directly onto pins or elastics before securing them. Lastly, embrace the gradually messier look—bubble braids actually improve as they loosen slightly throughout the day.
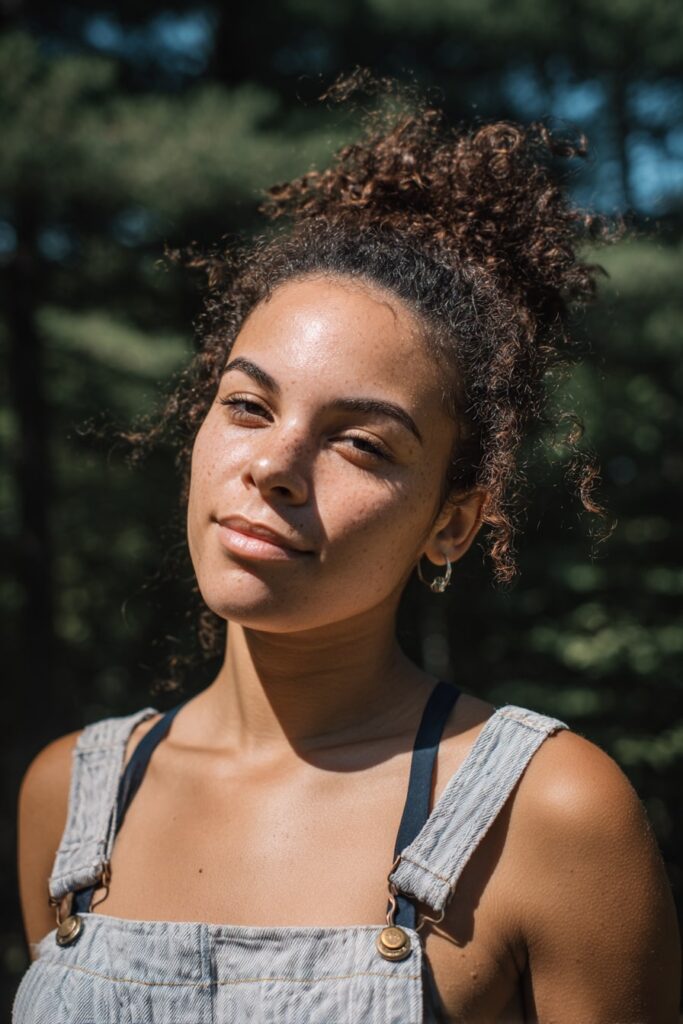
Curly Faux Updo
For those of us with natural texture, the curly faux updo offers the perfect summer solution that embraces rather than fights our curls. This effortless style creates the illusion of a full updo while actually leaving some hair down—ideal for medium-length curly hair that needs cooling relief without sacrificing volume.
Curly Faux Updo Styling Steps
- Start with slightly damp hair for better control (completely wet if creating curls first)
- Apply anti-frizz product like Olaplex No. 6 to prevent frizz in humid conditions
- Add a small amount of curl-defining cream throughout your hair
- Create a small “base” bun at the back of your head using a section from the middle
- Secure this foundation with a scrunchie or elastic band
- Take the remaining loose curls and gradually pin them to your base bun
- Pin each section loosely to maintain volume and texture
- Leave some curly pieces framing your face for a softer appearance
For an edgier variation, try slicking back the sides with gel while leaving curls on top for a curly faux-hawk effect.
Best Occasions for Curly Faux Updo
This versatile style transitions remarkably well between settings. Hence, I wear mine for:
- Formal events like weddings—the texture adds elegant dimension
- Romantic date nights—softer than a full updo but still sophisticated
- Professional meetings—polished yet shows personality
- Casual gatherings—comfortable without looking undone
In addition to these occasions, the faux updo works exceptionally well for summer parties when you want something that appears intricate without excessive styling time.
Tips to Make Curly Faux Updo Last
Start with slightly “dirty” hair or apply texturizing product for better grip. Often, applying dry shampoo to roots creates additional hold. As an alternative to traditional bobby pins, try crossing hairpins in X-patterns for stronger security.
Occasionally, I apply a small amount of oil to curly ends to prevent frizz throughout the day. For overnight longevity, sleep with a silk scarf or bonnet to minimize disruption to your style.
Ordinarily, embracing your hair’s natural texture makes this style more successful—don’t fight the curls, celebrate them!
Conclusion
Summer hair should never be a struggle. Throughout this article, I’ve shared my favorite updos that have saved me from the dreaded sweaty neck situation while keeping me looking stylish. Obviously, medium-length hair offers the perfect canvas for these versatile styles – not too short to limit your options, yet not so long that styles become unwieldy.
Certainly, finding your go-to summer hairstyle depends on your personal style and needs. Messy buns work wonderfully for casual days, while french twists and sleek ponytails transition seamlessly to more formal occasions. Additionally, styles like boho braids and space buns add that playful element perfect for summer adventures.
Most importantly, these updos require minimal tools and products. Generally, all you need are some quality elastics, bobby pins, and perhaps a texturizing spray to create styles that truly last all day. Essentially, the beauty of these hairstyles lies in their simplicity – they look intricate but take just minutes to create.
Remember that practice makes perfect. The first few attempts might not look Instagram-worthy, but don’t get discouraged! My first twisted crown updo looked nothing like what I can create now. Eventually, your fingers will develop muscle memory, making these styles second nature.
Last but certainly not least, summer hair should be fun and carefree. These updos give you freedom to enjoy warm weather activities without constantly fixing your hair. Whether you’re hitting the beach, attending a wedding, or simply running errands on a hot day, these styles keep you looking polished while feeling comfortable.
What’s your favorite summer updo? Try these styles and discover which ones become your seasonal staples. Summer hair has never been easier or more stylish!