
Have you ever felt overwhelmed by all the makeup steps you’re supposed to follow? When I first started applying makeup, I was completely confused about the right order, techniques, and products. However, I’ve learned that applying your favorite products the correct way can help you achieve the beauty look you crave and get the most out of your makeup.
In fact, mastering the basic makeup steps doesn’t have to be complicated. Throughout my journey, I’ve discovered that makeup is deeply personal – there’s no single “right way” to do it, just finding what works best for you. When it comes to successfully applying makeup that will last and look stunning, applying primer should always be your first step – skipping this priming step is actually one of the major sins of makeup application. From foundation to setting spray, understanding the essential makeup steps for beginners can transform your routine from intimidating to enjoyable. In this step-by-step guide, I’ll walk you through how to apply makeup in order, focusing on the fundamental techniques that will help you feel confident and look flawless.
Step 1: Prepping Your Skin for Makeup

Preparing your skin before applying makeup is the true foundation of any flawless look. I’ve learned through years of experience that what goes underneath your makeup matters just as much as the makeup itself. Think of your skin as a canvas—the smoother and healthier it is, the better your final creation will look.
Cleanse and moisturize for a smooth base
The journey to perfect makeup begins with thoroughly cleansed skin. Cleansing removes dirt, oil, and impurities that could potentially interfere with your makeup application. I always massage my cleanser into damp skin using gentle, circular motions before rinsing with lukewarm water.
After cleansing, moisturizing becomes your next crucial step. Many people ask me if they can skip this step—absolutely not! Moisturizer does two essential things: it smoothes your skin’s surface for more even foundation application and helps your makeup stay on longer. Additionally, applying foundation on dry skin can make it look cakey and unnatural.
I’ve found that choosing the right moisturizer for your skin type makes all the difference:
- For oily skin: Lightweight, oil-free formulations
- For dry skin: Richer, more hydrating options
Give your moisturizer a minute or two to fully absorb before moving forward. This patience pays off with makeup that applies more evenly and lasts throughout the day.
Importance of sunscreen in your routine
Sunscreen isn’t just for beach days—it’s an everyday essential in your makeup steps. According to skin experts, regular daily use of SPF 15 sunscreen can reduce your risk of developing squamous cell carcinoma by about 40 percent and lower melanoma risk by 50 percent. Beyond protection, it also helps delay signs of aging like wrinkles and age spots.
I always apply sunscreen after my moisturizer but before my makeup. The FDA recommends applying sunscreen approximately 15 minutes before heading outdoors. And remember—most makeup products with SPF don’t provide enough protection on their own. You need to apply about a nickel-sized dollop of sunscreen to your face for adequate coverage.
Perhaps the most crucial sunscreen tip I’ve learned: reapplication is key! For continued protection, sunscreen must be reapplied at least every two hours. This becomes challenging with makeup, which is why starting with a proper application is so important.
When to use primer and how to choose one
Primer is the final step in skin preparation before applying makeup. I consider it the bridge between skincare and makeup—not meant to be the first step in your beauty routine but definitely the first step in your makeup application.
What exactly does primer do? It creates an ideal canvas that holds onto foundation, concealer, and other makeup products. Modern primers don’t just smooth skin and keep makeup in place—they can also brighten, fade fine lines, target acne, and add moisture.
Choosing the right primer depends entirely on your skin concerns:
- For redness: Look for color-correcting primers
- For fine lines: Choose smoothing formulas
- For dry skin: Select hydrating options
- For oily skin: Consider mattifying formulas
A common mistake I made as a beginner was applying makeup too soon after primer. Always wait a full minute or more to allow primer to dry completely before applying foundation—this prevents pilling and patchiness.
Another tip from my experience: make sure your primer works well with your foundation. When they don’t complement each other, you often end up with thick, cakey-looking makeup or patchy spots. Finding this perfect match might require some experimentation, but the flawless finish is absolutely worth it.
Step 2: Creating a Flawless Base
Now that your skin is properly prepped, it’s time to create that flawless base that will carry your entire makeup look. I’ve discovered through years of experimentation that foundation is truly the cornerstone of makeup application—get this right, and everything else falls into place.
Choosing the right foundation for your skin type
Finding your perfect foundation match isn’t just about color—it’s primarily about selecting a formula that works with your unique skin type. For oily skin, I recommend oil-free, mattifying foundations that offer shine control and won’t clog pores. These typically come in powder or liquid-to-powder formulations that absorb excess oil throughout the day.
If you have dry skin like me, look for foundations labeled “hydrating,” “moisture-rich,” or “luminous.” Liquid and stick foundations with creamy consistencies provide the necessary hydration while evening out your skin tone.
Combination skin? You’re not alone! I’ve found that balanced foundations work best—neither too drying nor too dewy. Some people even use different formulations on different parts of their face for optimal results.
Testing is crucial. Match foundation to your jawline—if it disappears without blending, you’ve found your match! Remember: foundation’s purpose is to even out skin tone, not completely mask your natural complexion.
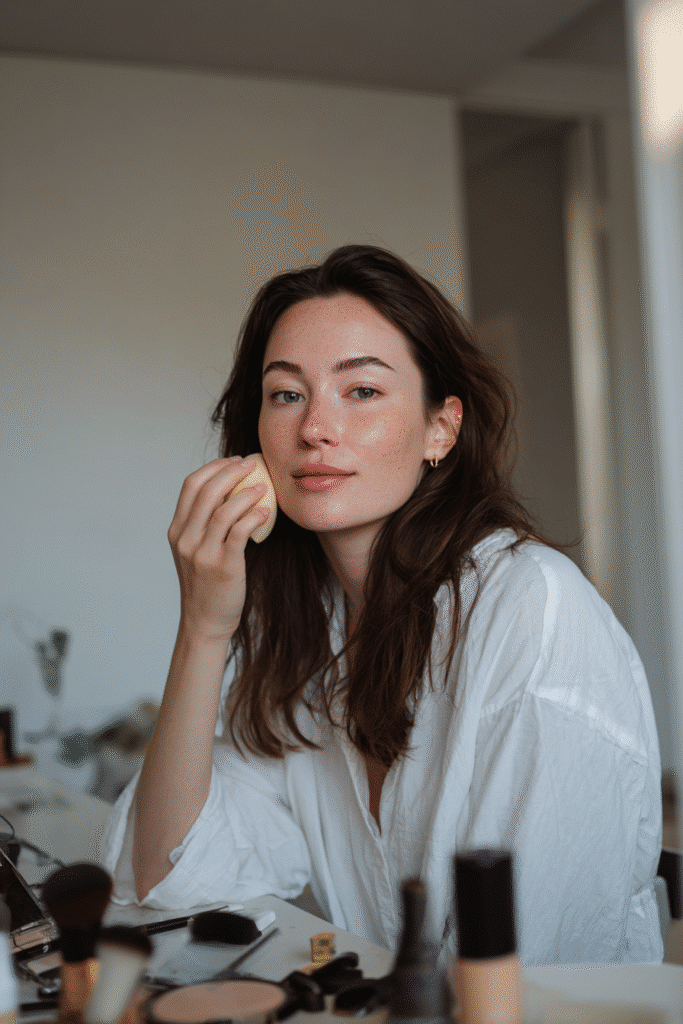
How to apply foundation evenly
Foundation application technique can make or break your look. I’ve learned to concentrate product where it’s most needed—typically the center of the face where redness and imperfections tend to appear more.
Start by applying small dots of foundation on each side of your nose, center of your forehead, and chin, then blend outward. This creates the most natural look while avoiding that dreaded line of demarcation along your jawline.
For application, remember this golden rule: stipple, don’t paint! Whether using fingertips, a brush, or sponge, gently tap the foundation into your skin rather than wiping or rubbing. This prevents streaking and creates a seamless finish.
“The warmth of the fingertips helps to make the skin and foundation melt together and appear as one,” explains makeup artist Florrie White. For a more full-coverage look, I prefer a foundation brush or damp beauty sponge.
Using concealer to brighten and correct
Contrary to what I initially thought, concealer generally works best after foundation. “When you apply concealer first, you run the risk of removing or messing with it when you sweep on your foundation,” explains makeup experts.
I typically use two shades of concealer: one matching my skin tone for blemishes and another slightly lighter for brightening my under-eye area. Apply concealer with a gentle tapping motion using your finger or a small brush, focusing on dark circles, redness, and any blemishes still visible after foundation.
For maximum brightening effect, place small dots of your lighter concealer under the eyes, down the center of your nose, on your forehead, and at the center of your chin. Gently blend into surrounding skin without disturbing your foundation.
Setting your base with powder
The final step in creating your flawless base is setting with powder. This crucial step prevents your foundation from rubbing off, reduces shine, and increases longevity.
For application, I use a large, fluffy powder brush, starting with a light coat all over my face. I focus more product on my T-zone, which tends to get shinier throughout the day. Press the bristles into the powder, then sweep across in long, arching strokes.
Most importantly, use a thin layer of setting powder and build as needed—this prevents that cakey, overdone look. For dry skin, I recommend a luminous setting powder that offers a more natural finish while still providing that crucial staying power.
Step 3: Adding Dimension to Your Face

After perfecting your base, it’s time to sculpt and define your features. I’ve discovered that adding dimension to your face creates that professional-looking makeup that seems to jump off Instagram feeds. Let me walk you through these essential makeup steps that transformed my routine.
Contouring basics for beginners
Contouring isn’t as intimidating as it seems! Essentially, contouring creates shadows to sculpt facial features, while highlighting brings areas forward. As a beginner, I recommend starting with a contour shade that has an olive undertone rather than orange, as olive tones create more believable shadows.
The key areas for contouring include the sides of your forehead along the hairline, the hollows of your cheeks, and under your jawline. I made a breakthrough when I learned to start at the perimeter of my face and work inward—never begin applying in the center!
Where and how to apply bronzer
Bronzer differs from contour as it’s designed to replicate a natural tan rather than create shadows. For the most natural-looking application, I focus on the “high planes” of my face—cheekbones, top of forehead along the hairline, and sometimes the bridge of my nose.
When applying, I use a large, fluffy brush that isn’t extremely dense. The technique that works best for me is constant movement—sweeping the brush in circular motions prevents those dreaded stripe-y lines. For a cohesive look, I always remember to apply bronzer to my neck and ears too!
Blush placement for a natural flush
Blush placement dramatically affects your overall look. My favorite technique is applying blush from the side of the apple of my cheek upward toward my temple—this creates a lifted, defined cheekbone that looks naturally sculpted.
For round faces, applying blush slightly higher on the cheeks creates a visually lifting effect. If you have a square face like me, focusing on the apples of your cheeks helps create the illusion of more rounded features. Furthermore, don’t forget this simple rule: blush application shouldn’t travel too close to your nose—use your pupils as a marker.
Highlighting key areas for glow
Highlighting brings your makeup look to life by catching light on the high points of your face. I focus on these key areas:
- Tops of cheekbones (blended toward temples)
- Brow bone (beneath eyebrows)
- Bridge of nose
- Cupid’s bow
- Inner corners of eyes
First thing to remember: less is more with highlighter! I learned the hard way that too much shimmer past my pupil creates unflattering shine when combined with my skin’s natural oils. A touch of highlight on these strategic points creates that coveted “lit from within” glow without looking overdone.
Step 4: Enhancing Eyes and Brows
The eyes truly are the windows to your soul, which is why enhancing them is one of my favorite makeup steps. I’ve discovered that even the simplest eye makeup can dramatically transform your overall look when done correctly.
Simple eyeshadow techniques for everyday looks
For everyday eyeshadow that wows without overwhelming, I stick to neutral shades applied strategically. Begin with a light matte shade all over your lid from lashes to browbone—this creates an even base that neutralizes discoloration. Next, apply a slightly deeper neutral tone into your crease for definition and blend thoroughly to soften any harsh edges. Simplicity is key here; less is often more, particularly for daytime looks.
How to apply eyeliner without smudging
Smudged eyeliner can ruin an otherwise perfect look. I’ve learned that choosing a long-wear, waterproof formula makes all the difference. Before application, I always prep my lids with setting powder to absorb excess oils that cause smudging. When drawing your line, use short, even strokes close to the lash line instead of trying to create one continuous stroke.
After application, set your eyeliner by dusting a matching eyeshadow over it—this creates a protective barrier against humidity and oils throughout the day. Despite perfect application, oily skin can still cause problems, consequently, I recommend using oil-absorbing sheets periodically to prevent midday smudging.
Mascara tips for longer lashes
My game-changing mascara tip? Always curl your lashes before application! This creates an instant lifting effect that opens up your eyes. When applying, place the wand at the base of your lashes and wiggle slightly before pulling upward. This coats lashes from root to tip for maximum length and definition.
For truly dramatic lashes, focus additional coats on the outer corners—this creates a beautiful, eye-enhancing effect. Meanwhile, hold the wand vertically when applying to lower lashes to avoid smudging.
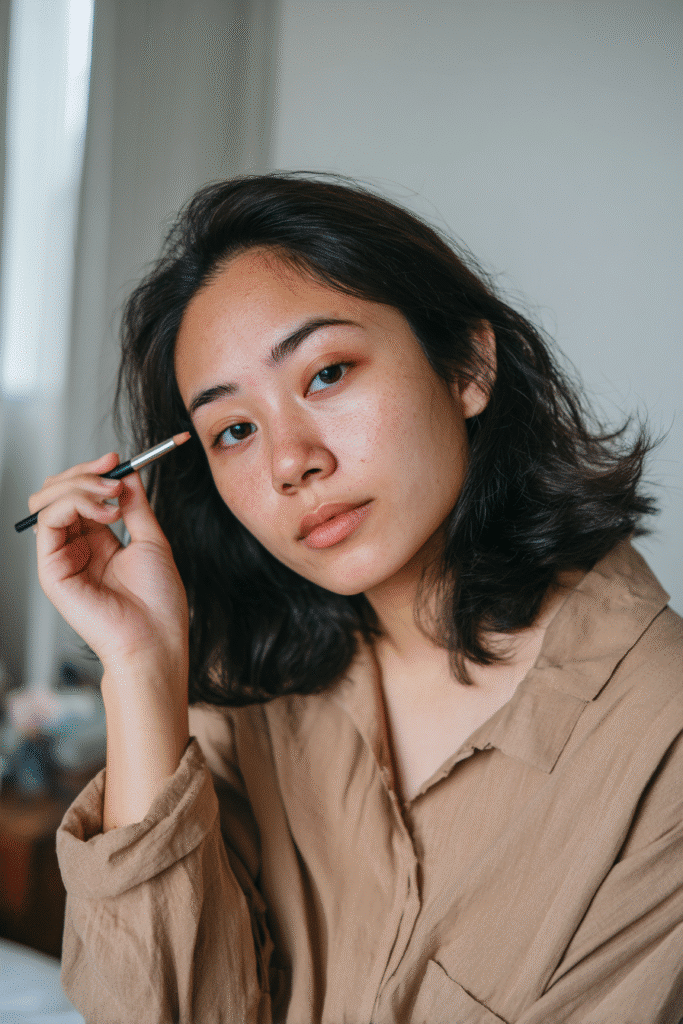
Filling and shaping your brows
Well-shaped brows frame your entire face. Start by brushing your brows upward with a spoolie to see their natural shape. Your brow should begin aligned with your nostril, arch at the outer edge of your iris, and end where a pencil placed against your nostril reaches the outer corner of your eye.
For filling sparse areas, I use light, feathery strokes that mimic natural hair growth. Importantly, always follow the direction of your natural hair growth—upward at the front, outward toward the tail. Finish by setting with a clear brow gel to keep everything in place throughout the day.
Step 5: Lips and the Final Touch
The final flourish to any makeup look comes with perfecting your lips and setting everything in place. These finishing touches can truly elevate your entire appearance when done correctly.
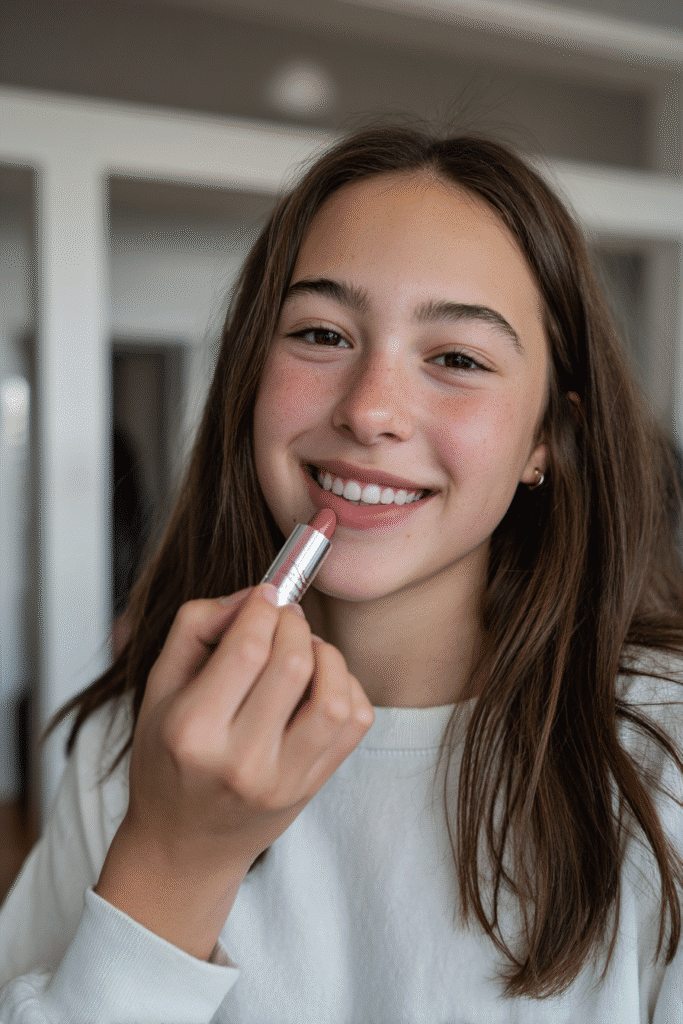
Choosing the right lip color for your look
Finding your perfect lip shade involves understanding your skin’s undertones. If your veins appear green, you likely have warm undertones—opt for golden or orange-based colors. For blue or purple veins, cool undertones pair beautifully with blue or purple-based shades. Those with neutral undertones enjoy the flexibility of most colors!
Your hair color matters too—blue eyes complement coral and peach tones, while brown eyes pop with deep reds and burgundies. Finally, consider your overall look—nude lips balance dramatic eye makeup, whereas softer eye makeup allows for bolder lip colors.
Using lip liner for definition
I never skip lip liner—even without lipstick! Liner prevents color bleeding and creates definition that makes lips appear fuller. For beginners, select a shade slightly darker than your lipstick or natural lip color.
Application tip: Start by creating a small ‘x’ at your cupid’s bow for precision, followed by short, light strokes along your lip line. For a natural effect, blend the edges inward with your finger using side-to-side motions. Fill in your entire lips with liner before applying lipstick for extended wear.
Setting spray vs. setting powder: what to use and when
Setting powder and spray serve different purposes yet complement each other perfectly. Powder absorbs excess oil and sets liquid makeup products, focusing primarily on your T-zone. Alternatively, setting spray creates a film that locks in your entire look, offering up to 16 hours of wear while helping powder products mesh seamlessly with skin.
For maximum longevity, apply setting powder after foundation and concealer, followed by setting spray as your absolute final step. Oily skin types benefit from both products, whereas dry skin may prefer setting spray alone for its hydrating properties.
Conclusion
Mastering makeup application certainly takes practice, but following these essential steps will set you on the path to creating beautiful looks every time. Throughout my journey, I’ve learned that makeup should enhance your natural beauty rather than mask it. After all, the most stunning looks come from understanding your unique features and working with them, not against them.
Remember that your skin preparation actually matters as much as the makeup itself. Taking time for proper cleansing, moisturizing, and priming creates the perfect canvas for everything that follows. Foundation becomes your second skin when matched correctly to both your skin tone and type. Likewise, strategic placement of contour, blush, and highlight brings dimension and life to your face.
The eyes frame your entire look, therefore investing in quality products and mastering simple techniques pays dividends. Additionally, well-defined lips complete your makeup with polish and purpose. Setting everything properly ensures your hard work lasts throughout the day.
Most importantly, makeup should feel fun and empowering! My biggest revelation came when I stopped following rigid rules and started adapting techniques to suit my preferences. Some days call for a full-face application, while others might need just concealer, mascara, and lip gloss. Your makeup journey belongs uniquely to you.
Start with these fundamentals, then adjust and experiment as you gain confidence. Soon enough, these steps will become second nature, allowing your creativity to truly shine. The satisfaction of mastering these techniques makes every minute spent practicing worthwhile. Your perfect makeup routine awaits!