DIY essential oil blends for face have completely transformed my approach to skincare, and I’m thrilled to share why. After years of watching clients struggle with commercial products filled with synthetic chemicals, I’ve discovered that natural alternatives can actually deliver impressive results.
I still remember my first homemade lavender and tea tree face mask—how it calmed my stressed skin while fighting breakouts at the same time. This personal discovery led me down a path of creating essential oil blends for skin that target specific concerns. Frankly, I’ve been amazed at how effectively these natural ingredients work.
The beauty of essential oils for face serum lies in their versatility. Frankincense improves skin elasticity while lavender reduces the appearance of wrinkles. Helichrysum specifically targets fine lines and blemishes, making it perfect for anti-aging. However, it’s important to remember that proper dilution is essential—I always recommend one drop of essential oil per teaspoon of carrier oil to prevent irritation.
Carrier oils like jojoba, argan, and rosehip are the unsung heroes in any DIY essential oil face moisturizer recipe. They not only help distribute the essential oils evenly but also enhance absorption and provide additional moisture. In this article, I’ll walk you through 15 essential oil face serum recipes that I’ve personally tested and refined over years of working with all skin types. From acne-fighting blends to deep hydration formulas, these natural solutions will give your skin exactly what it needs.
Glow-Boosting Citrus Serum

The first time I created a citrus-based facial serum, I was absolutely amazed by how it transformed my dull, winter-worn skin into a radiant canvas. As an essential oil enthusiast and skincare expert, I’ve found that citrus oils are particularly effective at delivering that coveted natural glow that many of my clients desperately seek.
Glow-Boosting Citrus Serum benefits
Citrus essential oils are powerhouses of skin-loving benefits. First and foremost, they’re rich in vitamin C, which plays a crucial role in collagen synthesis and promotes healthy skin cell regeneration. This makes them particularly effective for preventing and reducing signs of aging.
Furthermore, these oils possess impressive antioxidant properties that help neutralize free radicals—those destructive molecules that damage skin cells from exposure to UV rays and environmental toxins. Studies have shown that regular application of vitamin C can significantly improve fine wrinkles, texture, and skin tone of photodamaged skin by approximately 68-74% after three months.
Indeed, citrus oils work as natural brighteners by inhibiting excessive melanin production, effectively reducing dark spots and hyperpigmentation. Their antimicrobial and antibacterial properties also make them excellent for oily and acne-prone skin types.
Glow-Boosting Citrus Serum ingredients
For this radiant-boosting blend, you’ll need:
- 1 tsp vitamin C powder
- 4 tsp distilled water
- ¼ tsp organic vegetable glycerin
- ¼ tsp pure organic aloe vera
- 5 drops sweet orange essential oil
- 5 drops bergamot essential oil
- 5 drops lemon essential oil
- 1 tsp vitamin E oil
- Dark amber glass bottle with dropper
Each ingredient serves a specific purpose—vitamin C brightens and promotes collagen production, aloe soothes and hydrates, while vitamin E neutralizes free radicals. The citrus oils provide antimicrobial benefits while delivering that refreshing, mood-lifting aroma.
How to make Glow-Boosting Citrus Serum
I’ve perfected this simple process through years of experimentation:
- In a small bowl, combine the vitamin C powder with distilled water and whisk until completely dissolved.
- Add the glycerin and aloe vera, blending thoroughly.
- Carefully add your citrus essential oils—I suggest using therapeutic grade oils for safety and efficacy.
- Finally, mix in the vitamin E oil, which not only benefits skin but acts as a natural preservative.
- Transfer your serum to a dark amber bottle using a small funnel to prevent oxidation.
Apply 5-7 drops to clean skin in the evening only. Since citrus oils can increase photosensitivity, never use this serum before sun exposure. Store in the refrigerator for maximum freshness, though it will only last about two weeks.
Hydrating Avocado & Helichrysum Mask
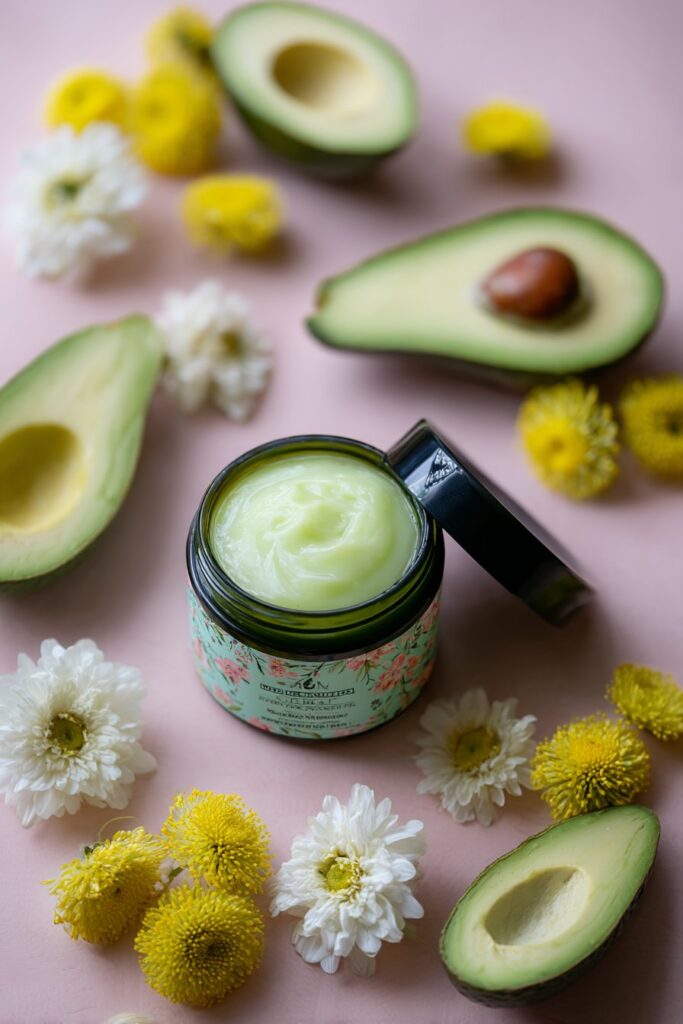
After struggling with dry skin during a particularly harsh winter season, I discovered the incredible hydrating power of avocado combined with Helichrysum essential oil. This mask became my secret weapon whenever my clients complained about parched, flaky skin that wouldn’t respond to conventional moisturizers.
Hydrating Avocado & Helichrysum Mask benefits
Often called the “immortal flower,” Helichrysum has earned its reputation through its exceptional rejuvenating properties for the skin. When I apply this mask to my clients’ faces, the transformation is remarkable—skin instantly appears more supple and refreshed.
The rich fatty acids in avocado create a protective barrier on the skin’s surface, preventing moisture loss and keeping hydration locked in. These omega-3 and omega-6 fatty acids penetrate deeply into the skin, delivering nourishment where it’s needed most.
Moreover, the antioxidants and vitamins in avocado (especially vitamins A, C, and E) help combat free radical damage, reducing inflammation and redness. In addition, honey’s natural antibacterial properties make this mask particularly beneficial for those dealing with acne, eczema, or psoriasis alongside dryness.
Hydrating Avocado & Helichrysum Mask ingredients
For this luxurious DIY essential oil blend for face, you’ll need:
- 1 teaspoon raw honey (acts as a natural humectant)
- 1 teaspoon coconut oil or jojoba oil (I personally prefer jojoba for its similarity to natural skin oils)
- ¼ ripe avocado (the riper, the better for smooth application)
- 2 drops Helichrysum essential oil
How to make Hydrating Avocado & Helichrysum Mask
I’ve perfected this simple process to ensure maximum benefits:
- Mash the avocado until completely smooth—lumps make application difficult!
- Add the honey and your choice of carrier oil, mixing thoroughly.
- Carefully incorporate the Helichrysum essential oil drops and blend well.
- Cleanse your face first with a gentle, non-toxic cleanser.
- Apply the mask evenly to your face and neck using your fingertips.
- Allow it to sit for 15 minutes while the nutrients absorb.
- Rinse off completely with warm water.
- Follow with your favorite moisturizer to seal in hydration.
For enhanced results, I sometimes recommend placing the mask in the refrigerator for a few minutes before application. The cool temperature helps reduce pores and temporarily diminishes the appearance of fine lines and wrinkles. This essential oil face serum recipe has become a staple in my professional kit, especially when working with clients who have mature or significantly dehydrated skin.
Anti-Aging Frankincense & Rose Blend
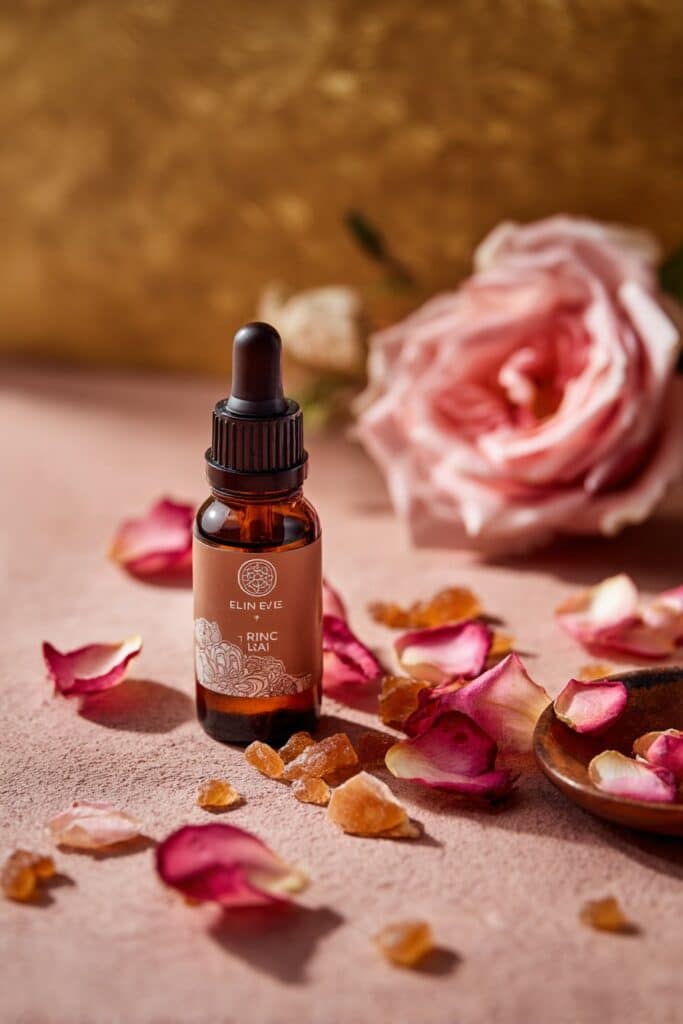
Among all the essential oil combinations I’ve worked with over the years, frankincense and rose remain my ultimate luxury pairing for aging skin concerns. As someone who works with diverse skin types daily, I’ve seen firsthand how this royal duo delivers remarkable results for mature skin.
Anti-Aging Frankincense & Rose Blend benefits
Frankincense essential oil truly deserves its reputation as the “King of Oils.” It contains powerful rejuvenating properties that minimize the appearance of wrinkles and fine lines while reducing scars and blemishes. The astringent quality creates an overall toning effect that visibly tightens loose skin.
Additionally, frankincense contains boswellic acid, which gives it anti-inflammatory and skin-healing properties. Over time, I’ve observed how it helps protect against UV damage and promotes collagen production in aging skin.
Rose essential oil—often called the “Queen of Oils”—works in perfect harmony with frankincense. Beyond its heavenly scent, rose oil calms and deeply hydrates the skin while improving overall tone. Together, these oils create a powerful synergy that fights signs of aging from multiple angles.
Anti-Aging Frankincense & Rose Blend ingredients
For this luxurious blend, you’ll need:
- 15ml jojoba oil (mimics your skin’s natural sebum)
- 15ml macadamia nut oil (rich in fatty acids)
- 5 drops vitamin E oil (preservative and antioxidant)
- 10 drops frankincense essential oil
- 7 drops rose essential oil
How to make Anti-Aging Frankincense & Rose Blend
The preparation process is straightforward yet precise:
- Start with a clean, dark amber glass bottle with dropper—this protects your precious oils from light degradation.
- Pour in your carrier oils—jojoba and macadamia nut—which create the perfect base.
- Carefully add vitamin E oil, which not only preserves your blend but also fights free radicals.
- Subsequently, add your essential oils one by one, counting drops precisely.
- Seal the bottle and gently roll between your palms to blend.
For best results, apply 5-7 drops to clean, slightly damp skin each night before bed. Naturally, results improve with consistent use—you’ll notice smoother, firmer skin within weeks.
Tea Tree & Lavender Acne Spot Serum

My client Sarah walked in with tears in her eyes, desperate to find something—anything—that would help her painful cystic acne. This experience led me to create my go-to Tea Tree & Lavender Acne Spot Serum, a powerful DIY essential oil blend for face that has since rescued countless clients from their skin struggles.
Tea Tree & Lavender Acne Spot Serum benefits
First and foremost, tea tree oil contains powerful antibacterial properties thanks to its terpenes, which directly combat acne-causing bacteria on the skin. Research has shown that tea tree oil can be just as effective as benzoyl peroxide for treating acne, yet causes fewer side effects. One study found that after applying tea tree oil, bacteria were completely eradicated within 4-6 hours.
Consequently, lavender essential oil works synergistically with tea tree oil by calming inflammation and reducing redness that typically accompanies breakouts. The combination specifically targets C. acnes and S. aureus bacteria while simultaneously soothing irritated skin.
Generally, clients report seeing their blemishes vanish within 1-3 days of consistent use. One user described it as “like WWE on acne,” noting how it shortened healing time by approximately a week.
Tea Tree & Lavender Acne Spot Serum ingredients
For this potent blend, you’ll need:
- 1 ounce jojoba or fractionated coconut oil (these won’t clog pores)
- 6 drops lavender essential oil
- 5 drops tea tree essential oil
- 1 drop geranium essential oil (optional but enhances effectiveness)
- Dark amber glass bottle with dropper
I’ve found jojoba oil works best as the carrier since it mimics your skin’s natural sebum, making it ideal for oily and acne-prone skin types.
How to make Tea Tree & Lavender Acne Spot Serum
- Pour your chosen carrier oil into a clean amber glass bottle (protects essential oils from light degradation)
- Carefully add the essential oils in the order listed above
- Tightly close the bottle and gently roll between your palms to mix the oils
- Allow the blend to sit for 24 hours before first use to let the oils fully incorporate
Apply a tiny amount directly to blemishes up to twice daily, always avoiding your eyes, lips, and nostrils. If you experience any irritation, discontinue use immediately.
In essence, this serum has become my secret weapon for clients struggling with stubborn acne. I’ve watched it transform not just their skin, but their confidence too.
Geranium & Baking Soda Exfoliating Scrub
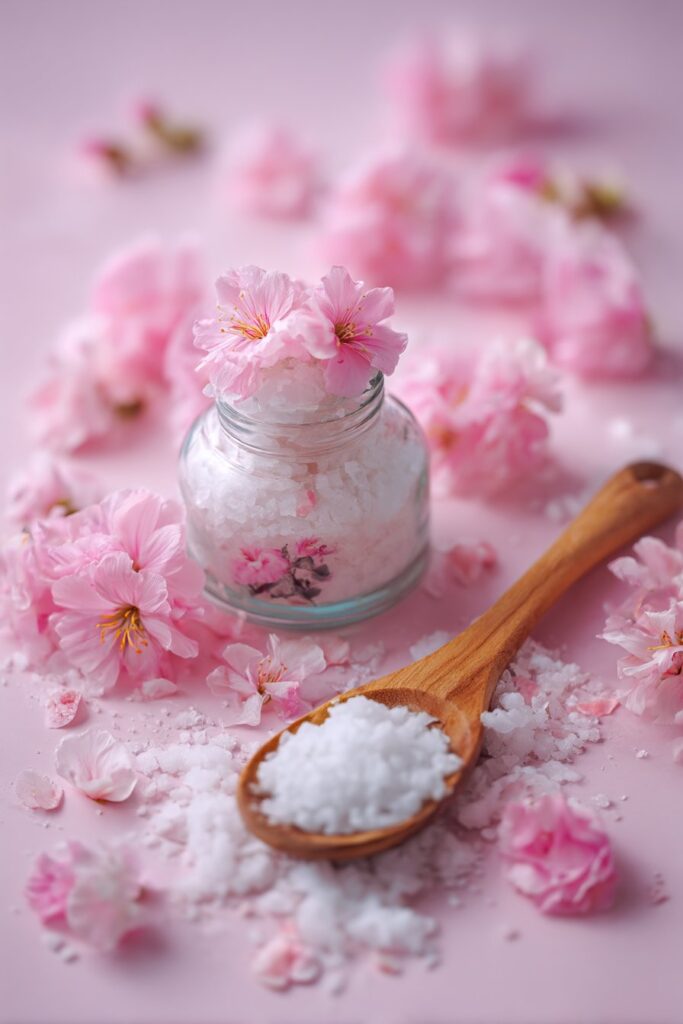
Exfoliation changed everything for my skincare routine, and this Geranium & Baking Soda Exfoliating Scrub has become my client’s most requested treatment. Growing up in Savannah, I learned early that proper exfoliation is key to maintaining that Southern belle glow, regardless of skin type.
Geranium & Baking Soda Exfoliating Scrub benefits
Geranium essential oil offers remarkable anti-inflammatory properties that effectively calm irritated skin and reduce redness. Throughout my years as a makeup artist, I’ve witnessed its antibacterial and antimicrobial powers transform troubled skin by treating acne breakouts and various inflammations.
The real secret weapon, nevertheless, is baking soda. This humble kitchen ingredient enhances the scrub’s pore-cleansing and exfoliating abilities while balancing your skin’s pH levels. My clients are always shocked when I reveal that baking soda helps clear blackheads, tightens pores, mattifies oily skin, and creates that coveted natural glow.
Geranium & Baking Soda Exfoliating Scrub ingredients
For this refreshing DIY essential oil blend for face, you’ll need:
- 1 tablespoon baking soda (the primary exfoliant)
- 1/2 tablespoon raw honey (for binding and antibacterial properties)
- 2 drops geranium essential oil
- 1 tablespoon fractionated coconut oil (optional for added moisture)
How to make Geranium & Baking Soda Exfoliating Scrub
- In a small bowl, combine baking soda and honey until it forms a paste-like consistency.
- Add geranium essential oil drops and mix thoroughly.
- If your skin needs extra hydration, incorporate the coconut oil.
- Store in a sealed container away from moisture.
To apply this DIY essential oil for face, gently massage a small amount onto damp skin using circular motions for 3-5 minutes. Be gentle—this allows the essential oils to work their magic while removing dead skin cells. Rinse with warm water and expect some temporary redness that will fade, revealing softer, clearer skin.
Initially, I created this for a client with persistent blackheads, and her transformation convinced me to add it to my professional kit permanently. Use this scrub only 1-2 times weekly—over-exfoliation can damage your skin barrier.
Yarrow|Pom Youthful Glow Serum
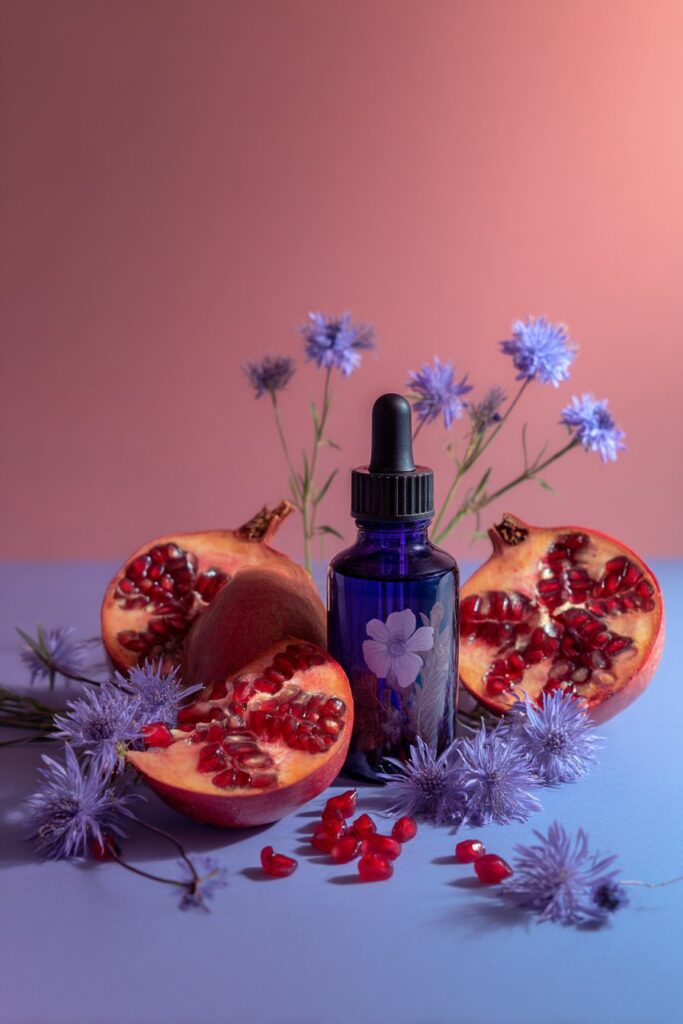
In my search for the perfect youth-restoring blend, I stumbled upon what I now consider the crown jewel of my essential oil collection—Yarrow|Pom. This distinctive blue oil completely changed how I approach anti-aging formulations, both for myself and my celebrity clients.
Yarrow|Pom Youthful Glow Serum benefits
First of all, this essential oil duo delivers remarkable anti-aging results that surpass many commercial products I’ve tested. Yarrow essential oil revitalizes aging skin while promoting youthful elasticity. What makes this oil truly special is its distinctive deep blue color, stemming from the chamazulene compound—a powerful antioxidant that supports cell health.
Even more impressive, cold-pressed pomegranate seed oil prevents the normal breakdown of skin proteins that naturally occurs with aging. This oil is uniquely rich in punicic acid (an omega-5 fatty acid) that effectively supports your skin’s natural barrier.
I witnessed this blend’s effectiveness when preparing a client for an awards ceremony last year. Despite her jet lag and stressed skin, the Yarrow|Pom serum restored her natural glow within minutes—everyone asked about her skincare secret backstage!
Yarrow|Pom Youthful Glow Serum ingredients
To create this luxurious DIY essential oil blend for face, you’ll need:
- 1 tablespoon jojoba oil (mimics natural skin sebum)
- 1 tablespoon argan kernel oil (for deep moisturizing benefits)
- 5 drops Yarrow|Pom essential oil
- 2 drops Roman Chamomile essential oil (soothes skin)
- 1 drop Peppermint essential oil (provides cooling effect)
- Small amber glass bottle with dropper
How to make Yarrow|Pom Youthful Glow Serum
- Pour both carrier oils into your amber glass bottle
- Add essential oils in the order listed above
- Secure the cap and gently roll between your palms to blend
- Store at room temperature away from direct sunlight
Apply mornings and evenings after cleansing. Shake gently before each use, then massage 2-3 drops onto your face and neck using upward circular motions. For enhanced results, I recommend using this serum consistently for at least 30 days—your skin will thank you with improved texture, firmness, and that coveted natural glow that my clients in Savannah always admired.
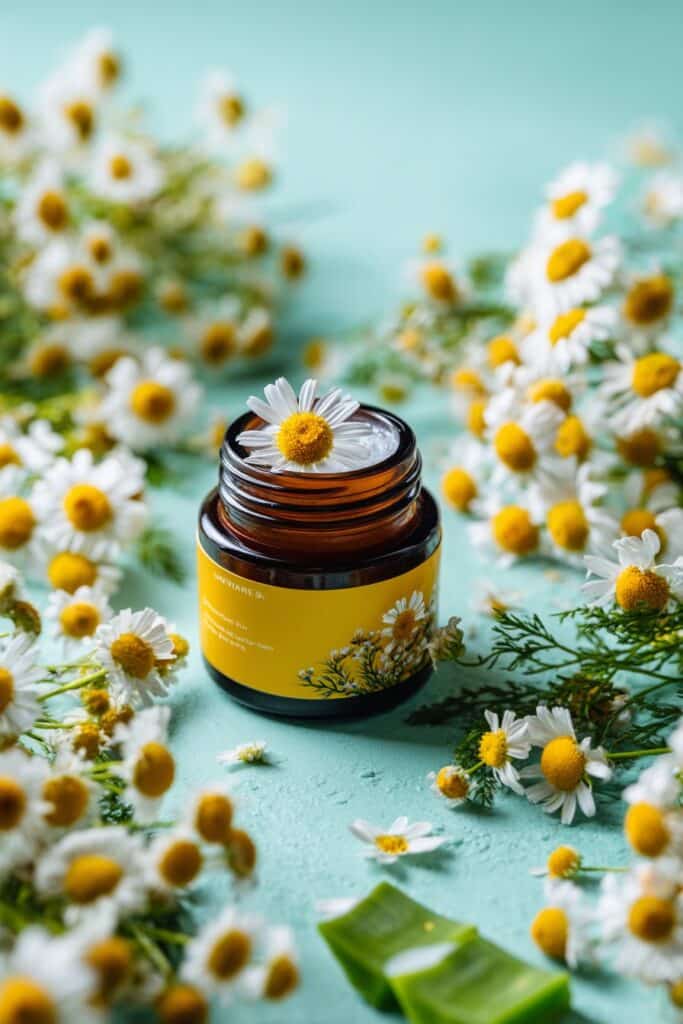
Chamomile & Aloe Calming Gel
Throughout my years as a skincare professional, nothing has proven more effective for calming irritated skin than my Chamomile & Aloe Calming Gel. I first created this blend while working with a client who had extremely sensitive skin that reacted to virtually everything—yet this gentle formulation not only soothed her redness but restored her confidence.
Chamomile & Aloe Calming Gel benefits
Chamomile works wonders as a natural healer, helping to ease pain and discomfort associated with irritated skin. Its powerful anti-inflammatory properties effectively reduce visible redness and inflammation. As an antioxidant powerhouse, chamomile contains apigenin that explains its remarkable effects on troubled skin.
Notably, aloe vera provides deep hydration while simultaneously calming and quenching dry, damaged, and irritated skin. The combination creates a potent remedy that works for all skin types but is especially beneficial for sensitive complexions.
For many of my clients in Savannah, this blend has been life-changing. Whether dealing with sunburn, allergic reactions, or post-treatment sensitivity, this gel delivers cooling relief almost immediately upon application.
Chamomile & Aloe Calming Gel ingredients
To create this soothing DIY essential oil blend for face, gather:
- 2 tablespoons pure aloe vera gel
- 2 tablespoons chamomile-infused water
- 5 drops German chamomile essential oil
- 3 drops blue yarrow essential oil (optional)
- 1/2 teaspoon jojoba oil
- Small amber glass jar for storage
How to make Chamomile & Aloe Calming Gel
- Brew strong chamomile tea using two tea bags in 1/4 cup hot water. Allow to cool completely.
- In a small bowl, combine aloe vera gel with 2 tablespoons of the cooled chamomile tea.
- Carefully add the essential oils, counting drops precisely.
- Mix in jojoba oil, which helps preserve the blend while adding extra moisture.
- Transfer to your amber glass jar and store in the refrigerator.
Apply a thin layer to clean skin whenever it feels irritated or inflamed. The cooling sensation provides immediate relief, while the healing properties work their magic underneath. I often recommend storing it in the refrigerator between uses—the extra chill factor enhances its soothing abilities.
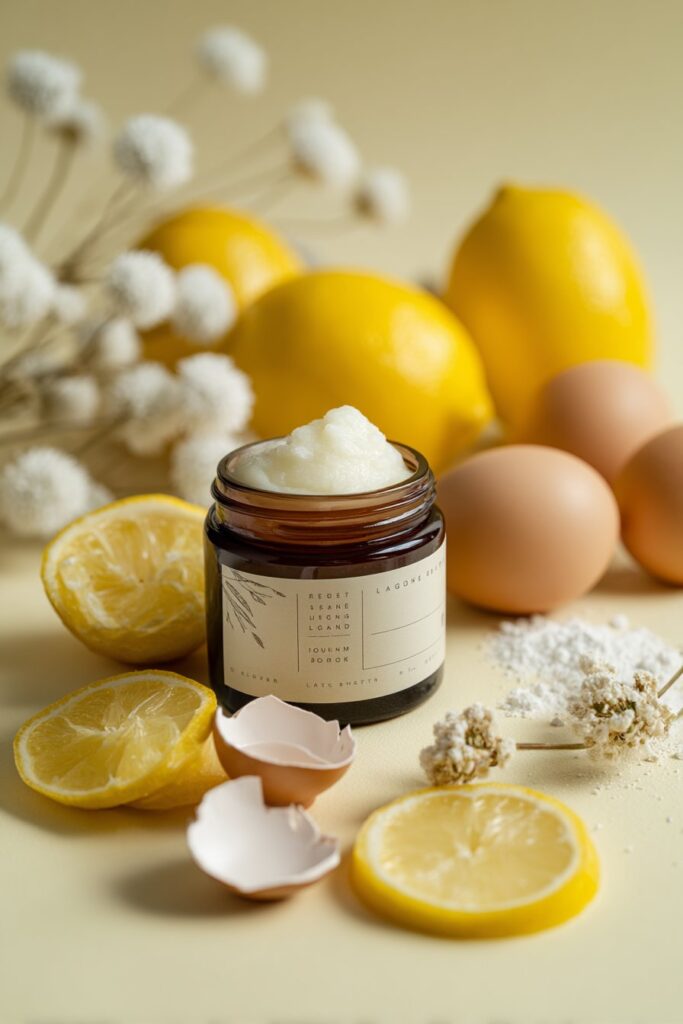
Lemon & Egg White Brightening Peel
One skincare secret I’ve kept in my professional kit since my early days in Savannah involves the most basic ingredients found in any kitchen. After seeing clients spend hundreds on brightening treatments, I discovered that egg whites and lemon juice create a facial peel that rivals expensive salon procedures.
Lemon & Egg White Brightening Peel benefits
This natural peel works wonders for multiple skin concerns. Egg whites contain protein called albumin that tightens and firms the skin while simultaneously reducing the appearance of enlarged pores. Naturally, this protein helps promote collagen production, improving skin elasticity over time.
Lemon juice, meanwhile, acts as a natural bleaching agent that lightens dark spots and hyperpigmentation. Its vitamin C content brightens the complexion while its astringent properties kill acne-causing bacteria. The citric acid gently exfoliates, removing dead skin cells and promoting cell turnover for a fresher appearance.
Adding honey to this mixture provides antibacterial properties alongside much-needed hydration, making this peel suitable even for those with sensitive skin.
Lemon & Egg White Brightening Peel ingredients
To create this brightening DIY essential oil for face, you’ll need:
- 1 egg white
- ½ tablespoon fresh lemon juice
- ½ tablespoon raw honey
How to make Lemon & Egg White Brightening Peel
- Separate the egg white from the yolk and place it in a small bowl.
- Add fresh lemon juice and raw honey to the egg white.
- Whisk everything together thoroughly until it becomes frothy – this usually takes about 2 minutes.
- Cleanse your face with warm water before application.
- Apply a thin, even layer to your face using a clean facial brush or cotton pad, avoiding the eye area.
- Allow the mask to dry completely (about 15-20 minutes) – you’ll feel it tightening on your skin.
- Rinse thoroughly with warm water using gentle circular motions.
For optimal results, use this peel once weekly or once every two weeks. I often apply this on clients before major events – the immediate tightening effect makes their makeup application flawless. Given that lemon is acidic, always perform a patch test if you have sensitive skin and never use this before sun exposure.
Myrrh & Clary Sage Night Repair Oil

Ancient beauty wisdom meets modern skincare science in my favorite nighttime repair oil. After developing this blend for a client with mature skin concerns, I’ve made it a permanent part of my bedside routine. The transformative power of myrrh and clary sage working overnight has left me (and my clients) amazed by the results.
Myrrh & Clary Sage Night Repair Oil benefits
Myrrh essential oil has been treasured since Arabian times for its remarkable skin-healing abilities. As a powerful antioxidant, it protects against aging and environmental damage while you sleep. Historically, myrrh was specifically used for treating wrinkles and chapped skin—issues I frequently address with my clients.
Alongside myrrh, clary sage brings extraordinary benefits to this nighttime blend. It effectively alleviates temporary redness and balances your skin’s natural oil production. Primarily, I’ve found it works wonders for my clients experiencing hormonal skin changes or sensitivity.
Together, these oils create a potent overnight treatment that promotes youthful elasticity, soothes irritation, and repairs daily damage. Unlike many commercial products, this natural blend works with your skin’s overnight renewal cycle.
Myrrh & Clary Sage Night Repair Oil ingredients
For this rejuvenating blend, you’ll need:
- 2 tablespoons jojoba oil (mimics your skin’s natural sebum)
- 1 tablespoon rosehip seed oil (rich in essential fatty acids)
- ¼ teaspoon vitamin E oil (natural preservative)
- 2 drops myrrh essential oil
- 2 drops clary sage essential oil
- One dark 2-ounce glass dropper bottle
How to make Myrrh & Clary Sage Night Repair Oil
- Pour jojoba oil, rosehip seed oil, and vitamin E into your glass dropper bottle
- Carefully add the essential oils
- Secure the cap and gently roll between your palms to blend
- Allow the mixture to synergize overnight before first use
Apply ¼ to ½ dropper full to clean face and neck each night. Accordingly, I recommend performing a patch test first, as essential oils are potent—I always dilute mine to less than 1% concentration for facial use. This divine-smelling oil has become my nightly ritual, repairing and restoring my skin while I sleep.
Cypress & Tea Tree Pore-Tightening Serum
Large pores have always been a common concern among my clients, which inspired me to create this powerful Cypress & Tea Tree Pore-Tightening Serum. As someone who’s worked with all skin types throughout my career, I’ve found this combination to be remarkably effective for those struggling with enlarged pores and excess oil production.
Cypress & Tea Tree Pore-Tightening Serum benefits
Cypress essential oil functions as a natural astringent, effectively drawing out excess oil and constricting the skin to visibly reduce the appearance of prominent pores. Certainly, it’s gentler than harsh alternatives like witch hazel, making it ideal for sensitive yet oily complexions. Its antibacterial properties help combat bacteria in the pores when excess sebum has been produced.
Tea tree oil works synergistically by penetrating deeply into pores and sebaceous glands. Hence, it’s particularly effective for oily, acne-prone skin because it can cut through those greasy plugs of dead skin cells that repel water. Besides clearing blockages, it eliminates acne-causing bacteria from hair follicles, preventing future breakouts.
Together, these oils create a powerful yet balanced solution that tightens, purifies, and mattifies the skin without causing excessive dryness.
Cypress & Tea Tree Pore-Tightening Serum ingredients
For this effective DIY essential oil blend for face, you’ll need:
- 1 ounce jojoba oil (mimics natural sebum without clogging pores)
- 8 drops cypress essential oil
- 5 drops tea tree essential oil
- 1 drop geranium essential oil (optional, helps balance oil production)
- Small amber glass bottle with dropper
How to make Cypress & Tea Tree Pore-Tightening Serum
Firstly, pour the jojoba oil into your amber glass bottle—the dark glass protects the essential oils from light degradation. Following that, carefully add each essential oil, counting drops precisely. Cap the bottle tightly and gently roll between your palms to blend the oils thoroughly.
For application, cleanse your face thoroughly, then apply 3-5 drops of the serum to your T-zone and other areas with enlarged pores. Gently press and pat rather than rubbing. Use morning and evening for best results.
I often recommend this serum to my clients who work under hot lights, as it helps maintain a shine-free, camera-ready complexion throughout long shooting days.
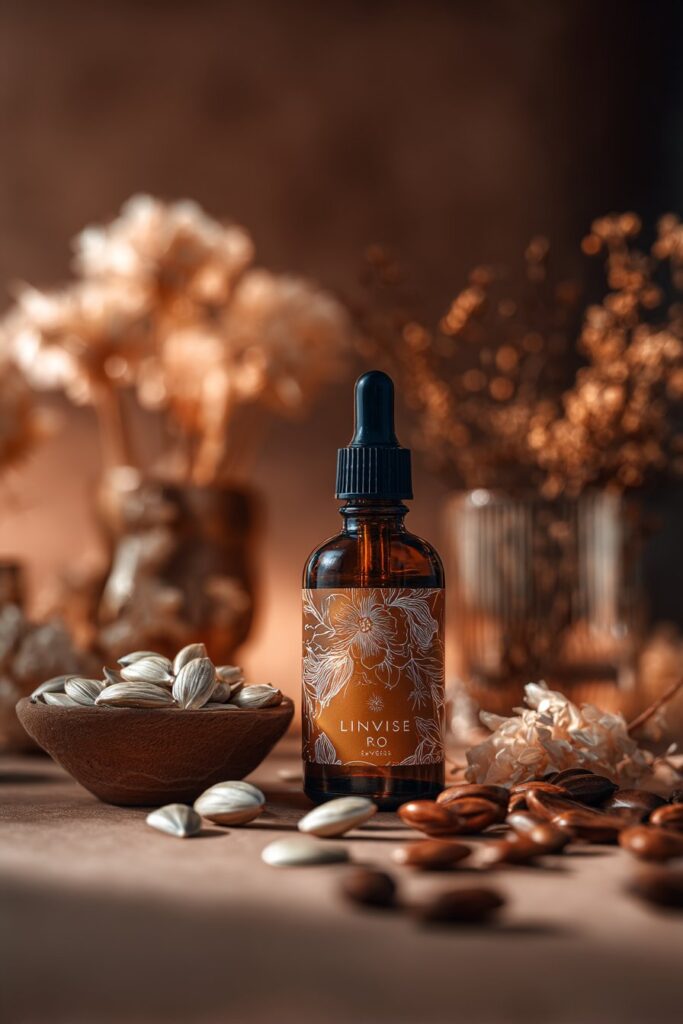
Rosehip & Vitamin E Scar Fading Blend

Scars have been a consistent concern among my clients for years, which led me to develop this powerful Rosehip & Vitamin E Scar Fading Blend. One client in particular—a young woman with acne scarring who avoided social situations—inspired me to perfect this formula. Watching her confidence bloom as her scars faded has been one of my most rewarding experiences as a makeup artist.
Rosehip & Vitamin E Scar Fading Blend benefits
Rosehip oil is truly extraordinary for scar treatment. Rich in essential fatty acids and powerful antioxidants, it excels at tissue and cell regeneration in the skin. In fact, a 2015 study showed participants who applied rosehip oil twice daily to post-surgical scars experienced significant improvements in scar color and inflammation after just 12 weeks.
Vitamin E, coupled with rosehip oil, creates a synergistic effect that amplifies healing. Essentially, vitamin E helps your skin retain moisture while boosting collagen production—two critical factors in scar reduction. Furthermore, its antioxidant properties protect skin from damage caused by free radicals.
This combination has proven remarkably effective on both old and new scars. My clients typically start seeing visible improvements within six weeks of consistent use.
Rosehip & Vitamin E Scar Fading Blend ingredients
For this transformative DIY essential oil blend for face, gather:
- 1 ounce pure rosehip seed oil (the foundation of our blend)
- 1/2 teaspoon vitamin E oil (natural preservative plus healing properties)
- 3 drops frankincense essential oil (supports scar healing)
- 2 drops lavender essential oil (calming and regenerative)
- 1 drop helichrysum essential oil (optional but powerful for scarring)
- Small amber glass bottle with dropper
How to make Rosehip & Vitamin E Scar Fading Blend
- Pour the rosehip seed oil into your amber glass bottle (dark glass protects these precious oils from degradation).
- Add the vitamin E oil—remember this not only heals but preserves your blend.
- Carefully add each essential oil, counting drops precisely.
- Secure the cap and gently roll between your palms to blend thoroughly.
- Allow the mixture to synergize for 24 hours before first use.
Apply 3-5 drops to clean skin twice daily, gently massaging onto scars using circular motions. Naturally, patience is key—consistent application over several months yields the best results. Always perform a patch test first, as some skin types might be sensitive to these potent oils.
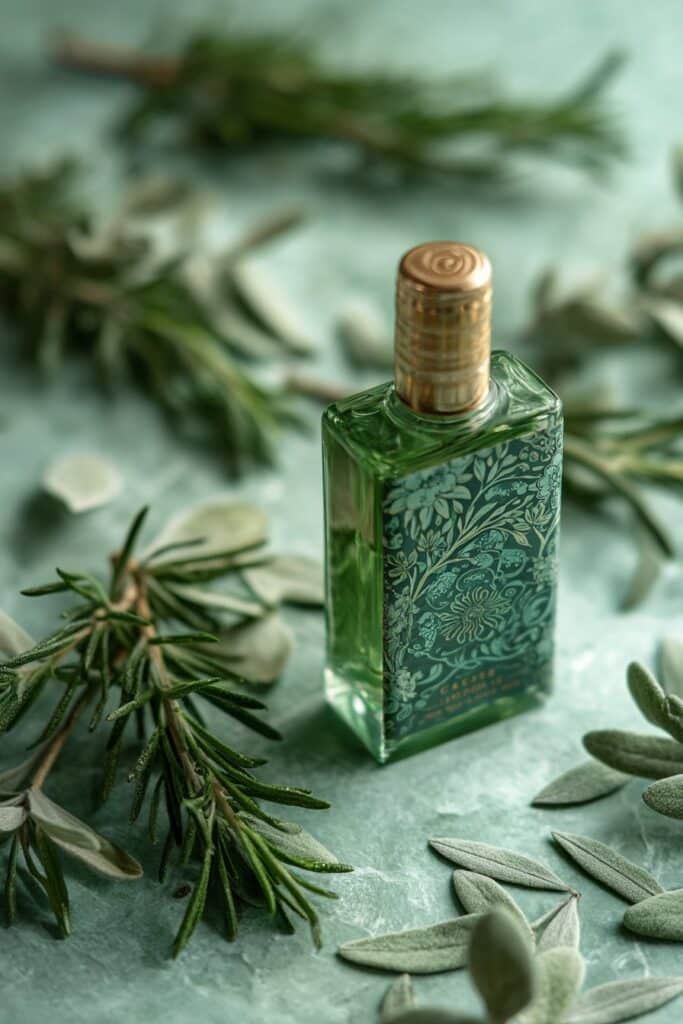
Sandalwood & Jojoba Balancing Oil
My personal skincare journey took a pivotal turn when I discovered the balancing power of sandalwood and jojoba oil. Growing up in Savannah with unpredictable humidity that wreaked havoc on my combination skin, finding this harmonious blend felt like uncovering hidden treasure.
Sandalwood & Jojoba Balancing Oil benefits
Sandalwood essential oil stands out as a powerful skin ally with its woodsy, balsamic aroma. Undeniably, its anti-inflammatory properties make it excellent for soothing irritated skin and reducing redness. Alpha-santalol, sandalwood’s key active ingredient, works effectively against bacteria and yeast while inhibiting tyrosinase—an enzyme involved in skin pigmentation.
Alternatively, jojoba oil mimics our skin’s natural sebum, creating an ideal carrier that’s appropriate for all skin types. Naturally, this similarity to our own oils allows jojoba to trick the skin into thinking it has produced enough oil, therefore balancing production without promoting breakouts. This makes the combination particularly effective for clients dealing with both dry patches and oiliness.
Together, this duo creates a balanced formula that hydrates without clogging pores, soothes inflammation, and helps maintain that coveted clear complexion my clients adore.
Sandalwood & Jojoba Balancing Oil ingredients
For this versatile DIY essential oil blend for face, you’ll need:
- 1 ounce high-quality jojoba oil
- 8 drops sandalwood essential oil (Santalum spicatum)
- 3 drops frankincense essential oil (optional, enhances anti-aging benefits)
- Small amber glass bottle with dropper
Ideally, use organic, cold-pressed jojoba oil as it contains the highest levels of antioxidants and nutrients like Vitamin E and B-complex.
How to make Sandalwood & Jojoba Balancing Oil
- Pour the jojoba oil into your amber glass bottle (dark glass protects these precious oils from light degradation)
- Add sandalwood essential oil drops, counting carefully
- If using, add frankincense essential oil
- Secure the cap and gently roll between your palms for about 30 seconds to blend oils thoroughly
- Allow the blend to sit for 24 hours before first use to let oils fully incorporate
Apply 5-7 drops to clean, slightly damp skin every evening. Typically, results improve with consistent use—my clients notice more balanced, clear skin within two weeks. This blend has become my secret weapon for harmonizing combination skin before red carpet events when clients need perfect balance without excessive shine.
Helichrysum & Carrot Seed Sun Recovery Serum

After witnessing too many clients with sun-damaged skin, I developed this powerful Helichrysum & Carrot Seed Sun Recovery Serum. Growing up in sunny Savannah, I learned firsthand how damaging UV rays can be, yet I wanted a natural solution that worked without harsh chemicals.
Helichrysum & Carrot Seed Sun Recovery Serum benefits
Helichrysum essential oil is truly remarkable for sun-exposed skin. As a result of its powerful anti-inflammatory properties, it excels at soothing irritated skin and reducing redness caused by sun exposure. I’ve found it particularly effective for my clients who come in with visible sun damage after beach vacations.
Carrot Seed oil, in contrast, contains specific nutrients that both prevent sun damage and repair UV-related symptoms like discoloration and elasticity loss. This oil stimulates new tissue and skin growth, promoting a clearer, more evenly toned complexion after sun exposure.
For instance, one client returned from an outdoor shoot with painful sunburn across her shoulders and face. After applying this serum for just three days, her redness had visibly diminished and her skin felt less tight and irritated.
Helichrysum & Carrot Seed Sun Recovery Serum ingredients
For this restorative DIY essential oil blend for face, you’ll need:
- 1 tablespoon organic Red Raspberry Seed oil
- 1 tablespoon unrefined Jojoba oil
- 4 drops Helichrysum essential oil
- 3 drops Carrot Seed essential oil
- 2 drops Chamomile essential oil
- Small amber glass bottle with dropper
Red Raspberry Seed oil is primarily included for its natural sun-protective qualities, while Jojoba mimics your skin’s natural sebum, enhancing absorption.
How to make Helichrysum & Carrot Seed Sun Recovery Serum
- Pour both carrier oils into your amber glass bottle
- Add essential oils one by one, counting drops carefully
- Secure the cap and gently roll between your palms to blend
- Allow the oils to synergize for 24 hours before first use
Apply a few drops to clean, slightly damp skin both before and after sun exposure. Of course, this doesn’t replace sunscreen, but works wonderfully as additional protection and post-sun recovery. In the same way, you can add a drop or two to your regular sunscreen for enhanced protection.
Lavender & Coconut Overnight Moisturizer
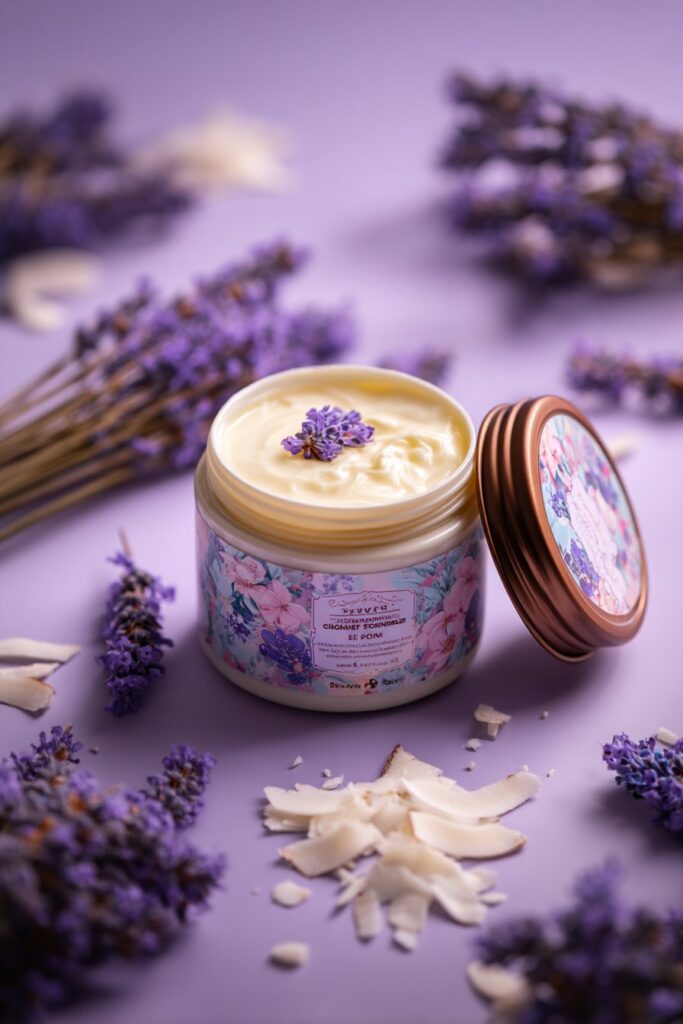
Night after night, my skincare routine wasn’t complete until I discovered this simple yet incredibly effective Lavender & Coconut Overnight Moisturizer. This two-ingredient wonder has become my secret weapon for waking up with perfectly hydrated skin.
Lavender & Coconut Overnight Moisturizer benefits
Coconut oil offers exceptional moisturizing properties through its medium-chain fatty acids—primarily lauric acid, which provides powerful antibacterial and antimicrobial benefits. Ideally, coconut oil creates a protective barrier that locks in moisture while preventing water loss through evaporation. This protective layer efficiently repairs cracks in the outer skin layers, making it harder for harmful bacteria like Staphylococcus to invade.
Interestingly, lavender essential oil works synergistically with coconut oil, creating a natural anti-aging duo that improves skin elasticity. My clients are always surprised when I tell them this combination can reduce inflammation, calm irritated skin, and even help with restful sleep—making it truly perfect for nighttime use.
Furthermore, both ingredients contain antioxidant properties that help neutralize free radicals. Typically, applying this moisturizer after sun exposure provides additional skin benefits beyond simple hydration.
Lavender & Coconut Overnight Moisturizer ingredients
Making this luxurious overnight treatment requires just:
- 1 oz (28g) organic coconut oil (unrefined, cold-pressed for maximum antioxidant content)
- 12 drops lavender essential oil (Lavandula angustifolia)
How to make Lavender & Coconut Overnight Moisturizer
- Place coconut oil in a small jar (I use 1-ounce mason jars).
- Using your finger or a stainless steel spoon handle, create a small depression in the center of the coconut oil.
- Add 12 drops of lavender essential oil into this depression.
- Gently mix everything together with the spoon handle.
- Allow the mixture to rest overnight before first use.
A little goes an exceedingly long way—just a fingertip amount can moisturize your entire face. Naturally, this blend soaks in quickly despite initially feeling oily. Primarily, I recommend applying it after your evening cleansing routine or after a warm bath when your skin is slightly damp for optimal absorption.
Bergamot & Patchouli Toning Mist
The perfect facial toning mist eluded me for years until I combined bergamot and patchouli oils—a blend that quickly became a cornerstone in my professional kit. This refreshing mist not only balances skin but creates the ideal canvas before makeup application.
Bergamot & Patchouli Toning Mist benefits
Bergamot essential oil stands out as a natural astringent with exceptional toning abilities. Primarily, it balances oil production while effectively cleaning the skin. Its antibacterial properties make it ideal for those with excessive sebum production, as it penetrates deep into pores to unclog built-up oils and impurities.
Naturally, bergamot contains linalool (an anti-inflammatory compound) and linalyl acetate that harmonizes our skin’s natural oils, making it suitable for both dry and oily complexions. Most remarkably, it promotes skin cell regeneration and even pigment distribution, resulting in a more uniform, toned appearance.
Alternatively, patchouli oil—a staple in oriental medicine—offers excellent treatment for various skin issues. This powerful oil brings anti-scarring qualities while addressing common concerns like eczema and dryness. Upon discovery of this combination, I immediately added it to my go-to formulations for clients struggling with uneven skin tone.
Bergamot & Patchouli Toning Mist ingredients
For this rejuvenating blend, gather:
- 30ml witch hazel (alcohol-free)
- 15ml distilled water
- ¼ teaspoon vitamin E oil
- 5 drops bergamot essential oil
- 3 drops patchouli essential oil
- 60ml amber spray bottle
Witch hazel serves as a hypoallergenic, naturally astringent base that removes excess oils, whereas vitamin E provides antioxidant benefits and helps extend shelf life.
How to make Bergamot & Patchouli Toning Mist
- Combine witch hazel and distilled water in your amber spray bottle
- Add vitamin E oil, which fights wrinkles while preserving your blend
- Carefully count as you add bergamot and patchouli essential oils
- Secure the cap and gently shake to blend all ingredients
For application, lightly shake before each use and spritz directly onto freshly cleansed skin. Enthusiastically, I recommend using this after exercise or throughout the day to refresh and rebalance your complexion. Just recently, I prepared this blend for a client before a major photoshoot—her skin remained perfectly balanced under hot lights for hours.
Conclusion
Throughout my years as a skincare professional, I’ve witnessed countless transformations from these essential oil blends. My clients often ask what makes these natural alternatives so effective compared to expensive commercial products. Naturally, the answer lies in their purity and potency when properly diluted and applied.
These fifteen DIY essential oil blends represent my most trusted formulations, refined through years of working with diverse skin types. Certainly, creating your own skincare products requires patience and precision, yet the results speak for themselves. My Savannah roots taught me to appreciate natural remedies, and this appreciation has only deepened as I’ve watched clients regain confidence when their skin concerns finally resolve.
Remember that consistency remains key with any skincare routine. Natural ingredients work harmoniously with your skin’s biology, but they need time to produce visible results. Furthermore, these blends allow for customization based on your specific needs—add an extra drop of frankincense for enhanced anti-aging benefits or increase the carrier oil ratio if your skin requires additional hydration.
Ultimately, my journey with essential oils has transformed not just my clients’ skin but also my approach to beauty. The power of nature’s ingredients—from anti-inflammatory chamomile to rejuvenating frankincense—offers solutions that commercial products often can’t match. These recipes have become my professional signature, and I hope they’ll become treasured additions to your skincare routine as well. Your skin deserves this natural, effective care.