
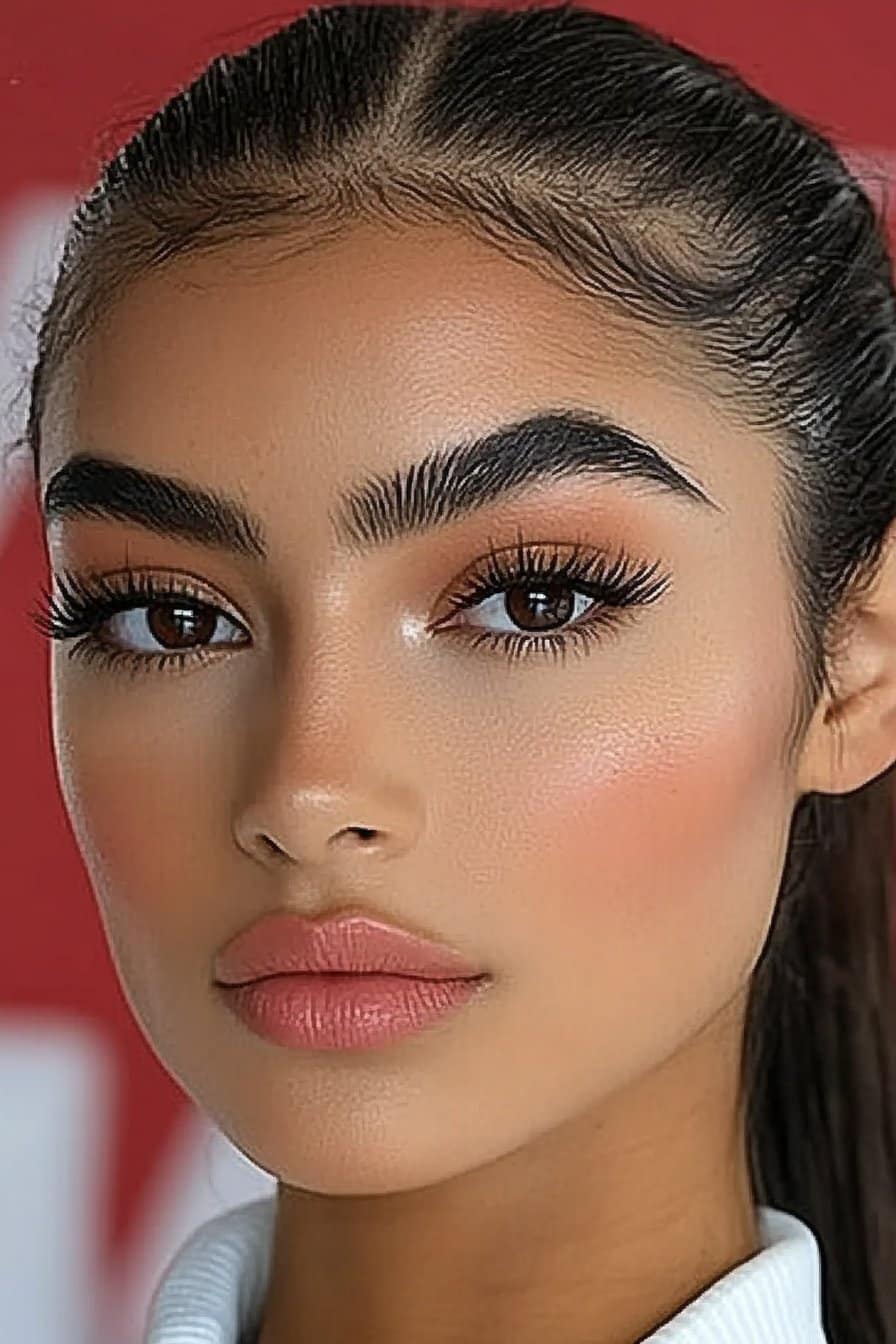
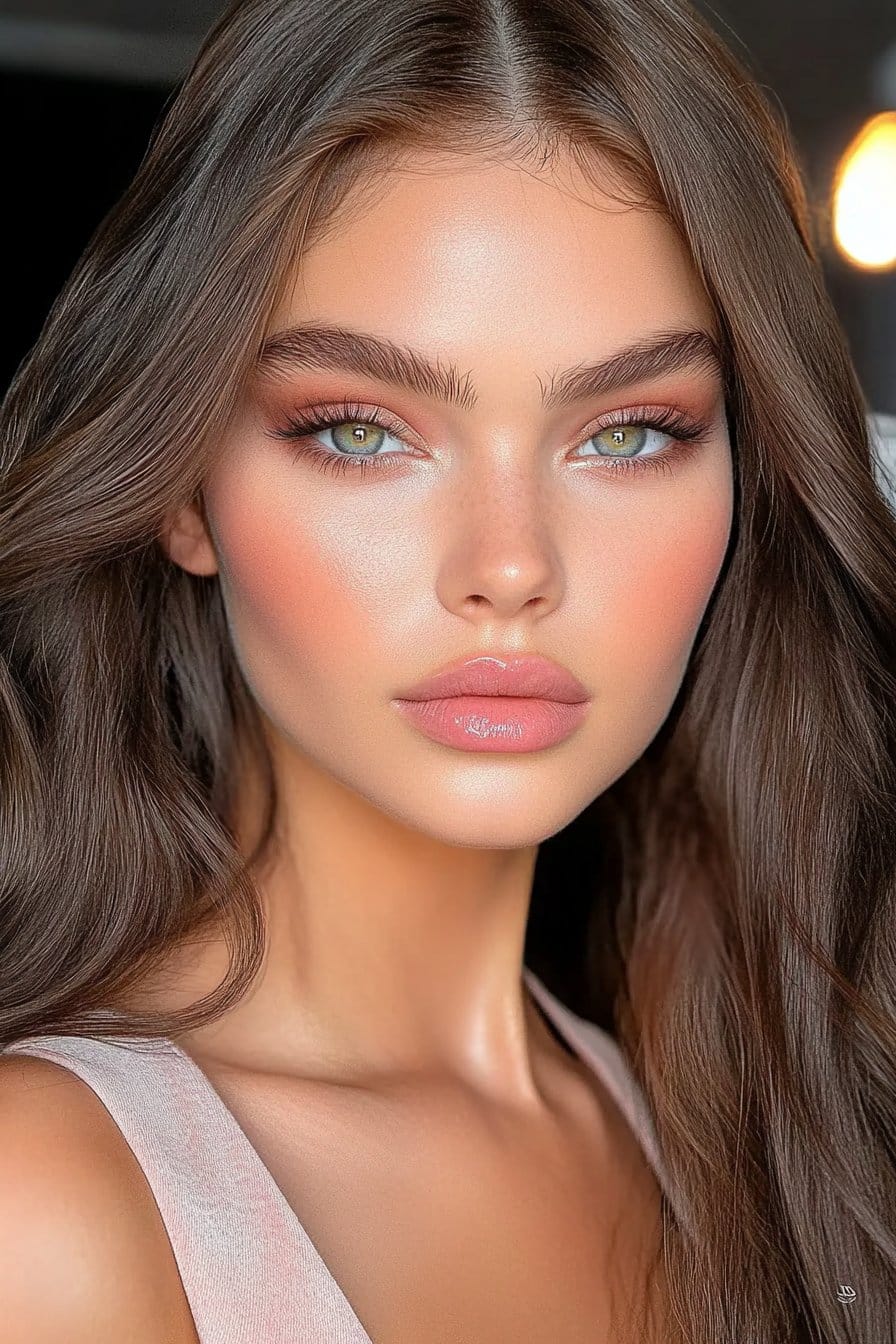
Beauty trends in the makeup industry evolve constantly. Natural glam and bold creative styles inspire millions of beauty enthusiasts worldwide through flawless makeup looks.
My years as a celebrity makeup artist have taught me valuable lessons. Flawless makeup requires more than just quality products – it demands proper techniques and a solid grasp of fundamentals. The perfect canvas for any desired look starts with clean, hydrated skin and the right primer.
Timeless vintage makeup from the 1920s holds its charm alongside the emerging trends of 2025. Let me walk you through 24 stunning makeup looks that blend classic elegance with modern techniques. These looks will help you find your signature style as you become skilled at highlighter application and perfect shade matching.
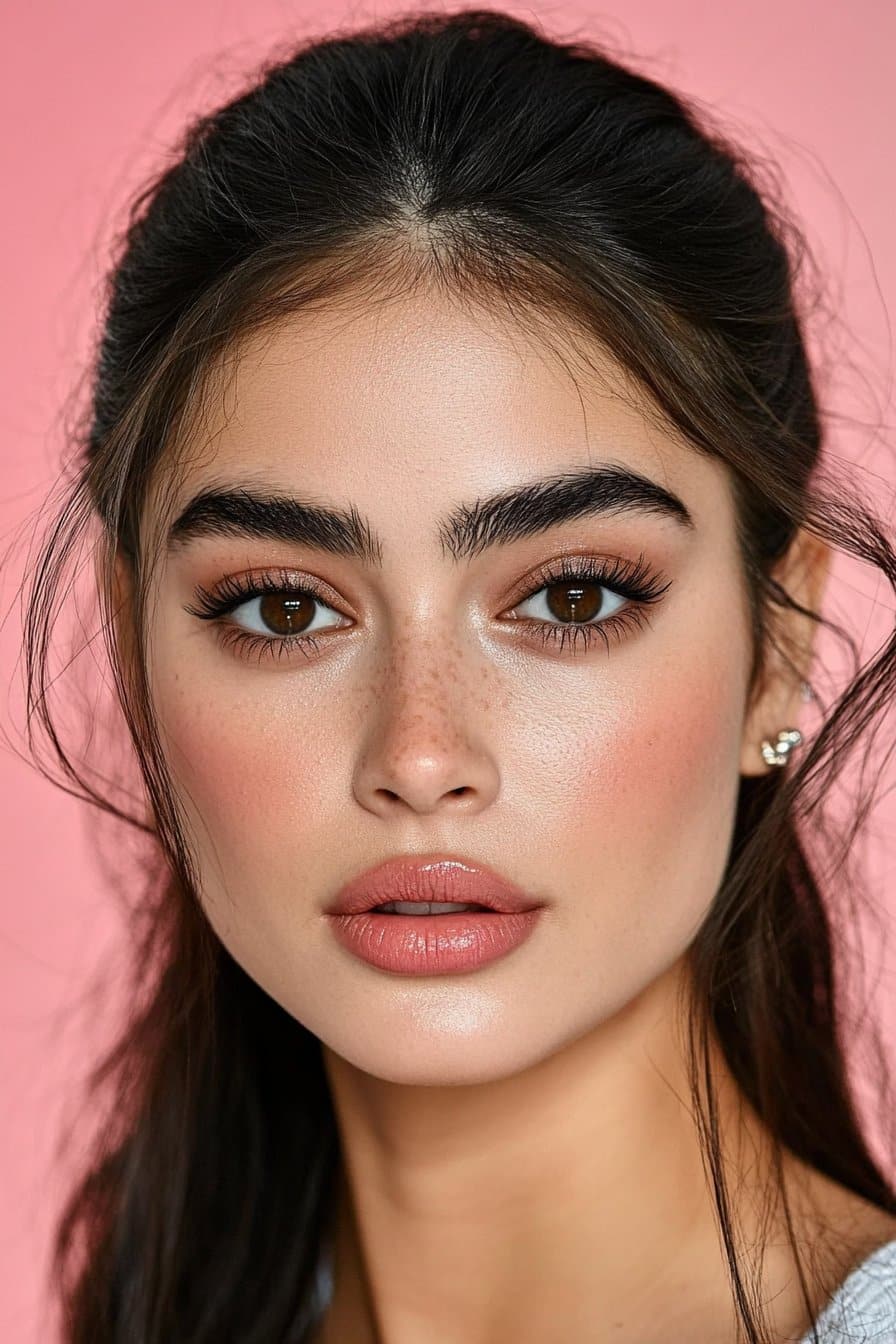
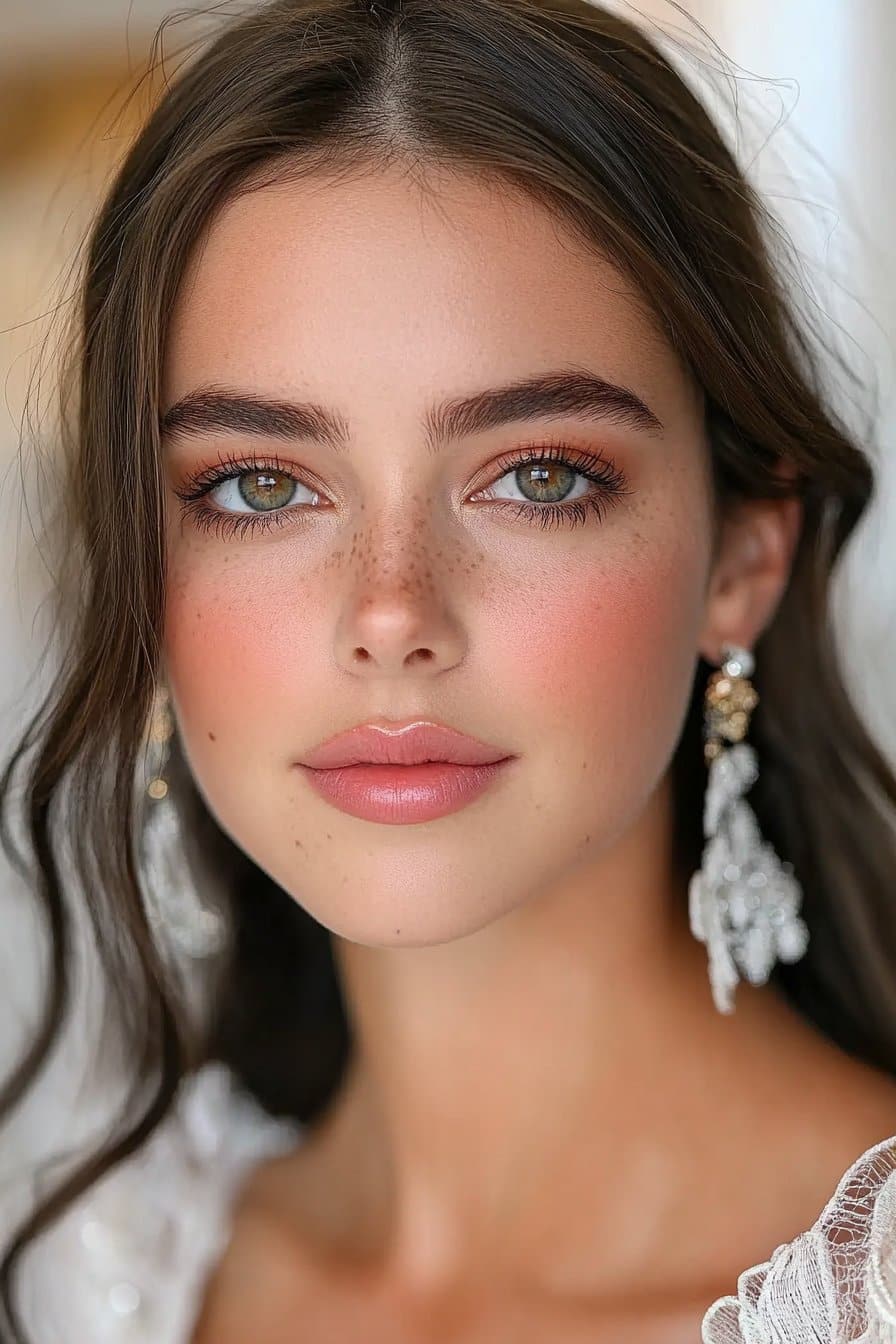
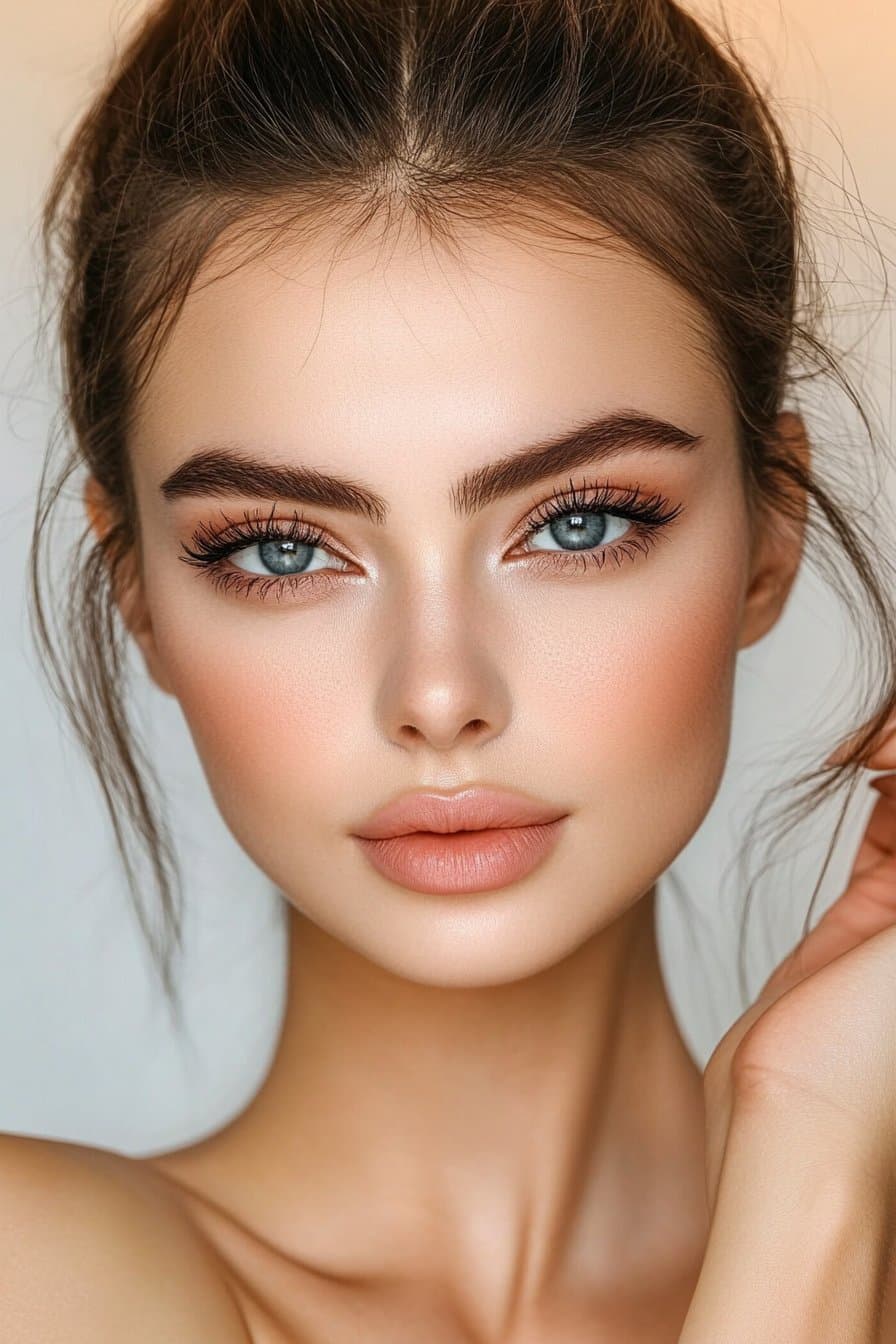
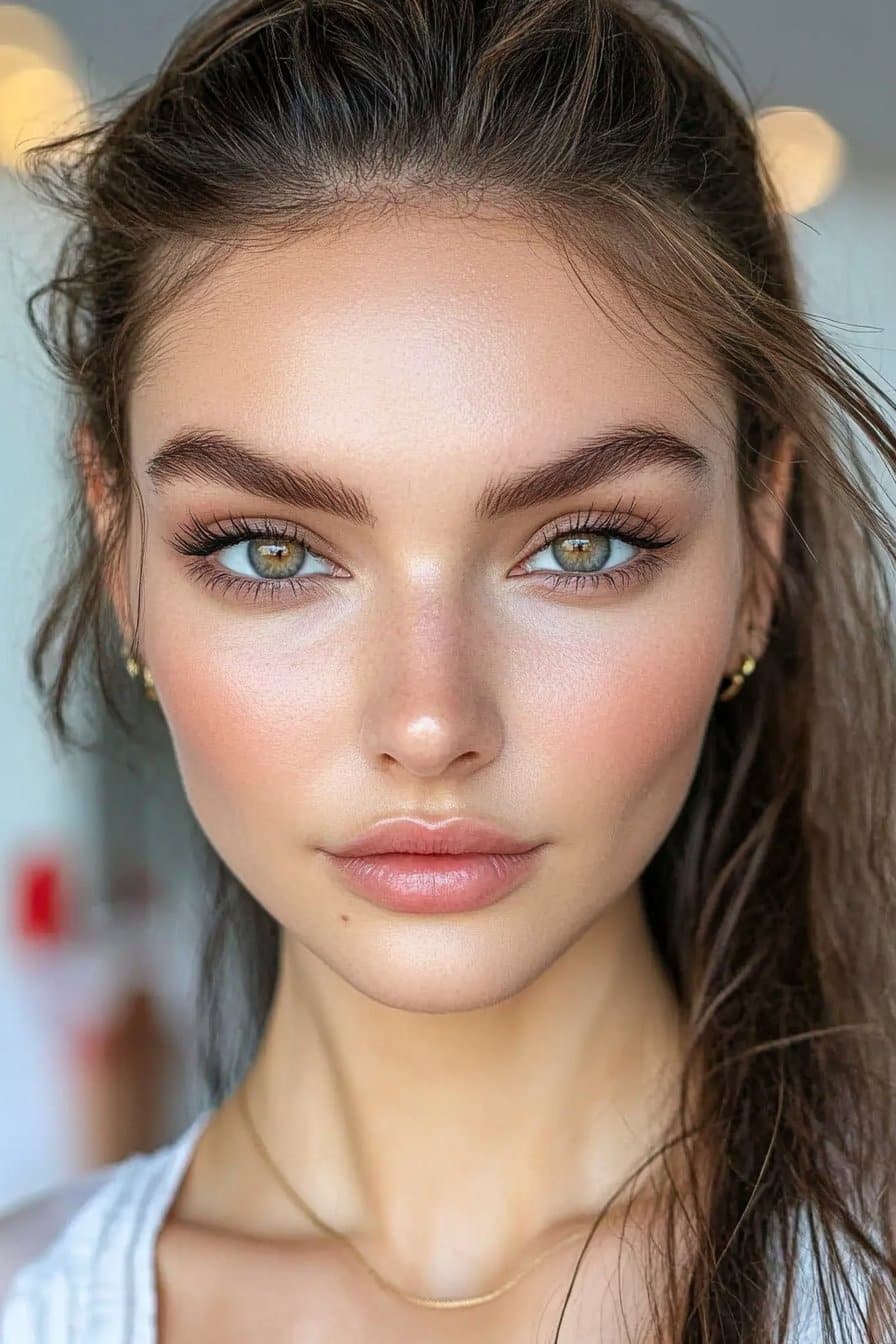
Classic Natural Makeup

Creating a classic natural makeup look needs solid understanding of basic makeup application. I developed these techniques while working with celebrities who love this timeless style.
Natural Makeup Application Techniques
Beautiful makeup starts with proper skin preparation. My process begins with a thin layer of moisturizer and a lightweight primer. A damp makeup sponge helps blend foundation naturally into your skin. I apply concealer on the under-eye area and spots that need coverage. The concealer should be one to two shades lighter than your foundation.
Best Products for Natural Makeup
My experience shows these products create the most natural-looking results:
- Tinted moisturizer or light-coverage foundation
- Cream-based blush for a natural flush
- Brown or black-brown mascara for subtle definition
- Tinted brow gel
- Sheer lip balm or gloss
Natural Makeup Tips and Tricks
We advise our clients to avoid heavy foundation application because it looks cakey and unnatural. Spot-concealing works better while letting your natural skin shine through. Cream formulas blend naturally into the skin and prevent that powdery, makeup-heavy look.
Your brows need a light touch. Skip the perfectly symmetrical arches. Work with your natural brow shape and use light strokes to fill sparse areas. A light dusting of translucent powder sets your makeup perfectly. Focus on the T-zone to keep that natural glow while making sure your makeup lasts.
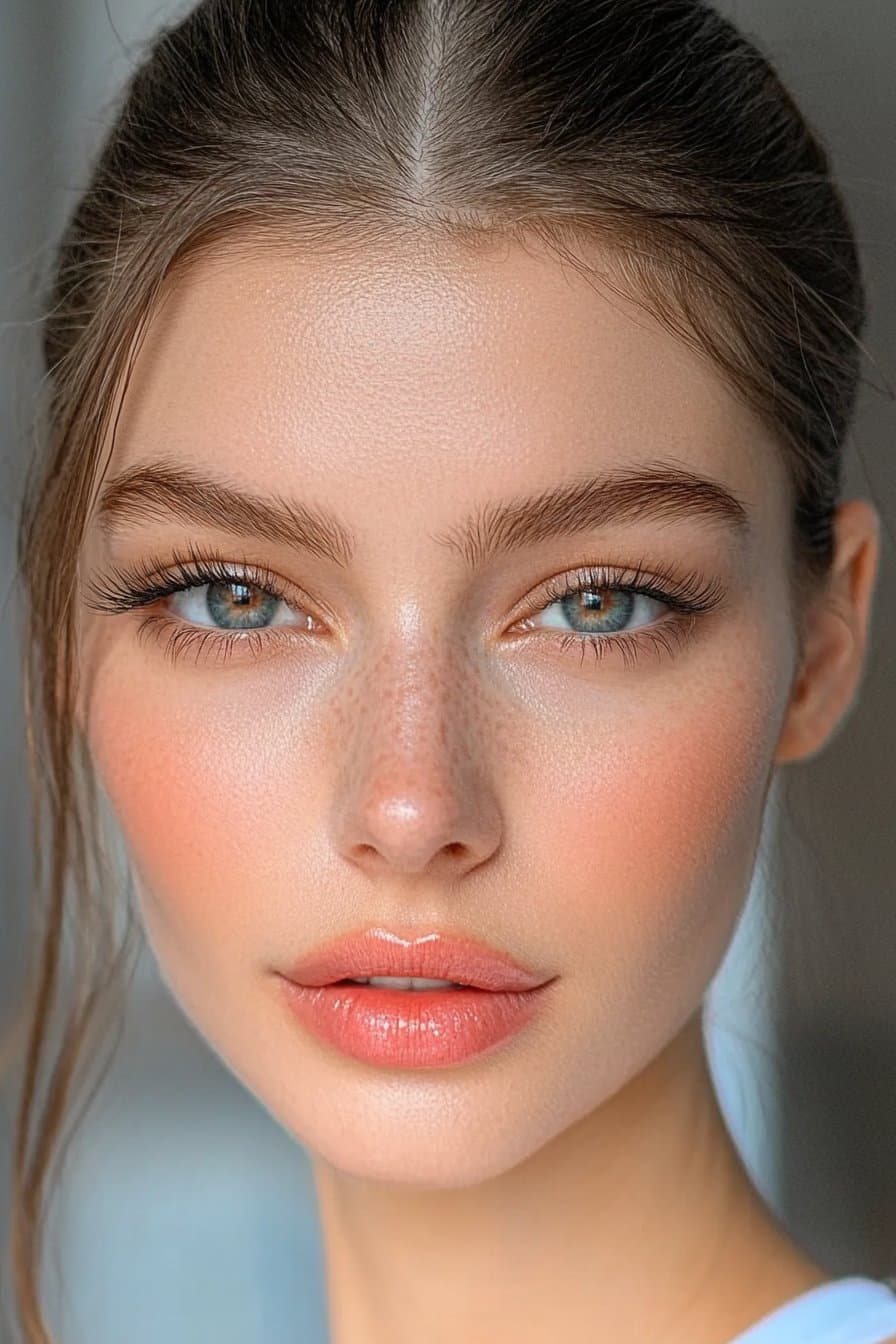
Dewy Skin Look
I’ve watched makeup trends move towards luminous, healthy-looking skin as a celebrity makeup artist. My A-list clients love the dewy makeup look because it creates a youthful, radiant appearance.
Dewy Skin Preparation Steps
Perfect dewy looks need well-prepared skin. I start by exfoliating to remove dead skin cells and apply a water-based moisturizer. A hydrating primer helps strengthen the skin’s moisture barrier and creates the perfect canvas for dewy makeup.
Products for Dewy Skin Makeup
You’ll need these products to achieve that coveted dewy finish:
- Luminescent foundation with skincare ingredients
- Cream-based blush and highlighter formulations
- Light-reflecting setting powder
- Hydrating setting spray
My work with celebrities has taught me that cream products blend naturally into the skin. A damp beauty sponge helps achieve that airbrushed effect when applying foundation.
Dewy Skin Maintenance Tips
I’ve developed several proven techniques to keep that fresh, dewy look all day. The trick lies in strategic powder placement – focus on the T-zone while letting the face’s high points stay naturally luminous. Blotting papers work better than adding more powder for touch-ups and help preserve the dewy finish while controlling excess shine.
Red carpet events have taught me that a hydrating mist keeps that coveted glow lasting longer. Spray from about eight to ten inches away from the face to get the best coverage.
Matte Finish Makeup
My experience working with A-list celebrities has helped me become skilled at creating flawless matte makeup looks that last under bright lights. We focused on understanding the right techniques and products for different skin types.
Matte Makeup Application Guide
A flawless matte finish starts with oil-free and noncomedogenic products. The process begins with a mattifying primer that goes on the T-zone area. The foundation should be applied with a brush in circular motions. Light blending with a damp sponge around the face edges comes next.
Best Matte Makeup Products
My professional kit contains these must-have products to create perfect matte looks:
- Oil-free foundation with soft-focus microsphere powders
- Translucent setting powder for shine control
- Matte bronzer for dimension
- Oil-absorbing primer with hyaluronic acid
Long-lasting Matte Makeup Tips
The secret to long-lasting matte makeup lies in strategic application. Applying products in thin layers prevents cakiness. The setting spray should be used in an ‘X’ and ‘T’ motion to achieve up to 36 hours of wear.
Spot-powdering is a technique I love using on my celebrity clients. The powder goes only on oil-prone areas instead of the entire face. All the same, I remind my clients that hydration is vital – even for matte looks. Adding hydrating ingredients like glycerin helps maintain skin’s balance without compromising the matte finish.
Soft Glam Makeup
Soft glam makeup has become my signature style in my career as a celebrity makeup artist. My work with A-list clients has helped me perfect this sophisticated look that balances dramatic and everyday wear perfectly.
Soft Glam Application Tutorial
Beautiful soft glam starts with proper skin preparation. The skin needs thorough cleansing and moisturizing before applying a radiant primer or liquid illuminator that creates a subtle glow. A damp beauty blender helps apply foundation smoothly while the under-eye area remains untouched.
Essential Soft Glam Products
My kit always contains these must-have items to create the perfect soft glam look:
- Luminous foundation with medium coverage
- Neutral eyeshadow palette with matte and shimmer shades
- Creamy concealer for brightening
- Fine-milled setting powder
- Neutral pink or brown lip liner
Soft Glam Blending Techniques
My celebrity work has taught me that blending is vital to soft glam’s signature smooth finish. The look needs a hazy eye makeup effect with warm, neutral tones. We created that soft halo effect around the eye area using circular motions with a fluffy brush.
The perfect finish comes from applying highlighter in a C-shape from above the brow to the cheekbone. A fine mist of setting spray in an X and T motion ensures the look stays flawless throughout any red carpet event.
No-Makeup Makeup Look
My experience working with countless celebrities has shown that a flawless no-makeup makeup look needs more finesse than going completely bare-faced. Without doubt, this style has become a favorite among my A-list clients who want to look effortlessly polished.
No-Makeup Look Steps
The right skin preparation is vital. I start with cleansing and exfoliating the face, then apply a hydrating facial spray. A primer comes next after moisturizing to create a smooth base for better product application. The foundation should be sheer to light coverage, letting the skin’s natural texture show through.
Products for Natural Coverage
My professional kit to create this look has:
- Tinted serum or lightweight foundation
- Cream-based concealer for spot correction
- Brown mascara for subtle lash definition
- Tinted brow gel for natural-looking arches
- Hydrating lip balm with a subtle tint
No-Makeup Look Secrets
The secret to becoming skilled at this look lies in smart application. My recommendation is to use fingers to blend products because this helps melt them into the skin for an undetectable finish. Concealer plays a role, but I focus on spot-correcting instead of full-face coverage.
A natural flush comes from applying cream blush to the cheeks’ apples and blending upward toward the ears. The look stays fresh when I finish with a setting spray in an X and T motion, which locks everything in place for up to 36 hours.
Airbrushed Foundation Finish
My journey with airbrushed makeup started on Hollywood sets, where I found that there was magic in creating camera-ready skin. My celebrity clients often say it looks like “an Instagram filter in person”.
Airbrush Effect Techniques
Perfect skin preparation is vital to achieve that coveted airbrushed finish. We focused on deep hydration and exfoliation to create a smooth canvas. The skin temperature needs to stay balanced, and ice rollers help minimize pores. My technique involves using a dense foundation brush in a stippling motion, and then a damp makeup sponge blends everything perfectly.
Products for Flawless Foundation
Working with A-list clients over the last several years has helped me put together these must-have products:
- Silicone-based primers with pore-minimizing properties
- Long-wear foundations with light-reflecting particles
- Hydrating setting sprays containing aloe vera and green tea
Foundation Setting Tips
Traditional powder application doesn’t cut it, so I developed a better approach to achieve that airbrushed finish. Diamond-shaped powder puffs work best when pressed into areas that tend to crease, like around the nose and under the eyes. The setting spray should be held 6-8 inches away from your face. A misting pattern of X and T shapes helps your makeup last up to 16 hours.
Your skin’s condition substantially affects the airbrush effect, so proper hydration and regular facials make a huge difference. Anyone can become skilled at this professional-level finish with practice and attention to detail.
Glowing Bridal Makeup
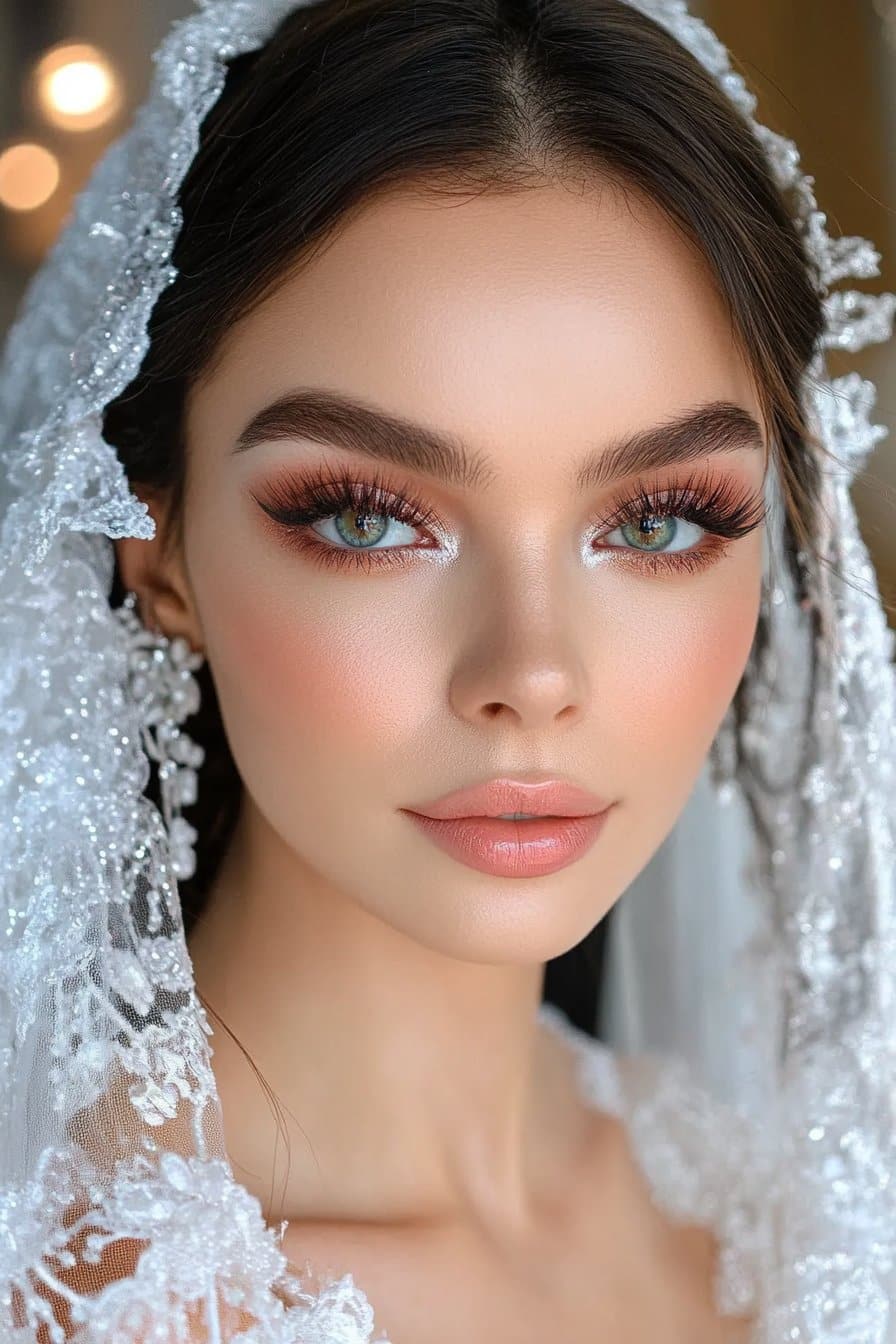
My journey as a celebrity makeup artist has made bridal makeup my true passion. Years of working with brides have taught me reliable techniques that create flawless makeup lasting from the first look until the last dance.
Bridal Makeup Application Guide
We focused on creating a radiant base that looks stunning in photographs. The skin needs proper preparation with a rich moisturizing eye cream and hyaluronic acid to achieve optimal hydration. The foundation application should start with thin layers. This gradual building of coverage helps maintain a natural look that won’t look heavy in photos.
Long-lasting Bridal Products
My bridal kit has these must-have products:
- Urban Decay All-Nighter Setting Spray to keep makeup unmovable
- Charlotte Tilbury Airbrush Flawless Setting Spray that lasts 16 hours
- Cinema Secrets Super Sealer works best for oil-prone skin
- Lightweight, hydrating moisturizer paired with eye cream
Wedding Day Makeup Tips
Lighting plays a vital role in bridal makeup. The makeup needs testing under different lighting conditions during trials to ensure it looks perfect indoors and outdoors. Bridal looks need more attention to detail than everyday makeup. False eyelashes are recommended even for brides who rarely wear them because they look beautiful in photographs.
A small touch-up kit with blotting papers, translucent powder, and setting spray helps maintain freshness throughout the day. Strategic powdering of just the T-zone helps curb shine, especially during outdoor ceremonies, while keeping the glow on facial high points.
Sun-Kissed Bronzed Look
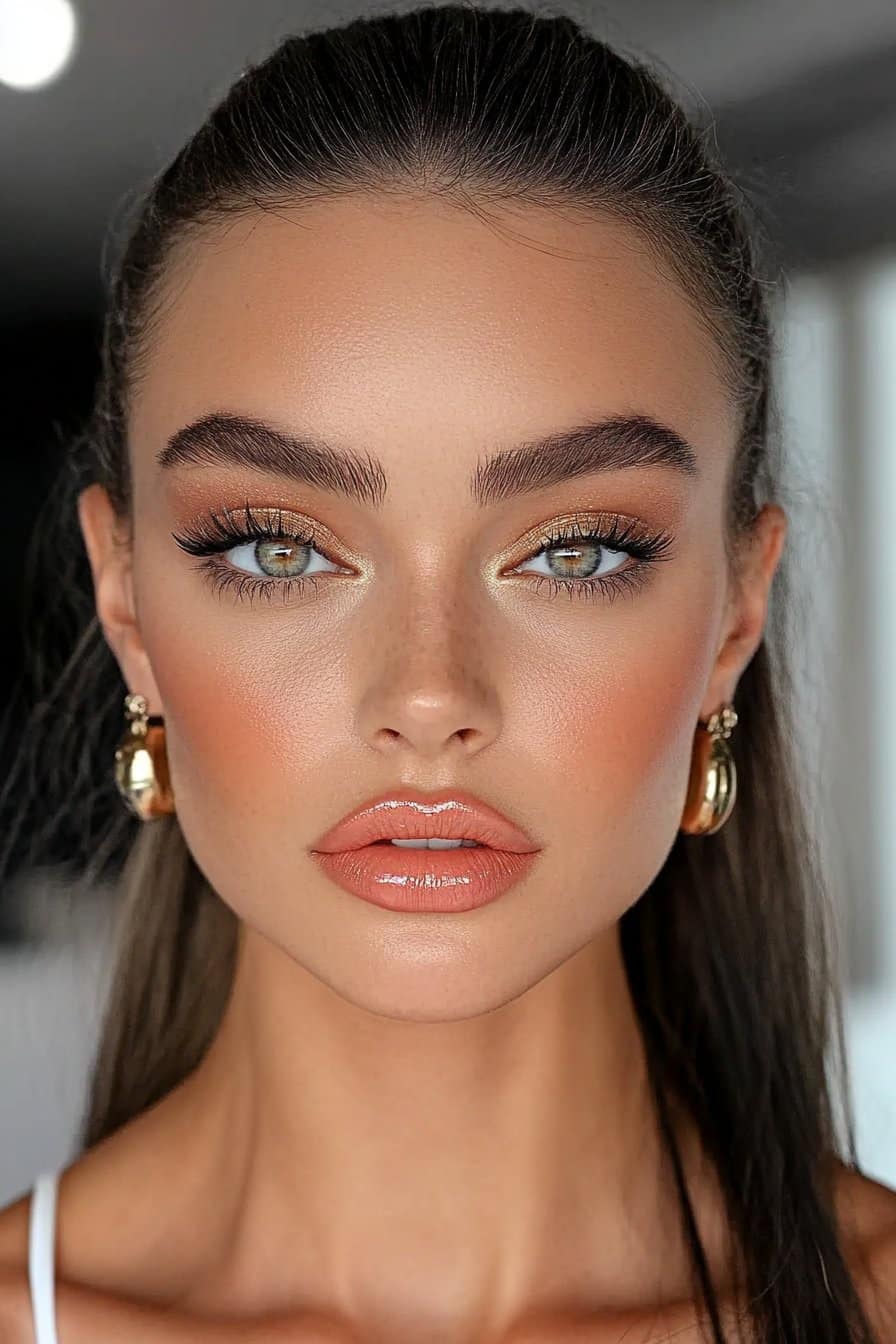
My clients have been asking me about creating the perfect sun-kissed glow since I moved to Los Angeles. Working with A-list celebrities helped me find that becoming skilled at bronzer application can change ordinary makeup into flawless red-carpet looks.
Bronzing Techniques
We focused on applying bronzer to areas where sunlight naturally hits the face. You can sweep bronzer in a ‘3’ shape on both sides of the face to get a natural-looking tan. Start at the temples, move to the cheekbones, and finish at the jawline. Light strokes work best when building the color gradually to avoid harsh lines or patches.
Best Bronzing Products
My experience with red carpet preparations helped me find these game-changing bronzers:
- Powder bronzers: Perfect for oily or combination skin types
- Cream formulas: Ideal for dry or mature skin, giving a dewy finish
- Gel bronzers: Excellent to mix with foundation for an all-over glow
Your bronzer should be just two shades darker than your natural skin tone. This will give the most natural-looking result.
Bronzer Application Tips
The secret to flawless bronzer application starts with good preparation. Apply foundation and concealer before bronzing. Your brush technique matters – use circular motions for powder formulas and fingertips for cream products.
Set cream bronzers with a light dusting of setting powder to make them last. Here’s a pro tip I share with my celebrity clients: hold the setting spray 6-8 inches from your face and mist in an X and T pattern. This creates a red-carpet-worthy finish that lasts up to 16 hours.
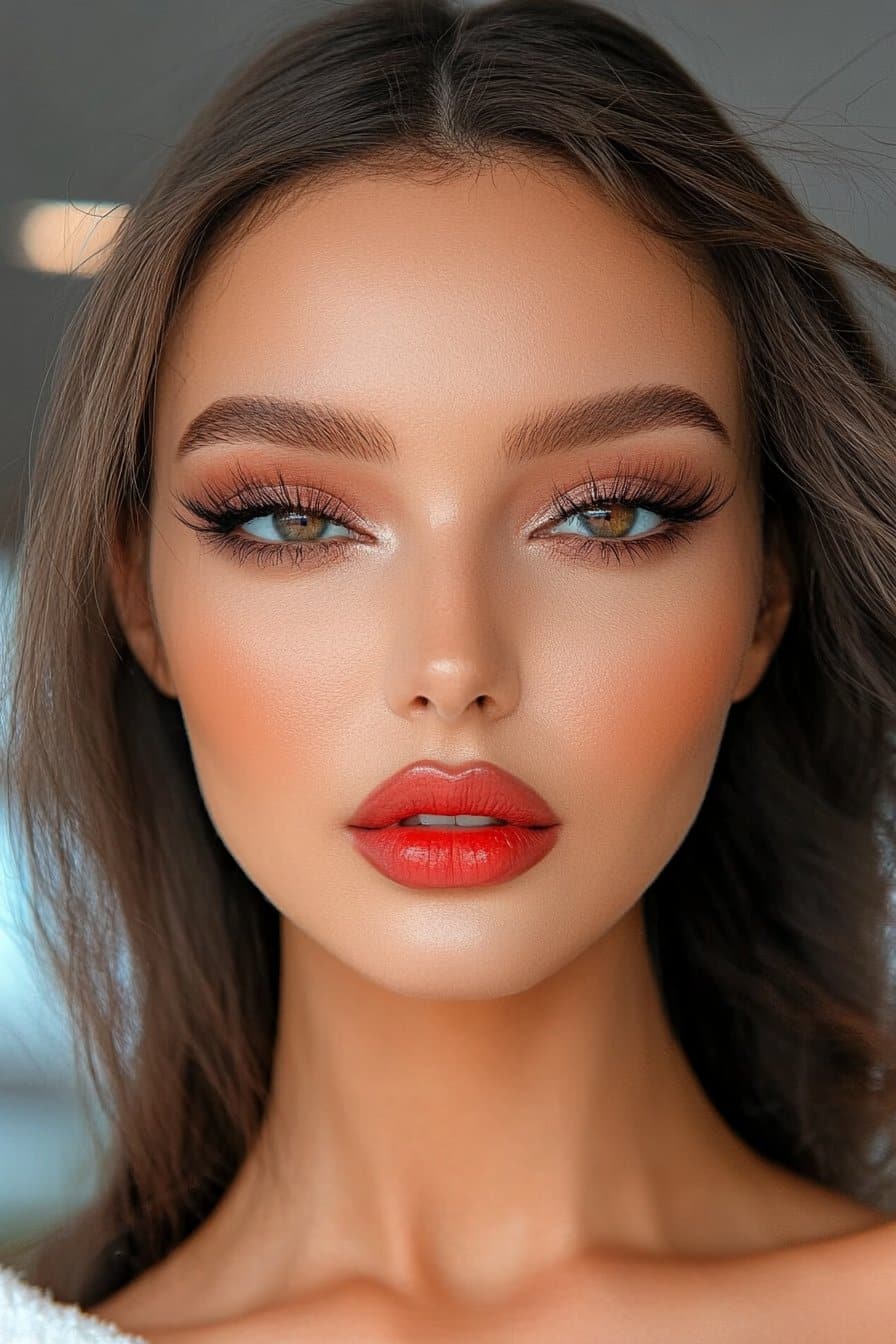
Flawless Red Lip Classic
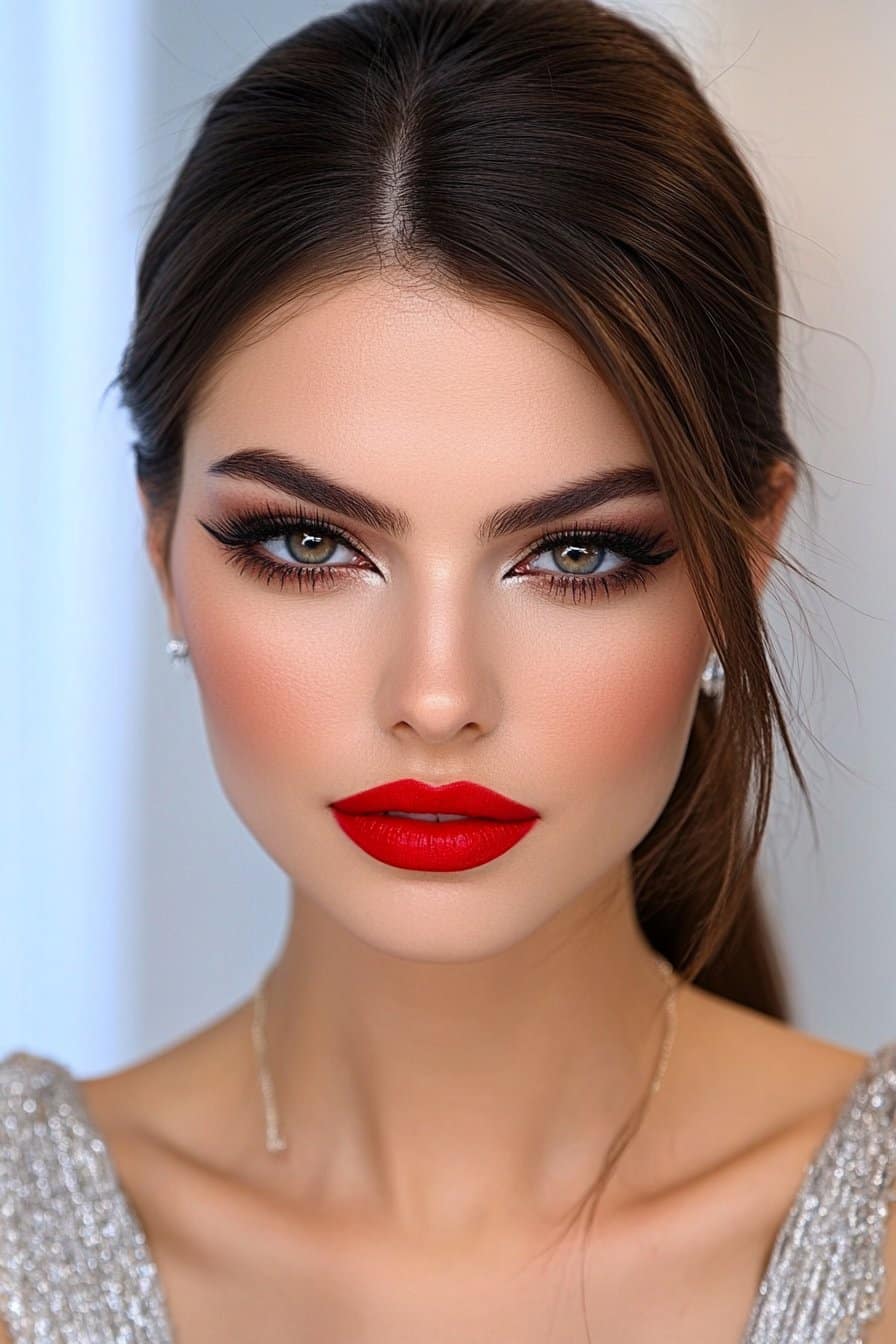
Red lipstick has been my signature look throughout my career in Los Angeles. Working as a celebrity makeup artist, I’ve found that becoming skilled at the perfect red lip needs both precision and technique.
Red Lip Application Steps
We started with getting the lips ready. A hydrating lip oil makes the perfect base that keeps lips smooth and supple. The next step is outlining lips in a heart shape with a waterproof lip liner that stays put for at least 6 hours. A lip brush helps apply lipstick with precision, especially around the corners of the mouth.
Perfect Red Lipstick Selection
Of course, your ideal red shade depends on your undertones. Take a look at your wrist veins – blue or purple veins point to cool undertones, while green ones suggest warm undertones. My cool-toned clients look best in blue-based reds, and warm-toned clients shine in orange-based reds.
Long-lasting Red Lip Tips
Your red lip can stay flawless with these pro techniques:
- Apply thin layers of product instead of one thick coat
- Use concealer around the lip line to define edges
- Blot lips with tissue between applications
- Hold setting spray 6-8 inches away from face
The sort of thing I love about preventing lipstick transfer comes down to proper setting techniques. My clients get the best results when they avoid rubbing their lips together and use a straw for drinking. A matte formula works great for extended wear and needs minimal touch-ups throughout the day.
My clients hear this from me all the time – practice makes perfect. Over the last several years working with A-list celebrities, I’ve learned that confidence in wearing red lipstick comes from mastering these techniques and finding your perfect shade.
Smokey Eye Perfection
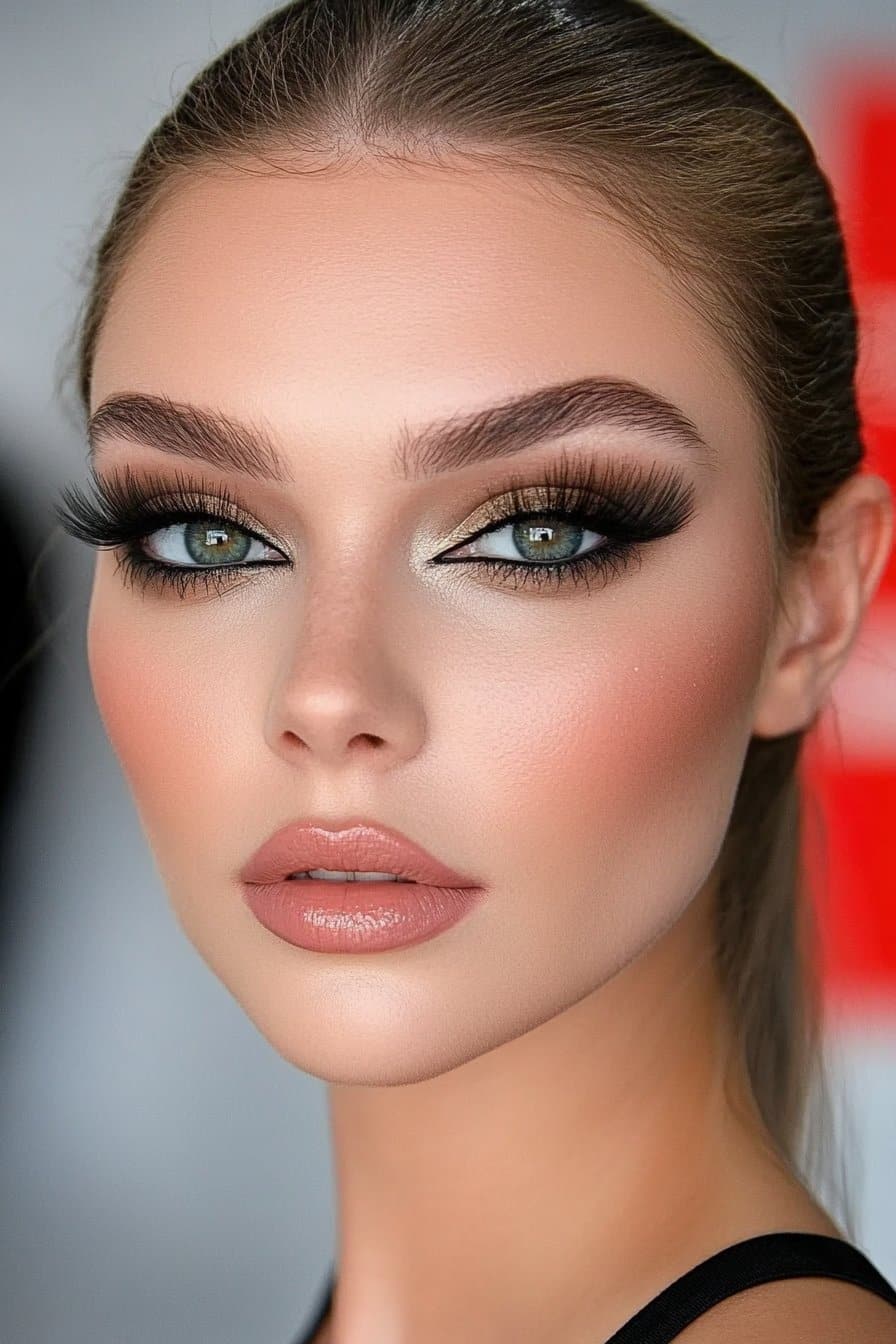
My work with A-list celebrities and New York Fashion Week has taught me a lot about creating the perfect smokey eye. I’ve spent countless hours perfecting this timeless look, and I can tell you it needs both precision and patience.
Smokey Eye Techniques
A flawless smokey eye depends on proper layering. We start with a neutral shade from lashline to crease and blend it to soften any edges. The next step adds gel eyeliner in a thin line close to lashlines. This extends past the outer corners for definition. The signature smokey effect comes from layering shadow over liner before it sets.
Smokey Eye Product Guide
My professional kit has these must-have tools:
- MAC 217 and 224 brushes to blend with precision
- Long-wear cream shadow stick as a base
- Gel eyeliner to define
- Ultra-fine eyeliner brush for details
Blending Tips for Smokey Eyes
The success of a smokey eye look ended up depending on how well you blend. A clean blending brush makes all the difference – product buildup can stop colors from transitioning smoothly. Here’s a pro secret I learned: apply neutral eyeshadow or colorless face powder over primer before you start. This creates the perfect canvas for blending.
The signature hazy effect comes from building intensity with the darkest color at the lash line. Smokey eyes are versatile – classic looks use browns and grays, but modern versions can work with any color family for a fresh take.
Rosy Cheeks and Lips
My love for creating the perfect rosy flush started in Savannah. Georgia’s natural warmth shaped my approach to makeup. Working with A-list celebrities helped me find that becoming skilled at rosy cheeks needs an understanding of face shape and the right product selection.
Rosy Makeup Application
Round faces look best when blush sits slightly higher on the cheeks to create a lifting effect. We focused on the outer corners of the eyes as a placement guide. Square faces need blush on the apples of the cheeks. I use gentle circular motions to soften their appearance.
Products for Rosy Glow
My professional kit has these must-have items to achieve that perfect flush:
- Cream blush for a natural, dewy finish
- Liquid tints for buildable color
- Powder formulas for long-lasting wear
- Setting sprays with hydrating properties
Blush Placement Tips
The perfect rosy cheeks depend on proper placement based on face shape. Oval faces need work along the contour that moves upward onto the cheekbones. Diamond-shaped faces look amazing with higher blush placement because their prominent cheekbones carry color beautifully.
Here’s a pro tip I share with all my clients: your pupils work great as markers, and your blush application should stop in line with your eyes’ center. Heart-shaped faces benefit from a curved, U-shaped motion along the cheekbones toward the temples. This technique creates an uninterrupted blend while giving you that coveted rosy glow.
Perfect Winged Eyeliner
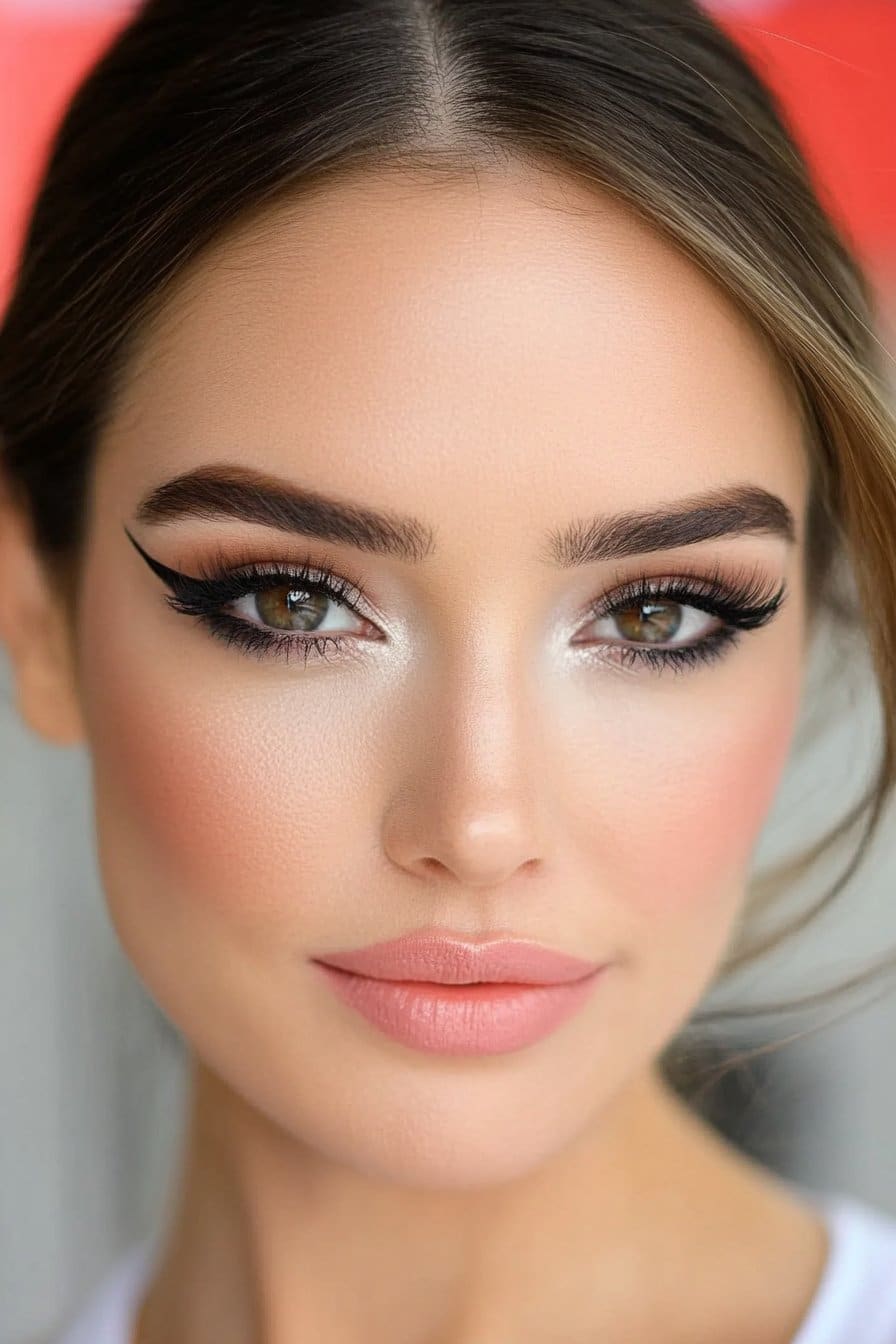
Perfect winged eyeliner has been my signature look throughout my career. I’ve perfected it through countless red carpet events and celebrity photoshoots. My time at New York Fashion Week taught me that becoming skilled at winged eyeliner depends on understanding your unique eye shape and picking the right products.
Winged Liner Techniques
A perfect wing starts with proper eye preparation. We recommend resting your elbow on a stable surface while looking down into a tilted mirror. My experience shows that starting several lashes in from the inner eye creates the most flattering look for people with small eyes.
Best Eyeliner Products
These essential products help create that perfect wing:
- Felt tip liners for beginners – give better control
- Liquid liners for sharp, crisp lines
- Gel liners with angled brushes for precision work
- Waterproof formulas for extended wear
Wing Perfection Tips
A professional secret I learned is using household tape to create symmetrical wings. I clean up any imperfections with an angled brush dipped in makeup remover. Working with A-list clients taught me that practicing on the back of your hand helps you control liquid liners better.
The bat wing effect works great for hooded eyes and looks stunning when eyes are open. Your eye shape determines what works best – almond eyes need different techniques than round ones. I tell my clients to check their results and adjust the angle and thickness to match their eye shape.
Bold Brows Statement
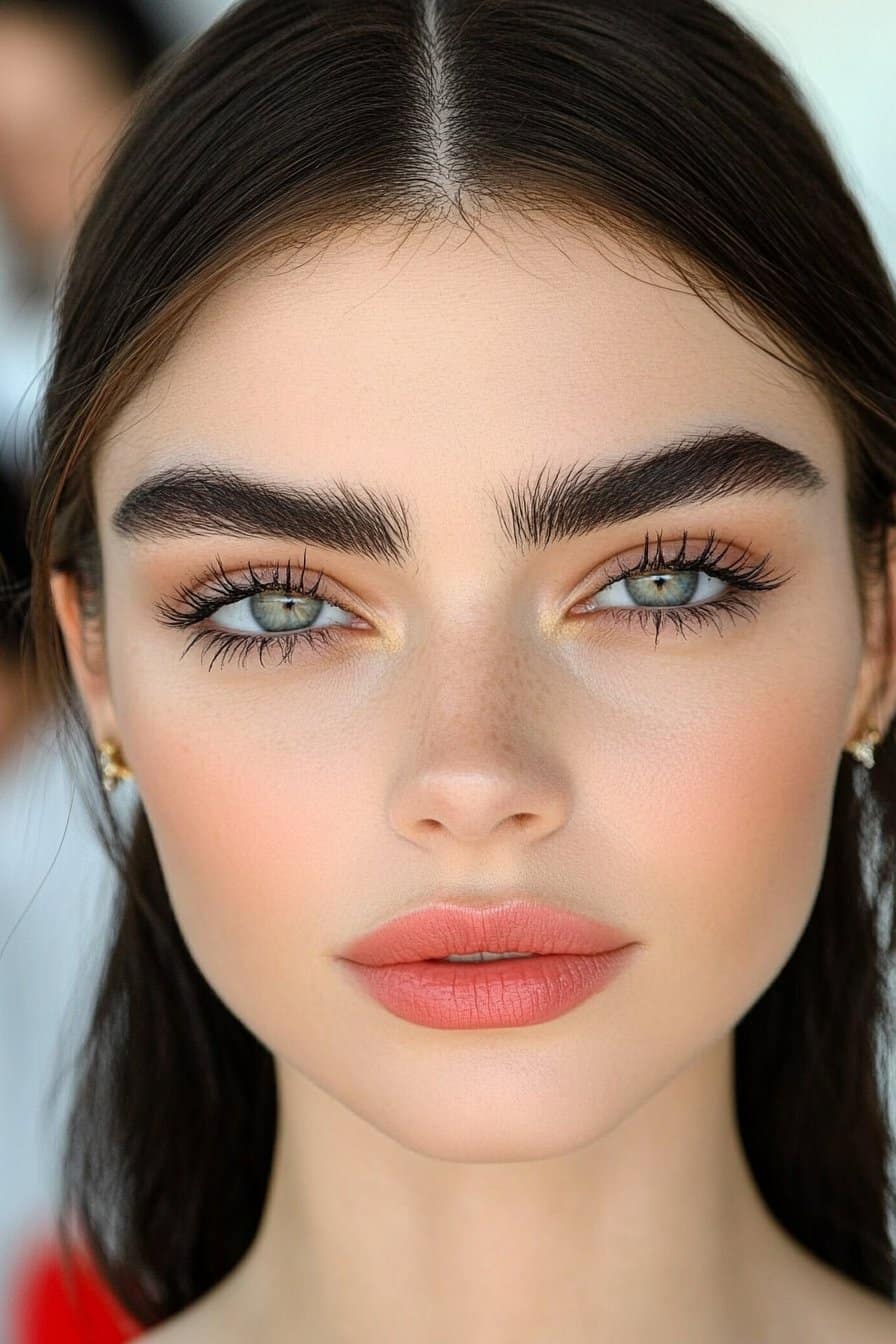
Bold brows have come a long way from tight lines to a more natural yet defined look in 2025. My work at New York Fashion Week and countless celebrity sessions helped me become skilled at creating statement brows that perfectly frame the face.
Bold Brow Techniques
Clean brows free from oils or makeup residue are crucial before we begin. Getting that perfect shape starts with brushing the brow hairs upward using a spoolie to see their natural pattern. Next comes outlining the brows from the inner corner. I follow the natural arch and extend slightly at the tail to create a bold effect.
Brow Product Selection
My professional kit has these must-have items:
- Precise brow pencil for outlining
- Brow pomade for depth and dimension
- High-quality brow gel for setting
- Highlighting stick for brow bone definition
Brow Shaping Tips
A professional secret I found is getting the brow’s starting point right – it should line up directly above the middle of your nostrils. The highest point of the arch should connect the middle of your nose’s tip with the middle of the iris. My experience shows that holding the skin taut with one finger while tweezing in the hair growth’s direction protects tiny blood vessels.
Waterproof formulas will keep your bold brows looking fresh all day. A touch-up kit with a spoolie, brow pencil, and gel will give you flawless brows through winter weather and late-night events. Note that brows should end where your nostril’s corner connects with your eye’s outer corner – this creates perfect balance and proportion.
Highlight and Contour Mastery
The life-blood of my work with A-list celebrities in Los Angeles has been becoming skilled at highlight and contour techniques. My experience with countless red carpet preparations has taught me that understanding face shapes is vital to achieve that coveted sculpted look.
Contouring Techniques
Contouring changes substantially based on face shape. Oval faces need shadows below the cheekbones, while heart-shaped faces look better with contouring along the jawline. A professional secret I use is to apply contour in a “3” shape on both sides of the face. The pattern starts at the temples, moves to the cheekbones, and ends at the jawline.
Best Contour Products
My professional kit has products that work for different skin types:
- Powder contour: Ideal for oily skin, offering a matte finish
- Cream formulas: Perfect for dry or mature skin, providing a dewy effect
- Hybrid products: Excellent for combination skin types
Highlighting Placement Guide
Strategic highlighting creates beautiful dimension. Highlighter works best on four key areas: the bridge of the nose, center of the chin, Cupid’s bow, and tops of cheekbones. The secret lies in proper blending. A fluffy brush with circular motions works best, and more blending creates subtler definition.
Diamond-shaped faces benefit from highlighting on the center of the forehead and chin to broaden naturally narrow areas. My Fashion Week experience shows that cream highlighters suit combination skin perfectly, while powder formulations work better for oily complexions. Note that the key to flawless highlighting is to start light and build gradually – there’s no going back once you’ve applied too much.
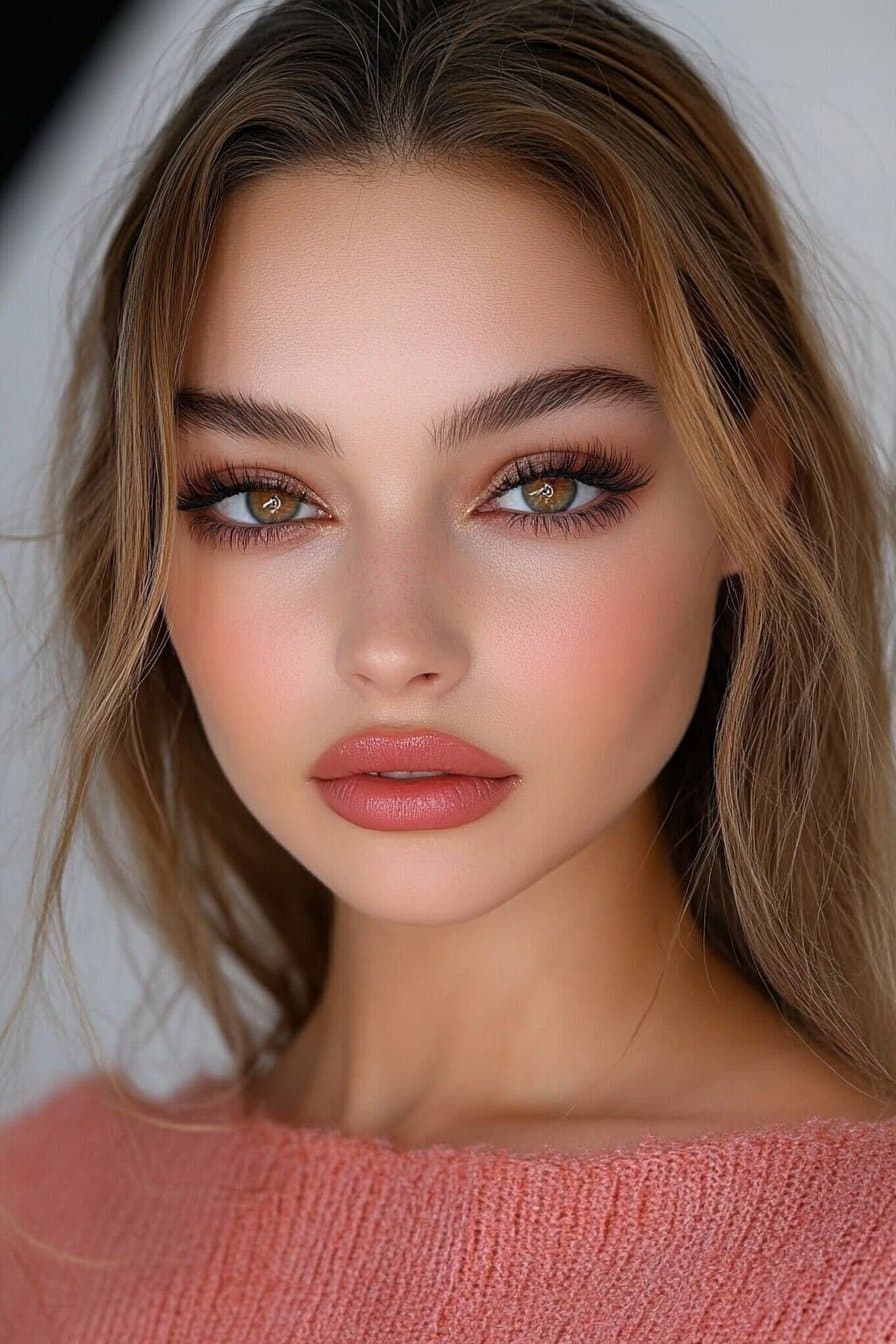
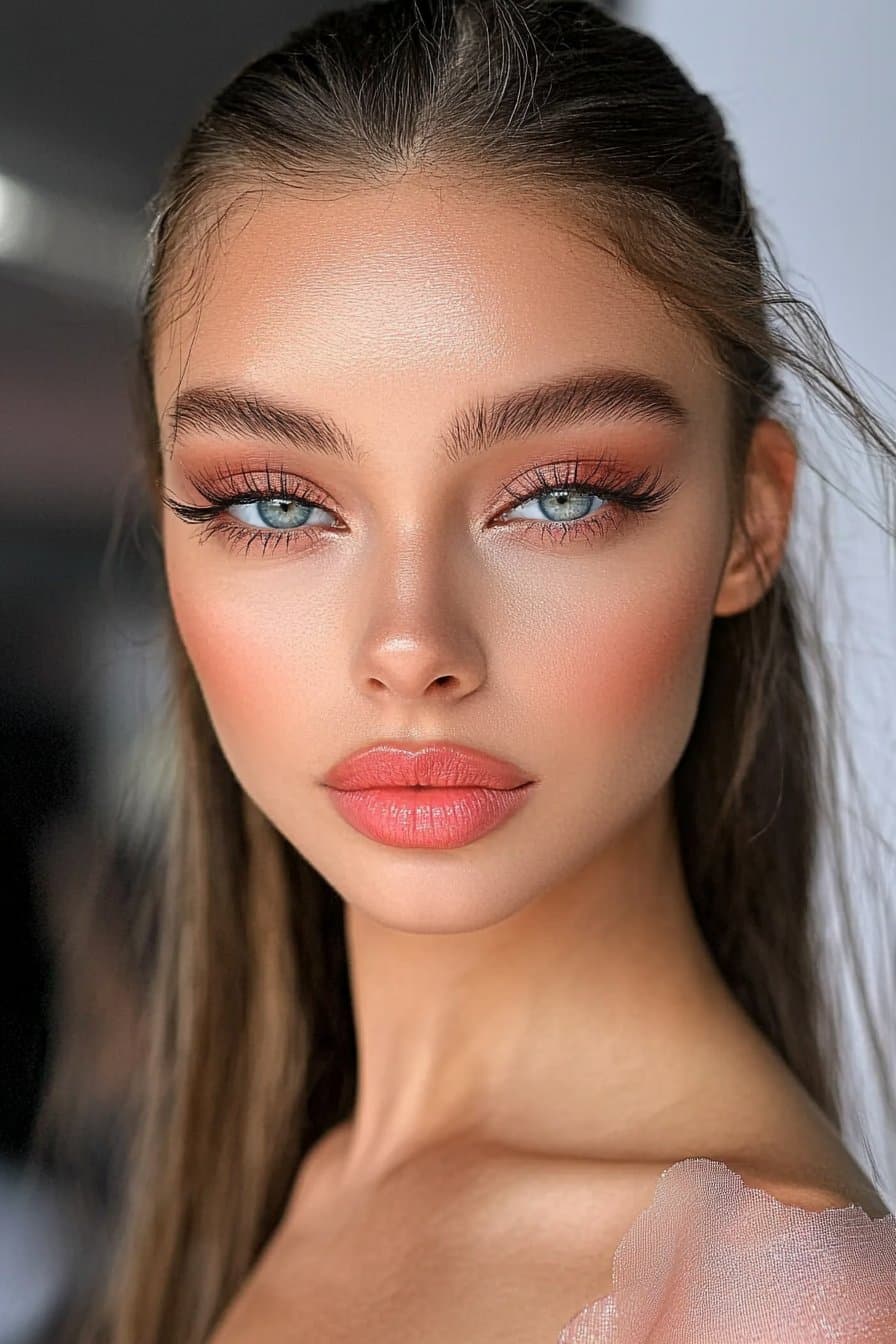
Peachy Monochromatic Makeup
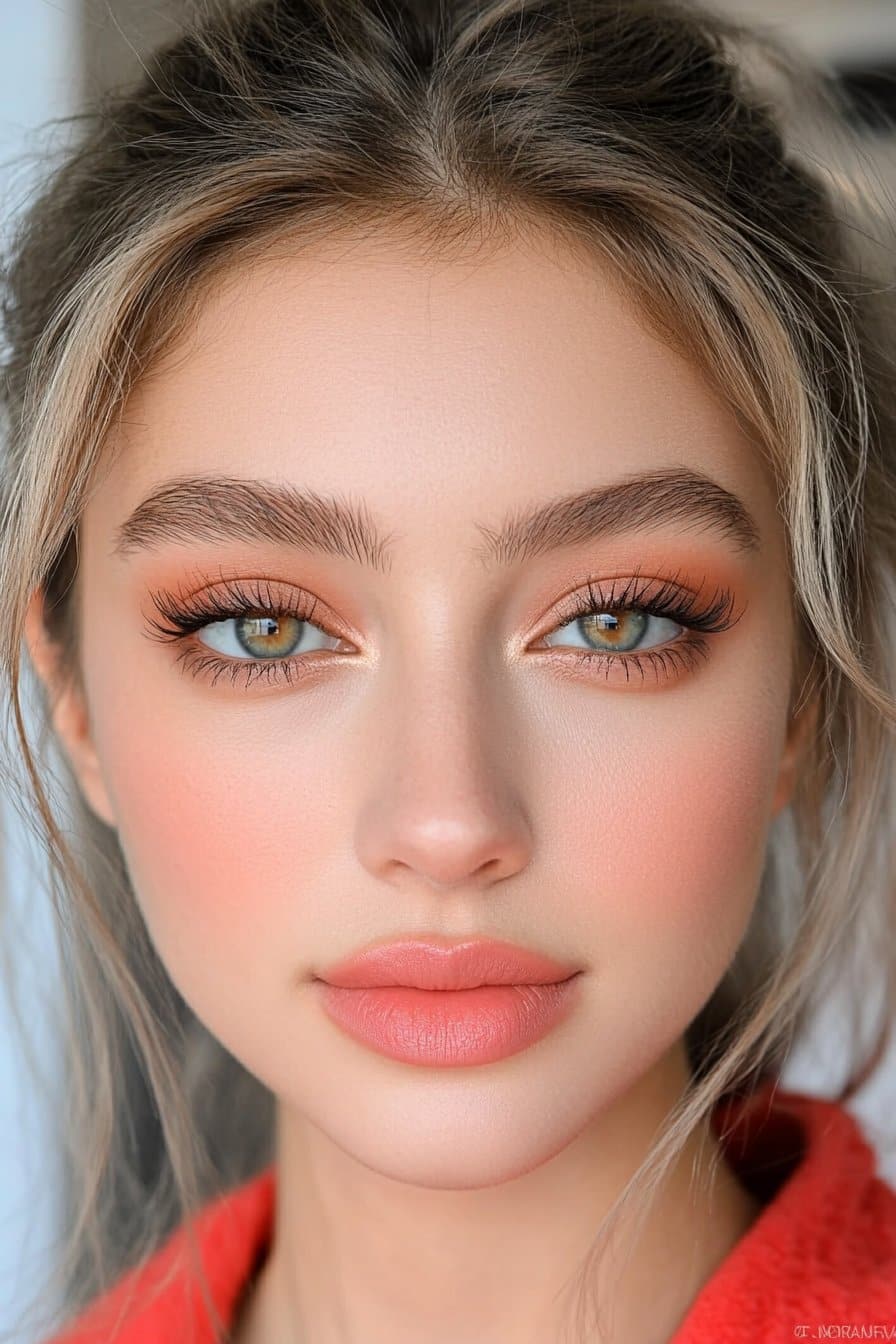
Peach makeup stands out as 2024’s defining trend and Pantone’s Color of the Year. My work at Fashion Week has shown me that this versatile shade makes every skin tone look beautiful and creates a fresh, modern look.
Monochromatic Application Steps
A flawless peach monochromatic look starts with a hydrating primer and CC cream to create a luminous base. We focused on building dimension with cream products that blend naturally into the skin. My experience shows that thin layers of product give you that beautiful peachy glow without looking heavy.
Peachy Product Selection
My professional kit to create the perfect peach look has:
- Cream-based peach blush for cheeks and eyes
- Dual-use products for perfect color matching
- Hydrating peach-tinted lip products
- Shimmer dust to add dimension
Color Coordination Tips
The art of peach monochromatic makeup depends on smart color placement. Start with a light wash of peach shadow on your eyes and build the intensity step by step. Your undertones matter – warmer skin tones look radiant with coral-leaning peaches, while cooler complexions shine with pink-based variations.
My celebrity sessions taught me a professional secret: use the same peach shade on both cheeks and eyes, then add a slightly deeper tone in the crease to define. A successful monochromatic look needs color harmony with subtle variations in texture and intensity across facial features.
Full Coverage Glam
Full coverage makeup has become my signature technique for red carpet events. I’ve spent countless hours working with Hollywood’s elite to perfect it. When I moved from New York to Los Angeles, I found that there was a specific way to achieve flawless full coverage by mastering certain techniques and products.
Full Coverage Application
Flawless coverage starts with proper skin preparation. My process begins with thorough moisturizing and a primer that matches your skin type. The best results come from applying foundation in thin layers. Each layer needs 60 seconds to set before adding the next one. My time at Fashion Week taught me that using a dense foundation brush with circular motions creates an airbrushed effect.
High-Coverage Products
My professional kit has these must-have items for full coverage looks:
- Polymer-blend foundations designed to last 12-16 hours
- HD foundations with 21-50% pigment concentration
- Setting powders with light-reflecting properties
- Long-wear setting sprays for extended durability
Long-wear Setting Tips
We focused on strategic powder placement using a powder puff instead of a brush. Your makeup will last longer if you hold the setting spray 10-12 inches from your face and spray in circular motions. My celebrity work helped me find the “sandwich” technique – applying setting powder after foundation, followed by setting spray, then pressing additional powder into the T-zone. This method locks makeup in place for up to 18 hours.
My work with A-list clients showed me that full coverage doesn’t mean heavy or cakey. The secret lies in building thin layers and using products with high pigment concentration rather than applying thick coats. Red carpet events need foundation testing under different lighting conditions to ensure it photographs beautifully.
Soft Pink Romantic Look

Soft pink romantic looks became my signature style when I moved from Savannah to Los Angeles. My work with celebrities helped me find that this delicate look needs specific techniques and the right products.
Romantic Makeup Steps
A perfect romantic glow starts with good moisturizing and priming. I apply foundation with gentle, swirling motions using a fluffy brush that creates an airbrushed effect. Here’s a professional secret: dot products on your face instead of using a brush. This gives you lighter coverage.
Pink Makeup Products
My professional kit to create romantic pink looks has:
- Charlotte Tilbury lip liner in Pillow Talk that gives subtle definition
- Laneige glowy lip balm that keeps lips hydrated
- Rare Beauty Bliss liquid blush mixed with highlighter
- Dior glow face palette that adds dimensional highlighting
Soft Blending Techniques
My Fashion Week experience helped me become skilled at creating smooth transitions. We used a fluffy brush with gentle, swirling motions to blend products. The key is creating a gradient effect – lighter at the top and darker at the bottom.
Cream eyeshadows work great as a base before powder products. This adds depth while keeping that soft, romantic look. The perfect finish needs multiple layers of setting spray. Hold it 6-8 inches from your face. This technique will give your romantic pink look lasting power for any special occasion.
Golden Goddess Makeup
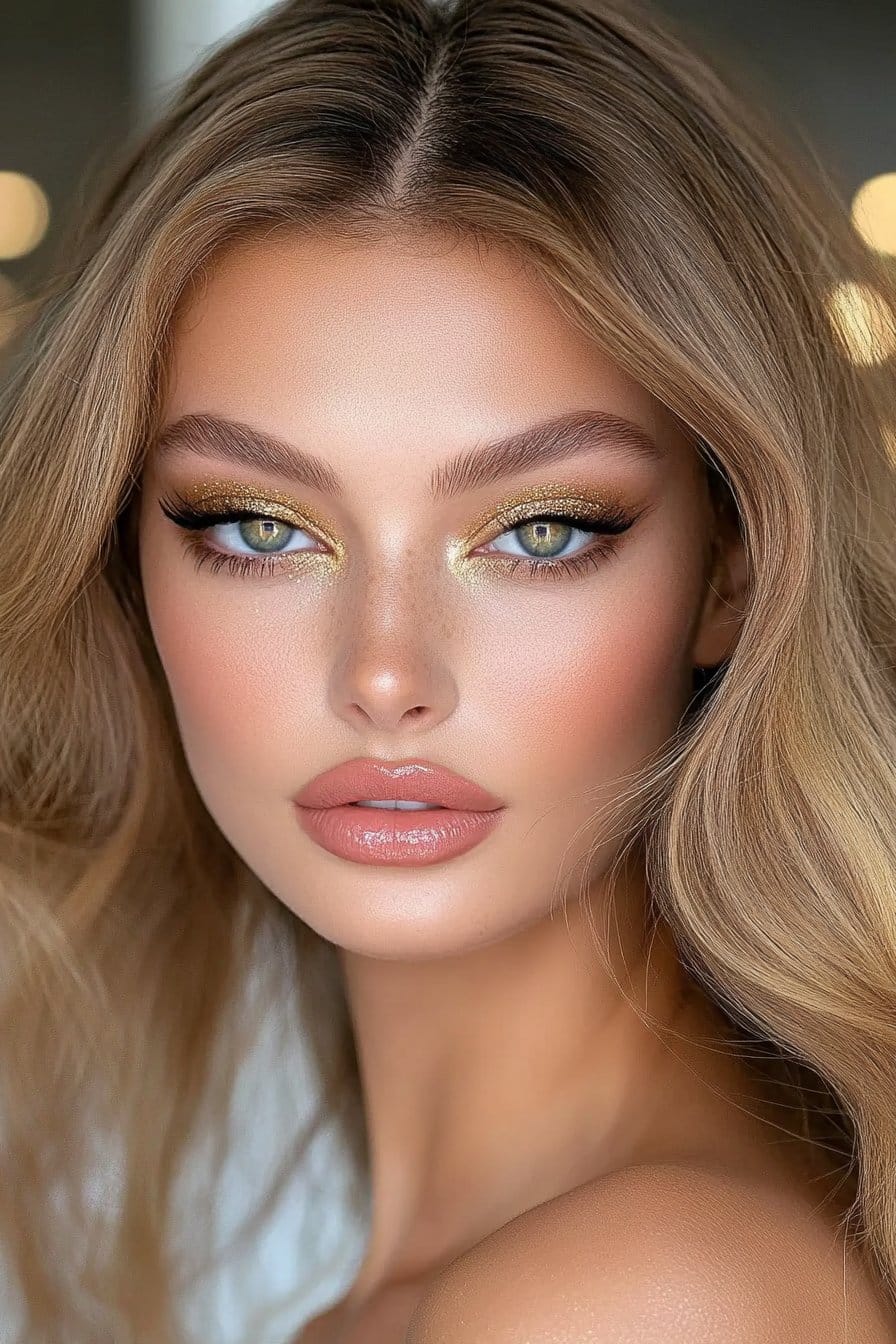
Creating a golden goddess makeup look has been my signature style since I started working with Hollywood celebrities. Over the years, I’ve perfected this technique to achieve a luminous, sun-drenched effect that looks beautiful in any lighting.
Golden Makeup Application
The golden goddess look starts with well-hydrated skin. My process begins with Magic Serum Crystal Elixir, and then I layer Magic Cream to create that plump, radiant base. The eyes need depth, so I apply a molten bronze shade across the lid and concentrate on the inner corners to make the eyes appear wider. A shimmering brown shade blended through the crease with windscreen wiper motions helps boost the eye definition.
Bronzing Products Guide
My professional kit for the golden goddess look has:
- Powder bronzers work best for oily or combination skin types
- Cream formulas give a dewy finish for dry skin
- Gel bronzers blend perfectly with foundation
- Setting sprays with aloe vera ensure lasting wear
Shimmer Placement Tips
The right placement of shimmer products makes all the difference. That signature golden glow comes from applying highlighter in a C-shape from above the brow to the cheekbone. Cream products work best on the face’s high points because they blend seamlessly into the skin.
The final touches involve Cheek to Chic Blusher in Ecstasy. I use a swish and pop technique – the brush swirls around the outer shade for the cheekbones, then pops the middle shade onto the cheeks’ apples. Airbrush Flawless Finish powder sets everything in place. I focus on the T-zone while the glow remains intact on the face’s high points.
Fresh-Faced Daytime Look
My makeup experience started in the bustling streets of New York, where I learned to become skilled at subtle makeup techniques that create a fresh face. Years of work have helped me perfect these methods to create looks that shine in natural light.
Daytime Makeup Steps
We focused on creating a skin-like finish that looks flawless in daylight. A water-based primer creates a smooth canvas after moisturizing. I blend foundation with my fingertips because the warmth helps it melt into the skin for a natural finish. During Fashion Week, I found that applying foundation in thin layers lets your skin’s natural texture show through.
Light Coverage Products
These products work best for daytime looks:
- Tinted moisturizer with skincare benefits
- BB creams for blemish control
- CC creams for color correction
My clients’ results show that formulas with hyaluronic acid and ceramides work best for dry skin. The best lightweight foundations let skin breathe while evening out skin tone effectively.
Natural Glow Tips
Blotting papers work better than adding more powder to keep that fresh-faced radiance. Smart powder placement makes a huge difference – I only apply it to the T-zone and let the high points of the face glow. A pro tip I found shows that applying cream products with fingers instead of brushes creates a natural skin-like texture.
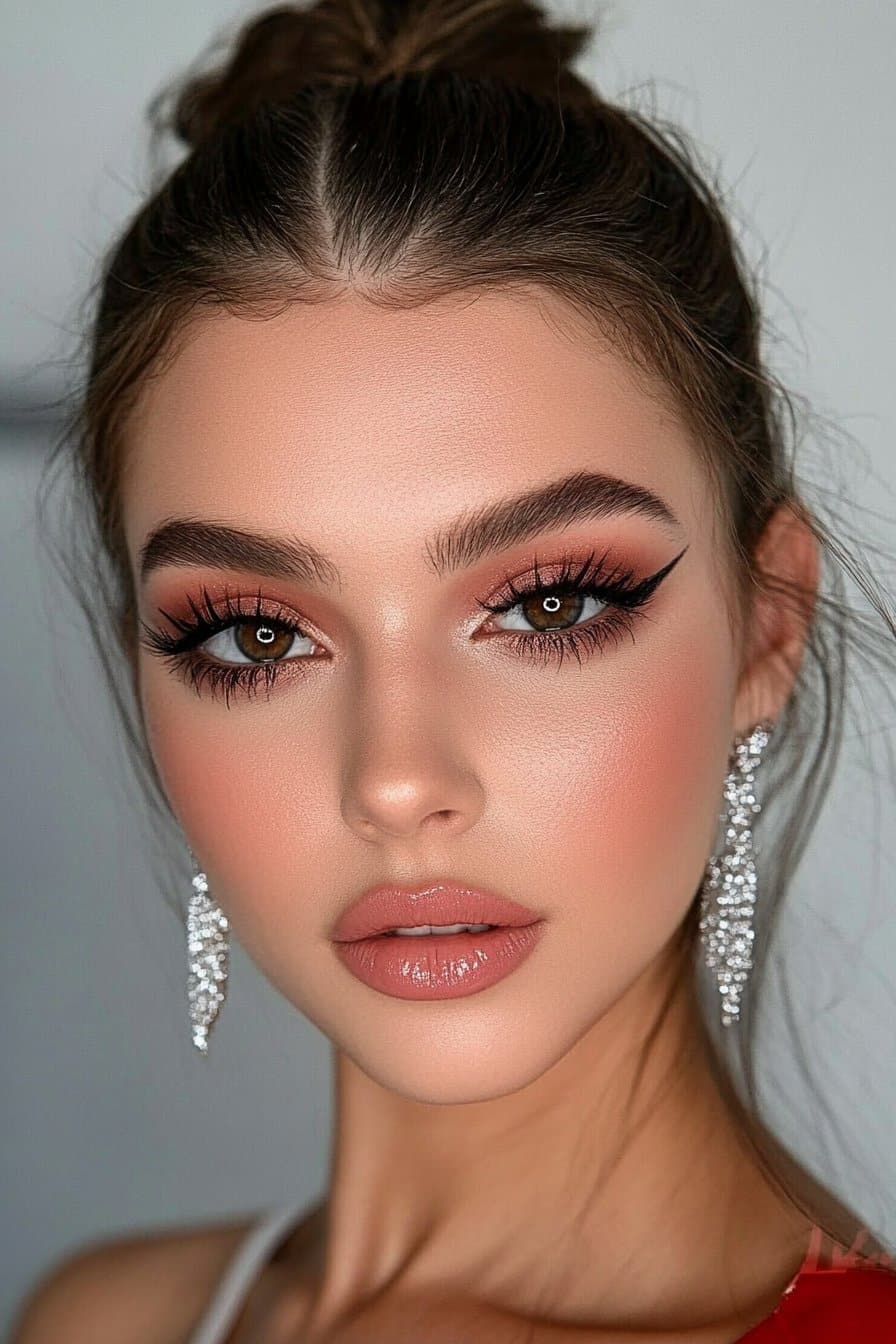
Evening Glam Makeup

My work with A-list celebrities in Los Angeles has helped me become skilled at creating show-stopping evening makeup looks. Red carpet events taught me that evening makeup needs a different approach than daytime looks. This happens mainly because of different lighting conditions and the need for makeup to last longer.
Evening Makeup Application
Evening events need a medium to full-coverage foundation that photographs well under different lighting conditions. The secret lies in proper skin preparation. My process starts with a hydrating primer and color correction. I’ve refined a technique that involves applying foundation in thin layers. Each layer sets to give optimal coverage without looking heavy.
Dramatic Product Selection
These products help create captivating evening looks:
- Long-lasting foundations with 12-16 hours of staying power
- Double Up false lashes for added drama
- Waterproof gel eyeliners for extended wear
- Setting powders with light-reflecting properties
Long-lasting Evening Tips
Experience has taught me that evening makeup success comes from strategic application and setting techniques. Setting powder works best when applied only where needed. The focus should be on the T-zone while keeping the glow on the cheekbones. Setting spray should be held 6-8 inches from the face and misted in an X and T pattern to maximize longevity.
Red carpet events have taught me a professional secret. Evening lighting allows for bolder application of highlighters and face powders. These products appear more diffused and natural under mood lighting. This creates that perfect camera-ready finish that lasts through hours of flash photography.
Flawless Nude Lip Look
My signature challenge throughout my career has been finding the perfect nude lip. This journey started in my early days in Savannah and continued through my work with A-list celebrities in Los Angeles. My experience has taught me that a flawless nude lip comes from understanding your unique features and becoming skilled at specific techniques.
Nude Lip Application
The perfect nude lip depends on precise application. My process starts with a lip liner that matches or is slightly darker than the chosen nude shade. A lip brush works best to apply lipstick, and I pay special attention to the mouth’s corners. One of my professional secrets involves applying thin layers rather than one thick coat. This technique prevents feathering and makes the color last longer.
Perfect Nude Selection
Your undertones play a vital part in selecting the ideal nude shade. The veins on your wrist tell an important story – blue or purple ones show cool undertones, while green ones suggest warm undertones. Blue-based nudes work beautifully on cool-toned skin. Warm-toned individuals look amazing in peachy or orangey nudes. My best advice is to pick a shade that’s slightly darker than your natural skin tone. This keeps your appearance fresh and radiant.
Lip Prep Tips
The right preparation makes much difference in the final result. My professional routine has:
- Gentle exfoliation with a lip scrub to remove dead skin
- Application of hydrating lip oil or balm
- Light layer of concealer to neutralize natural lip color
- Setting with a fine translucent powder before lipstick application
The sort of thing I love doing with my celebrity clients is spot-powdering specific areas instead of covering the entire lip. This technique adds dimension while making the color last longer. The final touch involves holding setting spray 6-8 inches from the face and misting in an X and T pattern. This creates that red-carpet worthy finish.
Perfectly Blended Eyeshadow
My passion for eyeshadow blending grew after I led makeup teams at New York Fashion Week. Through the years, I’ve found that well-blended eyeshadow serves as the foundation for countless stunning eye looks.
Eyeshadow Blending Steps
A successful eyeshadow application needs proper preparation. I start by applying an eyeshadow primer or concealer to create a smooth base. The primer should dry for at least 10 seconds before you apply shadow. Here’s a professional secret – you can use leftover foundation or concealer on your lids when primer isn’t available.
Best Blending Products
My professional kit has these must-have brushes for flawless blending:
- MAC 224 Tapered Blending Brush to work all over the lid
- Smith Cosmetics 230 Quill Crease Brush to define the crease precisely
- MAC 234 Split Fiber Eye Blending Brush to work with cream shadows
Pro Blending Techniques
We used windshield-wiper motions along the crease to soften edges and diffuse color. Dark shades need a special touch – hold your brush like a pen and keep your fingers up the handle to apply color gently. Clean brushes are crucial for each shadow color to avoid muddy looks.
My celebrity clients love this technique – use translucent powder as a magic eraser. A clean fluffy brush with translucent powder helps take down an overblended crease edge. Cream shadows work best when you tap the product with your fingertips first, then buff out harsh lines with a clean blending brush.
Radiant Glow Makeup
My love for creating radiant glow makeup grew stronger after I worked with A-list celebrities at the Golden Globes. Over the years, I’ve found that luminous skin needs more than just highlighter. You need to layer products strategically and master specific application techniques.
Radiant Makeup Application
The secret to that coveted glow starts with good skin prep. We applied a hydrating primer with rosehip oil, then mixed luminous foundation with liquid illuminator. Here’s a pro tip I learned: use your fingertips to apply foundation. This helps the products blend naturally into your skin.
Glow-boosting Products
My pro kit has these must-have items to create radiant looks:
- Charlotte Tilbury Hollywood Flawless Filter for subtle sheen
- Saie Glowy Super Gel Illuminating Serum for dewy finish
- Chanel Les Beiges Water Tint for hot summer days
- Pai The Impossible Glow drops for instant radiance
Luminosity Tips
Long-lasting radiance depends on where you place your products. Apply highlighter in a C-shape from above the brow to the cheekbone. If you have oily skin, focus setting powder only on the T-zone. This helps you keep the glow on your face’s high points.
I love using ice rolling on my celebrity clients before makeup application. It really helps minimize pores. You can keep that red-carpet worthy glow all day by using blotting papers instead of adding more powder. This preserves the dewy finish while keeping excess shine in check.
Timeless Hollywood Glam

My trip into Hollywood glamor makeup started backstage at the Academy Awards. I found that timeless elegance needs precision and dedication. Working with A-list celebrities helped me perfect these techniques to create looks that shine both on and off camera.
Hollywood Glam Steps
Great skin preparation sets the foundation for Hollywood glamor. Magic Serum Crystal Elixir goes into the skin first to provide deep hydration. Charlotte’s Magic Cream comes next – it’s the backstage secret that stars rely on for their lit-from-within glow. The classic Hollywood base comes from mixing full-coverage foundation with Hollywood Flawless Filter, which creates an airbrushed effect.
Glamor Product Selection
My Hollywood glamor kit has these must-have items:
- Airbrush Flawless Foundation for perfect coverage
- Hollywood Flawless Filter for luminous glow
- Walk of No Shame lipstick for that classic red pout
- Cheek to Chic in First Love for subtle flush
Classic Beauty Tips
The signature Hollywood gaze needs delicate neutral and rosy shades to prime the lids. A minimalist winged liner follows. The real secret lies in strategic powder placement – the T-zone gets the focus while the cheekbones keep their glow. Highlighter goes on the face’s high points using the Glow Glide Guide. This creates that magical, megawatt glow of the stars.
Red carpet events taught me a professional secret – the “SWISH + POP” technique for blush. You sweep around the outer ring first, then add a shimmering pop from the center. The final touch is setting spray held 6-8 inches from the face. Mist it in an X and T pattern to get that red-carpet worthy finish that lasts through hours of flash photography.
Conclusion
My experience from Savannah to Los Angeles has helped me perfect these 24 flawless makeup looks through countless celebrity sessions and red carpet events. Each look, from classic natural to timeless Hollywood glam, shows what I’ve learned over many years of hands-on work.
Working with A-list clients taught me that becoming skilled at makeup requires deep knowledge of both techniques and products. The coveted flawless finish comes from proper skin preparation, the right tools, and precise application methods. Professional results depend on strategic powder placement, proper brush techniques, and a good understanding of face shapes.
Leading makeup teams at Fashion Week and working with celebrities showed me that true makeup mastery lies in adapting these looks to each person’s features. Success comes from techniques that improve your natural beauty and build confidence, not from blindly following trends.
Makeup artistry celebrates creativity and self-expression. These looks are your inspiration – mix elements from different styles to create your signature look. New techniques need patience, but the way makeup can transform you makes it worth it.