Are you tired of spending hours to perfect your makeup routine? I have found that stunning girly makeup looks do not need a professional makeup artist or endless tutorials to create.
My experience as a makeup artist has shown me a beautiful change in beauty trends. Natural esthetics with dewy skin, peachy-pink blush, and glossy lips make gorgeous makeup more achievable now. These looks create that polished appearance effortlessly – even with limited time.
Let me share 12 cute makeup ideas that you can recreate in under 10 minutes. These easy-to-follow looks will help you enhance your natural beauty and feel perfectly put together, whether you are just starting out or want to simplify your routine.
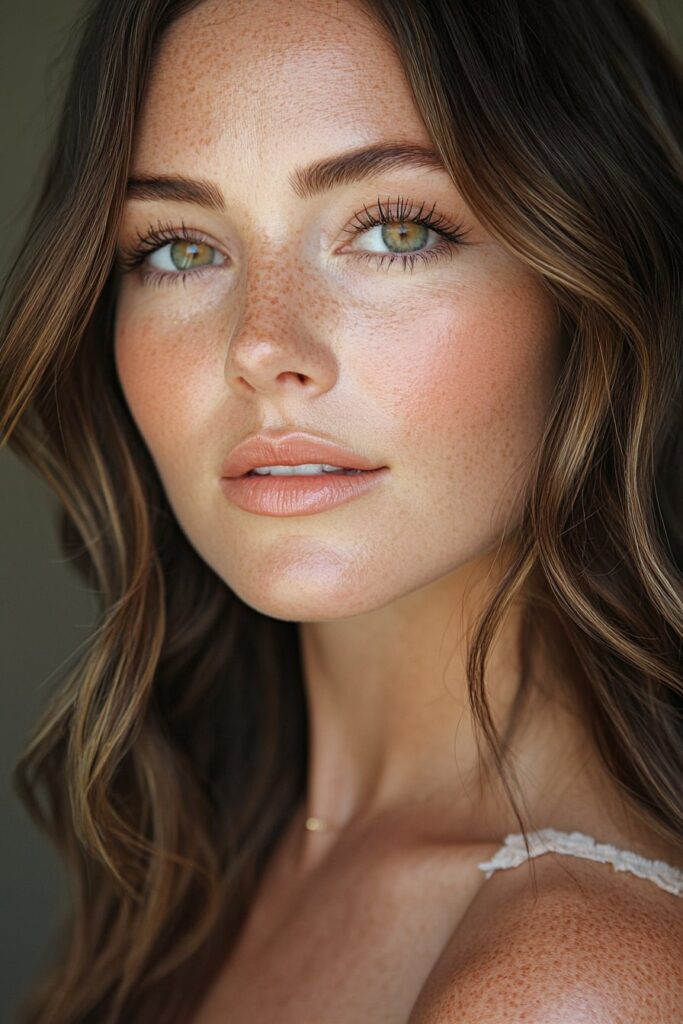
Natural Dewy Glow Look

I’ve spent my career as a makeup artist perfecting the technique of creating that perfect dewy glow. After working with different skin types, I found that there was a quick way to achieve this look in just minutes.
Essential Products Needed
You’ll need these items to create a natural dewy look:
- A water-based moisturizer with hyaluronic acid
- Hydrating primer
- Tinted moisturizer or lightweight foundation
- Cream blush
- Liquid highlighter
- Setting spray
5-Minute Application Steps
Clean your skin gently and apply a water-based moisturizer. A hydrating primer comes next to create a smooth base that helps your makeup stick better and stay longer.
Grab your tinted moisturizer or lightweight foundation. Your fingertips work best to blend it outwards from your nose. This method will give a smooth coverage without streaks.
The sun-kissed glow comes from dabbing cream blush on your cheeks’ apples and blending up toward your temples. On top of that, it helps to add a tiny bit to your eyelids for a natural look.
Your perfect glow depends on where you place the highlighter. Tap liquid highlighter softly along your cheekbones, nose bridge, and above your cupid’s bow. Note that a light touch works best – you want to look naturally glowing, not obviously sparkly.
Best Occasions to Wear
This versatile look fits perfectly for:
- Daily office wear
- Casual outings
- Brunch dates
- Weekend activities
- School events
Pro Tips for Lasting Dewiness
Working with countless clients, I found that there was a handful of tricks to make this look last. Your skin needs exfoliation before any hydrating products. This lets your skincare work better and creates the perfect base for dewy makeup.
People with oily skin should put mattifying primer just on their T-zone. More importantly, stay away from powder products since they can kill the dewy effect. A hydrating setting spray works better to lock everything in place.
Your glow might fade during the day, so keep a facial mist nearby for quick touch-ups. Cream products should go on before liquid ones to create that beautiful “lit-from-within” radiance.
Here’s a pro secret: mix a tiny drop of facial oil with your foundation to boost luminosity. In spite of that, if you have oily skin, stick to strategic highlighter placement instead.
Soft Girl Esthetic
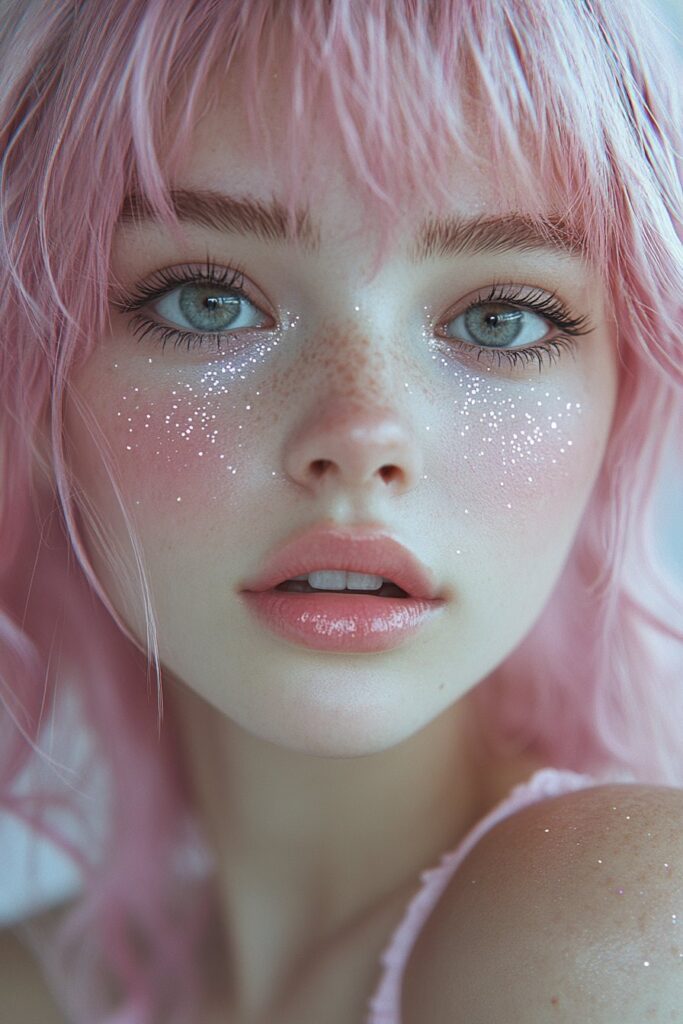
My work as a makeup artist has shown me how the soft girl esthetic has become one of the most charming makeup trends. This delicate style celebrates natural beauty with a sweet, feminine touch that you can easily master.
Key Makeup Elements
The soft girl makeup creates a fresh, dewy complexion. The look focuses on glowing skin, peachy-pink blush, and bright eyes that bring out your natural features. This style stands out with its rosy, wind-swept cheeks and glossy, pillowy lips.
Quick Application Guide
Start by cleansing and moisturizing your skin. Next, apply a lightweight foundation or tinted moisturizer to create a natural finish. Cool-toned browns work better than warm shades on the eyes and give a softer appearance.
Your blush placement makes this look special. Apply a bright pink or peach blush upward toward your under-eye area to lift your features. A touch of highlighter on your nose tip and cupid’s bow will give that signature soft girl glow.
Product Recommendations
You’ll need these items to create this look:
- A hydrating primer to create a dewy base
- Lightweight, dewy-finish foundation
- Peachy-pink cream or powder blush
- Soft shimmer eyeshadows without chunky glitter
- Glossy lip products in nude pink shades
- Fluffy, natural-looking false lashes or lengthening mascara
Styling Tips
My work with clients of all types has shown that the details make this look special. Skip heavy contouring since this esthetic celebrates your natural facial features. Cream products create that dewy finish better than powders.
Curl your lashes before mascara or false lashes to open up your eyes and create that sweet, doe-eyed effect. Soft shimmers look better than intense metallics on your eyes.
Here’s a pro tip: layer your blush products. Start with a cream formula and add a matching powder shade on top to make it last. This method keeps your rosy glow fresh all day without looking heavy.
Note that this look celebrates what makes you unique. Feel free to adapt these techniques to enhance your features while keeping that soft, feminine charm.
Fresh-Faced Minimalist
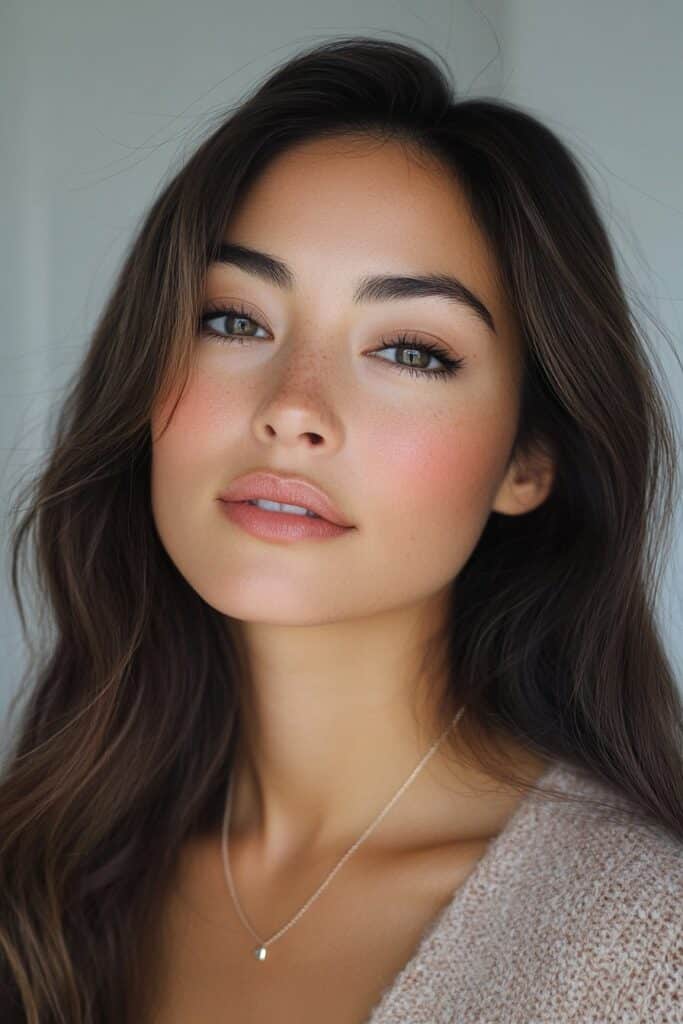
I’m a makeup artist who believes in keeping things simple. I found that a polished look doesn’t need tons of products. My minimalist approach has helped many clients bring out their natural beauty with just three items.
3-Product Technique
My early days in Savannah taught me that a simple routine will give stunning results. The magic trio has:
- A versatile concealer that doubles as a light foundation
- A multi-purpose lip and cheek tint
- A bronzer for subtle definition
These three products are the perfect starting point for beginners who want a fresh-faced look without an overwhelming makeup collection.
Application Steps
Start by applying concealer to smooth out imperfections and create an even base. Your fingertips or a beauty sponge work best with gentle patting motions for smooth blending. This technique works especially when you have busy mornings or travel plans.
Next comes your lip and cheek tint. Cream products are versatile – they create a natural flush that seems to glow from within. Put it on your cheeks’ apples and blend upward along your cheekbones. On top of that, it works great on your lips to tie the whole look together.
The final touch is dusting bronzer along your face’s perimeter and cheekbones. This adds warmth and dimension without looking overdone. Without doubt, light, buildable layers work better than applying too much at once.
Perfect for Beginners
My career has shown me that makeup newcomers often feel overwhelmed by complex routines. This minimalist approach has several benefits:
A simple product selection takes away decision fatigue and makes your morning routine effortless. Cream-based products blend easier and work better for those still learning their technique.
Here’s a pro tip: good brushes that serve multiple purposes are worth the investment. A dual-ended brush handles both powder and cream products well. A streamlined collection keeps products fresh and makes sure you use everything you own.
My workshop participants learn that this approach doesn’t limit creativity – it helps them become skilled at the essentials. After mastering these simple techniques, they can grow their routine based on comfort and needs.
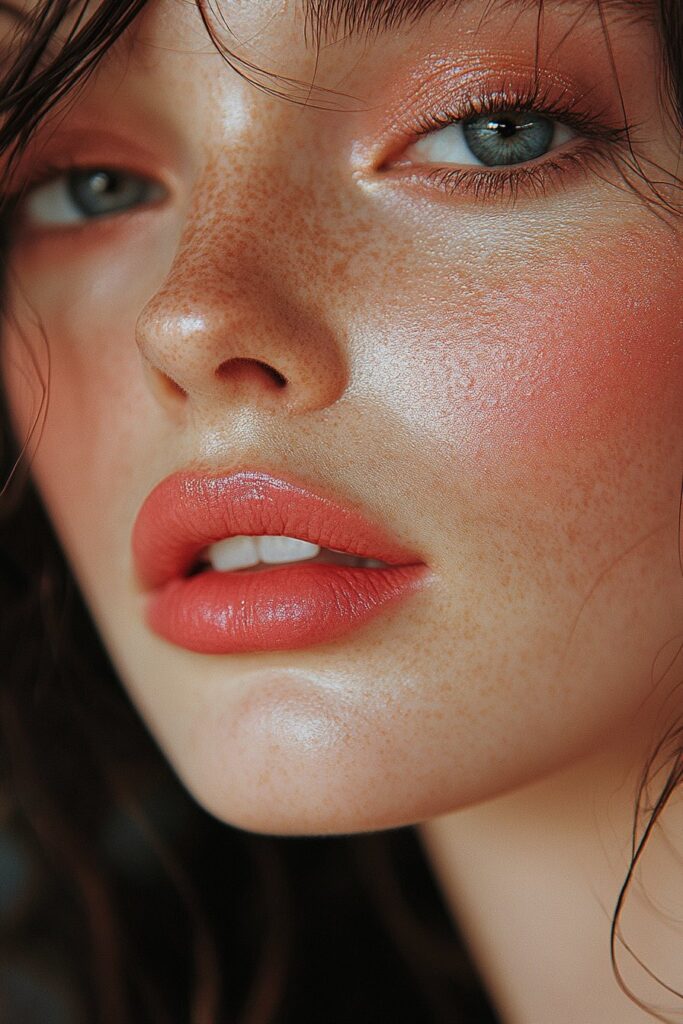
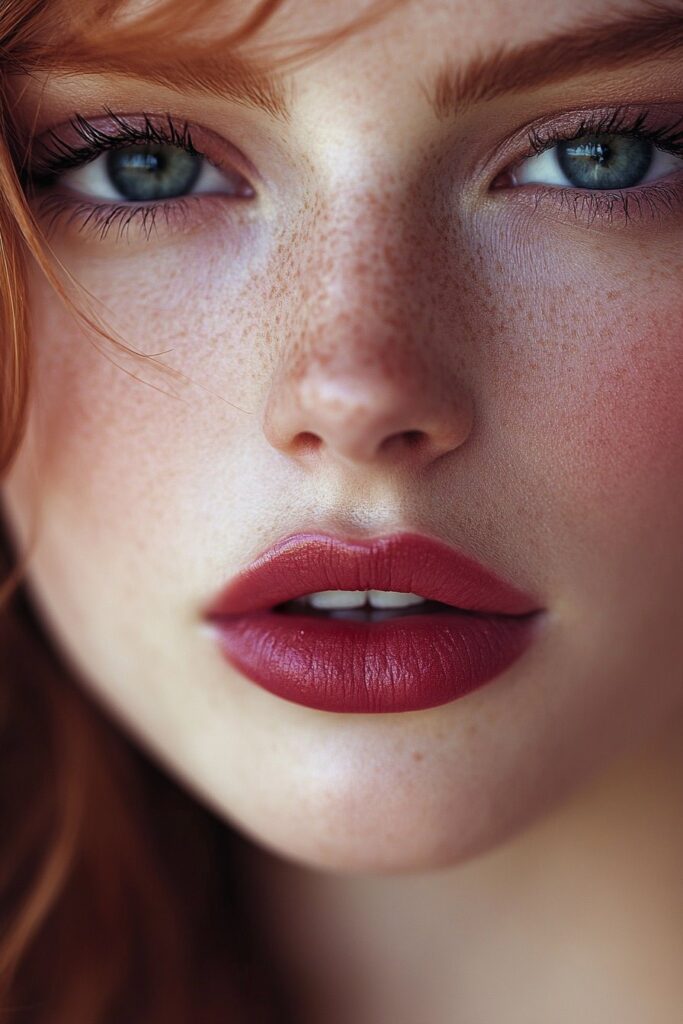
Rosy Cheeks and Glossy Lips
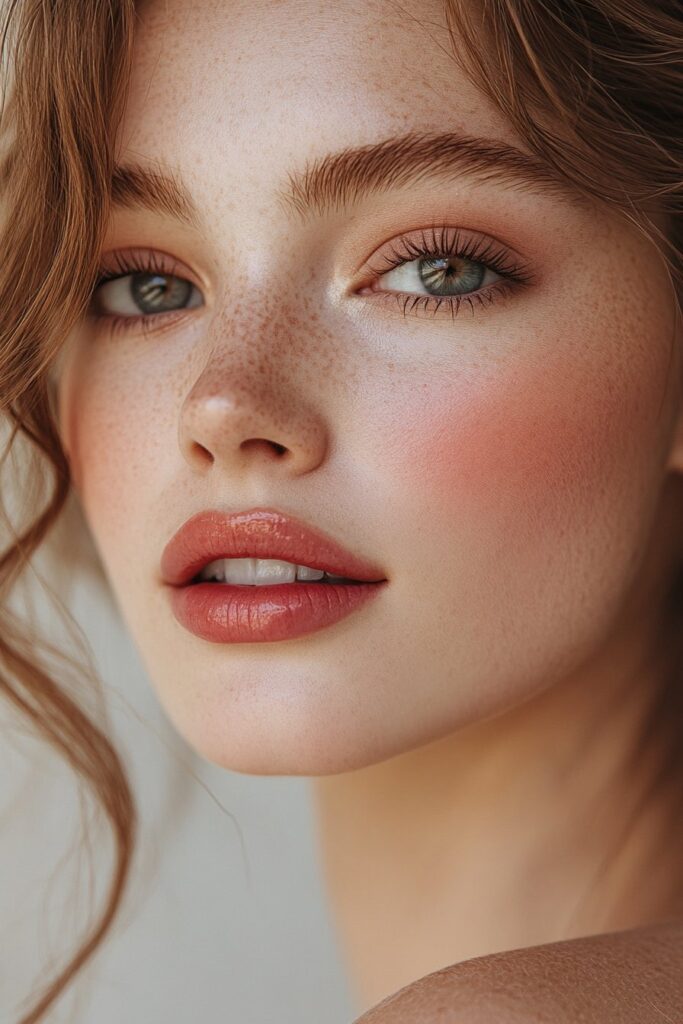
My Savannah studio has helped me become skilled at creating that perfect rosy-cheeked, glossy-lipped look. This signature technique brightens any face quickly and brings a natural flush of youth to every complexion.
Product Selection
The sweet, feminine look needs:
- A cream or liquid blush in rosy or berry tones
- Clear lip gloss or lip oil for maximum shine
- Multi-use color-shift stick for both cheeks and lips
- Hydrating lip products in various finishes
Cream-based products create the most natural-looking flush. Blush shades should bring out a flattering universal rosy color. Your lips can shine with any finish – from glossy to sheer to matte.
2-Minute Application
Warm the blush product on your fingertips first. Pat it gently onto your cheeks’ apples and blend upward toward your temples. A small amount swept across your nose’s bridge creates that cute, slightly flushed appearance.
Pick a lip finish that matches your style. Clear lip gloss or lip oil gives a no-brainer, juicy finish. The center of your lips needs more product for maximum plumpness.
Variations for Different Skin Tones
This look’s versatility makes it perfect for different skin tones. My professional experience shows:
Cool undertones look best with blush and lip products that have blue or purple bases. Berry shades and soft pinks with blue undertones create a natural flush. Warm undertones glow with coral and peach-tinted products that highlight their natural radiance.
Neutral undertones offer the most flexibility – cool and warm shades both complement the complexion. Soft rose tones or balanced nude shades work great as starting points.
Deep skin tones shine with vibrant berry or bright red tones that create the perfect flush. Pastel shades should be avoided as they might look washed out.
My workshop participants learn this pro tip: your lip gloss undertone should match your skin’s undertone. Cherry reds make cool undertones stunning, while peachy-coral shades make warm undertones glow.
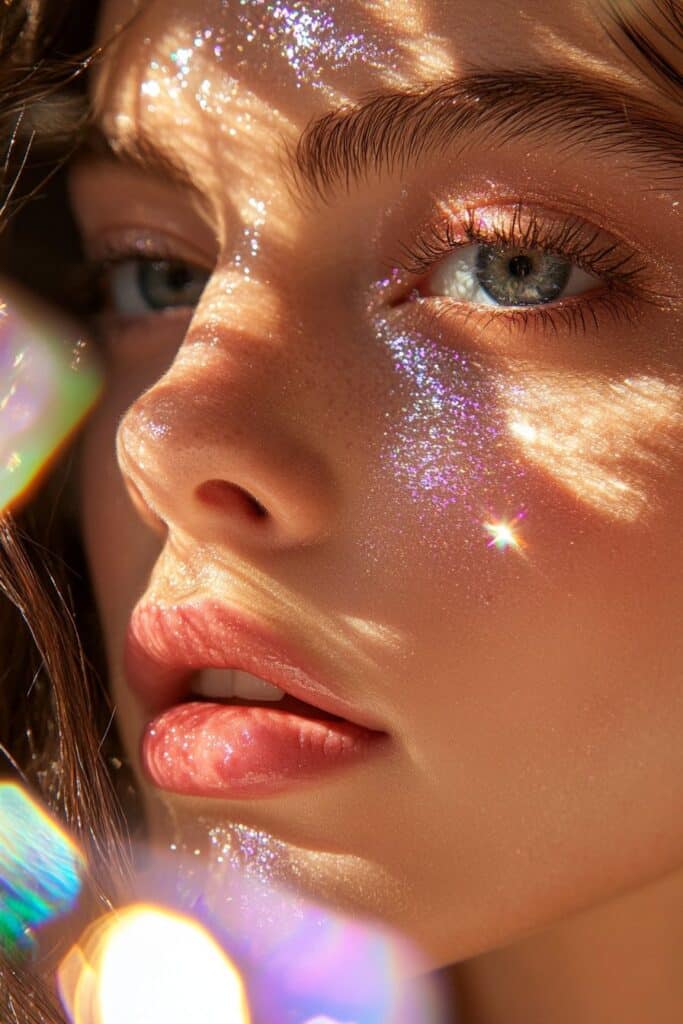
Subtle Shimmer Eyes
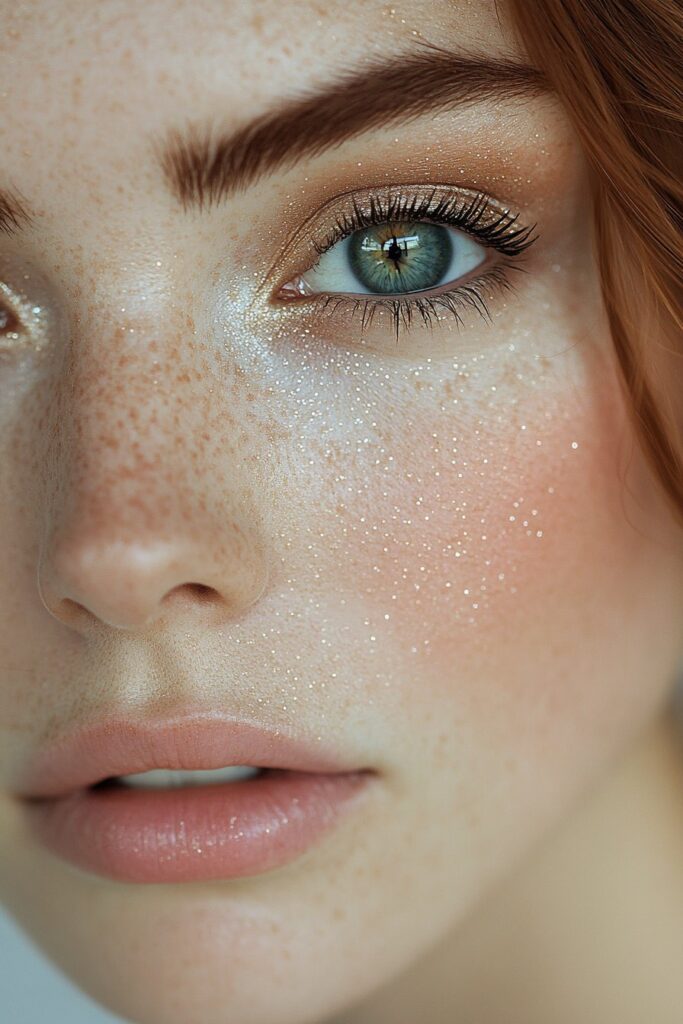
Shimmer eyeshadow has captivated me since my early days at the Makeup Designory. After countless client sessions, I found that there was a subtle shimmer that can make any eye look go from simple to breathtaking without looking overdone.
Product Choices
The perfect subtle shimmer needs these products:
- Cream shadow sticks in moonstone or neutral shades
- Liquid shimmer shadows with fine particles
- Pressed powder shadows with subtle sparkle
- Gel-based shimmer formulas
My work with different eye shapes shows that cream formulas give beginners the most control. Liquid shadows dry fast and give a gorgeous color wash across the lids.
Quick Application Method
Apply a cream shadow stick across your lid and blend upward to the crease. Your fingertips work better than brushes to help the shimmer stick to your skin naturally.
A small dab of shimmer shadow should go on your lid’s center and inner corner. This placement creates beautiful light-catching dimension without too much sparkle. A damp brush will make the shimmer pop while keeping fallout minimal.
Here’s a pro tip I share with everyone: Define your lashline well before the shimmer goes on. Keep a small strip of matte shadow above the lashline, with shimmer slightly higher up. Your eyes will have depth without looking puffy.
Day-to-Night Transitions
My career in Los Angeles taught me to become skilled at turning daytime shimmer into evening glamor. Daytime looks need shimmer just on the lid’s center to stay workplace-friendly.
Evening looks can be enhanced by:
- Adding darker shimmer to the outer corners
- Layering complementary shimmer shades
- Creating a subtle wing with a damp brush
- Adding deeper tones in the crease
Monolids or hooded eyes look best with shimmer near the lashline where it shows when eyes close. You might also try placing shimmer slightly above the natural crease to create more lid space.
My signature technique uses sheer, buildable formulas. Start light for daytime wear, then build intensity for evening events without removing your base makeup. This method lets your shimmer eye look evolve smoothly throughout your day.
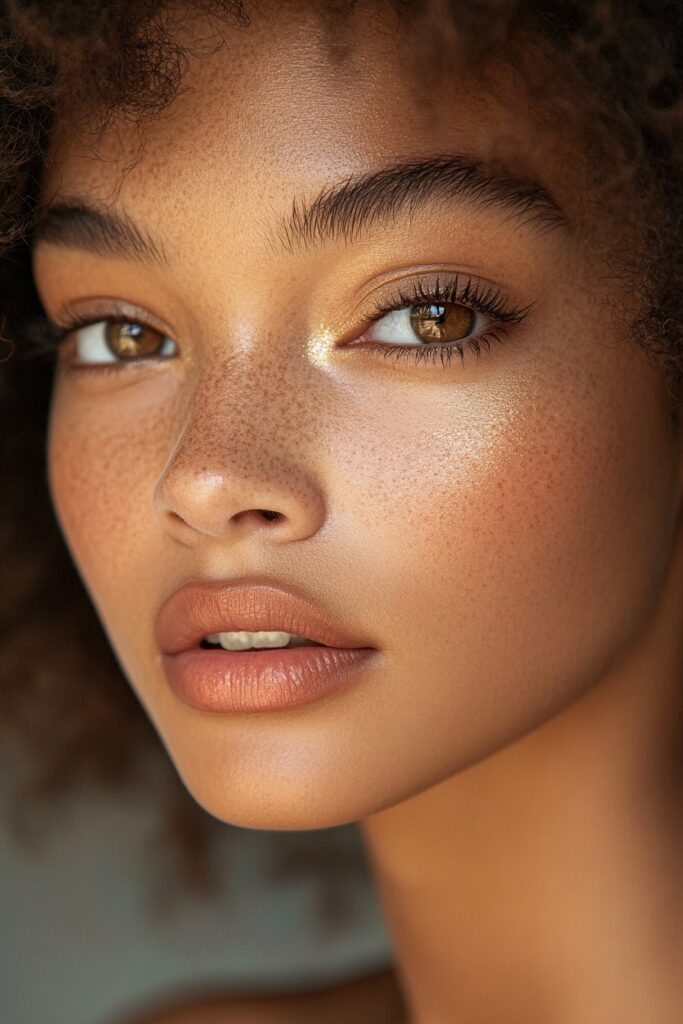
Peachy Summer Glow
My love for creating sun-kissed summer looks started right in Savannah’s vibrant streets. The peachy summer glow has become my clients’ favorite style. It works beautifully on every skin tone and takes just minutes to create.
Essential Products
After countless client sessions, here’s my perfect product lineup for this look:
- A light-reflecting foundation that gives natural radiance
- Cream concealer in two shades that help highlight and contour
- Peach-toned eyeshadow duo
- Coral lip and cheek tint
- Champagne highlighter
- Setting powder to control shine
Application Steps
Start by prepping your skin with a hydrating primer. My best tip is to apply foundation on the back of your hand first. Then use a damp beauty blender for the smoothest finish.
The natural contouring comes from using a darker concealer shade along your cheekbones. A lighter concealer around your eyes and nose area adds brightness. Your features will look naturally sculpted without any harsh lines.
The signature peach element comes next. Put peach eyeshadow across your crease to create a soft wash of color. Blend it well for a smooth transition. You can add depth with a deeper shade in the outer corners.
The perfect summer flush depends on how you apply coral blush. Use your fingertips to tap the product onto your cheeks gently. The color might look bright at first, but it blends into a beautiful natural flush.
Color Variations
Years of experience have shown me that peach makeup is incredibly versatile. Softer, neutral peach tones work great for daytime looks. These shades are perfect for office wear or casual outings.
Evening looks call for deeper, more vibrant peach hues. Golden-peach tones create a stunning bronzy finish. This combination photographs beautifully and gives that perfect sun-kissed effect.
Here’s a pro tip I share with all my clients: layer your peach products the right way. Begin with cream formulas as your base and build intensity with powder products where needed. This approach gives you lasting wear while keeping that gorgeous dewy finish.
Warm undertones look amazing with coral-peach shades. Cool undertones pair better with pink-based peach tones. This small adjustment makes all the difference in how the colors enhance your natural complexion.
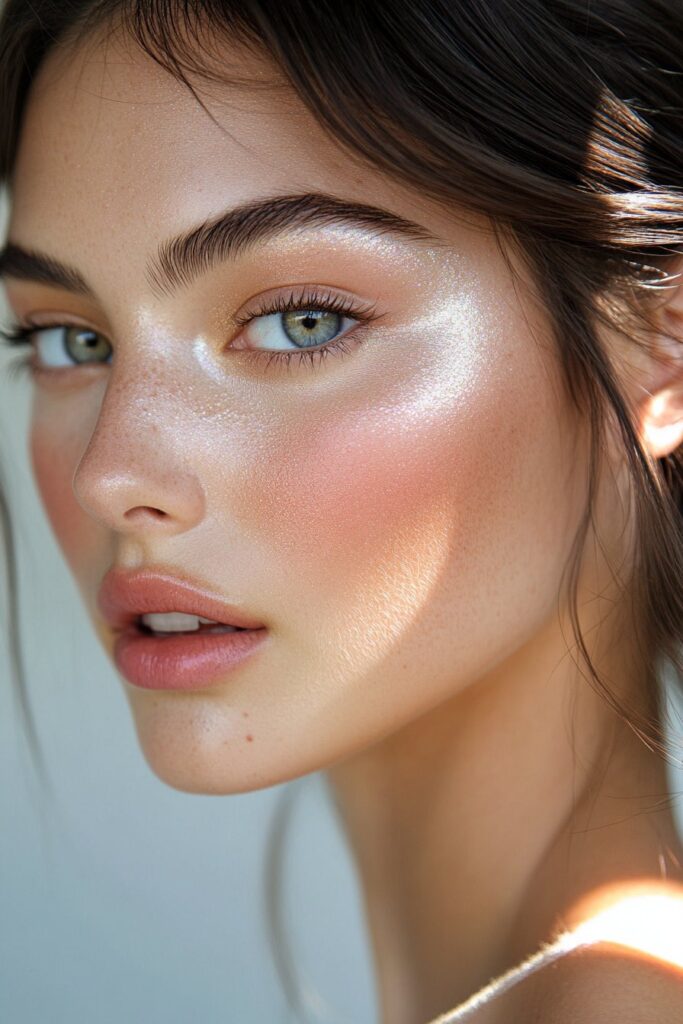
Glass Skin Inspired
My Korean adventures led me to find the fascinating glass skin trend that has changed how we see natural beauty. This look showcases hydrated, luminous skin that looks so clear and smooth, it has a pristine glass-like quality.
Key Products
You’ll need these items to create this ethereal look:
- A gentle, hydrating cleanser
- Hyaluronic acid serum
- Cream-based foundation with dewy finish
- Translucent highlighter
- Setting mist
My hands-on work shows that products with ceramides and squalane give you that bouncy texture. Facial oils are vital to get the signature glow – they create that glass-like luminosity.
5-Minute Routine
Start with a good cleanse using a mild, hydrating formula. Put a hydrating serum with hyaluronic acid on your face, neck, and chest. This step locks in moisture perfectly.
A hydrating primer comes next to create a smooth canvas. Build up your liquid foundation in light layers so your natural skin glows through. The glass-like sheen comes from cream highlighter tapped onto your face’s high points.
I created a technique for strategic powder placement. Put lightweight translucent powder only on areas that get oily – usually the nose, forehead, and chin. This keeps the dewy look while stopping unwanted shine.
Maintenance Tips
Years of experience have taught me that glass skin needs constant hydration. Multiple layers of moisture make all the difference. Your makeup will patch off or fade if your skin isn’t properly hydrated.
These pro tips will help you get lasting results:
- Layer products thinly instead of thick coats
- Put facial oils on before foundation
- Apply cream products before powders
- Finish with dewy setting spray in T- and X-formations
Glass skin isn’t about being perfect – it enhances your natural radiance through smart product layering and good skin prep. Anyone can get this sought-after luminous look with consistent practice of these techniques.
Flushed Romance Look
Romance has been my go-to makeup theme ever since I started my journey in Savannah. My experience with countless brides and special occasion clients helped me perfect a flushed romantic look that captures that magical “in love” glow.
Product List
My dream-look kit has these essentials:
- Pillow Talk Beauty Light Wands in original shade
- Matte Beauty Blush Wands in pink tones
- Hydrating foundation with dewy finish
- Cream highlighter for subtle luminosity
- Setting spray for longevity
Quick Application
Start with a flawless foundation base. The Pillow Talk Beauty Light Wand goes onto your cheekbones, nose bridge, and above brows. This creates a soft-focus shimmer that looks stunning in daylight and evening settings.
The secret to that perfect romantic flush lies in smart blush placement. Put a dot of matte blush on your cheeks’ apples. A second dot blended upward adds more pigment. You can add a third layer for extra drama.
My years of experience taught me to layer different textures. Cream products create that natural-looking flush first, then powder formulas build intensity where needed.
Occasion Recommendations
This adaptable look works beautifully for:
- Romantic dinner dates
- Wedding celebrations
- Valentine’s Day events
- Special photoshoots
- Formal gatherings
Daytime events need lighter application with focus on fresh, dewy skin. Evening looks can handle more intensity with extra blush and highlighter layers. My career taught me this look photographs beautifully and strikes the perfect balance between natural beauty and romantic charm.
A pro tip I love sharing: your blush undertone should match your skin’s natural flush. Cool-toned skin glows with cherry-pink shades, while warm undertones shine in peachy-coral hues. The Pillow Talk Matte Beauty Blush Wands come in four distinct shades – from light pink to juicy cherry – so you’ll find your perfect match.
Pastel Princess
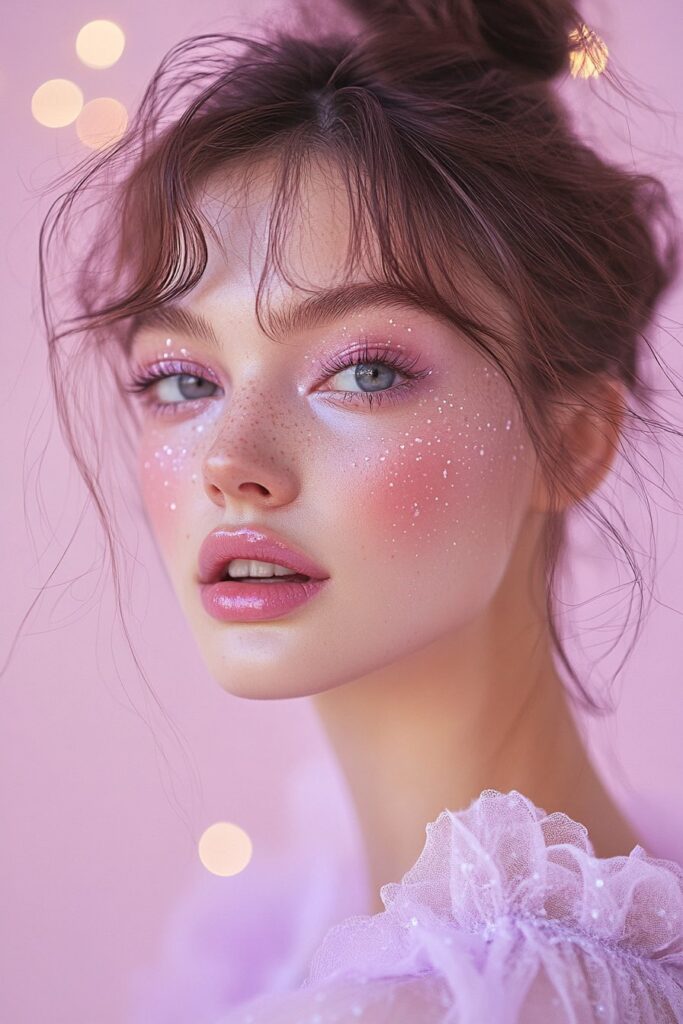
My passion for pastel makeup started at a spring fashion show in Los Angeles. The soft, dreamy colors captivated me as I learned how these gentle hues could create enchanting looks that celebrate natural beauty.
Color Selection
Working with clients of all backgrounds taught me that pastel makeup needs careful color selection. Baby blues and gentle greens create ethereal effects on light skin tones. People with medium complexions shine in warm yellow undertones, while deep skin tones glow in canary or lilac shades.
Application Steps
A light base makeup helps your concealer or foundation stand out. Strong contouring products or bronzers can overwhelm the delicate pastel palette, so it’s best to avoid them. The eyes look best with 2-3 well-blended pastel colors that enhance rather than overpower your features.
My signature technique focuses on strategic placement. The eyeshadow should be applied to both eyelids while well-groomed eyebrows frame your eyes beautifully. A single shade with different textures across your eyes, cheeks, and lips creates perfect harmony.
Styling Tips
Pastel makeup shines when properly balanced. Your base makeup should absorb oil effectively. Orange-toned concealers followed by a skin-tone matching concealer work wonders for dark circles.
Here’s how to add dimension:
- Use powder blush to highlight pastel shades
- Apply spot concealers for individual blemishes
- Keep eyebrows well-groomed to frame your eyes perfectly
Occasion Ideas
Pastel makeup fits beautifully in many settings. These soft, feminine looks excel at:
- Ballet performances and dance recitals
- Spring weddings and garden parties
- Daytime social gatherings
- Professional photoshoots
- Romantic dates
Here’s a pro tip: pastel shades work beyond springtime. These versatile colors bring softness and femininity to any occasion throughout the year. Just adjust the intensity and combination of shades based on the lighting and setting.
Sweet Berry Tones
Berry tones stole my heart after I found their magic during a bridal makeup session. My work with countless brides and models showed me how these rich, vibrant hues add warmth to any makeup look naturally.
Product Recommendations
My essential kit to create that perfect berry-inspired look has:
- A luminous foundation with dewy finish
- Berry-toned cream blush for natural flush
- Deep burgundy or plum lipstick
- Waterproof lip liner in berry shade
- Hydrating lip gloss with berry tint
My extensive testing showed that cream-based products create the most natural-looking berry flush. These shades look great on every complexion, which makes them perfect for any makeup collection.
Quick Application Guide
Start with a hydrating base on your skin. Apply foundation with gentle patting motions. The Huda Beauty Rose Quartz Palette works great for eyes, especially its warmer tones.
I created a technique that layers different berry products. Pat cream blush onto your cheeks’ apples first. Then blend upward toward your temples until you get a natural flush. Draw your lip outline with a berry-toned liner and fill in with your chosen lipstick shade.
Seasonal Adaptations
Berry tones look different as seasons change. Deep plums and burgundies work best in autumn and complement the changing leaves beautifully. These rich hues pair well with warm, earthy eye shadows.
Spring looks better with rosier undertones. Summer needs sheerer formulations – berry-tinted lip oils or stains handle heat well. Winter lets you rock the boldest berry statements, from deep mulberry to rich wine shades.
A pro tip I share often: Your undertone matters when picking berry shades. Blue-based berries make cool undertones pop, while brown-based berry hues make warm undertones glow. Layering different berry products adds depth and dimension that looks stunning in photos.
Luminous Bronze Goddess
My journey as a celebrity makeup artist has taught me that creating the perfect bronzed goddess look stands out as one of my favorite techniques. Years of red carpet events and editorial shoots have helped me perfect this look. Now I can achieve that sun-kissed radiance within minutes.
Essential Items
You’ll need these items to create a luminous bronze effect:
- Skin Perfecting Foundation
- Bronze & Shade Duo Stick
- Luminizer palette
- Setting spray
- Damp beauty sponge
Application Steps
Start with a multi-function moisturizer that creates the perfect canvas. Take your damp beauty sponge and press foundation into your skin with gentle pouncing motions until you reach your desired coverage.
A golden shimmering bronzer creates that signature warmth. Apply it with purpose on the top of your cheeks, temples, and hairline. My technique uses the Bronze & Shade Duo Stick that adds dimension while keeping things natural.
Layer your highlighter thoughtfully to achieve that ethereal glow. The high points of your face need special attention – cheekbones, temples, above the brows, and the inner corner of your eyes above the lash line. Experience has shown me that letting the glow blend into the bronzer creates an irresistible dewy effect.
Glow-Boosting Tips
My work with clients of all types has led me to find several secrets that maintain that luminous bronze finish. Your skin type should guide your product selection. People with dry skin should mix a drop of facial oil with their foundation. Those with oily skin should opt for light-reflective powders instead of dewy products.
Your bronzed goddess look will last all day if you mist your face and neck with setting spray in both T- and X-formations. On top of that, it helps to layer cream products before powder ones. This approach creates depth while keeping that sought-after glow.
Here’s a pro tip I love sharing: strategic placement matters more than heavy application. Note that you want to look naturally sun-kissed, not overly bronzed. The right technique and product selection can help anyone achieve this timeless, radiant look.
Angelic Highlight
My love for angelic highlighting techniques grew stronger after I found its game-changing effects during an editorial photoshoot. Years of testing and client work helped me perfect this ethereal technique into something beautiful yet simple.
Product Selection
These products will give you that perfect angelic glow:
- True Match concealer by L’Oreal Paris in shade 3-5 gives hydrating and luminous properties
- Charlie Beauty light warm fluid highlighter in Pillow Talk
- Translucent setting powder by Laura Mercier
- Diamond FX white face paint delivers intense radiance
Quick Application
Start with concealer under your eyes and across the T-zone. The highlighter should blend onto your face’s highest points – cheekbones, nose bridge, and chin. My experience shows that good blending creates that seamless, ethereal effect.
I developed a technique using strategic layers. Your base products go first, then add thin layers of highlighter until you reach your desired glow. This approach will give a natural-looking radiance without that metallic appearance.
Placement Tips
The magic of angelic highlighting comes from exact placement. Focus on:
- Top of cheekbones, just above blush
- Bridge and tip of nose
- Inner corners of eyes
- Brow bone area
- Cupid’s bow
People with oily skin should highlight only their cheekbones to avoid extra shine. Your face shape matters too when you place highlighter – this small detail can change your whole look.
Long-Lasting Techniques
A heavenly glow that lasts all day starts with good skin prep. A well-prepared base helps your highlighter look flawless. Clean and moisturize your skin really well, then use primer to create a smooth canvas.
Here’s a pro tip I share with everyone: dust translucent powder lightly over your highlighter, but only where creasing happens. A setting spray applied in both T- and X-formations will lock in that angelic radiance.
Conclusion
Professional makeup artistry has taught me that beautiful makeup doesn’t require hours in front of the mirror. These 12 quick makeup looks show that anyone can achieve a polished, feminine appearance, whatever their skill level or available time.
The styles range from a dewy glow to angelic effects, and each one celebrates natural beauty with just the right touch of glamor. My studio sessions have shown how these techniques change not just appearances but boost confidence levels too.
Becoming skilled at these looks takes practice. Makeup should feel fun and liberating, not overwhelming. Here’s my professional tip: Pick one look that appeals to you. Practice until you feel comfortable, then try others gradually.
Makeup artistry celebrates each person’s unique beauty. The quick techniques help showcase your features, whether you prefer soft girl esthetics or bold berry tones. Nothing makes me happier than watching clients find how simple application changes create stunning results.
Natural beauty shines from within, but well-applied makeup can increase your natural radiance. These 10-minute looks demonstrate that perfect balance between effortless and polished is within everyone’s reach.