My experience as a makeup artist has shown me how prom makeup costs and results stress countless students. The good news? A stunning prom look doesn’t require breaking the bank. Students who do their own prom makeup gain complete control over their final appearance while saving money.
Perfect prom makeup requires proper preparation and the right approach – something I’ve discovered through years of professional work. A makeup test run the day before helps ensure everything works together and photographs well. Simple solutions exist for everyone’s style preferences, from soft glam’s timeless appeal to trendy options like monochromatic makeup and rhinestone accents.
This piece covers 15 achievable prom makeup looks you can create at home. My professional tips will help you avoid common mistakes and keep your makeup fresh throughout your special night. You’ll learn natural enhancement techniques and long-lasting application methods that work.
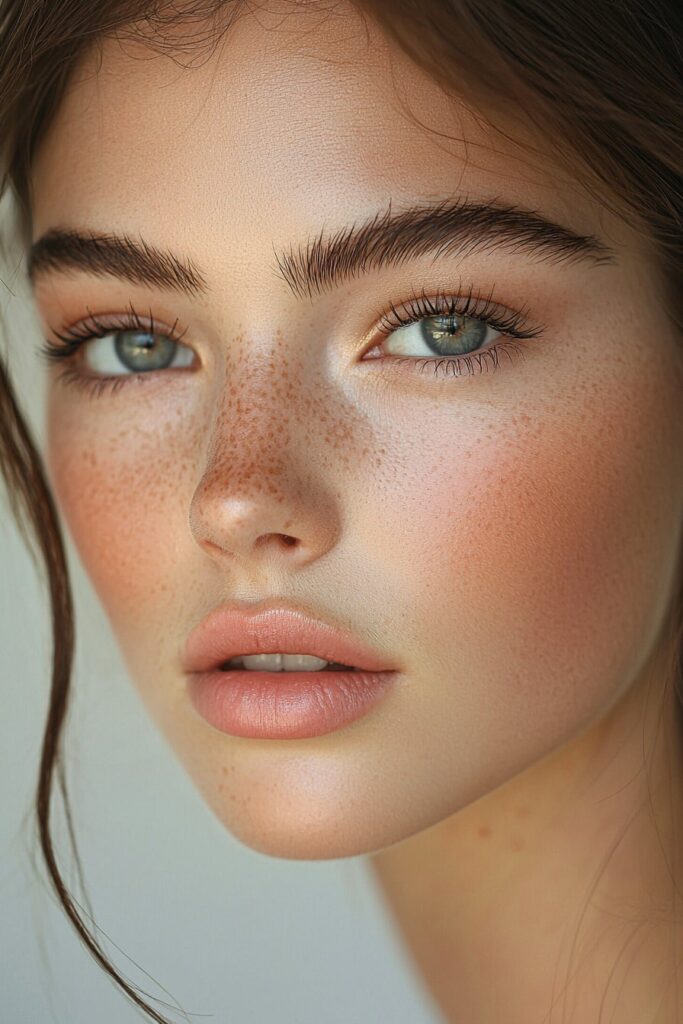
Natural Glowing Base
Creating a flawless base starts with proper skin preparation. My years as a makeup artist have taught me that a good skincare routine can boost your natural beauty. Your skin will look clear and radiant on prom night when you start early.
Skin Prep Essentials
Start by cleansing your face with a gentle cleanser to remove dirt, oil, and makeup residue. Your skin might need exfoliation 1-2 days before prom night if it’s dry or flaky. This creates a smoother surface for makeup application. A lightweight, oil-free moisturizer will keep your skin hydrated. The right primer for your skin type helps minimize pores and controls shine – this step is vital for optimal results.
Foundation Application Tips
A buildable medium-coverage foundation works better than full-coverage formula for a natural makeup look. Make sure to test your foundation’s performance in photos, especially those with SPF. Apply foundation only where you need it to cover unevenness. A damp makeup sponge gives you that lightweight, fresh-looking finish.
Concealer Techniques
Spot-conceal areas needing extra coverage after your foundation. To name just one example, concealer works best beneath your under-eye’s hollow where darkness or discoloration appears. You don’t need to cover your whole under-eye area – focus on the inner third and outer corner. A small synthetic bristle brush ensures precise application, and your fingertips can blend everything to perfection.
Setting Methods
Your prom makeup’s longevity depends on proper setting techniques. A large, fluffy brush helps you dust setting powder lightly on shine-prone areas – usually the nose, forehead, and chin. A small dome-shaped brush works best for applying whisper-light setting powder under your eyes. Finish with a generous mist of setting spray to prevent smudging, fading, or transferring throughout the night.
Healthy skin creates the perfect canvas for your prom makeup. Starting your skincare routine several weeks before the big day makes a huge difference in your final look.
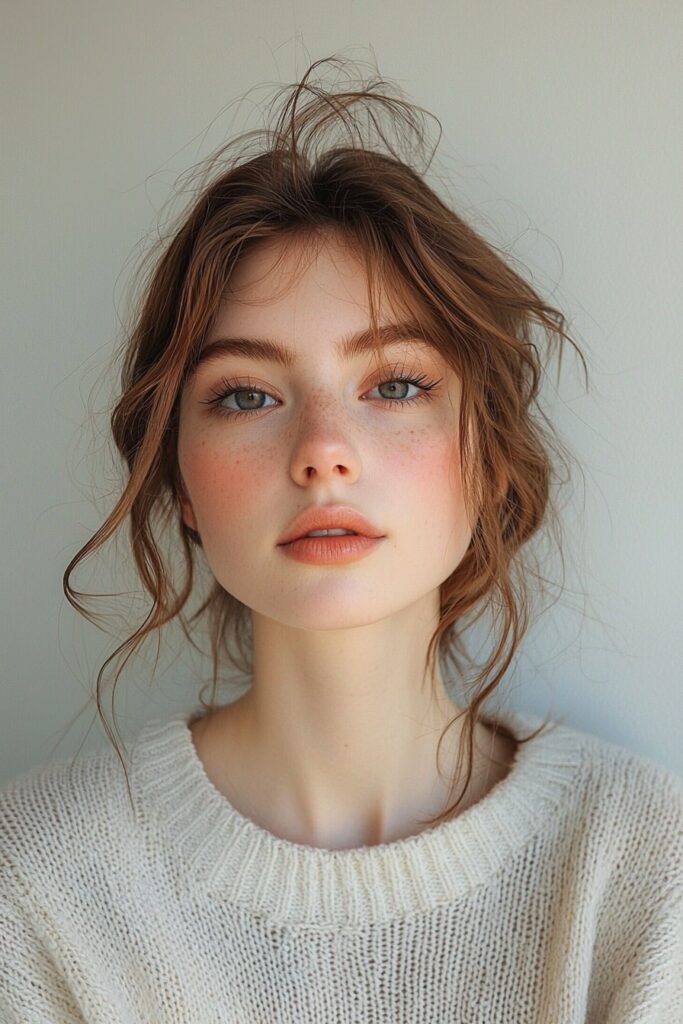
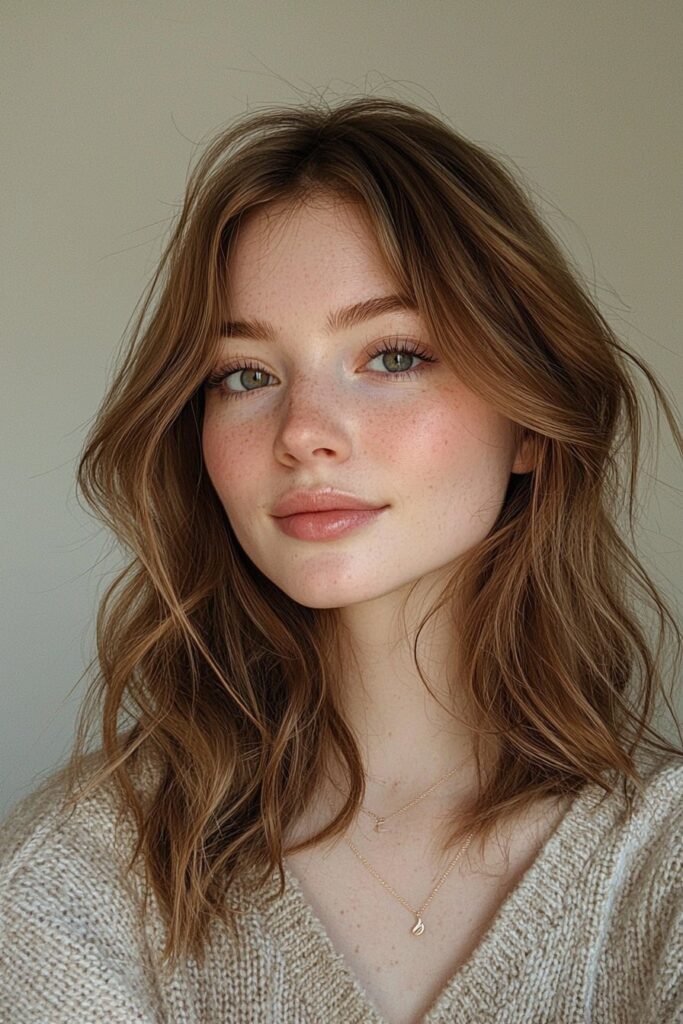
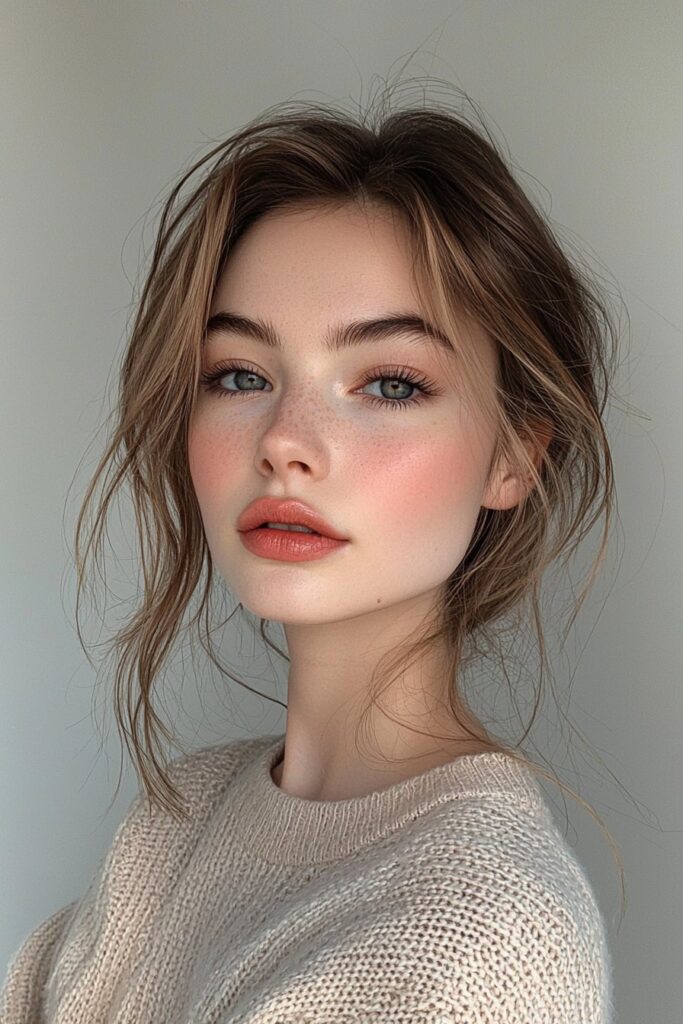
Fresh-Faced Minimalist
My career as a makeup artist has taught me that minimalist makeup creates the most stunning prom transformations. A fresh-faced approach boosts your natural features and gives you an effortlessly elegant appearance.
Product Selection
The right products for a minimalist look should have sheer, buildable formulas. Start with a tinted moisturizer or lightweight foundation that matches your skin tone perfectly. Waterproof mascara and long-lasting formulas will resist smudging during dancing and photos. Neutral-toned products that complement your natural coloring work best.
Application Steps
Let your moisturizer absorb into your skin for at least 15 minutes. Apply a makeup primer next to help your products grip better and last longer. A makeup sponge will help blend your foundation evenly, especially in areas that need coverage.
For eyes, I suggest:
- A light sweep of neutral eyeshadow
- Defined brows with a matching brow gel
- Two coats of waterproof mascara
A semi-matte lipstick in a shade close to your natural lip color completes the look.
Longevity Tips
Your fresh-faced look can last throughout prom night with these professional tips:
Set your makeup with a translucent powder, especially on oil-prone areas. Keep blotting papers in your clutch to absorb excess oil without disturbing your makeup. Your fingers’ warmth can cause makeup to melt, so avoid touching your face.
A pro tip I share with my clients: setting spray between makeup layers adds staying power. This technique creates a budge-proof finish that lasts through hours of dancing and photos.
A minimalist approach doesn’t mean compromising on impact. Strategic product placement and proper technique boost your natural beauty effectively. My experience with countless prom clients shows that people who welcome their features rather than trying to completely change them feel most confident and radiant on their special night.
Soft Romantic Eyes

My experience with countless prom clients has taught me that becoming skilled at soft romantic eye makeup needs attention to detail and proper technique. Let me give an explanation that will help you create this timeless look at home.
Color Selection Guide
Right eyeshadow colors make all the difference. To name just one example, purples complement green eyes beautifully, while warm tones boost blue eyes. My experience shows that three complementary shades – a medium-toned matte, a darker matte, and a light shimmery shade – create the perfect balance. Selecting colors should match your dress and boost your natural eye color.
Blending Techniques
Flawless eye makeup depends on proper blending. Start by applying an eyeshadow primer to create a smooth base that prevents creasing. A fluffy blending brush helps with seamless application as you make windshield-wiper motions in your crease.
My professional technique for perfect blending includes:
- Heavy movements where you want concentrated color
- Light buffing motions for gentle color fade-outs
- A clean brush to soften any harsh lines
Lash Options
Over the last several years, I’ve discovered three main approaches to boost your lashes:
Lash Extensions: These are a great way to get a lasting solution that stays beautiful for 3-8 weeks with proper care. Prices vary, but corner lashes cost around USD 59 while a full set runs about USD 120.
False Lashes: These give you flexibility and affordability. Individual lashes look most natural for beginners. Drugstore options provide lightweight, realistic-looking alternatives that last all night.
Mascara: This classic option works wonderfully for subtle enhancement. An eyelash curler paired with mascara creates maximum effect. Waterproof formulas prevent smudging during your special night.
Note that your comfort level and desired look should guide your lash enhancement choice. My career experience shows that successful prom looks often combine natural enhancement with strategic drama.
Classic Red Lip Look

Red lips have been my signature look throughout my makeup artist career. I’ve found that there was a perfect way to achieve that classic red pout after years of perfecting this timeless style.
Lip Prep Steps
A flawless red lip needs proper preparation. Start with a gentle lip scrub to remove dead skin cells and create a smooth canvas. Your next step is applying a hydrating lip balm to moisturize your lips. Let the balm absorb, then blot away extra product so your lipstick stays put.
Color Selection
Your unique features determine the right shade of red. Blue-undertoned reds work best to brighten fair skin tones. Warm orangey-reds look stunning on tanned complexions. My work with clients in a variety of settings shows that neutral-toned reds look great on most skin types.
Application Method
Pick a lip liner that matches your chosen red shade and outline your lips. Here’s a precise way to apply:
- Make an X on your Cupid’s bow to create symmetry
- Line the corners of your mouth
- Connect the lines along your natural lip shape
- Fill in your lips completely with the liner so it lasts longer
Now apply your red lipstick straight from the tube or use a lip brush if you want more control. You can boost the staying power by placing a tissue between your lips and dusting translucent powder over it. This sets the color while keeping its finish intact.
Here’s a pro tip I share with my prom clients: a small concealer brush with concealer cleans up any mistakes. This creates sharp, defined edges that look amazing in photos. Note that going beyond your natural lip line looks obvious in pictures.
Keep your lipstick and a small mirror in your clutch to touch up during prom night. Blot and reapply when needed, especially in the center of your lips where the color fades first.
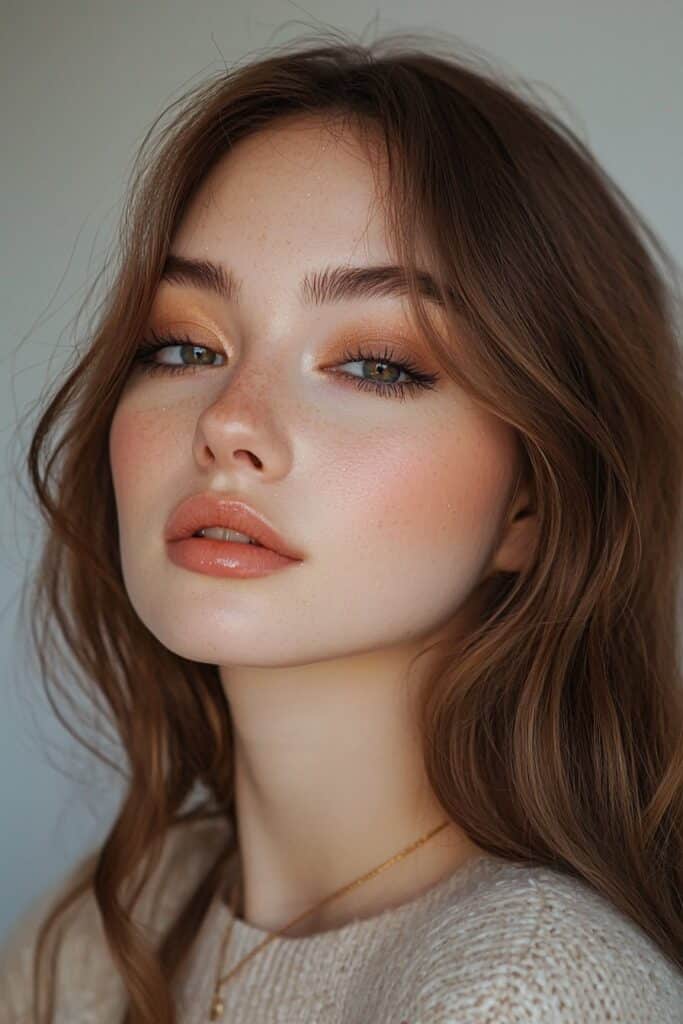
Bronze Goddess Glow
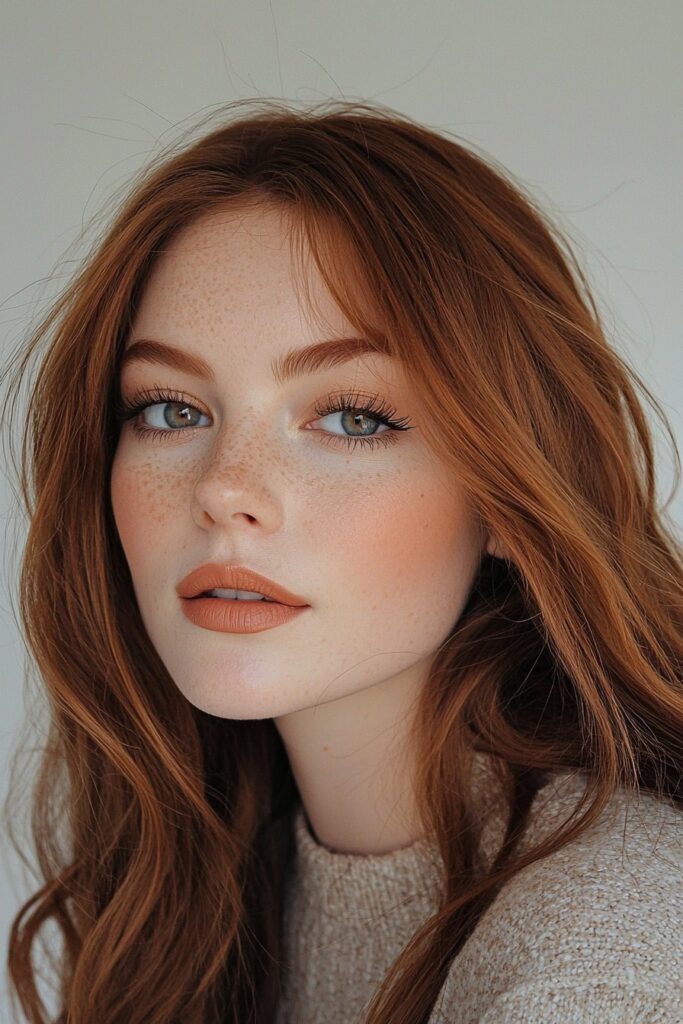
My experience as a celebrity makeup artist has taught me that the bronze goddess glow comes from knowing where to place and blend your makeup. Let me share some professional secrets to help you achieve that perfect sun-kissed radiance on your prom night.
Bronzer Placement
Natural-looking bronzer should go where the sun would naturally hit your face. Draw a ‘3’ shape on each side of your face – start at your hairline, move through your cheekbones, and end at your jawline. The bronzer should sit right on your cheekbones, not under them. Your application should extend into your hairline to avoid any mask-like effects that happen when your scalp looks lighter than your face.
Highlight Tips
The perfect glow starts with highlighting areas where light naturally hits – cheekbones, browbones, bridge of your nose, and above your cupid’s bow. All the same, stay away from too much glitter in your highlighters as they can make texture more noticeable. A subtle shimmer formula will give you better control over placement. Here’s a pro tip I always share: gently stretch your skin while applying highlighter and you’ll minimize the appearance of fine lines.
Blending Techniques
The difference between amateur and professional-looking makeup lies in proper blending. Test your bronzer on the back of your hand first to remove extra product. A densely packed buffing brush with evenly cut bristles will help you achieve smooth application. Small circular motions upward and outward, followed by windshield-wiper movements, will give you the best results.
My quickest way to blend includes:
- Gentle swirling motions for the original application
- Blending along your jawline and down your neck to avoid harsh lines
- Buffing any remaining product outward to create a fluid, natural finish
Note that your bronzer should be just one or two shades darker than your natural skin tone. Working with countless clients has taught me that lighter bronzers create the most natural-looking results, especially when you have fair skin.
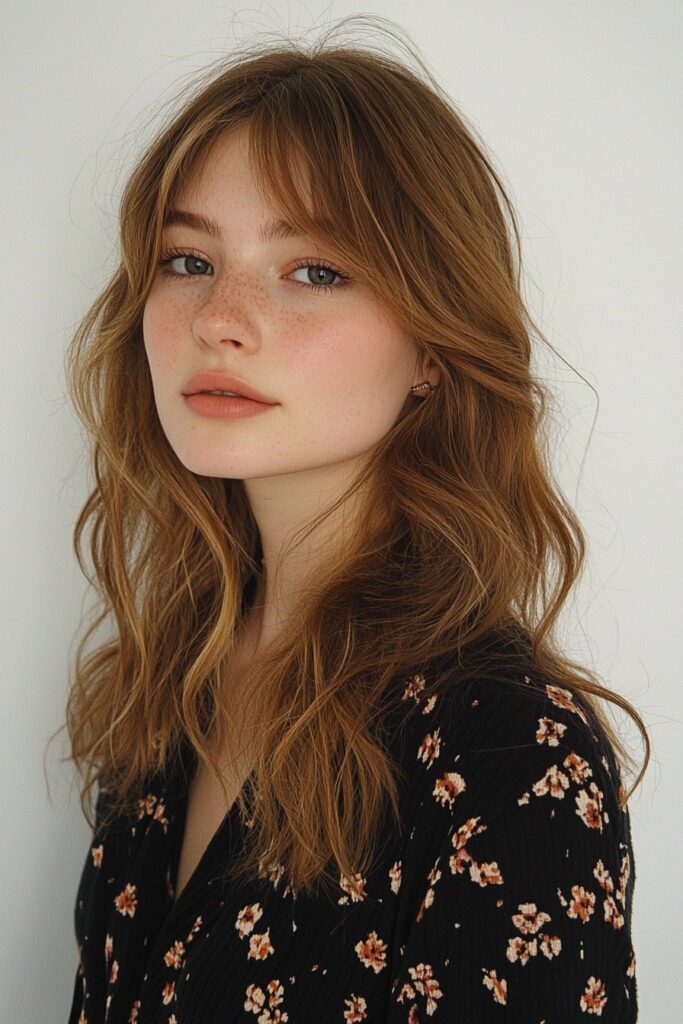
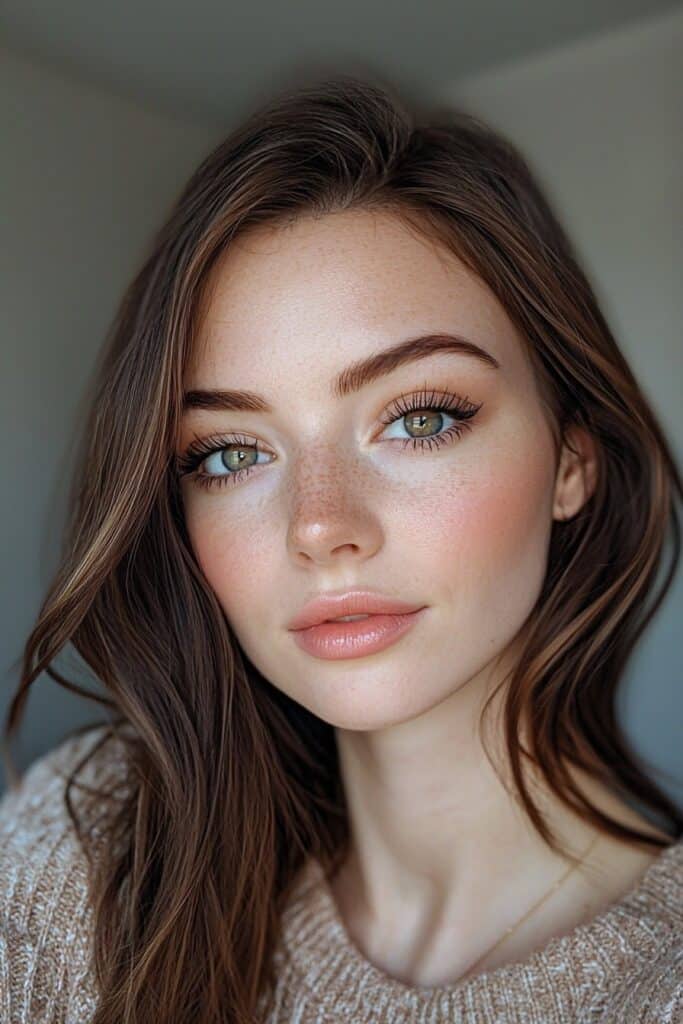
Rosy Cheeks and Nude Lips
My work with countless prom clients has taught me that becoming skilled at creating the perfect rosy cheeks and nude lips combination results in a timeless, romantic look that photographs beautifully.
Blush Application
A natural-looking rosy cheek needs proper placement and blending. The ball of your cheek is your starting point – smile wide and you’ll see the fullest part. Indoor events work best with peach to pink shades, while outdoor events need more bronzing effects.
The right way to apply blush is to sweep upward into the hairline from your cheek’s apple and blend outward. Here’s a pro tip I give my clients: higher blush placement creates an elongating effect if you have a wider face shape.
Lip Color Selection
The right nude lipstick depends on your skin’s undertones. Fair skin looks best with rosy-beige shades that add subtle color without washing you out. Medium skin tones look gorgeous with dusky rose or golden-beige hues. People with olive complexions should stay away from yellow undertones and go for peachy tan shades instead.
Your lipstick will last longer if you start with a matching lip liner. The color goes on either straight from the tube or with a lip brush if you want more precision. A lip oil gives you hydration without the sticky feel you get from regular glosses.
Face Framing
Your look needs colors that work together harmoniously. My years of experience have shown that blush makes an excellent eyeshadow and creates a beautiful face-framing effect. The technique starts with the chosen shade on your eyelids, followed by the same color on your cheeks to tie everything together.
To name just one example, see these pro tips for that perfect sun-kissed glow:
- Cream blush works better for dry or mature skin because it won’t highlight fine lines
- You’ll get longer wear by layering liquid blush over powder
- Natural light gives you the most accurate view of your color
Note that this look works best when you choose products that match your natural undertones and create a smooth blend between your cheeks and lips.
Simple Smokey Eye
My love for creating smokey eyes started when I was a student at makeup school. The classic look took years to perfect, and I found that a simple yet stunning smokey eye needs the right products paired with proper technique.
Product Choices
The right products make all the difference when creating a flawless smokey eye. A neutral eyeshadow palette with matte browns, taupes, or plums will serve you well. Brown shades work best for beginners since they’re more forgiving than black. On top of that, it helps to pick a smudge-proof waterproof eyeliner and long-wearing mascara that won’t smudge during your special night.
Step-by-Step Guide
Start with an eyeshadow primer that keeps your makeup crease-free all evening. Here are the professional steps you’ll need:
- Apply a neutral shade from lashline to crease and blend the edges carefully
- Line your upper lashline with gel eyeliner that extends slightly past outer corners
- Layer eyeshadow over liner before it sets to create that perfect smokey effect
- Blend a darker shade along the top edge of liner with small circular motions
- Finish with several coats of volumizing mascara on upper and lower lashes
Here’s a pro tip that works wonders: use just one brush throughout the application to keep your blending consistent. You should practice this look at least three weeks before prom until you’ve mastered the technique.
Common Mistakes
My experience teaching countless clients has revealed several common pitfalls you should avoid:
Dark shadows don’t belong in your eyes’ inner corner – they’ll only make them look smaller. The right color placement matters a lot – darker shades work best in the outer corner to open up your eyes. Keep in mind that blending is vital – harsh lines will spoil the smokey effect.
You can prevent fallout by tapping excess product off your brush before applying. Eyeshadow patches or loose powder under your eyes while working with darker shades help too. Just brush these away when you’re done to keep your under-eye area clean and fresh.
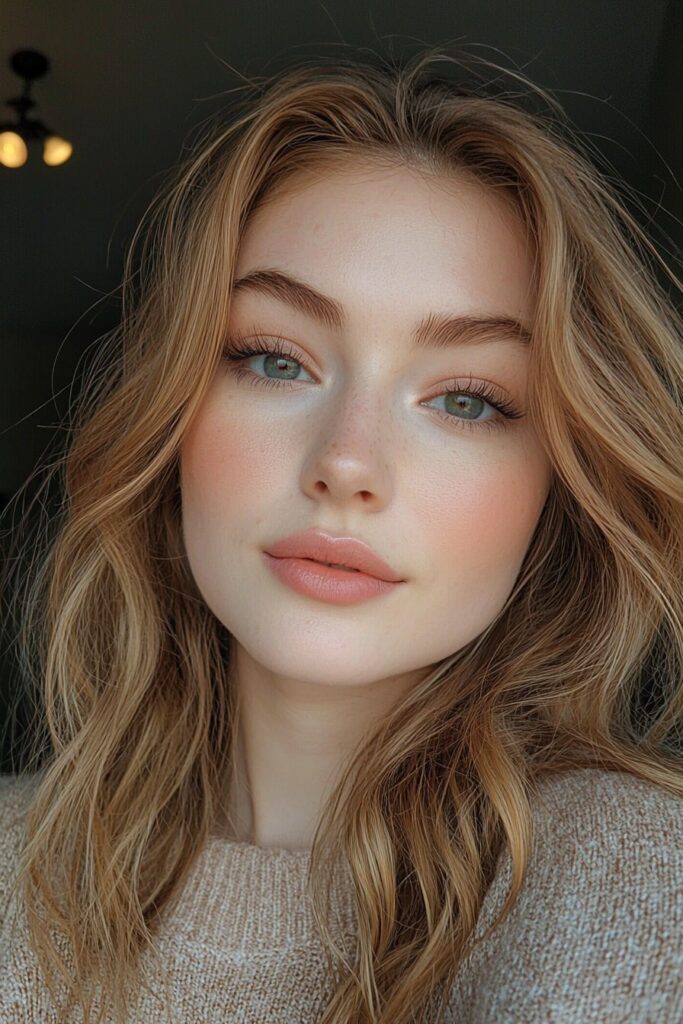
Dewy Skin Focus

My years as a beauty educator have taught me that dewy skin needs more than makeup – it’s about creating the perfect canvas. Let me share expert tips to help you achieve that luminous finish that looks beautiful in prom night photos.
Moisturizing Tips
Great dewy skin starts with proper hydration. Choose a moisturizer that matches your skin type – I recommend gentle formulas like La Roche-Posay Toleriane Double Repair Moisturizer. People with acne-prone skin should use a blemish-fighting toner with salicylic acid and witch hazel. The best approach is to apply an antioxidant product in the morning and use a thick moisturizer at night.
Product Layering
Success comes from strategic layering. A hydrating serum with hyaluronic acid helps support your skin’s moisture barrier. Press the product into your skin and work from the center outward. Here’s a pro tip I share in my masterclasses: mix a few drops of facial oil with your foundation to add radiance. A damp makeup sponge creates the most natural, glowy finish during application.
Glow Maintenance
Your dewy glow needs careful preparation to last throughout prom night. Cream products like blush or highlighter create a seamless, natural finish. Skip mattifying setting powders and choose ones with light-reflecting elements instead.
To achieve lasting luminosity:
- Apply facial oil on high points before makeup
- Layer thin products and build as needed
- Use setting spray between makeup layers
Teaching countless clients has shown me that balanced application is crucial to dewy skin. You should focus powder only on areas prone to excess shine – the sides of your nose, middle of forehead, and center of chin. Healthy skin creates the perfect foundation that reflects your inner radiance on your special night.
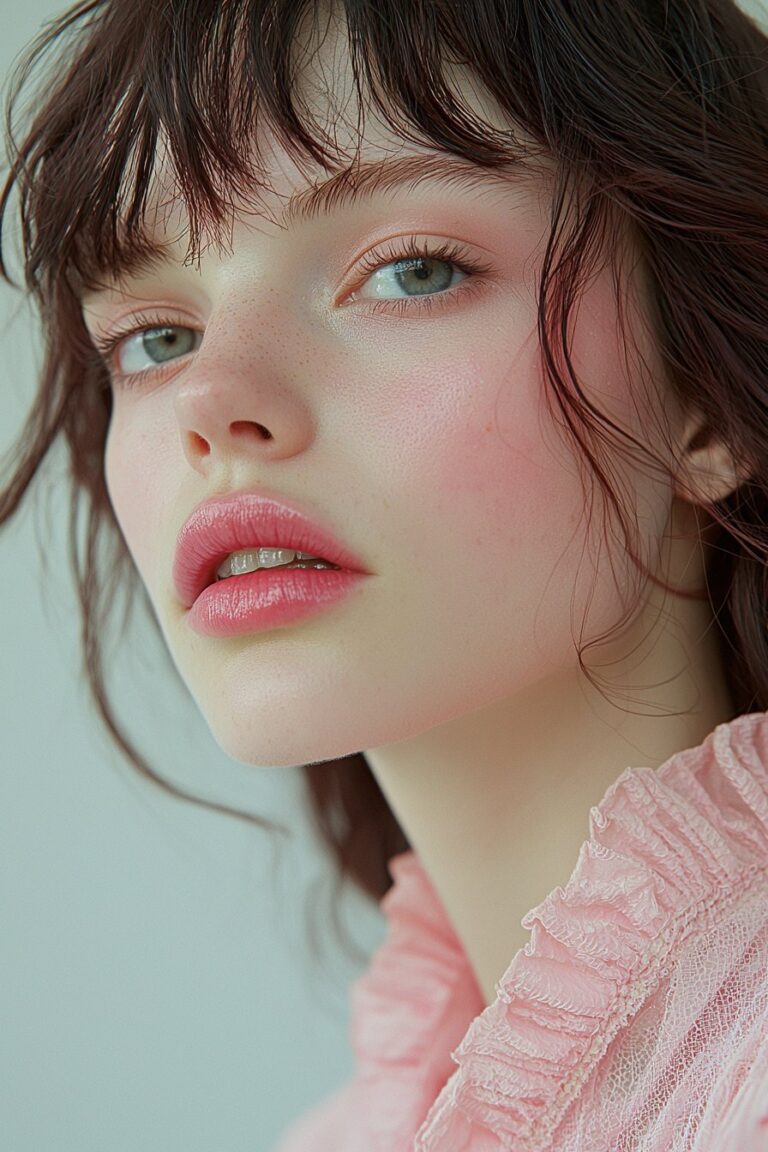
Monochromatic Pink

Pink monochromatic makeup became my signature style after I spent countless hours in my studio perfecting the technique. My extensive testing showed this versatile look works beautifully on every skin tone if you do it right.
Color Coordination
Your skin’s undertones determine the perfect pink shade. Baby pink or berry pink shades work best for cool undertones. People with warm undertones look amazing in coral and magenta hues. Deep pink shades like burgundy or deep magenta make deeper skin tones pop and prevent a washed-out look.
Application Methods
Start with a flawless foundation base. Apply pink eyeshadow on your lids and blend it softly into the crease. Here’s a pro tip I share with everyone: add metallic silver shadow to your eyes’ inner corner and along your cheekbones. This creates beautiful dimension.
Sweep cream blush high on your cheeks’ apples and blend upward toward the cheekbones. That same blush doubles as an eyeshadow crease color, which creates a seamless look. Layer powder blush over cream products to make them last longer.
Balance Tips
A harmonious monochromatic makeup look needs the right intensity levels. Here are my expert guidelines:
- Tone down eyes and lips when using bright pink blush
- Build color intensity gradually by layering products
- Choose sheer lip formulas to avoid overpowering the look
My years of teaching revealed that people worry monochromatic makeup looks flat or one-dimensional. Picking shades that match your complexion prevents this completely. Blending is vital – soften all colors to avoid harsh lines or a clownish effect.
Your lighting matters too. Soft pink tones work better indoors, while outdoor settings let you go slightly bolder. This romantic look creates a fresh, pulled-together appearance that’s perfect for your special night.
Easy Cat Eye
My years of teaching makeup masterclasses have shown that creating the perfect cat eye tops the list of what people want to learn. Let me share my pro secrets so you can nail this timeless look at home.
Liner Selection
The right eyeliner makes the most important difference in your final result. My testing shows that beginners should start with a freshly sharpened, easy-to-smudge eye pencil. Anyone who wants precision should pick a liquid eyeliner with a firm, fine tip that gives better control. You can also mix black eyeshadow with setting spray to get the smoothest application.
Application Steps
Your eyes should stay open and relaxed – this creates the best shape for your eye type. Here’s my tried-and-true technique:
- Draw small dash marks across your top lash line
- Create the wing outline using your lower lash line angle toward your eyebrow
- Connect the dash marks into one continuous line
- Fill any gaps while making the line thicker from inner to outer corner
Symmetry Tips
Balanced wings need the right technique. Put your elbow on a flat surface and rest your pinky finger against your cheek for stability. You can check evenness by tilting your head back in front of a mirror. People with hooded eyes should look straight ahead with eyes open to check symmetry.
Quick Fixes
Even the pros mess up sometimes. Keep these solutions close:
- Clean up edges with micellar water on a pointed cotton swab
- Fix imperfections with concealer using a flat brush
- Set the corrected spots with translucent powder to stop creasing
Here’s a pro tip that works wonders: work back and forth between eyes to match your wings. My career has taught me that regular practice creates consistent results. Steady hands make stunning lines – take your time and breathe easy while you work.
Subtle Shimmer
Shimmery eyeshadow has always caught my eye, and my studio work has shown me how many clients find it tricky to apply. Let me share some expert techniques to create that perfect subtle shimmer that will boost your prom look without going overboard.
Product Selection
The right shimmer product will make or break your final look. Fine-particle shadows stick better to primers and give you a more polished finish. Cream formulas work great for beginners because they don’t create as much fallout as powder options. Soft-pressed shimmer shadows will give you better color payoff too.
Placement Guide
Smart placement will make your shimmer enhance your features naturally. Start with a light layer on your lids and build it up with gentle patting motions. A slightly darker shimmer in your outer corners adds depth. Here’s a pro tip I found while working with clients’ different eye shapes: press the shimmer into the skin using short circular motions instead of sweeping it across.
Fallout Prevention
Years of working with shimmer products have taught me some foolproof ways to stop fallout. Put on an eye primer first, then set it with powder to create a solid base. A light spritz of setting spray on your brush will keep fallout minimal and make the shimmer pop.
Your under-eye area needs protection, so try these expert methods:
- Put your concealer in an upside-down triangle shape under your eyes and set it with translucent powder
- Sweep away extra product with a fan brush
- Do your eye makeup before foundation to keep everything clean
A trick I learned early in my career uses a tissue under your lower lash line as a shield. Remember to tap your brush to remove extra product before you apply it – you just need enough pigment to create the effect you want.
Natural Brow Enhancement
Eyebrows have always been my favorite feature to work on during my time as a makeup artist. After countless consultations, I’ve learned that natural-looking brows come from mastering proper techniques and picking the right products.
Shaping Tips
Beautiful brows start with respecting your natural shape. You can find your brow’s natural arch by smiling wide – it’s right at the fullest part of your brow. A high-quality tweezer with slanted edges works best to remove excess hair in the direction of growth. The trick is to remove hair only from beneath the brows. Stay away from the top area if you want to keep things looking natural.
Product Choice
The right products depend on what you want to achieve and how comfortable you are with makeup. Beginners should try brow pencils – they give you great control and make natural-looking, hair-like strokes. Brow powders are perfect for filling sparse areas and work great if you have oily skin. Brow gels keep everything in place, though they won’t give you the definition other products can.
Application Method
My best results come from layering different products. Start with a fine brow pencil to create realistic, hair-like strokes. A softly tinted brow gel adds volume and hold next – products like Boy Brow or Gimme Brow are fantastic for that natural, feathery look.
I’ve found that short, upward strokes look just like natural hair growth. Here are some tips to make your brow makeup last longer:
- Press products into the skin instead of dragging them across
- Build up thin layers gradually
- Lock everything in with a clear brow gel
Teaching countless clients has shown me that natural-looking brows need colors that match your features perfectly. Gray or graying hair needs specialized brow products made for mature features. Good brows should make your features look better without seeming overdone.
Soft Glam Base
My makeup studio has become a place where I’ve mastered the art of creating the perfect soft glam base after countless prom consultations. Let me share what I’ve learned about achieving this timeless look.
Product Selection
The right foundation is the life-blood of soft glam makeup. A buildable, medium-to-full coverage foundation that gives a visibly smooth, pore-diffused finish works best. Your foundation should resist sweat and humidity if you want it to last longer. Here’s a pro tip I share with my clients: mix a few drops of facial oil with your foundation and you’ll get that coveted luminous finish.
Application Steps
A freshly cleansed face with hydrating primer makes the perfect canvas. Here are my expert techniques:
- A damp makeup sponge helps blend foundation smoothly
- Start coverage where you need it most and work outward
- Layer concealer carefully, especially when covering under-eye areas and blemishes
- Cream products should go on before powder to blend better
My years of experience show that color matching is vital. Your jawline gives a more accurate match than your hand when testing foundation shades.
Setting Techniques
Your soft glam will last longer with smart setting methods. A large, fluffy brush works best to apply setting powder on shine-prone areas. Here are some pro tips:
- Setting spray between makeup layers helps everything stay put
- Press powder into skin instead of sweeping to keep coverage intact
- The T-zone needs more powder while other areas can stay dewy
I’ve created a unique technique using setting spray with a bi-phase formula that contains 5% aloe and hyaluronic acid. This locks your makeup in place and keeps your skin hydrated throughout the night.
Each layer needs time to set before moving to the next step. Blotting papers are great for touch-ups that won’t mess up your carefully crafted soft glam base.
Quick Five-Minute Look

My years of teaching makeup workshops have taught me that stunning prom looks don’t need hours in front of the mirror. Here’s my five-minute routine that works every time.
Essential Products
Quick yet polished looks need multi-purpose products. Your tinted moisturizer or lightweight foundation should match your skin tone perfectly. These core items will get you there:
- Waterproof mascara that won’t smudge
- Dual-purpose cheek and lip tint for a natural flush
- Setting spray to seal your look
A pro tip I found that there was while working with busy clients: cream products blend faster and look more natural than powders. They also cut down the number of brushes you need.
Time-Saving Tips
My countless prom consultations have led to techniques that make the biggest impact. Let your moisturizer sink in before you start with makeup. These expert shortcuts will help:
A damp makeup sponge gives quick, even foundation coverage. Dot concealer only where you need it – usually under eyes and around the nose. Smart layering makes a difference – cream formulas first, then powder products if needed.
Touch-up Guide
Smart prep helps your look last all prom night. Pack these must-haves in your clutch:
- Blotting papers that soak up oil without ruining makeup
- Your lip color for quick fixes
- A small powder compact to control shine
My clients love this unique trick: rice paper works better than regular blotting papers. It keeps your makeup intact while managing shine. A small concealer brush in your bag helps fix any spots around eyes or nose.
Take a look at your makeup under different lights before you leave. My experience teaching quick makeup has shown that good prep matters more than application time.
No-Makeup Makeup
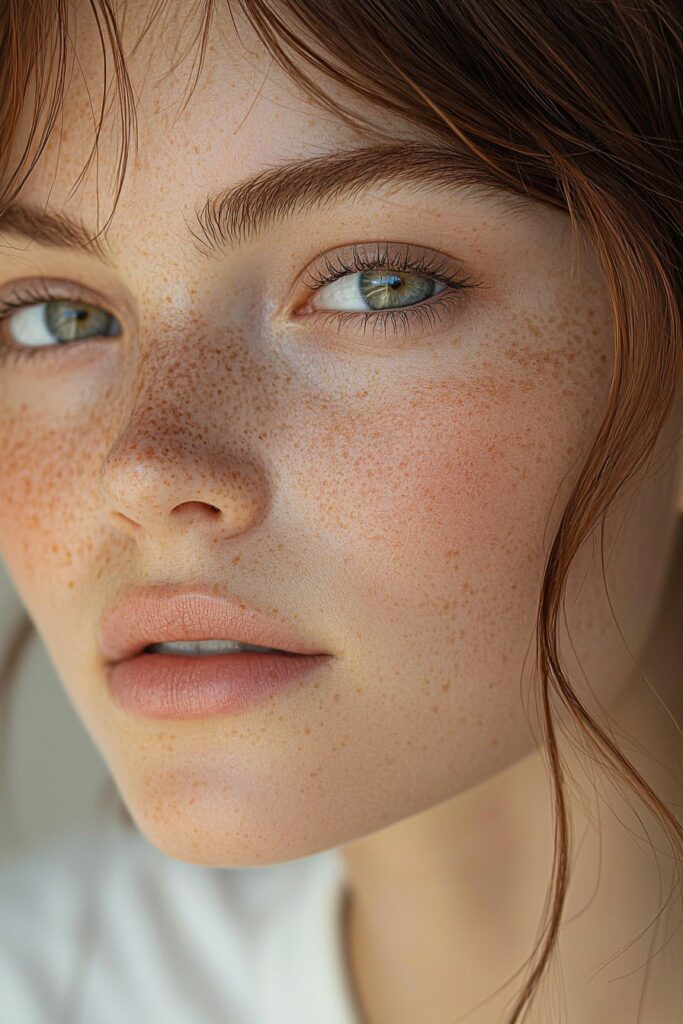
My love for teaching natural makeup techniques grew while I was in beauty school. After many consultations, I found that there was a secret to the no-makeup makeup look – it all comes down to choosing the right products and knowing how to apply them.
Product Selection
A tinted moisturizer or sheer foundation that perfectly matches your skin tone is your starting point. If you need more coverage, go for a buildable foundation that improves your natural complexion without hiding it. Here’s everything you’ll need:
- A lightweight concealer for spot correction
- Tinted brow gel for subtle definition
- Cream blush in peach or pink tones
- Clear lip gloss or tinted balm
Application Steps
Let your moisturizer sink into your skin for at least 15 minutes. Then apply your base product with your fingertips or a damp makeup sponge to get that natural finish. These expert techniques will make your makeup last longer:
- Press products into the skin rather than dragging
- Layer thin applications gradually
- Set with a lightweight translucent powder only where needed
Natural Enhancement Tips
Working with clients of all types has taught me foolproof ways to achieve that perfect “your skin but better” look. Apply concealer only where you need it – usually under eyes and around the nose. Cream blush creates a beautiful flush that looks like it’s coming from within.
A unique trick I found that there was magic in mixing facial oil with foundation for extra radiance. Here are more pro tips:
- Brush brows upward with tinted gel for natural definition
- Apply mascara only to upper lashes for subtle enhancement
- Use cream products before powder to blend everything seamlessly
Take a look at your makeup under different lights before heading out. Your natural features shine through with this approach, giving you just enough of a boost to feel confident and radiant on your special night.
Conclusion
Creating prom makeup looks for years has taught me that true beauty comes from personalization and the right technique. Every look I’ve shared reflects countless hours of perfecting methods that consistently deliver results for my clients. Students worry their makeup won’t last through prom night, but the right preparation and application techniques make a huge difference.
My professional makeup career showed me that stunning prom makeup needs three elements: the right products, smart application techniques, and proper setting methods. Most clients get amazing results when they start with quality essentials like primer, foundation, and setting spray instead of chasing trendy items.
Students often ask me about the best look. The truth is, any style can look fantastic when it matches your features and feels comfortable. A natural glowing base works perfectly for those who want subtle improvements, while soft glam adds drama without looking excessive. I focus on highlighting each person’s unique features rather than following rigid rules.
Flawless execution needs practice. Testing your look ahead of time helps you spot necessary adjustments and builds your confidence. Your makeup should improve your natural features and make you feel beautiful on your special night.
These tested techniques and carefully picked products will create your ideal prom look. Listen to your instincts, be patient with application, and enjoy expressing yourself through makeup artistry.