
Cute slick back hairstyles have taken the beauty world by storm, with global searches climbing by a staggering 250% in just the past month. I’m not surprised by this surge in popularity – these sleek looks perfectly balance elegance with effortlessness.
But what makes these styles so appealing? For starters, they’re incredibly versatile. Whether you’re heading to school or need an everyday look that stays put, slicked-back styles work for virtually everyone. Not only are they perfect for straight hair, but they’re also fantastic for those with natural texture who don’t want to sacrifice their curls. I’ve found that the key to any successful slicked-back style lies in the preparation – it’s all about using the right products from the very beginning. In fact, many of these cute easy slick back hairstyles can be adapted for girls of all ages and hair types, making them universally flattering.
I’ve experimented with countless variations over the years, and today I’m excited to share my top 15 cute slick back hairstyles that are not only trendy but also surprisingly simple to create. Trust me, these looks will keep you feeling confident and put-together from morning until night!
Classic Slick Back
The timeless appeal of the classic slick back has earned it a permanent spot in the beauty hall of fame. Throughout my years as a stylist, I’ve witnessed this versatile style remain a constant favorite while other trends fade away.
Classic Slick Back: What it is
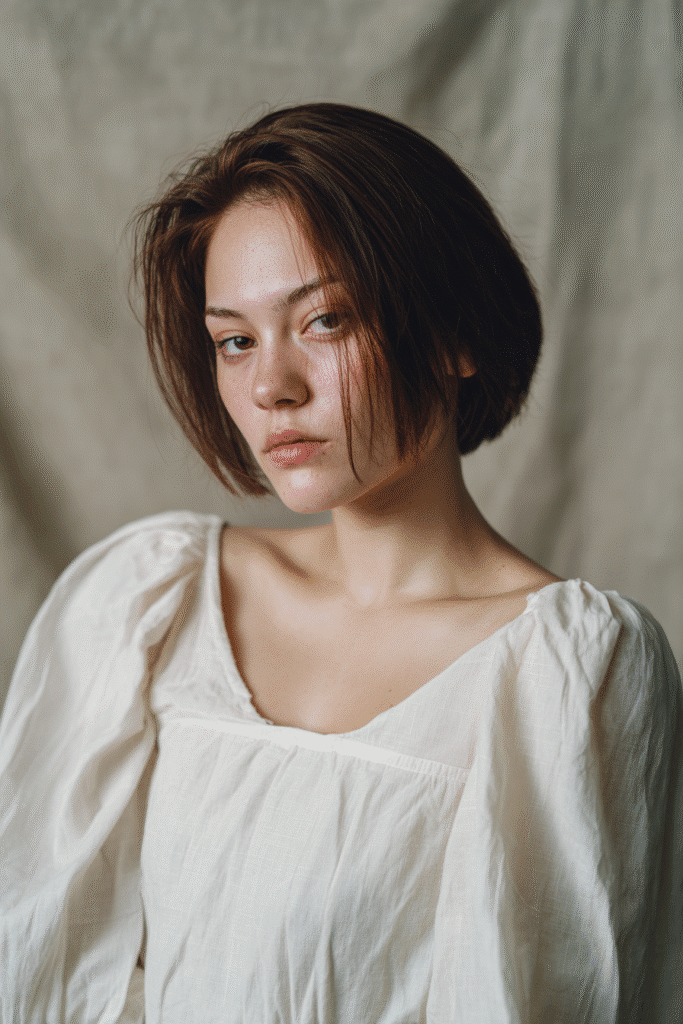
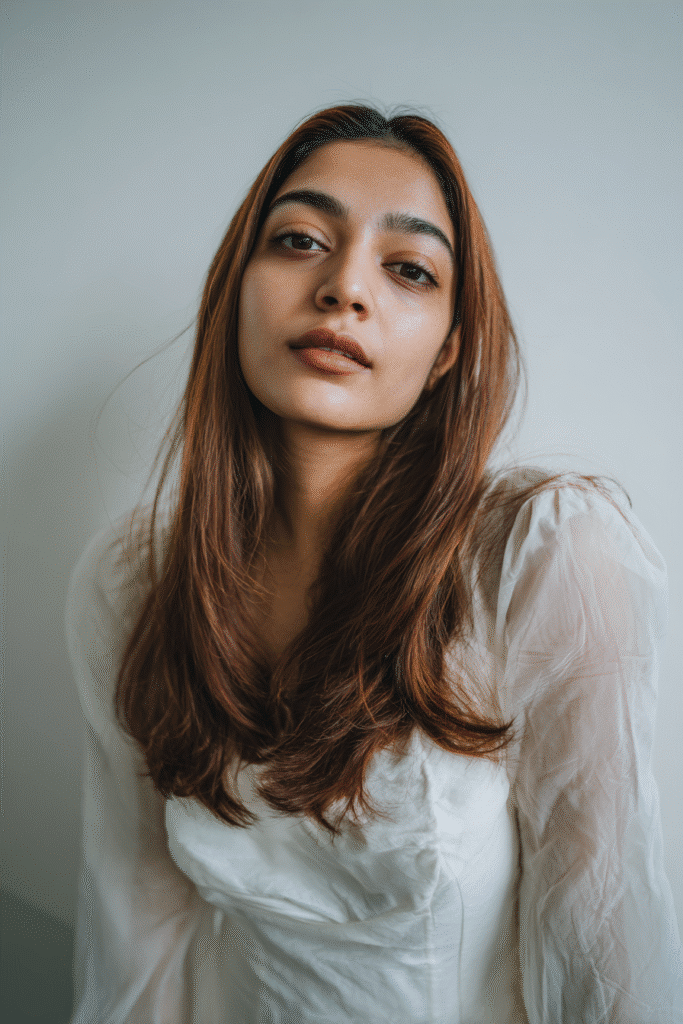
The classic slick back features hair combed straight back from the forehead to create a clean, polished look without a part. Dating back to the early 20th century, this iconic style became synonymous with sophistication and masculinity. Although traditionally a men’s hairstyle, I’ve adapted it into a chic option for girls of all ages.
What makes this style unique is its smooth, flat appearance. The hair is brushed away from the face and held in place with styling products like gel or pomade. The result? A sleek, controlled finish that frames your features beautifully.
Classic Slick Back: Why it works
The magic of this style lies in its incredible versatility. From classroom to casual outings, the classic slick back transitions effortlessly between settings. Furthermore, it works with almost any hair type, though it’s particularly flattering for those with straight or slightly wavy hair.
I’ve recommended this style countless times to my clients because:
- It creates an instant polished look that boosts confidence
- It’s surprisingly low-maintenance compared to many other styles
- It offers a sophisticated appearance that suits any occasion
Additionally, the classic slick back is universally flattering across different face shapes, especially oval, square, and rectangular. I always suggest this style to my clients who need a quick yet put-together look for school or everyday wear.
Classic Slick Back: How to style it
After years of creating this look, I’ve perfected a simple method:
- Begin with clean, damp hair – never start with dry or dirty hair as it compromises effectiveness
- Apply a strong-hold styling product like pomade or gel to ensure longevity
- Using a fine-toothed comb, slick your hair straight back from the forehead without creating a part
- Allow your hair to dry naturally for best results
For younger girls, I recommend a lighter hold product that won’t make the hair feel crunchy. Moreover, adding cute accessories like subtle clips or pins can transform this classic style into something more playful and age-appropriate.
The classic slick back truly offers that rare combination of elegance and simplicity – precisely why it has remained relevant through decades of changing trends.
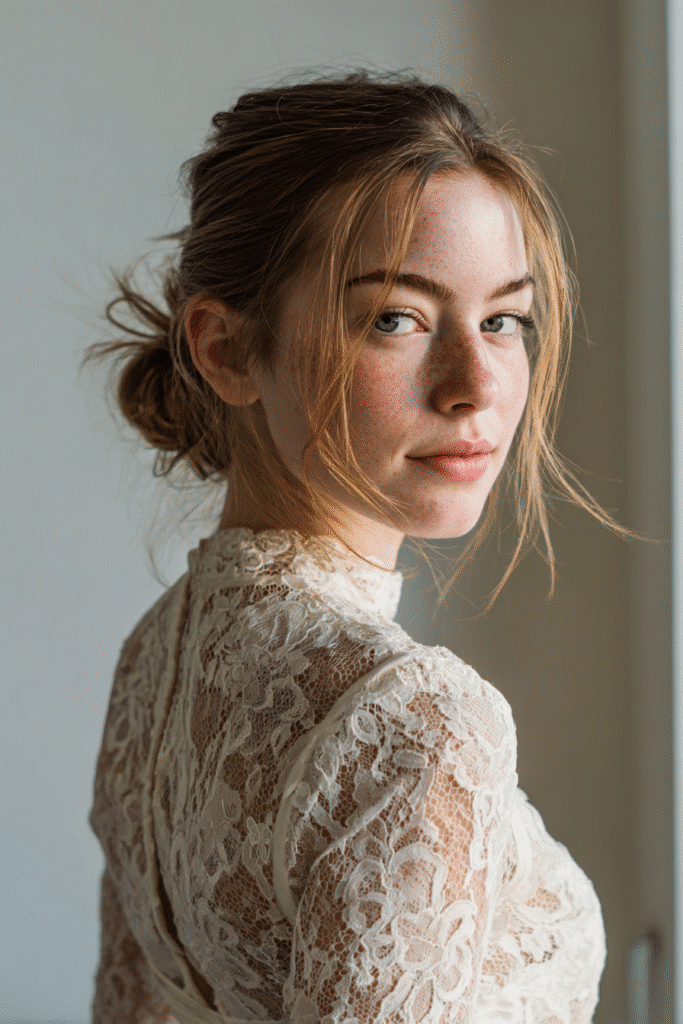
Wet Look Slick Back

Nothing screams runway-ready quite like the wet look slick back hairstyle! This high-shine style has dominated fashion catwalks and become increasingly popular for everyday wear.
Wet Look Slick Back: What it is
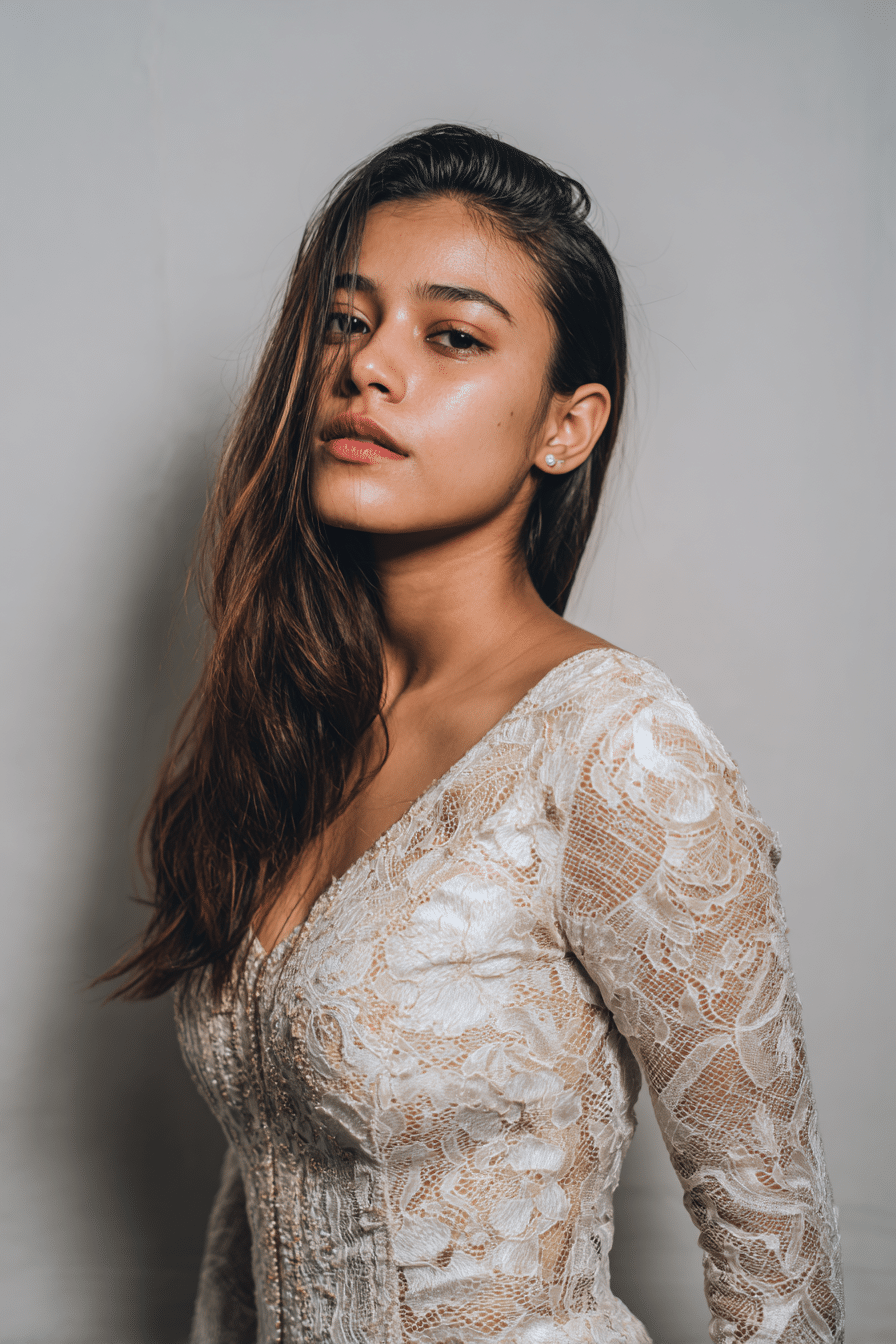
The wet look slick back creates the illusion of freshly-showered hair with a glossy, damp appearance that stays put all day. Unlike the classic slick back, this style features an intentionally wet-looking finish that catches the light beautifully. It’s essentially a sleek, high-shine hairstyle that can feel sexy, glamorous, and expensive, or equally hard and masculine depending on how you style it.
I first discovered this look when preparing a client for a special event, and I was immediately captivated by its versatility. The wet look can be worn pushed straight back, swept to one side, tied in a sleek pony, or even styled in a low bun.
Wet Look Slick Back: Why it works
This style has gained tremendous popularity as part of the “clean girl esthetic” trend. What makes it truly brilliant is its practicality—it’s perfect for hiding dirty or unwashed hair! Consequently, it’s become my go-to recommendation for busy girls between wash days.
The wet look slick back works across different hair types, from fine to curly, making it incredibly inclusive. For younger girls heading to school, this style stays perfectly in place throughout a busy day of activities.
Wet Look Slick Back: How to style it
Creating this cute slick back hairstyle requires these essential products:
- Strong-hold hair gel (for the wet effect)
- Shine serum or oil (for extra glossiness)
- A wide-tooth comb
- Hair spray (for lasting hold)
Start with damp (not soaking) hair. Apply gel generously to your roots and lengths—the more you use, the wetter your hair will appear. Then, brush your hair back as if creating a ponytail. For a more textured look, use your fingers to create definition, or keep it sleek with a comb.
For all-day hold, I recommend sealing the style with a light mist of hairspray. Remember, the key to making this look cool is keeping it feeling effortless!
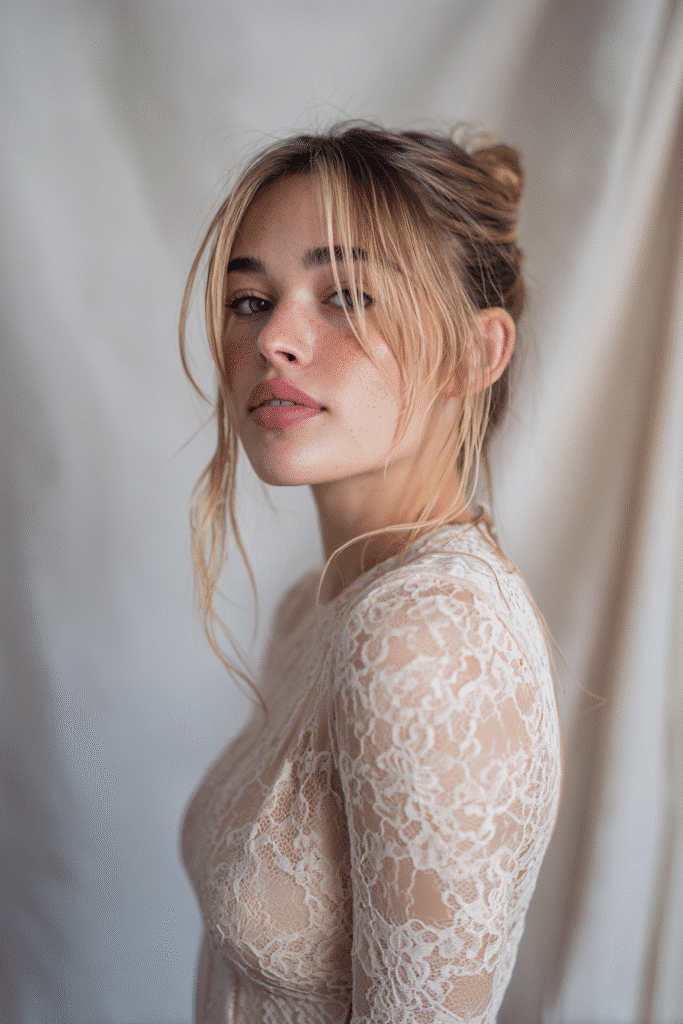
Pulled-Back Curls
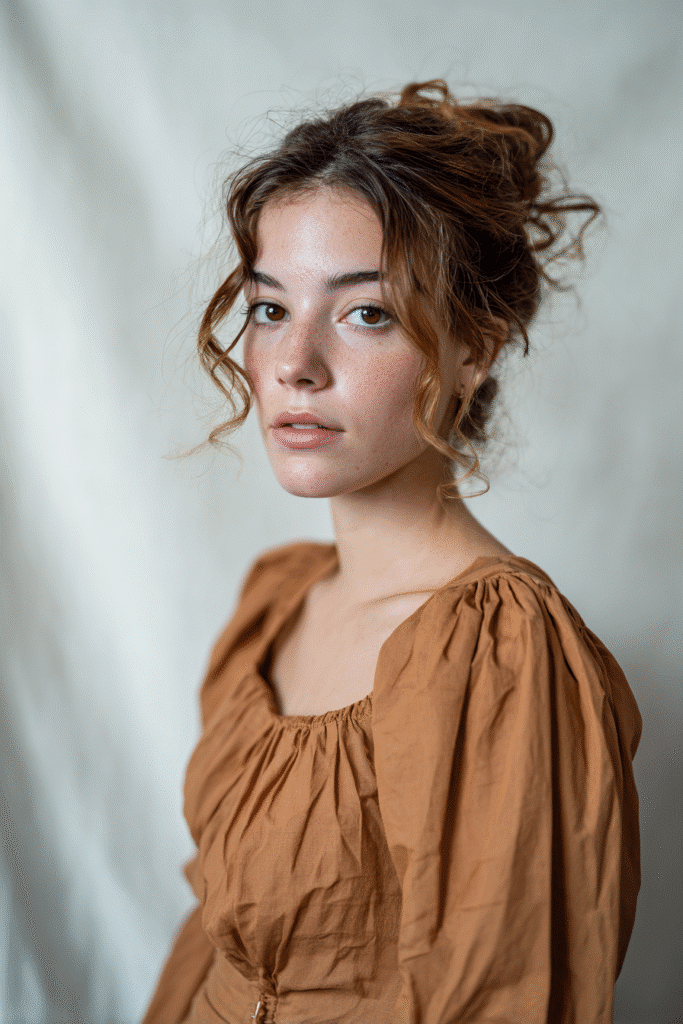
For those of us blessed with curls, finding cute slick back hairstyles that maintain our natural texture can feel impossible. After years of trial and error, I’ve mastered the art of pulled-back curls that stay perfect throughout the day.
Pulled-Back Curls: What it is
Pulled-back curls is a versatile style that keeps your natural curl pattern intact while smoothly directing hair away from your face. Rather than flattening your gorgeous texture into what I call a “greasy helmet,” this approach celebrates your curls while providing structure.
The style can take various forms—from a loose chignon with romantic face-framing tendrils to a voluminous ponytail that showcases your natural texture. First and foremost, it’s about control without sacrifice.
Pulled-Back Curls: Why it works
This cute slick back hairstyle works beautifully for school or everyday wear since it keeps hair contained yet stunning. Certainly one of its greatest advantages is versatility—it suits virtually all curl patterns from waves to tight coils.
Generally, pulled-back curls offer practical benefits:
- Keeps hair off your face without damaging your curl pattern
- Creates an instantly polished look for any occasion
- Allows for creativity with face-framing pieces
- Works wonderfully on second or third-day hair
Yet it’s important to note that constantly wearing tight pulled-back styles can potentially cause traction alopecia (hair loss at the hairline). Fortunately, there are gentler techniques that minimize this risk.
Pulled-Back Curls: How to style it
To create this cute easy slick back hairstyle:
- Begin with damp (not soaking wet) hair—this provides the perfect canvas
- Apply hydrating curl cream throughout to control frizz while maintaining softness
- Divide hair into 2-4 sections and clip them up separately
- Work product through each section thoroughly, paying special attention to frizz-prone areas
- For extra hold, follow with a matte pomade like Glacial Clay Pomade
- Instead of a fine-tooth comb (which can break curls), use a wide-tooth comb or your fingers
- Secure your style with bobby pins (mini ones work best for controlling small sections)
Alternatively, try wrapping your styled hair with a satin scarf for 15-20 minutes to set the look perfectly. This technique locks everything in place without flaking or puffiness later.
Sky-High Coif
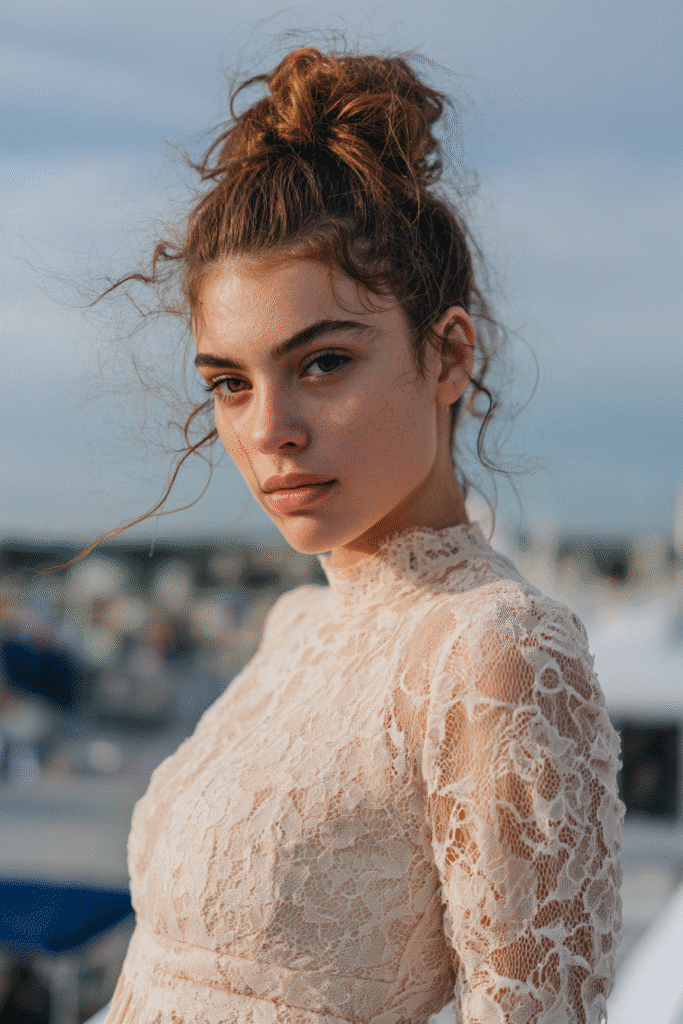
Among all the slick back styles in my arsenal, the sky-high coif makes the boldest statement. This gravity-defying style has adorned the heads of style icons for decades, becoming a timeless choice for those wanting to elevate their look – literally!
Sky-High Coif: What it is
The sky-high coif is characterized by its impressive height and dramatic structure. Initially inspired by the classic beehive, this style features hair that’s swept back and teased high on the crown, creating a striking silhouette. Unlike other slick back styles, the sky-high coif doesn’t aim for flatness – it’s all about volume and height.
This style’s elegance comes from its smooth, polished exterior that conceals the structured teasing underneath. The hair is essentially swirled around the crown in a circular motion, creating that characteristic height. Even though it looks complex, the sky-high coif is surprisingly stable – so stable that it can remain intact for days without washing.
Sky-High Coif: Why it works
The sky-high coif offers multiple benefits that make it perfect for school events or special occasions:
- Creates instant drama and sophistication
- Works wonderfully for those wanting to add height
- Stays put throughout active days
- Hides second or third-day hair beautifully
Indeed, this style works on various hair lengths. You don’t need extremely long locks – a long bob provides sufficient hair to create height on top. For younger girls, a modified, less extreme version can be created that’s still age-appropriate yet fun.
Sky-High Coif: How to style it
To create this cute slick back hairstyle:
- Begin with dry hair – this provides the perfect foundation
- Take a two-inch horizontal panel at the front hairline and lift to a 90-degree angle
- Backcomb this section thoroughly with a boar bristle brush
- Continue backcombing in horizontal sections until you reach the nape
- Thereafter, backcomb the sides using vertical sections
- Sculpt your desired shape by pulling hair back and up
- Twist ends and secure with pins at the back
- Mist generously with strong-hold hairspray
For fine hair, apply texturizing spray before backcombing for extra grip. Upon finishing, the style should feel solid yet look smooth on the outside – your own little secret structure underneath!
Throughout my years styling hair, I’ve found this technique creates a slick back that turns heads while staying perfectly in place all day.
Sleek Pixie Cut
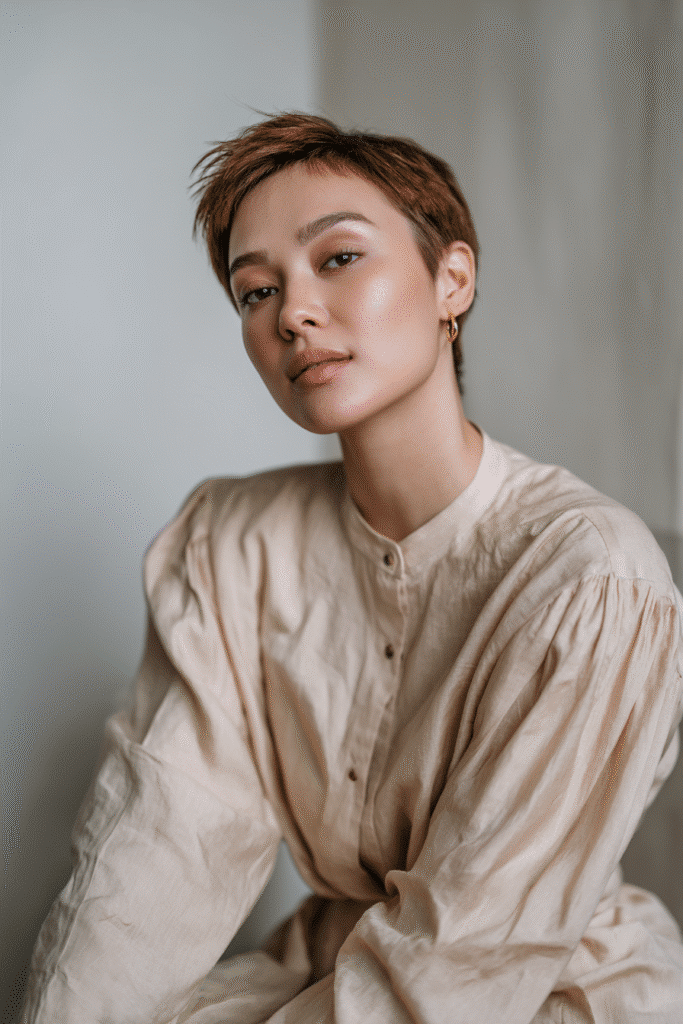
The sleek pixie cut stands out as one of my favorite short-yet-stunning slick back hairstyles for those ready to make a bold statement. After styling countless pixie cuts over the years, I’ve witnessed firsthand how this chic cut transforms not just appearances but confidence levels too.
Sleek Pixie Cut: What it is
A sleek pixie cut is a short, cropped hairstyle typically sitting above the ears and at the nape of the neck. Unlike other pixies, the sleek version features a smooth, polished finish that looks almost wet or glass-like. This elegant variation maintains structure with clean lines and a sophisticated silhouette.
For Eva Marcille’s slicked-down pixie, I often recommend a side part that epitomizes pure elegance. Given that the length can vary from chin-length to just one inch, the sleek pixie offers more versatility than most realize.
Sleek Pixie Cut: Why it works
Despite appearing high-maintenance, this cute slick back hairstyle offers numerous advantages:
- Highlights facial features beautifully, drawing attention to eyes and cheekbones
- Works exceptionally well with straight hair and structured cuts
- Creates an instantly polished, professional look with minimal effort
- Perfect for school days when you need something that stays put
According to stylist Chu Emery, pixies can flatter almost every face shape. Obviously, those blessed with flawless bone structure particularly shine with this cut!
Sleek Pixie Cut: How to style it
To create this adorable slick back style:
- Start with freshly washed hair and part in your desired direction
- Apply a shine-inducing oil like Oribe’s Gold Lust Nourishing Hair Oil
- Coat your entire head with lightweight gel (Kenra Styling Gel 17 works wonderfully)
- Use a light hand and move with the grain so hair lies flat
For a sleeker finish, apply a smoothing serum to control frizz and add shine. Inasmuch as you’re styling regularly, remember to tie your hair down at night with a mesh head wrap to maintain the shape.
Slicked-Back Bob
The slicked-back bob has become my go-to recommendation for anyone wanting to make a power statement with minimal effort. This sleazy-smart, slightly corporate look offers the perfect balance between sophistication and edge.
Slicked-Back Bob: What it is
The slicked-back bob is characterized by hair swept and gelled backwards, creating a sleek, controlled silhouette. Unlike other variations, this style doesn’t feature flipped ends – instead, the hair is pushed backwards, perfectly complementing heavy-shouldered jackets or turtlenecks. Primarily, it works with any bob length and can be styled either with a parting or fully swept back from the hairline.
Throughout my styling career, I’ve noticed this look trending among fashionistas who appreciate its bold yet elegant statement. The wet-look element adds a modern twist to the classic bob, making it both timeless and contemporary.
Slicked-Back Bob: Why it works
Naturally, this cute slick back hairstyle flatters most face shapes. For round faces, the center-parted version elongates facial features, whereas a side part balances heart-shaped faces. Overall, it’s about harmonizing angles and curves to enhance your natural beauty.
What truly makes this style exceptional is its versatility:
- Looks polished yet effortless
- Perfect for hiding unwashed hair
- Suitable for school, work, or special occasions
Slicked-Back Bob: How to style it
To create this look:
- Start by dampening your hair, focusing water on the sides and top
- Apply a moisture gelee or styling cream generously throughout
- For fine hair, use lightweight volumizing mousse first
- For thick hair, work in strong-hold gel section by section
- Use a boar bristle brush to distribute product evenly
- Comb hair backwards off your face for that sleek finish
- Optionally, blow dry with a nozzle attachment for extra control
- Finish with hairspray for all-day hold
For best results, layer your products. I often begin with a leave-in styling product, followed by a stronger hold formula to lock everything in place.
Deep Side Part
The dramatic statement of a deep side part has made a triumphant return to hair trends recently. As someone who has styled countless variations of this look, I can attest to its transformative power.
Deep Side Part: What it is
A deep side part is not your average side-swept style—it’s characterized by hair parted significantly farther to one side, typically starting about a half-inch from where your hair naturally parts. Most compelling evidence suggests aligning your part with the highest point of your eyebrow arch for the most sophisticated look. The deep positioning creates a stunning asymmetrical effect that immediately adds visual interest to even the simplest hairstyle.
Deep Side Part: Why it works
Above all, a deep side part offers versatility across different hair textures and types. For those with fine hair, this technique instantly creates volume because you’re essentially piling more than half your hair across the top of your head. Additionally, it softens cheekbones and pointy chins on heart-shaped faces.
Switching up your part location has unexpected health benefits too! Alternating where you part your hair minimizes repeated exposure to heat styling in the same spot, reducing breakage and improving overall hair health.
Deep Side Part: How to style it
To achieve this cute slick back hairstyle:
- For precision, use a rat-tail comb to draw your part starting at the hairline
- Work with damp hair for easier styling
- Apply volumizing spray at the roots first, then lift hair while blow-drying
- For extra hold, tease sections parallel to the part before letting hair fall
- Seal with lightweight styling gel or flexible hairspray
Afterward, you’ll have a striking style that’s perfect for school or special occasions!
Textured Slick Back

I’ve seen countless variations of slick back styles through my years as a stylist, yet the textured slick back remains my absolute favorite for creating dimension and character.
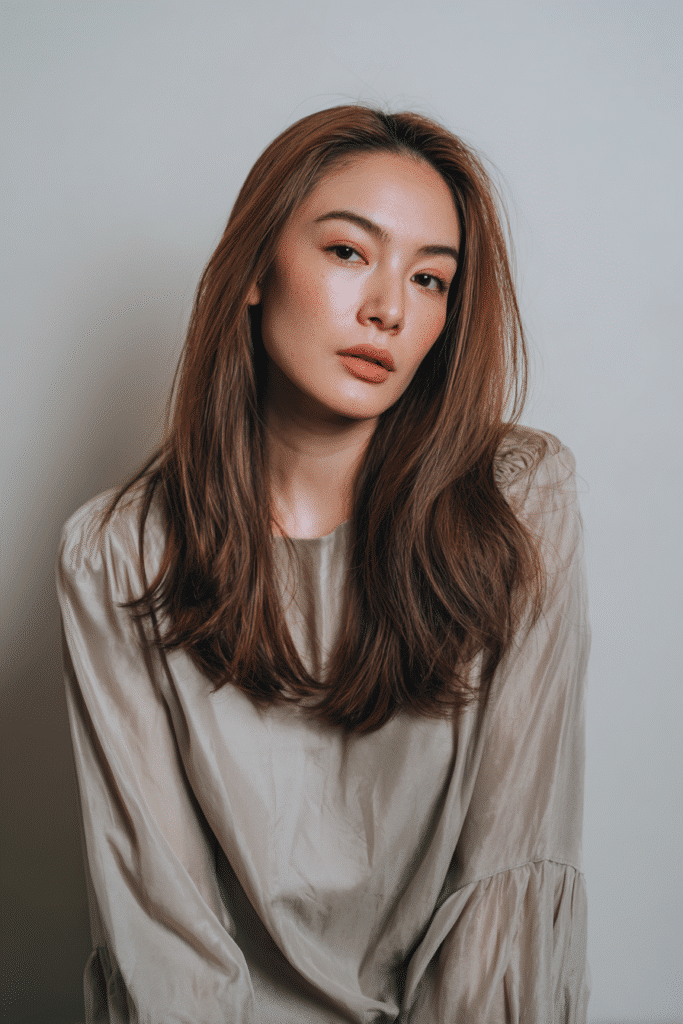
Textured Slick Back: What it is
The textured slick back offers a modern twist on the traditional slick back by maintaining natural volume and movement. As well as looking sleek, it incorporates visible texture—creating noticeable lines and gaps within the hair. Simultaneously combining sleekness with natural volume, this style offers contemporary edge while preserving classic appeal. Unlike the conventional slick back which aims for complete smoothness, the textured version celebrates those natural waves and subtle lifts.
Textured Slick Back: Why it works
Naturally, this versatile style flatters multiple face shapes—particularly oval, square, and diamond. Beyond that, it works beautifully with straight, wavy, and slightly curly hair types. Even those with thicker, more unruly hair can achieve this look with the right products and techniques.
What makes this style perfect for school or everyday wear? It’s the balance between polished and effortless—structured yet not overly done.
Textured Slick Back: How to style it
To create this cute slick back hairstyle:
- Start with freshly washed, towel-dried hair
- Apply volumizing mousse while hair is damp for extra lift
- Rub a small amount of matte clay or pomade between your palms
- Work product from roots to ends, focusing on the top for texture
- Blow dry on medium heat while brushing backward, lifting at roots for volume
- Use your fingers (not a comb) to define texture at the top
- Finish with light hairspray to maintain hold without sacrificing movement
For girls with wavy hair, this style beautifully showcases your natural texture without fighting against it!
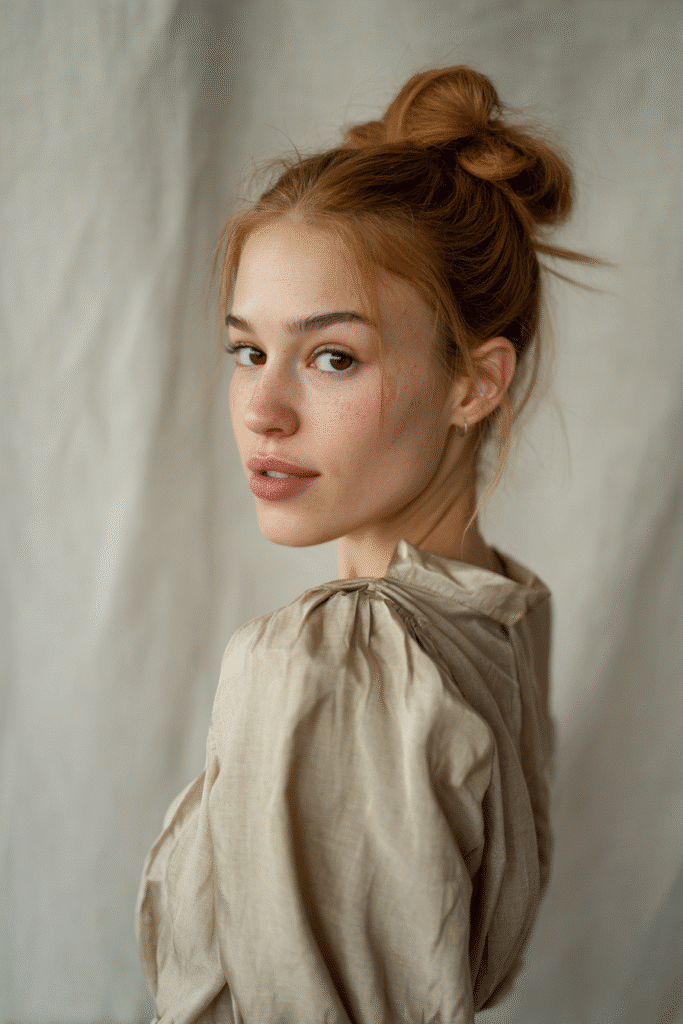
High Ponytail
The confidence-boosting power of a high ponytail makes it my most-requested style among younger clients. This chic updo instantly elevates any look with minimal effort.
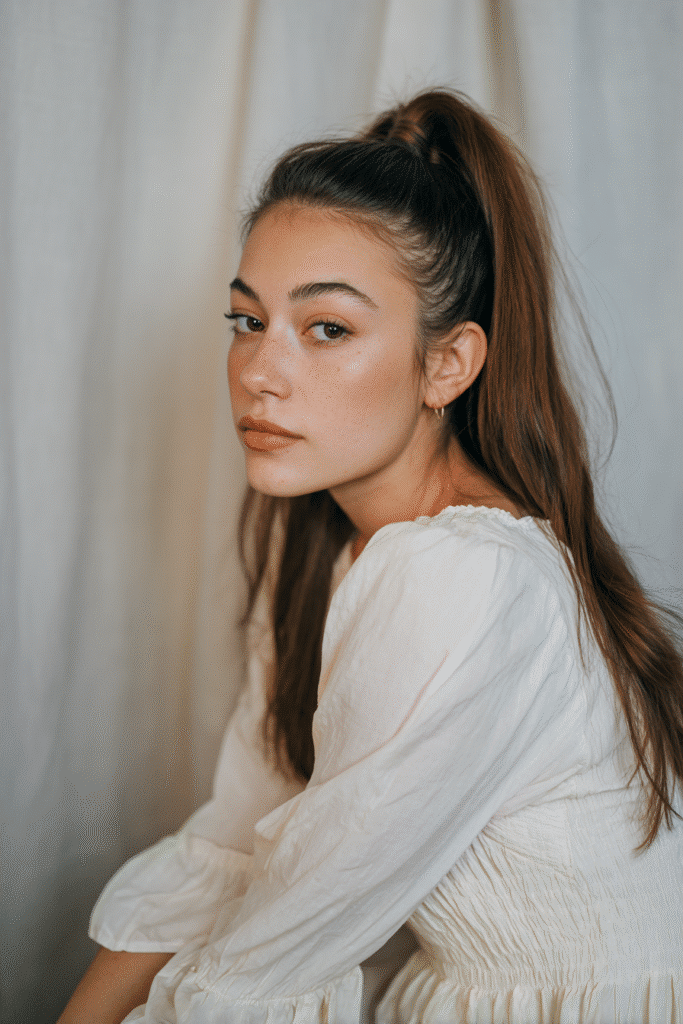
High Ponytail: What it is
A high ponytail sits near the crown or top of your head, creating a dressier and more youthful appearance than its lower counterparts. Notably, this elevated positioning provides an instant face-lifting effect that emphasizes cheekbones. Throughout my styling career, I’ve found this versatile style combines the sporty practicality of a traditional ponytail with the elegance of an updo.
High Ponytail: Why it works
My clients love high ponytails primarily because they provide a “snatched” effect, drawing the eyes upward. For oval or round faces, this positioning creates the illusion of lifted features while balancing facial proportions. Moreover, high ponytails work exceptionally well for:
- School days when you need a polished yet practical style
- Second-day hair that needs refreshing
- Adding perceived height and dimension
High Ponytail: How to style it
For the perfect high ponytail:
- Flip your head upside down—gravity helps position it higher
- Brush hair upward toward the crown while tilted
- Secure with a strong elastic (regular hair ties often aren’t strong enough)
- For volume, try this hack: create your ponytail, undo one loop, split hair into top and bottom sections, tie only the bottom section, then flip the top over
Ultimately, finishing with hairspray from six inches away ensures even distribution that holds flyaways without stiffness. For extra sleekness, mist hairspray onto palms or a fine-toothed comb to smooth any rebellious baby hairs.
Low Chignon
For a touch of timeless elegance, I always turn to the low chignon—an effortlessly chic yet surprisingly simple slick back style that exudes sophistication.
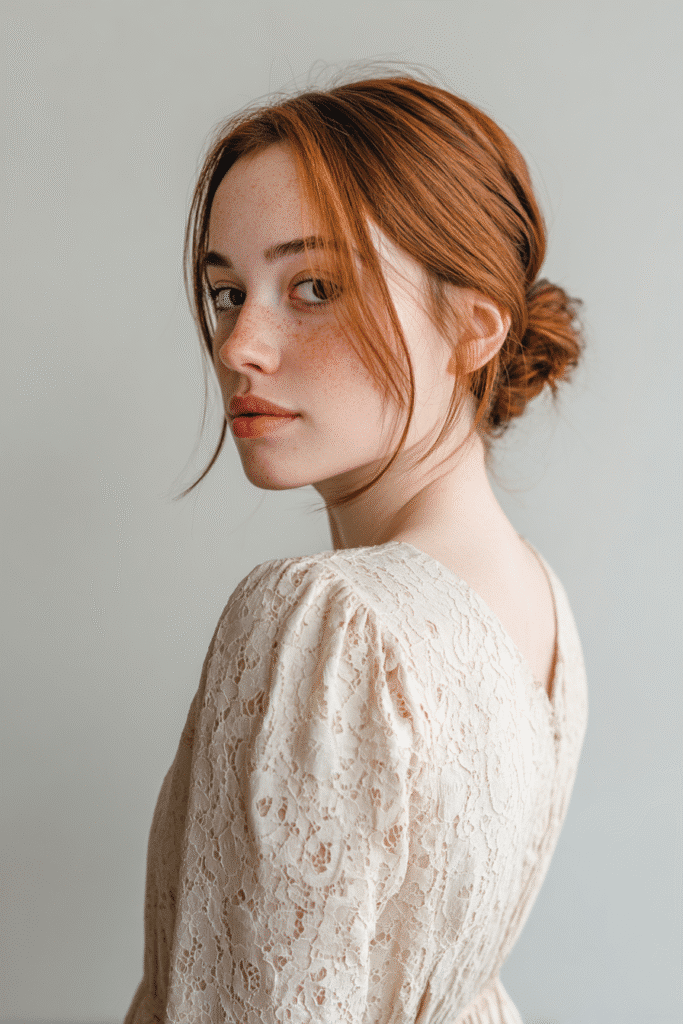
Low Chignon: What it is
The low chignon is a classic French updo positioned at the nape of your neck. Its name derives from “chignon de cou,” which literally translates to “nape of the neck”. Traditionally, this style features hair gathered into a twisted knot or bun that sits low on the head. Unlike regular buns that can be positioned anywhere, a chignon specifically sits at the base of your head.
Low Chignon: Why it works
This style has remained popular for centuries for good reason! For one thing, it works on all hair types and textures, provided your hair reaches at least collarbone length. The low chignon offers remarkable versatility—it can be sleek and polished for formal occasions or purposefully undone for everyday wear.
I consider this the perfect school-friendly style because:
- It keeps hair contained yet elegant
- Works beautifully on second-day hair
- Provides an instant upgrade from a basic ponytail
Low Chignon: How to style it
To create this cute slick back hairstyle:
- Gather hair at the nape of your neck into a low ponytail
- Twist your ponytail upward until it coils around itself
- Wrap it around the base, creating a knot
- Secure with bobby pins or French hairpins
Half-Up, Half-Down

The half-up, half-down style remains my favorite indecisive girl’s solution when you can’t choose between wearing your hair up or down. Typically, I recommend this versatile look for clients seeking both elegance and comfort.
Half-Up, Half-Down: What it is
This style splits your hair horizontally, securing just the top section while leaving the bottom free-flowing. The beauty lies in its versatility—it works effortlessly for all hair types and lengths, from sleek and straight to bouncy curls. Primarily a balance between sophistication and ease, it allows you to showcase natural texture while keeping hair off your face.
Half-Up, Half-Down: Why it works
The half-up, half-down hairstyle shines through its adaptability. It transitions seamlessly from casual to formal occasions. Hence, it’s perfect for:
- School days when you need a put-together yet comfortable look
- Bad hair days (it hides unwashed roots beautifully)
- Adding dimension to thin hair
Yet what makes this style truly special is its face-framing effect that flatters virtually everyone.
Half-Up, Half-Down: How to style it
To create this look:
- Section hair from ear to ear across the crown
- Smooth back the top portion with a brush
- Secure with a clear elastic or decorative clip
- Finish with light hairspray for flyaway control
For extra polish, add texturizing spray to create volume in the free-flowing section.
Slicked Back with a Wave
The perfect balance between sleek structure and natural movement makes the slicked back with a wave my secret weapon for clients who want polish without sacrificing texture. This versatile style has quickly become a staple in my styling repertoire.
Slicked Back with a Wave: What it is
The slicked back with a wave combines the sophistication of a slick back with beautiful, controlled waves throughout the hair. Fundamentally different from super-sleek styles, this look maintains natural texture while keeping hair neatly pulled away from the face. The result is continuous waves that flow backward, creating dimension and visual interest.
Slicked Back with a Wave: Why it works
This charming style works wonderfully for those with naturally wavy hair who don’t want to fight against their texture. Plus, it’s much more forgiving than completely straight slick backs, as minor flyaways blend into the wave pattern.
Key benefits include:
- Creates dimension through continuous waves
- Offers a more relaxed yet polished appearance
- Flatters most face shapes, adding softness around features
Slicked Back with a Wave: How to style it
I typically create this look through these steps:
- Begin with clean, dry hair sectioned into two horizontal parts
- Curl small sections in the same direction using a styling iron
- Brush through curls with a pin bristle paddle brush, forming continuous waves
- Apply gel with a tail comb, sweeping hair back away from the face
- Tuck behind ears and set with a diffuser attachment
- Brush out with a texture comb for that perfect wave pattern
During summer months, this style resists humidity better than straight slick backs—making it perfect for school or everyday wear!
Face-Framing Pieces
Face-framing pieces have become my signature touch when creating personalized slick back styles. These strategic elements add dimension while keeping the polished look that makes slick backs so appealing.
Face-Framing Pieces: What it is
Face-framing pieces are shorter sections of hair cut specifically around the perimeter of your face. Unlike a complete slick back, this style intentionally leaves out or loosens carefully selected strands. A slicked-back ponytail with wavy, face-framing pieces quickly adds character without much effort. These pieces can be subtle and blended or more dramatic depending on your preference.
Face-Framing Pieces: Why it works
Face-framing layers flatter all face shapes when properly customized. For round faces, they create a slimming effect, while on square faces, they soften angular jawlines. Moreover, they highlight facial features you love—starting the shortest piece at your cheekbones accentuates them beautifully.
What makes this approach perfect:
- Works with any hair texture and length
- Can be added to virtually any slick back style
- Helps control shorter layers that won’t stay put
Face-Framing Pieces: How to style it
To create this look:
- Apply styling product to damp hair, focusing on roots
- Use a large round brush or flat iron to bevel hair under showing off the layers
- For shorter pieces that won’t stay back, use strategic pinning techniques
- Secure with light hairspray for lasting hold
Regular maintenance is key—plan on trimming every three weeks to keep your face-framing pieces looking polished.
Retro-Inspired Slick Back
The iconic retro-inspired slick back brings me back to a time when style had both rebellion and sophistication. Historically rooted in the 1950s, this timeless look gained popularity through rockabilly culture and has maintained its appeal across generations.
Retro-Inspired Slick Back: What it is
This vintage hairstyle features hair combed straight back from the forehead, creating a classic silhouette that dates back to the 1950s. Rockabilly icons popularized this rebellious look, often carrying combs in their back pockets for mid-day touch-ups. The retro slick back embraces its heritage through clean lines and structured styling, yet allows for personal interpretation.
Retro-Inspired Slick Back: Why it works
The retro-inspired slick back endures primarily due to its remarkable versatility. Easily transitioning between casual and formal settings, it suits almost any occasion. Naturally adaptable to various hair types, this style creates an instant impression of confidence and self-assurance. Throughout history, it has consistently represented both rebellion and refinement.
Retro-Inspired Slick Back: How to style it
To create this nostalgic look:
- Begin with damp hair and apply water-based pomade for that authentic shine
- Use a round brush to direct hair backward from the forehead
- Add texture by gently combing with wide-spaced teeth for a more casual finish
- Seal with light hairspray for all-day hold
This timeless style makes a perfect statement for school or special occasions without appearing overdone.
Subtly Slick Look
Sometimes less is more when it comes to hairstyling. In contrast to other bold techniques we’ve explored, the subtly slick look offers an understated elegance that appears almost effortless.
Subtly Slick Look: What it is
The subtly slick look creates a polished appearance without the heavy, wet finish of traditional slick backs. This style maintains natural movement while keeping hair controlled and away from the face. In essence, it’s about creating structure without obvious product buildup—think of it as the “no-makeup makeup” equivalent for hair styling.
Subtly Slick Look: Why it works
Naturally, this understated approach works beautifully for everyday settings where you want to look put-together without appearing overdone. As a result, it’s perfect for school days or casual outings. The subtle technique prevents that greasy, helmet-like appearance that can happen with heavier products.
Subtly Slick Look: How to style it
For this delicate balance:
- Start with clean, towel-dried hair
- Apply a lightweight, non-greasy product like a styling cream
- Use fingers rather than a comb for a more natural finish
- Focus product application on roots and troublesome areas only
- Add minimal hairspray from six inches away for invisible hold
This approach gives you that “I woke up like this” vibe while still maintaining control throughout the day.
Conclusion
After exploring these versatile slick back hairstyles, you’ve certainly got plenty of options to keep your locks looking fabulous throughout the day! My years of styling experience have taught me that slicked-back styles truly offer something for everyone, regardless of hair type, length, or texture.
These hairstyles stand out because they effortlessly balance sophistication with practicality. Most importantly, they stay put during busy school days or special events without constant touch-ups. The classic slick back provides timeless elegance, while variations like the wet look or textured slick back add contemporary flair to your everyday appearance.
Face shape concerns? Not a problem! Each style can be customized to flatter your unique features. Round faces benefit from styles creating height, whereas heart-shaped faces look stunning with softening techniques like face-framing pieces.
You might worry about product overload, but remember – light application of quality products works better than globbing on excessive amounts. Start with less, then build gradually until you achieve your desired hold and shine.
My personal favorite aspect of slick back styles? Their incredible versatility! Switch between polished and casual looks simply by adjusting your product choice or finishing technique. Additionally, these styles work beautifully for second or third-day hair, making them perfect time-savers.
Why not experiment with these cute slick back hairstyles this week? Surely one will become your go-to look! The confidence boost from having perfectly styled hair that stays put all day truly makes all the difference. Trust me – I’ve seen countless clients walk taller and smile brighter after mastering these simple yet stunning styles!