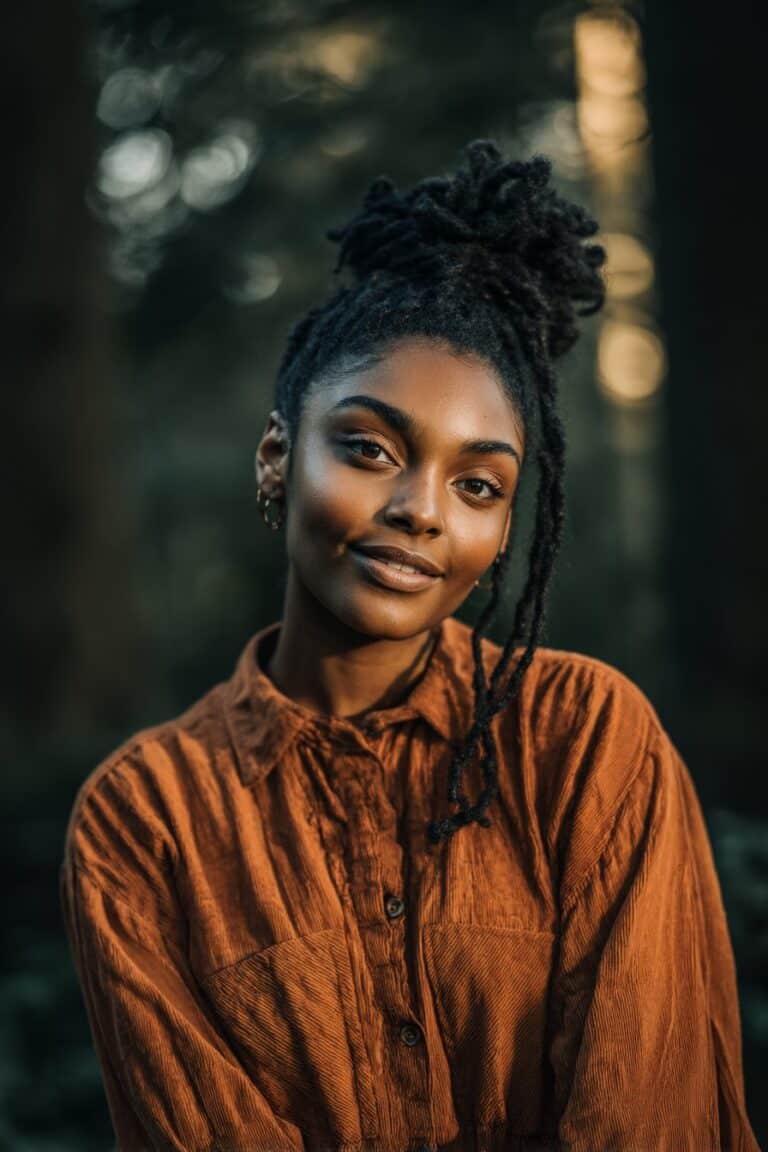
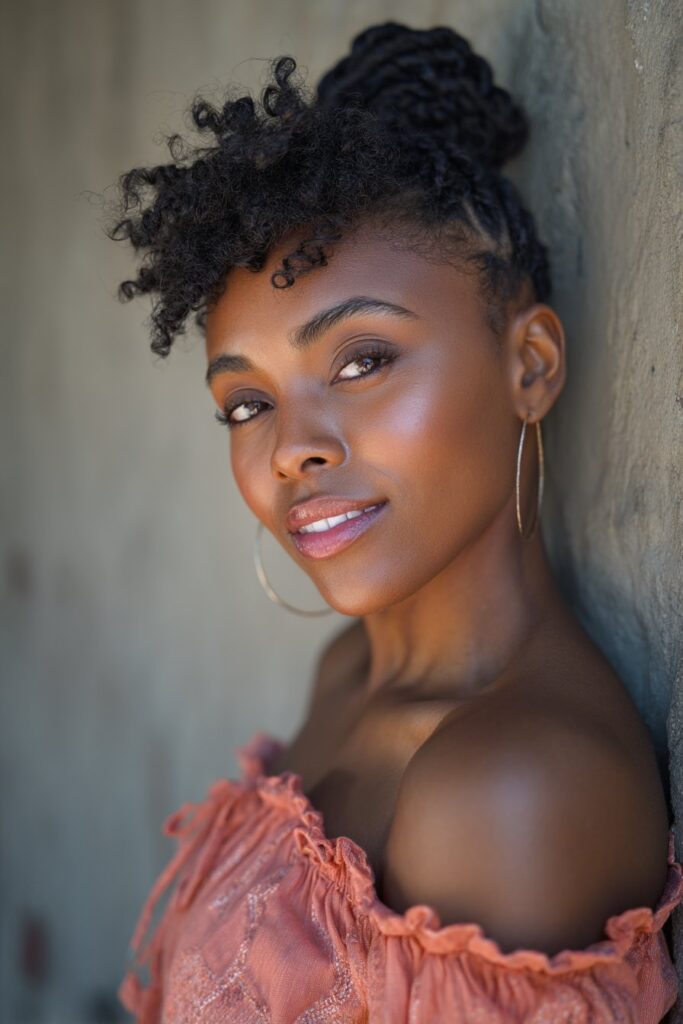
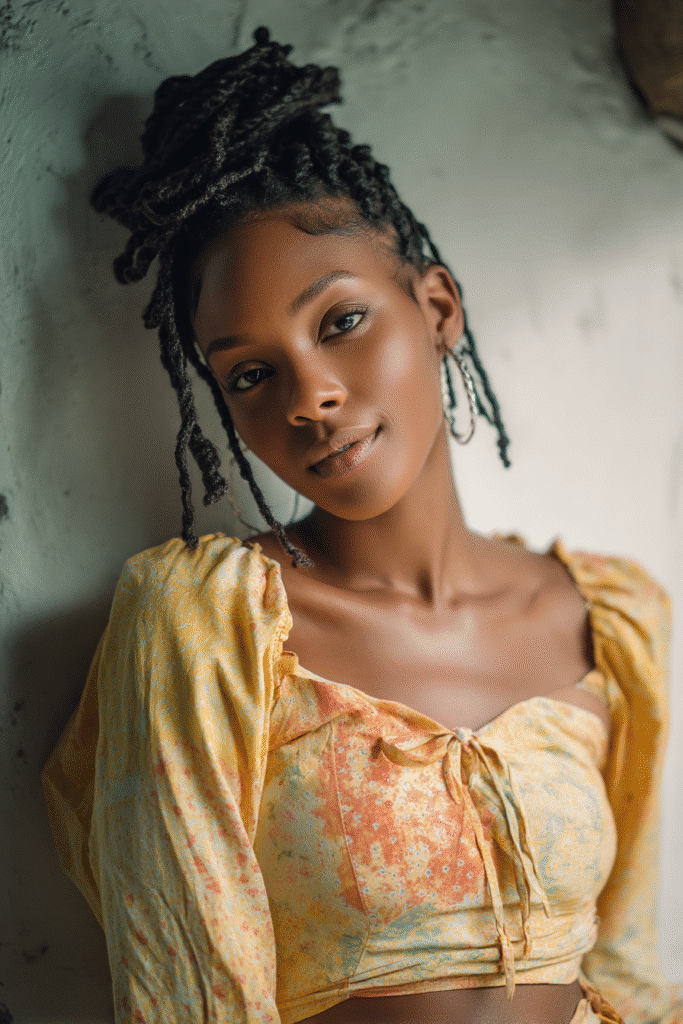
Styling 3c/4a hairstyles when you’re running late can feel like mission impossible. I’ve been there countless times, staring at my reflection with tangled curls and just minutes to spare before heading out the door.
As a beauty professional working with diverse hair textures, I’ve discovered that our versatile 3c/4a hair can actually be our greatest time-saving asset. Whether you’re looking for easy 3c/4a hairstyles for mid-length hair or cute 3c/4a hairstyles for shorter cuts, there are plenty of options that don’t require hours of styling. In fact, one tutorial for quick 3c/4a hairstyles recently garnered over 625,000 views—proving I’m not the only one seeking efficient styling solutions!
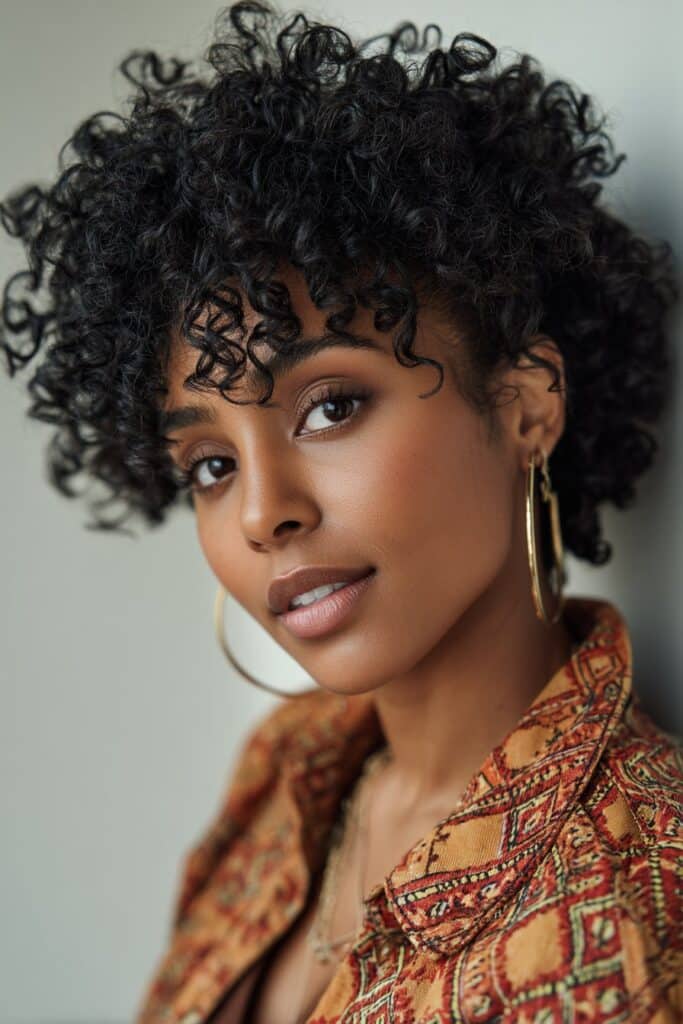
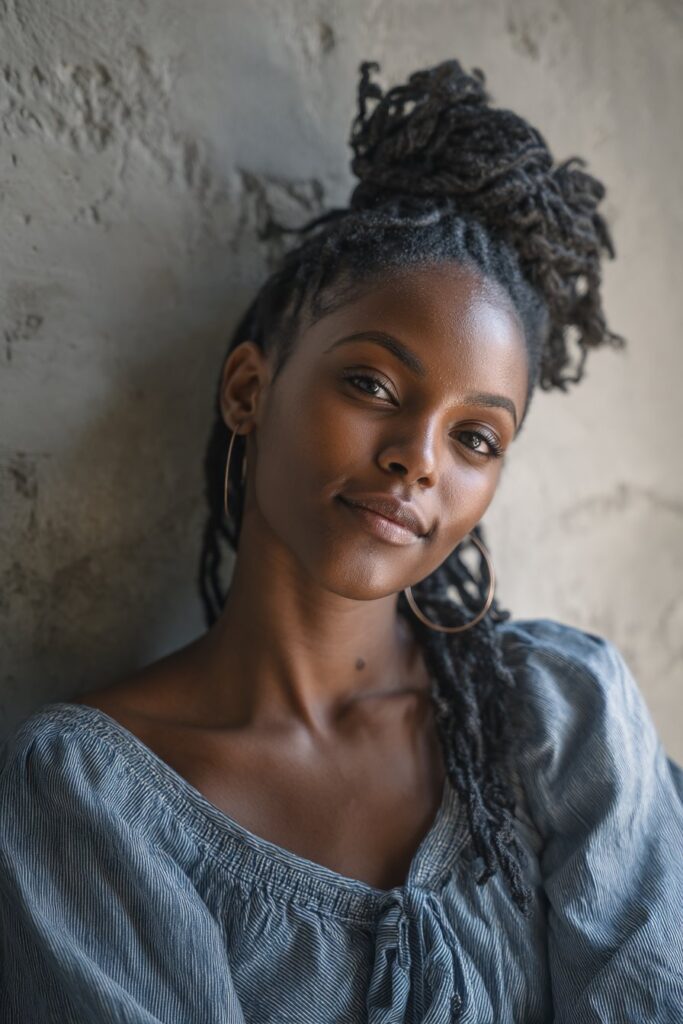
What I love most about working with 3c/4a hair is its incredible versatility. According to natural hair expert Jasmine “Jazzee” Santiago, our hair type thrives with the right combination of hydrating and defining products like creams, gels, and oils. The best part? You don’t need freshly washed hair to look amazing—even “dirty crusty hair” (as one expert humorously puts it) can be transformed into something gorgeous in minutes.
From five-minute styles that look effortlessly chic to protective options like mini twists that might take longer initially but save you tons of styling time afterward, I’ve gathered 13 stunning looks that you can create in just 10 minutes. Let me share my favorite quick-styling secrets that have saved me countless times when the clock is ticking.
Defined Wash-and-Go
The defined wash-and-go has become my go-to for clients with 3c/4a hair who need a quick yet polished look. This style allows your natural curl pattern to shine while providing definition that lasts for days.
Defined Wash-and-Go Styling Tips
For the perfect defined wash-and-go, I always start with thoroughly cleansed hair. “A clarifying shampoo is essential if your current products aren’t working,” I tell my clients who notice their usual styling products suddenly losing effectiveness. The secret to definition lies in how you apply products. I’ve found the “Rake & Shake” method works wonders for 3c/4a textures – rake product through each section, then gently shake to encourage curl clumping.
When styling, I section hair into four parts to ensure even product distribution. Working with wet hair is non-negotiable – capturing the curl pattern while it’s still saturated guarantees longer-lasting results. Additionally, I recommend finger detangling rather than using brushes or combs for better curl formation and less breakage.
Best Products for Defined Wash-and-Go
Through years of working with 3c/4a hair, I’ve discovered these product combinations deliver stunning results:
- Leave-in conditioners: Kinky Curly Knot Today or Pillow Soft Curls provide excellent slip for detangling
- Curl creams: DevaCurl Styling Cream or Camille Rose Curlmaker paired with their Honey Hydrate leave-in creates magnificent definition
- Gels: Uncle Funky’s Daughter Curly Magic works with nearly every leave-in, while Ecoslay Jello Shot offers firm hold
For clients with protein-sensitive hair, I recommend products containing avocado, argan oil, rosewater, or aloe.
Maintenance Tips for Defined Wash-and-Go
To maintain your wash-and-go between styling sessions, I suggest sleeping with your hair in a loose bun or “pineapple” style to preserve curls. A satin bonnet or pillowcase prevents moisture loss overnight.
For refreshing, contrary to popular belief, lightly re-wetting your hair can revitalize your style. I tell my clients to spray sections with water, apply a lightweight leave-in, and gently finger-coil any limp pieces.
The biggest mistake I see? Touching your hair while it’s drying. This disrupts the curl pattern and creates frizz. Furthermore, I’ve learned that wash-and-go styles typically last 3-5 days, though with proper maintenance techniques, you can extend their longevity.
Twist-Out Curls
One of my favorite 10-minute styles for 3c/4a hair is the classic twist-out—a versatile technique that delivers gorgeous definition with minimal effort. During my years working with various textures, I’ve perfected this method for clients seeking styles that work for both special occasions and everyday wear.
Twist-Out Curls Styling Guide
For a flawless twist-out on 3c/4a hair, I always start with clean, well-conditioned strands. The foundation is crucial! First, apply your favorite leave-in conditioner and finger detangle thoroughly to ensure smooth twisting.
Next, decide on your desired outcome. For a defined twist-out, I recommend:
- Finger part hair into medium-sized sections while damp (not soaking wet)
- Apply products using the LOC method—leave-in, oil, then cream
- Create two-strand twists by dividing each section evenly
- Important tip: Pull hair taut and avoid “borrowing” hair from either section during twisting, as this prevents snags when unraveling
For clients with fine or shorter 3c/4a hair, I make the front sections smaller than the back because their hair is typically less dense in front—this helps catch all edges perfectly.
Benefits of Twist-Out Curls
Consequently, twist-outs offer numerous advantages for 3c/4a textures:
- They’re essentially a “two-for-one” hairstyle—enjoy twists initially, then unravel for a different look
- Unlike some styles, twist-outs require no heat, preventing damage
- They provide low manipulation, helping retain length
- They create volume and thickness that showcases your natural pattern
- For clients with shrinkage concerns, twist-outs offer wonderful elongation
Notably, I’ve found that twist-outs work exceptionally well on mid-length 3c/4a hair, giving both definition and movement simultaneously.
How to Maintain Twist-Out Curls
To keep your twist-out fresh, nighttime protection is non-negotiable. I tell all my clients to gather hair into a “pineapple” (high, loose ponytail) or create a few chunky twists before bed. Meanwhile, a satin bonnet or pillowcase prevents friction that causes frizz.
For refreshing between styles, lightly mist sections with water or a hydrating spray, apply a small amount of curl cream, and retwist if needed. The key is ensuring twists are completely dry before unraveling.
I once had a client with 3c/4a curls who struggled with frizzy twist-outs until we discovered her hair wasn’t fully dry before unraveling. After implementing proper drying techniques, her twist-outs lasted five full days—proving that patience during the process pays off with longer-lasting results.
Remember: twist-outs on 3c/4a hair become fuller and more voluminous over time, making day three or four often better than day one!
Bantu Knots
Bantu knots have become my secret weapon for creating stunning 3c/4a hairstyles that turn heads wherever you go. This versatile style, originating from the Zulu people of southern Africa, offers not just one but two gorgeous looks—wear the knots as is or unravel them later for spectacular curls without heat damage.
Bantu Knots Styling Steps
Creating perfect Bantu knots on 3c/4a hair requires attention to detail. First, I always start with clean, deep-conditioned hair for a well-nourished foundation. You can also try them on stretched, dry hair. From my experience, starting on dry hair prevents excessive drying time—a lesson I learned after my client’s knots were still damp 12 hours later!
Here’s my foolproof process:
- Apply a leave-in conditioner while hair is slightly damp (not soaking wet)
- Section hair into medium or small parts using your fingers or a rattail comb
- Apply minimal products—I recommend a light moisture mist and a butter-gel combination
- Take each section and twist it from roots to ends
- Coil the twisted hair around its base, wrapping each layer closer to your scalp than the previous one
- Secure by tucking ends underneath or using small hairpins for straighter textures
For 3c/4a hair specifically, I find that medium-sized sections work beautifully—not too tight to cause tension but defined enough to create gorgeous curls later.
Occasions to Rock Bantu Knots
Particularly versatile, Bantu knots work wonderfully for various settings. Despite what some think, they’re not just for edgy festival looks! I often style my 3c/4a clients in:
- Half-up, half-down Bantu knots for workplace settings—professional yet stylish
- Full-head Bantu knots for special events, possibly with accessories like hair cuffs or decorative pins
- Side Bantu knots paired with an afro for casual outings
Moreover, this protective style doubles as a curl-setting technique—perfect for clients planning ahead for important events. I once created Bantu knots for a client’s rehearsal dinner, which she unwrapped the next day for stunning curls at the main event.
Tips for Long-Lasting Bantu Knots
To maintain this gorgeous 3c/4a hairstyle, nighttime protection is essential. I recommend:
- Wearing a satin bonnet or scarf to preserve the knots
- Avoiding overly tight knots that can cause tension headaches
- Applying light oil or moisturizing spray regularly to keep your scalp hydrated
For the ultimate knot-out curls afterward, ensure your hair is completely dry before unraveling—this is crucial! Place oil on your hands first to prevent frizz, then gently unscrew each knot in the opposite direction you created it.
The best part? With proper care, your Bantu knots can last 1-2 weeks, making them an ideal time-saving option for busy days while protecting your precious 3c/4a curls.
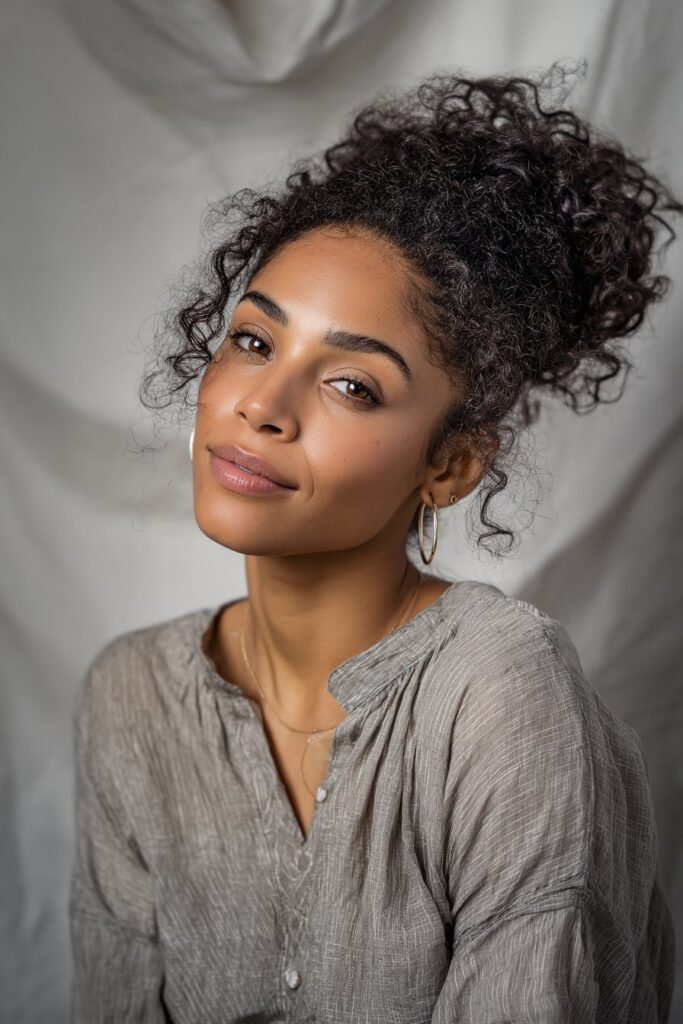
High Puff

For those days when my 3c/4a clients want volume and drama in minutes, I always suggest a High Puff – it’s the quickest way to achieve a statement style with minimal effort. This classic updo gathers your beautiful curls at the crown, creating an eye-catching crown of natural beauty while keeping hair off your face and neck – perfect for warmer spring days.
High Puff Styling Techniques
I’ve perfected a foolproof method for creating the perfect High Puff on 3c/4a hair in under 10 minutes. First thing to remember, proper preparation is crucial:
- Start by applying conditioner to add moisture before styling – I use Tresemme Luxurious Moisture for slippage
- Apply a generous amount of gel (Eco Styler works wonderfully) to smooth your hair
- Place a headband or hair tie around your neck initially
- Brush hair upward, focusing on the center section where curls might need extra definition
- Push the headband up, twist it, and pull it backward to secure the puff
- Gently pull your hair through and adjust the headband height – the higher you push it in the back, the higher your puff
Above all, avoid pulling too tightly! The beauty of a High Puff for 3c/4a hair is that it’s actually tension-free, making it healthier for growth compared to slicked-back styles.
Accessories to Elevate Your High Puff
Coupled with the right accessories, your High Puff transforms from casual to stunning. My clients love how a simple headband can completely change this hairstyle. In my styling kit, I always carry:
- Satin-lined headbands to prevent edge damage
- Decorative clips for adding personality
- Puff cuff attachments for thicker 3c/4a textures
- Colorful scarves for wrapping around the base
For extra flair, I sometimes add flat twists or small cornrows along the sides before creating the puff – a technique I learned working with different hair patterns.
Maintaining Volume in High Puff Styles
In essence, maintaining your High Puff is about preserving both structure and health. For overnight protection, I recommend a satin bonnet to prevent moisture loss.
For clients concerned about edges, I apply a small amount of edge control and secure with a satin scarf for 15-20 minutes before removing – this creates sleek, defined edges that last all day.
To refresh your High Puff between washes, simply:
- Moisturize regularly to prevent dryness
- Spritz with water and reapply minimal product
- Gently fluff and reshape as needed
Given these points, the High Puff truly is the “little black dress of natural hairstyles” – it works for casual days and can be dressed up for special occasions with minimal effort.
Flat Twist Updo
Elegant yet practical, flat twist updos have transformed the styling game for my 3c/4a clients looking for versatile protective styles. I love how these sophisticated designs work for everything from weddings to business meetings while being surprisingly quick to create.
Flat Twist Updo Step-by-Step
Creating a basic flat twist updo on 3c/4a hair takes just minutes:
- First, section your hair where you want the twists to appear. I typically divide hair into 4-6 sections for a balanced look.
- Apply a moisturizer—castor oil works wonderfully for extra hydration.
- Take each section and twist close to the scalp, using two strands instead of three (unlike traditional braids). This creates that sleek, flat appearance.
- Twist until you reach the ends, then secure with bobby pins to create your updo shape.
- Arrange the twisted ends into a bun, halo, or other intended style at the back or crown.
- Finish with setting spray or gel to smooth flyaways.
Pro tip: Unlike cornrows, flat twists use only two strands, making them gentler on your edges and faster to install!
Ideal Events for Flat Twist Updos
The versatility of flat twist updos makes them perfect for nearly any occasion. For formal settings like weddings or gala dinners, I create elegant high buns or classic halo twists. My client who worked in finance adored how her flat twist updo with a side bun looked both professional and stylish.
For casual settings, I recommend looser flat twists gathered in a low bun. This style works beautifully for mid-length 3c/4a hair and even shorter cuts with some modifications.
Preserving Flat Twist Updos Overnight
To maintain your flat twist updo beyond day one:
Certainly wrap your hair with a satin scarf or bonnet before bed—this prevents friction that causes frizz. If any sections loosen, simply retwist just those areas rather than redoing the entire style.
For extending longevity, I suggest interval retwisting every other night instead of nightly manipulation. This preserves moisture while maintaining your style fresh and frizz-free for up to two weeks!
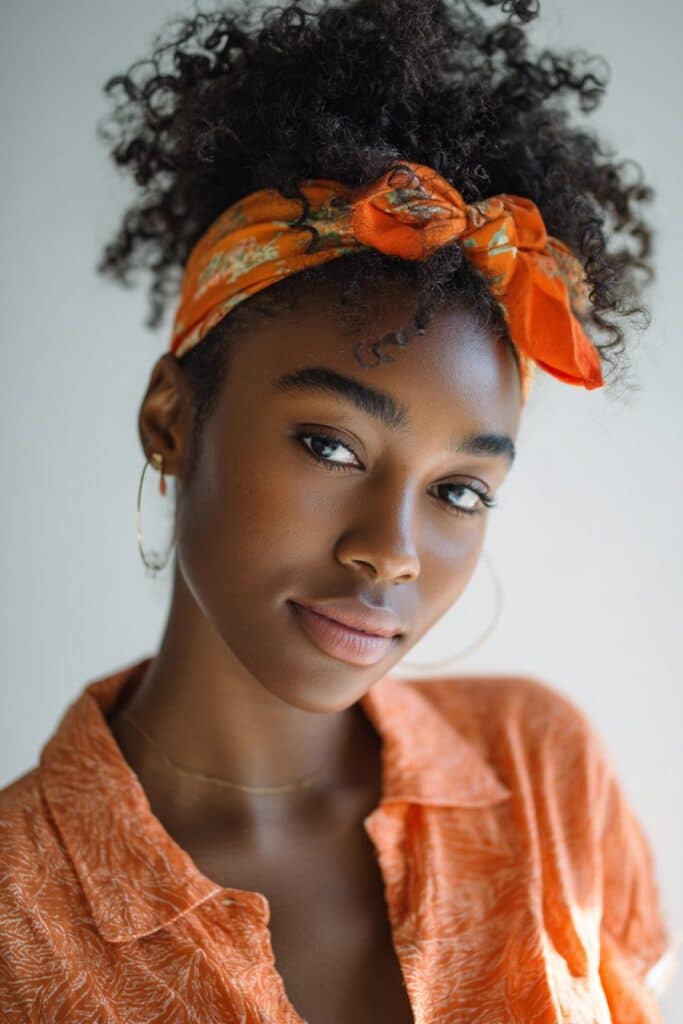
Afro with Headband
The classic Afro with headband hairstyle has rescued me countless times when styling 3c/4a hair for clients with just minutes to spare. As someone who’s worked with numerous texture patterns, I find this combination particularly striking for its simplicity and statement-making appeal.
Afro with Headband Styling Ideas
When styling an Afro with a headband, I always start with well-stretched hair. If you’re working with freshly washed curls, check my African threading technique from previous tutorials for safely stretching your 3c/4a pattern. Since this style works beautifully on stretched hair, I typically:
- Gently fluff out the Afro to create desired fullness
- Slide the headband into position to frame the Afro perfectly
- Apply a small amount of gel to edges for a polished finish
For more playful variations, I recommend positioning the headband slightly further back to showcase more volume in front, or creating asymmetrical placement for a modern twist. Recently, while styling a client for an important presentation, we opted for a colorful printed headband against her chocolate brown Afro—the contrast was absolutely stunning!
Choosing the Right Headband
Finding the perfect headband for your 3c/4a Afro makes all the difference. From my extensive collection, I’ve discovered these work best:
Satin-lined headbands prevent friction and protect fragile edges—crucial for maintaining those delicate baby hairs. Velvet materials provide excellent grip without snagging curls, although some may have strong scents initially.
Width matters tremendously! I advise selecting wider bands that adequately cover the rest of the headband unit, especially if you’re using a headband wig. Moreover, multicolored options add flair and personality to simpler Afros.
Maintaining Shape and Volume
To preserve your Afro’s gorgeous shape and volume between stylings, proper moisture balance is essential. I tell my clients that understanding their hair’s unique texture plays a significant role in maintaining their look after styling.
For overnight protection, sleeping on satin pillowcases reduces friction that can flatten one side of your Afro. Regular misting with hydrating sprays helps maintain elasticity, while avoiding over-manipulation keeps your curls defined.
Remember that Afro hair tends to be more fragile due to its curl pattern, making it prone to dryness. Therefore, incorporating weekly deep conditioning treatments helps maintain that enviable volume we all love in 3c/4a Afros.
Braided Crown
The timeless crown braid has quickly become one of my signature styles for clients with 3c/4a hair textures. This elegant protective hairstyle creates a stunning halo effect that frames the face beautifully while keeping hair securely tucked away.
Braided Crown Styling Instructions
Creating the perfect crown braid on 3c/4a hair requires patience and technique:
- Start with detangled hair—I use a wide-tooth comb first, followed by a rat-tail comb for precise parting
- Apply a small amount of curl cream (I love pineapple mango varieties) for moisture and slip
- Begin braiding behind one ear, working with cornrow technique (grabbing smaller sections as you go)
- Braid toward your forehead rather than just atop your head—this creates that true halo effect
- Once you reach the back, continue braiding toward the nape of your neck
- For length, tuck the end into the bigger braid and secure with bobby pins
I recommend matching your bobby pins to your hair color for a seamless look. Whenever my clients need a style that transitions effortlessly from office to evening, this is my go-to recommendation.
Best Hair Types for Braided Crowns
While this style works beautifully on various textures, 3c/4a hair has just the right amount of grip and elasticity. For thicker 3c/4a textures, I’ve found that moisturizing beforehand makes all the difference.
Naturally, damp (not soaking wet) hair gives better control during braiding. Clients with shorter 3c/4a cuts can still achieve this look—we simply add Marley hair between the thumb and index finger when braiding for additional length.
Tips to Prevent Frizz in Braided Crowns
Keeping crown braids frizz-free involves several techniques:
Pomade or gel provides excellent hold while concealing split ends. Hence, I apply it throughout the braiding process, not just at the beginning. Additionally, detangling as you go creates smoother braids that resist frizzing.
Overnight care is equally important—I advise all my clients to wrap their crown braids with a satin scarf or bonnet before bed. Occasionally, I add small flowers or decorative clips to cover any areas that might have frizzed slightly, turning a minor issue into a style feature!
Space Buns
Space buns have rescued many of my clients with 3c/4a hair looking for quick yet playful styles! Their versatility makes them perfect for various occasions—from casual days to music festivals. What I love most about space buns for curly textures is how they actually look better on 3rd or 4th day hair.
Space Buns Styling Guide
Creating space buns on 3c/4a hair requires minimal effort:
- Part your hair evenly down the middle—don’t worry about perfection, working with your natural curl pattern is key
- For extra grip on slippery curls, apply a small amount of gel or conditioner
- Pull each section into high pigtails, securing with scrunchies (gentler on curls than regular elastics)
- Twist each pigtail and wrap it around the base to form your bun
- Allow curly ends to peek out—this creates beautiful texture rather than trying to hide them
Usually, I recommend leaving a few face-framing pieces for a softer look. Alongside properly secured buns, these tendrils add personality to the style.
Fun Variations of Space Buns
Generally, 3c/4a hair offers numerous space bun possibilities:
Half-up space buns work wonderfully for shorter cuts—simply gather the top half of your hair, leaving the bottom curls free. Following this approach creates volume and showcases your natural texture.
Low space buns positioned behind the ears offer a chic alternative to the high style, ideal for professional settings.
For extra flair, braided space buns provide additional hold for thicker 3c/4a textures—braid each section before wrapping into buns.
Keeping Space Buns Neat All Day
Primarily, securing your style requires the right approach. Bobby pins matched to your hair color help anchor buns without disrupting the esthetic.
For overnight preservation, wrapping with a satin bonnet maintains shape while preventing moisture loss. Subsequently, refresh your style by spritzing face-framing pieces with water and finger-coiling them back into definition.
Remember that space buns can transform your “hot mess” hair day into a purposeful style statement—making them the perfect solution for busy mornings.
Half-Up, Half-Down

I’ve always found the half-up, half-down style to be the perfect compromise for my 3c/4a clients who want to show off their gorgeous curls while keeping hair out of their face. First and foremost, this versatile look offers the best of both worlds—elegant structure with carefree movement.
Half-Up, Half-Down Styling Techniques
For creating a flawless half-up style on 3c/4a hair, I start by gathering the top section from temple to temple. In reality, the key is working with your natural curl pattern rather than forcing it into submission. For extra volume, I gently tease the crown section with a fine-tooth comb before securing it.
One day while styling a client for an important interview, her hair refused to cooperate—until we tried a half-up style with spiral buns. The transformation was immediate—professional yet showcasing her beautiful curl pattern.
As a rule, I find that starting with slightly damp hair and applying a lightweight leave-in conditioner creates the perfect foundation. Ordinarily, I recommend securing with satin scrunchies rather than regular elastics to prevent breakage—a crucial consideration for our more fragile 3c/4a textures.
Accessorizing Half-Up, Half-Down Styles
Accessories truly elevate this style from basic to breathtaking. Of course, my styling kit always includes:
- Neutral-colored claw clips that match everything and work perfectly with curly textures
- Volume barrettes with rounded shapes that accommodate thicker, curlier sections
- Decorative pins that add sparkle for evening looks
- Satin bows for a touch of romance that doesn’t damage delicate curls
For clients with fine 3c/4a hair, I recommend adding texture spray before placing accessories to create grip and prevent slipping.
Transitioning from Day to Night Looks
In addition to being practical, the half-up style transitions beautifully from day to night. For instance, start with a simple half-ponytail secured at the nape for workday elegance. After hours, transform it by wrapping a small section of hair around the elastic and adding decorative pins or a velvet bow for instant sophistication.
Adding a few drops of hair oil enhances shine for evening events without weighing down your beautiful curls. This simple step creates that coveted “glass hair” effect that photographs magnificently under evening lights.
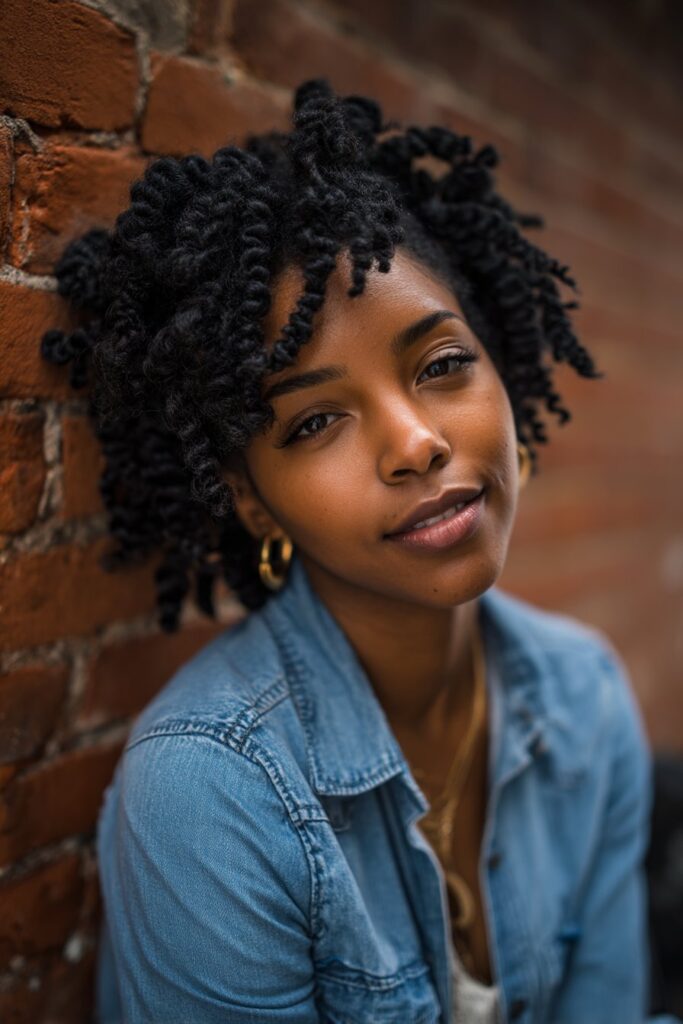
Mini Twists

Mini twists transformed my approach to protective styling for 3c/4a hair textures. Unlike other quick styles, these versatile twists require initial time investment but reward you with weeks of low-maintenance beauty.
Mini Twists Installation Process
Installing mini twists starts with properly prepped hair. In light of my experience with clients, I recommend:
- Begin with freshly washed and deep conditioned hair – this creates the perfect foundation
- Section hair into manageable parts (I typically divide into quarters first)
- Apply leave-in conditioner for moisture and slip
- Follow with a lightweight styling cream or butter that won’t weigh down your twists
- Twist small sections using the two-strand method, twirling ends between fingers to secure
One game-changing technique I discovered involves braiding the roots before twisting. This creates a neater appearance with less frizz at the base while providing a more polished look.
Benefits of Mini Twists for Hair Health
Mini twists offer remarkable advantages for 3c/4a textures. First off, they dramatically reduce manipulation, allowing your hair to rest and grow undisturbed. Throughout the years, I’ve noticed clients maintain length better with regular mini twist rotations.
Additionally, these twists excel at moisture retention. The twisted strands create a protective barrier that locks in hydration. Nevertheless, regular moisturizing remains essential—I recommend a light water mist with oils to refresh without buildup.
How to Style Mini Twists Creatively
What truly sets mini twists apart is their styling versatility. My favorite approaches include:
- Half-up styles with decorative clips for professional settings
- Space buns or high ponytails for casual outings
- Elegant updo variations for special events
- Side parts with headbands for quick dimension changes
To preserve your style overnight, a satin bonnet is non-negotiable. Furthermore, refreshing with light oil every few days maintains shine and prevents dryness.
Mini twists typically last 2-4 weeks with proper care. This remarkable longevity makes them worth the initial time investment, providing both protection and endless styling possibilities for your beautiful 3c/4a curls.
Frohawk
The frohawk represents one of my boldest yet surprisingly achievable 3c/4a hairstyles for clients seeking edgy sophistication. This stunning blend of afro and mohawk elements creates an eye-catching look that celebrates natural texture while maintaining a structured silhouette.
Frohawk Styling Steps
Creating the perfect frohawk on 3c/4a hair requires precision without complexity:
- Divide your hair into 3-4 sections from front to back using a rat tail comb for clean parts
- Apply styling gel along the sides for sleek definition (Wet Line Extreme gel works wonderfully)
- Brush hair upward firmly to avoid lumps, securing each section with hair ties
- Fluff the center “mohawk” section to create volume and shape
For shorter 3c/4a styles, use hairpins instead of ponytails to create your frohawk. Alternatively, if working with an older twist-out or wash-and-go, this style becomes even easier as your hair already has definition!
Occasions to Flaunt a Frohawk
Beyond everyday wear, frohawks transition beautifully across various settings. At work, I often style clients with a more subdued version featuring less dramatic height. Conversely, for weekend festivities or special events, we amp up the volume for true statement appeal.
One client with gorgeous 3c/4a curls initially worried this style might be too bold for her workplace. In turn, we created a sophisticated frohawk with sleek sides and controlled height that earned her compliments all day long!
Maintaining the Frohawk Shape
To preserve your frohawk throughout the day, carry bobby pins for quick touch-ups. Overnight, a satin bonnet protects edges while maintaining the mohawk’s shape.
For multi-day wear, refresh by lightly misting with water and reapplying minimal product. Typically, adding pearl hairpins or rhinestone clips can revitalize day-two or three styles while distracting from any minor frizz.
The frohawk ultimately serves as my favorite confidence-boosting style for 3c/4a clients needing that perfect balance between edgy and elegant!
Side Part Afro
Side part afros have truly changed the game for my clients with 3c/4a hair seeking quick yet dramatic transformations. The simple act of creating a part completely refreshes your look without requiring any special tools or techniques.
Side Part Afro Styling Tips
I’ve discovered that creating the perfect side part afro starts with proper preparation. Typically, I begin by hydrating the hair thoroughly—inside my spray bottle, I mix leave-in conditioner with water and a few drops of oil. This combination not only moisturizes but also makes detangling much easier.
For the actual parting, I recommend:
- Start with slightly damp hair (not soaking wet)
- Use a rat-tail comb for precision or your fingers for a more natural effect
- Apply styling gel generously along the part and sides
- Brush upward firmly to create a sleek, controlled look where desired
Remarkably, this style works equally well on freshly washed hair or older twist-outs. However, I’ve noticed that day-old hair often cooperates better, giving you more control over the final look.
Enhancing Volume on One Side
The magic of a side part afro undoubtedly lies in the dramatic volume it creates on one side. Appropriately, I use an afro comb to add maximum lift at the roots where needed. One trick I learned while working with a client for a photoshoot was to create a deeper side part—this instantly adds dramatic height and visual interest.
For clients with shorter 3c/4a cuts, I often suggest tucking the smaller side behind the ear, creating a beautiful asymmetrical effect. Naturally, you can enhance this look with decorative clips or hairpins for special occasions.
Products to Define Curls in Side Part Afros
Finding the right products makes all the difference for a sleek, defined side part afro. Fundamentally, I recommend:
- Ecostyler gel for slicking down the parted area—the olive oil version provides excellent hold without flaking
- Curl creams that balance moisture and definition—DevaCurl’s SuperCream works wonders for type 3c/4a patterns
- Setting sprays to lock everything in place—particularly important for humidity protection
Altogether, the side part afro represents one of my favorite ten-minute transformations for 3c/4a hair—offering dramatic results with minimal effort while celebrating your natural texture.
Low Bun with Sleek Edges
The sleek low bun has saved me countless times when working with 3c/4a clients who need an elegant yet quick hairstyle. This polished look exudes sophistication while keeping unruly curls perfectly controlled – making it ideal for professional settings or special occasions.
Low Bun Styling Instructions
Creating the perfect low bun begins with preparation. I typically start by dividing hair with a center or side part, depending on face shape. For optimal slickness:
- Apply leave-in conditioner throughout damp hair – this provides excellent slip and moisture
- Pull hair into a low ponytail, wrapping a thick hair tie around twice (thin elastics break easily with thicker textures)
- On the final wrap, pull hair only one-third through to create a tiny bun foundation
- Split the remaining hair into two sections, twist them, then wrap around the hair tie
- Secure with bobby pins at the base of your ponytail
For additional polish, I often suggest leaving a few shorter layers out in front to frame the face. This softens the look while maintaining its sleekness.
Achieving Sleek Edges
Getting those perfectly laid edges requires specific techniques. Initially, I recommend using a small amount of Jamaican black castor oil along the hairline to protect edges from damage. Thereafter, apply your preferred edge control product – Edge Booster and Ebin edge controls work wonderfully for 3c/4a textures.
For application, I swear by the small-tooth side of an edge brush rather than the bristle side for precise control. Apply edge control in small amounts, carefully creating your desired pattern. Lest you create flaking, avoid applying too much product.
Maintaining the Low Bun Throughout the Day
To ensure your low bun stays flawless all day, a tight scarf set is non-negotiable. On balance, I recommend:
- Wrapping a satin scarf tightly around edges while preparing for your day
- Allowing the style to “set” for at least 15-20 minutes
- Using light setting spray for additional hold without crunchiness
For overnight preservation, I advise my clients with 3c/4a hair to wear a satin bonnet. Accordingly, refresh in the morning by applying minimal edge control and re-wrapping with a scarf while doing your makeup. This quick refresh ensures your elegant low bun continues looking salon-fresh throughout the week.
Conclusion
After exploring these 13 stunning hairstyles for 3c/4a hair, you can certainly see why I believe our curl pattern offers unmatched versatility. My years working with diverse textures have taught me that what some consider challenging hair actually presents endless creative possibilities. These quick styles prove that beautiful, defined looks don’t require hours in front of the mirror or professional assistance.
The beauty of 3c/4a hair lies in its remarkable adaptability. From sleek low buns that command attention in professional settings to playful space buns perfect for weekend adventures, your natural texture works as an asset rather than something to “manage.” Though styling products matter, the techniques make the real difference—learning to work with your curl pattern instead of against it transforms your relationship with your hair.
My clients with 3c/4a hair consistently express surprise at how these 10-minute styles completely change their morning routines. Their excitement watching a simple twist-out or high puff elevate their look never fails to remind me why I love working with this particular hair type.
Remember that practice makes perfect! The first time you attempt a flat twist updo or Bantu knots might take longer than 10 minutes, but your speed will improve dramatically with each attempt. Your unique curl pattern might also work better with certain styles than others—this journey involves discovering what works specifically for your hair.
Which of these quick styles will you try first? Let me know how it turns out, and feel free to share your own time-saving techniques for 3c/4a hair!