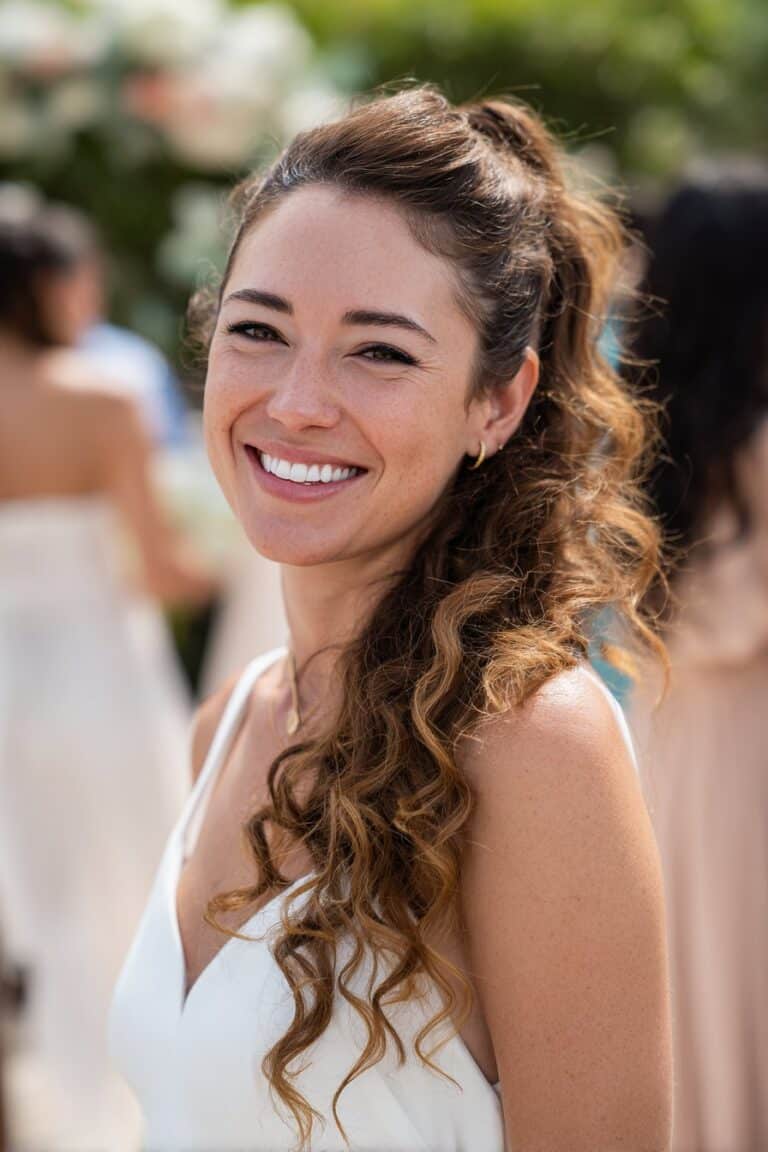
Hey there, beautiful! If you’re reading this, chances are you’ve been asked to stand beside your best friend, sister, or loved one on their special day. First of all, congratulations! Being a bridesmaid is such an honor, and I know from experience that it comes with its own set of exciting decisions—especially when it comes to hair.
I’ve been doing makeup and hair for weddings for years now, and let me tell you, the hairstyle can make or break your entire look. I remember one of my first big wedding gigs back in New York, where I had to work with a bridal party of eight bridesmaids. Each one had different hair textures, lengths, and personal styles. That’s when I really learned that side hairstyles are absolute lifesavers. They’re elegant, versatile, and photograph beautifully from every angle.
Side hairstyles have this magical way of framing your face while keeping things interesting and romantic. They work with almost any dress neckline, and they’re forgiving if you’re dancing the night away. I’ve seen bridesmaids go from ceremony to reception without their hair falling apart, and that’s the kind of reliability we all need on a wedding day.
Today, I’m sharing fifteen of my favorite bridesmaid side hairstyles that I’ve perfected over the years. These aren’t just styles I’ve seen in magazines—these are looks I’ve created with my own hands, tested in real wedding conditions, and watched hold up through tears, laughter, and some seriously enthusiastic dance floors.
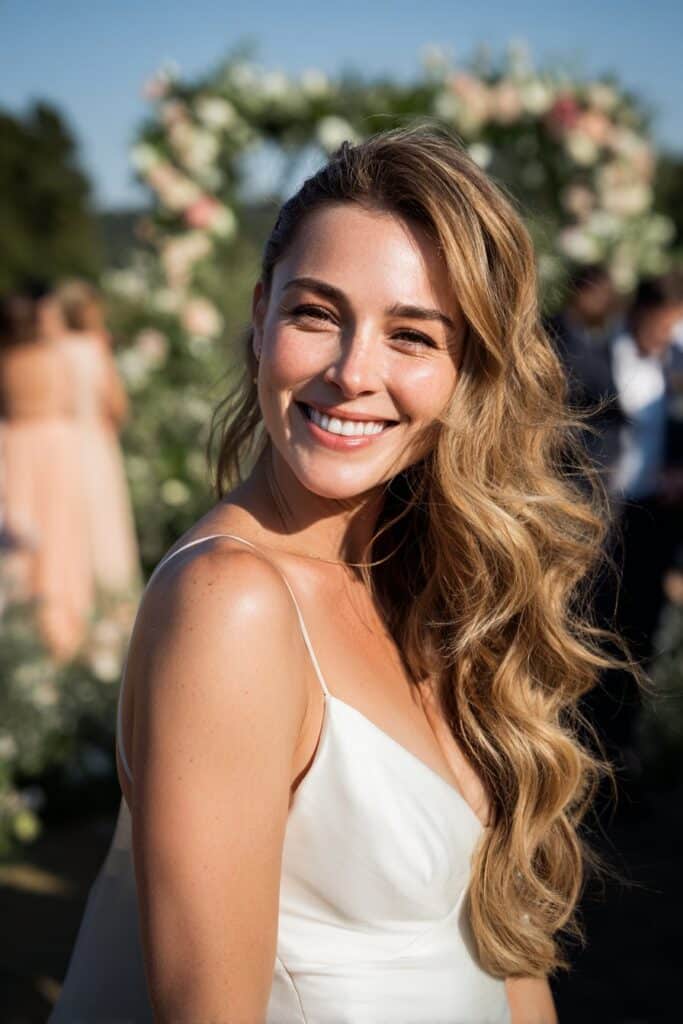
Classic Side-Swept Waves
What It Is
The classic side-swept waves are exactly what they sound like—soft, romantic waves that cascade over one shoulder. This style has been a favorite of mine since my early days working editorial shoots in New York. It’s timeless, feminine, and effortlessly glamorous. The hair is parted deeply on one side, with loose waves flowing down the opposite shoulder, creating beautiful movement and dimension.
How It Works Best
This style works best for medium to long hair, and I’ve found it’s particularly stunning on bridesmaids with layers. If you have highlights or any kind of dimensional color, this hairstyle will show it off beautifully. It pairs wonderfully with strapless or one-shoulder dresses because it doesn’t compete with the neckline. I love recommending this for spring and summer weddings because it has such a light, airy feel to it.
The classic side-swept waves also work incredibly well if you’re going for a romantic, garden party vibe. I once worked a wedding in an outdoor vineyard, and every single bridesmaid wore this style with fresh flowers tucked into the waves. The photos were absolutely breathtaking.
How to Make It
Start with clean, dry hair and apply a heat protectant—this is non-negotiable in my book. I can’t tell you how many times I’ve seen beautiful hair damaged by skipping this step. Use a large-barrel curling iron, around 1.5 inches, to create loose waves throughout your hair. The key here is to curl away from your face on both sides.
Once you’ve curled all your hair, let it cool completely. This is where patience comes in. I usually have my clients sit for about ten minutes while I work on makeup. Then, gently brush through the curls with a paddle brush to create those soft, romantic waves. Create a deep side part, then sweep everything over to one shoulder. Secure behind your ear with bobby pins that match your hair color, and finish with a flexible hold hairspray. I like to mist from about twelve inches away so it doesn’t get stiff or crunchy.
Braided Side Updo

What It Is
The braided side updo combines the elegance of an updo with the romantic detail of braiding. I fell in love with this style during a rustic barn wedding where the bride wanted something that felt both polished and relaxed. The hair is gathered to one side and woven into intricate braids that are then pinned into a low, asymmetrical bun or twist.
How It Works Best
This hairstyle is perfect for bridesmaids with medium to long hair who want something that feels special and detailed. It works beautifully for outdoor weddings, especially rustic or bohemian themes. I’ve also found it’s ideal if you’re wearing statement earrings because it keeps one side of your neck completely clear and showcases your jewelry perfectly.
The braided side updo holds up incredibly well throughout the day. I’ve had bridesmaids tell me their hair still looked fresh even after eight hours of celebrating. It’s also wonderful if you’re someone who gets warm easily because it gets all your hair off your neck while still looking romantic and intentional.
How to Make It
Begin by creating texture with a texturizing spray or dry shampoo at your roots. This gives the style grip and makes it easier to work with. Create a deep side part and divide your hair into three sections on the heavier side. Start with a Dutch braid or French braid from your hairline, incorporating hair as you work down toward your ear.
Continue braiding loosely—you don’t want it too tight or it’ll look severe. Once you reach your nape, secure the braid with a clear elastic. Gather all remaining hair with the braided section and twist it into a low bun positioned at the base of your neck on the same side as your part. Pin everything securely with bobby pins, gently pulling at the braid to loosen it and create volume. Finish with hairspray and maybe a decorative pin or small flower if that fits your wedding aesthetic.
Hollywood Glamour Side Curl

What It Is
Picture old Hollywood elegance—think vintage movie premieres and red carpet glamour. The Hollywood glamour side curl is all about smooth, polished waves that curve dramatically to one side. I absolutely adore this look for evening weddings or any celebration with a formal dress code. It’s sophisticated, it’s dramatic, and it photographs like a dream.
How It Works Best
This style works best on smooth, sleek hair textures, though I’ve definitely adapted it for various hair types over the years. It’s particularly stunning with jewel-tone bridesmaid dresses or anything with a bit of sparkle and shine. The Hollywood side curl pairs beautifully with bold makeup—think a classic red lip or dramatic eye.
I recommend this for bridesmaids who want to feel extra glamorous and don’t mind a style that requires a bit more product to maintain that sleek finish. It’s perfect for ballroom weddings, art deco venues, or any celebration where you want to channel that timeless elegance.
How to Make It
Start with freshly washed and blow-dried hair. Apply a smoothing serum from mid-length to ends—I’m talking about really working it through so your hair is silky smooth. Create a deep side part, then use a flat iron to create smooth S-shaped waves. The technique here is different from regular curling; you’re essentially bending the hair into waves rather than curling it.
Work in small sections, and use clips to hold each wave in place as you create it. Once you’ve waved one entire side, apply setting lotion and let everything cool completely. Remove the clips carefully, and use a soft brush to blend the waves together slightly. Sweep everything dramatically to one side and secure behind your ear with bobby pins. Finish with a shine spray and strong-hold hairspray to keep everything in place.
Messy Side Fishtail Braid

What It Is
If you know me, you know I’m all about embracing texture and that “perfectly imperfect” aesthetic. The messy side fishtail braid is romantic, bohemian, and has this effortless quality that I just love. It’s a fishtail braid that’s worn over one shoulder with pieces deliberately pulled loose to create volume and a relaxed vibe.
How It Works Best
This style is ideal for outdoor, boho, or beach weddings. I’ve created this look for bridesmaids wearing flowy chiffon dresses and flower crowns, and the combination is absolutely magical. It works best on medium to long hair, and honestly, the more texture you have naturally, the better this will look.
The messy side fishtail is also wonderful if you’re not someone who usually wears their hair up or styled. It feels casual and comfortable while still being special enough for a wedding. Plus, it actually looks better as the day goes on and gets a little messier, which is pretty rare for formal hairstyles.
How to Make It
Start with second-day hair or add dry shampoo and texturizing spray to clean hair. Create a deep side part and sweep all your hair over one shoulder. Divide your hair into two equal sections. Here’s where the fishtail technique comes in: take a small piece from the outer edge of the left section and cross it over to join the right section. Then take a small piece from the outer edge of the right section and cross it to the left.
Continue this pattern all the way down, keeping your sections relatively loose. Don’t worry about it being perfect—that’s not the goal here. Secure the end with a clear elastic, then gently pull at the braid to loosen it and create width. I like to pull out a few face-framing pieces and maybe loosen the top section a bit more. Secure everything at your shoulder with a few strategic bobby pins so it stays in place, and finish with a light hairspray.
Elegant Side Chignon

What It Is
The elegant side chignon is sophistication personified. A chignon is essentially a low bun, but when positioned to the side at the nape of your neck, it becomes something special. I discovered the beauty of this style while working with a bridal party at a formal evening wedding. The bride wanted elegance without being too traditional, and this was the perfect solution.
How It Works Best
This hairstyle works beautifully for formal weddings, especially evening ceremonies. It’s perfect if you’re wearing a dress with detailed back embellishments because it sits low and to the side, showing off the dress without competing with it. I love this for bridesmaids with fine to medium hair because the chignon can be made as full or as sleek as you want.
The side chignon is also fantastic if you’re wearing a statement necklace or if the bride wants a polished, uniform look for the bridal party. It photographs well from every angle, and it’s one of those styles that looks equally good at the beginning and end of the night.
How to Make It
Begin with smooth, brushed hair and create a deep side part. Apply smoothing cream to tame any flyaways. Gather all your hair to one side at the nape of your neck, positioning it just behind your ear. Create a low ponytail with a hair elastic that matches your hair color.
Twist the ponytail gently and wrap it around the base to form a bun. Pin it securely with bobby pins, tucking the ends underneath. For a more voluminous chignon, you can gently pull and separate the twisted sections before pinning. If you want extra security, cross two bobby pins in an X formation at key points. Smooth down any bumps with a brush, apply hairspray, and if you’re feeling fancy, add a jeweled pin or small hair accessory.
Cascading Side Ponytail

What It Is
The cascading side ponytail takes a casual style and elevates it to wedding-appropriate elegance. Instead of a regular ponytail, this version sits at the side of your neck and features curls or waves that cascade down beautifully. I created this look for a bridesmaid who wanted something youthful and fresh, and it exceeded all our expectations.
How It Works Best
This style works wonderfully for bridesmaids with long hair who want something that feels young and romantic without being too formal. It’s perfect for daytime weddings, garden parties, or any celebration with a lighter, more playful vibe. I especially love this for spring weddings when everything feels fresh and new.
The cascading side ponytail also works great if you have layers in your hair because those layers create beautiful movement and dimension. It pairs well with tea-length or knee-length dresses and looks especially sweet with pastel colors.
How to Make It
Start by curling your hair with a medium-barrel curling iron to create loose waves throughout. Let the curls cool, then gently brush through them with your fingers—not a brush, as that can make them too soft and they’ll fall out more quickly. Create a side part and gather all your hair to one side, positioning the ponytail just below and behind your ear.
Secure with a hair elastic, but here’s my trick: take a small section of hair from the underside of the ponytail and wrap it around the elastic to hide it. Pin the end underneath with a bobby pin. Gently tug at the crown to create a bit of volume and softness. Apply hairspray to set everything, and consider adding a ribbon or small flowers at the base of the ponytail for extra detail.
Side-Swept Low Bun with Face-Framing Pieces

What It Is
This style combines the elegance of a low bun with the softness of face-framing pieces and a side-swept element. I love this look because it’s versatile enough for almost any wedding style while still feeling intentional and special. The bun sits low on one side, with delicate pieces left out around the face to soften the overall look.
How It Works Best
This hairstyle is perfect for bridesmaids who want something romantic but not overly done. It works beautifully for various hair textures and lengths, as long as your hair is long enough to gather into a bun. I particularly love this for weddings with a romantic, whimsical theme or for bridesmaids who prefer to have some hair framing their face rather than everything pulled back.
The face-framing pieces make this style especially flattering for round or square face shapes because they create length and softness. It’s also wonderful if you’re someone who feels a bit exposed with all your hair pulled completely back.
How to Make It
Begin by curling just your face-framing sections—the pieces that naturally fall around your face when you have a center part. Leave these out for now. Gather the rest of your hair to one side, creating a low side ponytail. Twist the ponytail and wrap it into a bun, securing with bobby pins.
The key here is not making the bun too tight or perfect—you want it to have some texture and softness. Once your bun is secure, go back to those face-framing pieces and gently curl them away from your face. You can leave them as is or pin one side back loosely for an asymmetrical look. Apply hairspray to the bun while using your fingers to keep the face-framing pieces soft and touchable.
Twisted Side Crown

What It Is
The twisted side crown is absolutely one of my favorites for bridesmaids who want something unique and eye-catching. Hair is twisted from one side of the head, creating a crown-like effect that wraps around to the opposite side where the remaining hair flows freely. It’s part updo, part down style, and completely beautiful.
How It Works Best
This hairstyle works best for medium to long hair and is particularly stunning for outdoor or garden weddings. I love creating this look for bridesmaids with highlighted or balayaged hair because the twisting shows off all those beautiful color dimensions. It pairs wonderfully with bohemian or romantic wedding themes.
The twisted side crown is also perfect if you want your hair mostly down but need something to keep it off your face and add interest. It’s comfortable to wear all day and holds up well through dancing and celebrating.
How to Make It
Start by creating texture throughout your hair with a texturizing spray. Make a deep side part on your preferred side. Beginning at the front of your hairline on the heavier side, take a small section and divide it into two pieces. Twist these pieces around each other, adding small sections of hair from your hairline as you work back—similar to a French braid but with twisting instead.
Continue the twist along your hairline, moving toward the back of your head. Once you’ve incorporated all the hair along your hairline, continue twisting the remaining hair in that section without adding more. Secure the twist with bobby pins, wrapping it around the back of your head and pinning it in place. Leave the rest of your hair down, either straight or with loose waves. Gently pull at the twist to loosen it slightly and create volume.
Romantic Side Waterfall Braid

What It Is
The waterfall braid is magical—there’s no other word for it. Pieces of hair cascade through the braid like a waterfall, creating this incredibly romantic effect. When positioned to sweep to one side, it becomes even more special. I’ll never forget the first time I created this for a bridesmaid; she literally had tears in her eyes when she saw it.
How It Works Best
This style works best for bridesmaids with medium to long hair who want something truly special and detailed. It’s perfect for romantic, whimsical, or outdoor weddings. The waterfall braid looks especially beautiful with loose waves in the hair that falls through it, creating a cohesive, flowing look.
I love this style for spring and summer weddings, and it pairs wonderfully with floral crowns or small flowers tucked into the braid. It’s also fantastic if you’re wearing a dress with a sweetheart or V-neckline because it draws the eye beautifully.
How to Make It
Begin with textured, slightly wavy hair. Create a deep side part. Starting near your hairline on the heavier side, take a small section and divide it into three strands. Begin a regular braid, but here’s where it gets different: when you bring the top strand down and over the middle, instead of incorporating it into the braid, let it drop and pick up a new section of hair from above.
Continue this pattern, always dropping the top strand and picking up new hair to replace it. The dropped sections create the “waterfall” effect. Work the braid from one side of your head toward the opposite side, following your hairline. Secure the end with a small clear elastic tucked behind your ear. Curl the waterfall pieces and the remaining hair with a curling iron for a cohesive look.
Voluminous Side-Swept Curls

What It Is
When I want drama and glamour, I go for voluminous side-swept curls. This style is all about big, bouncy curls that are swept dramatically to one side, creating incredible movement and presence. It’s perfect for bridesmaids who want to make a statement and feel absolutely gorgeous.
How It Works Best
This hairstyle works best for medium to long hair and is absolutely stunning for evening weddings or formal celebrations. If you have thick hair, this style will showcase your volume beautifully. For those with finer hair, don’t worry—I have tricks to add volume that make this work for everyone.
Voluminous side-swept curls pair wonderfully with glamorous dresses, especially those with embellishments or dramatic silhouettes. This is the style I recommend when you want to feel like you’re walking a red carpet.
How to Make It
Start with volumizing mousse applied to damp hair, then blow-dry with a round brush to create as much volume at the roots as possible. Use hot rollers or a large-barrel curling iron (I prefer 2-inch barrels for this) to curl your hair in large sections. The key is to curl in the same direction on both sides—away from your face.
Let the curls cool completely, which is crucial for volume and hold. Once cool, flip your head upside down and gently shake out the curls with your fingers. Flip back up and create a deep side part. Sweep everything to one side and secure behind your ear with bobby pins. Gently separate the curls with your fingers to create more volume and width. Finish with volumizing hairspray, spraying from underneath as well as on top for maximum hold.
Braided Side Halo

What It Is
The braided side halo combines ethereal beauty with bohemian charm. A braid wraps around the head like a halo but positioned asymmetrically, starting from one side and wrapping around to create a crown effect. The remaining hair flows freely, creating a beautiful contrast between the structured braid and loose waves.
How It Works Best
This style is absolutely perfect for outdoor, bohemian, or rustic weddings. I love creating this for bridesmaids who want something that feels natural and organic while still being special. It works best on medium to long hair and looks especially beautiful with natural texture or waves.
The braided side halo is wonderful if you’re wearing a dress with delicate straps or a detailed neckline because it keeps hair off your shoulders while maintaining that romantic, flowing quality. It’s also comfortable to wear all day, which is always a priority.
How to Make It
Begin with textured hair—add sea salt spray if needed. Create a deep side part. Starting from the heavier side near your temple, take a section of hair and begin a Dutch braid (where you cross sections under rather than over) that follows along your hairline like a headband.
Continue braiding around your head, incorporating hair as you go. When you reach the opposite side, secure the braid with a small elastic. Take the remaining hair from the braid and either pin it underneath to hide it or incorporate it with the rest of your loose hair. Gently pull at the braid to loosen and widen it, creating that soft halo effect. Leave the rest of your hair in loose waves and apply hairspray to hold.
Sleek Side Part with Tucked Detail

What It Is
Sometimes elegance is all about simplicity and sleekness. This style features a dramatic side part with hair swept smoothly to one side and tucked elegantly behind the ear with a decorative pin or clip. It’s modern, sophisticated, and incredibly chic.
How It Works Best
This hairstyle works beautifully for formal, modern, or minimalist weddings. It’s perfect for bridesmaids who prefer clean lines and contemporary style over romantic, textured looks. I love this for sleek, architectural dresses or when the bride wants a very polished, cohesive look for the bridal party.
The sleek side part works especially well if you’re wearing statement earrings because it keeps one side completely clear and showcases your jewelry perfectly. It’s also wonderful for very formal evening weddings or celebrations in elegant ballrooms or modern venues.
How to Make It
Start with freshly washed and blow-dried hair. Apply smoothing serum throughout, really working it through from roots to ends. Create a dramatic deep side part—I’m talking right along your eyebrow or even further over. Use a flat iron to make your hair completely smooth and sleek.
Sweep everything to one side, using a fine-tooth comb to ensure there are no bumps or irregularities. Apply strong-hold gel or pomade along your part and the side you’re sweeping over to keep everything in place. Tuck the hair behind your ear and secure with a decorative pin, clip, or bobby pins that match your hair color. The key here is keeping everything absolutely smooth and polished. Finish with strong-hold hairspray to maintain that sleekness throughout the day.
Curled Side Pigtail Braids

What It Is
This style might sound youthful, but when done right, it’s absolutely sophisticated and unique. Two braids positioned asymmetrically on one side, with the ends left curled rather than braided all the way down. It’s unexpected, creative, and has such a beautiful, romantic quality.
How It Works Best
This hairstyle works best for bridesmaids who want something different and aren’t afraid to stand out a little. It’s perfect for bohemian, garden, or outdoor weddings with a relaxed, creative vibe. I love this for bridesmaids with long hair who want a style that feels youthful and fresh while still being appropriate for a formal celebration.
The curled side pigtail braids work especially well with flowing, romantic dresses and look beautiful with fresh flowers woven into the braids. It’s also a great option if you want your hair mostly down but need some structure and detail.
How to Make It
Start by creating loose waves or curls throughout your hair. Make a deep side part and divide your hair on the heavier side into two sections. Begin braiding each section loosely, starting from near your hairline. Don’t braid all the way to the ends—stop about halfway down or three-quarters of the way, securing each with a small clear elastic.
Leave the remaining lengths curled and loose. Position both braids to flow over your shoulder on the same side, securing them together with a few bobby pins if needed. Gently pull at the braids to loosen them and create width. The contrast between the braided sections and the curled ends creates beautiful texture and interest. Finish with flexible-hold hairspray.
Low Side Roll

What It Is
A low side roll is an elegant bridesmaid hairstyle where the hair is gathered low at the nape and softly rolled to one side instead of straight back. I love this style because it feels classic but never boring. When I create a low side roll, it instantly adds grace to the neckline and a gentle romance to the overall look. It frames the face beautifully and gives that calm, polished vibe that works perfectly for weddings where you want to look refined without appearing too formal or stiff.
How It Works Best
This hairstyle works best when you want something secure, comfortable, and long-lasting through the entire celebration. I often recommend it for bridesmaids who will be moving a lot, hugging guests, or dancing, because the roll stays in place while still looking soft. It’s especially flattering with elegant dresses, detailed shoulders, or open necklines since the side placement keeps the look balanced and photogenic from every angle. It also suits medium to long hair and looks great whether the hair is naturally straight, wavy, or lightly curled.
How to Make It
To style a low side roll, I start by smoothing the hair and adding a little texture so it holds without feeling heavy. Then I part the hair and guide it gently toward one side at the nape of the neck. From there, I roll the hair inward, shaping it slowly and pinning as I go to keep everything secure but flexible. Once the roll is set, I soften the edges by pulling out a few fine pieces around the face so it doesn’t look too perfect. A light mist of hold spray finishes the look, keeping it graceful, comfortable, and wedding-ready all day long.
Loose Side French Twist

What It Is
The loose side French twist takes a classic updo and gives it a romantic, relaxed update. Instead of the traditional centered, tight French twist, this version is positioned to one side and deliberately loosened to create texture and softness. It’s elegant without being stuffy, and I absolutely love how it feels both timeless and modern.
How It Works Best
This hairstyle works beautifully for formal weddings while still maintaining a romantic, soft quality. It’s perfect for bridesmaids who want an updo but don’t want anything too severe or traditional. I love this for classic, elegant weddings or celebrations in historic venues.
The loose side French twist works well for various hair lengths and textures, though it’s easiest with medium to long hair. It pairs beautifully with classic dress silhouettes and looks especially elegant with pearl or diamond jewelry.
How to Make It
Begin by adding texture to your hair with texturizing spray or dry shampoo. Create a deep side part and sweep all your hair to one side. Gather your hair as if you’re making a low side ponytail, but instead of securing it, begin twisting the length of your hair upward against your head.
As you twist, pin the twist against your head with bobby pins, working your way up. The twist should sit vertically along one side of your head rather than centered. Once you’ve twisted all the way up, tuck the ends inside the twist and secure with more bobby pins. Here’s the key: gently pull at the twist to loosen it, creating that soft, romantic effect. Don’t worry if it’s not perfect—this style is meant to look a bit undone. Pull out a few face-framing pieces and finish with hairspray.
Conclusion
After all these years working with brides and bridesmaids, I’ve learned that the best hairstyle isn’t just about technique or trends—it’s about how you feel when you wear it. Being a bridesmaid is such a special honor. You’re standing beside someone you love on one of the most important days of their life, and you deserve to feel absolutely beautiful doing it.
I’ve watched countless bridesmaids walk down aisles, and the ones who shine the brightest aren’t necessarily the ones with the most elaborate hairstyles. They’re the ones who feel confident, comfortable, and authentically themselves. That’s what I hope these fifteen side hairstyles give you—options that resonate with your personal style while being practical enough to last through every moment of the celebration.
Side hairstyles hold a special place in my heart because they’re universally flattering and incredibly versatile. They photograph beautifully from every angle, which matters when you’re in hundreds of wedding photos. They keep hair off your neck and shoulders, which is practical for long days and dancing. And they create this elegant, romantic silhouette that just works for weddings.
I remember standing in my own best friend’s wedding years ago, my hair swept to the side in soft waves, feeling both beautiful and completely myself. That’s the balance we’re always seeking—looking special for the occasion while still recognizing yourself in the mirror. Your hairstyle should enhance who you are, not mask it.
When I work with bridesmaids now, I always remind them that their role isn’t to fade into the background or all look identical. The most beautiful bridal parties are the ones where each person’s individual beauty shines while still creating a cohesive, harmonious group. Your side hairstyle can be part of that harmony while still reflecting your personality.
Maybe you’re drawn to the romantic softness of loose waves, or perhaps the structured elegance of a sleek updo speaks to you. Maybe you want the intricate detail of braiding, or the dramatic statement of voluminous curls. Whatever calls to you, trust that instinct. Your intuition about what makes you feel beautiful is usually right.
I’ve also learned that confidence is the best accessory you can wear to any wedding. When you feel good about how you look, it shows in every photograph, every smile, and every moment. So choose a hairstyle that makes you stand a little taller, that makes you feel like the best version of yourself. That’s what true beauty is about.