
Struggling with back to school hairstyles that actually last through math, gym class, and everything in between? I’ve been there! The morning rush before school can be chaotic enough without worrying about your hair falling apart by lunchtime.
Fortunately, I’ve put together 14 quick styles that not only look amazing but stay neat all day long. These simple hair styles for school require minimal effort yet deliver maximum impact. From easy back to school hairstyles like bubble ponytails to more intricate back to school hairstyles braids, we’ve got options for every skill level. What makes these fast and easy hairstyles for school truly special is that they’re completely heatless, can stand up to high temperatures and humidity, and most importantly, they’re stylish while saving you precious morning time.
Whether you want a different look from Monday to Friday or need something that will last from first period through graduation day, these styles have you covered. I’ve personally tested these looks and found they’re the ultimate shortcut to making a great entrance while keeping maintenance to a minimum. Let’s dive into these school-ready styles that will have you looking put-together with just five minutes of effort!
Bubble Ponytail
Looking for a trendy yet practical back to school hairstyle? The bubble ponytail is my absolute favorite for busy school days. This playful style has gained popularity for its chic appearance and surprising durability—making it perfect for students who need their hair to look great from first period to dismissal bell.
What makes Bubble Ponytail great for school
The bubble ponytail has become a celeb favorite for good reason—it’s super secure and won’t fall out no matter how active your school day gets. I’ve watched students run around during PE class with this style, and remarkably, their hair looked identical at the end of the day.
Additionally, this versatile style works for various hair lengths and textures. Although more dramatic in longer hair, anyone with shoulder-length locks can rock this look. Furthermore, bubble ponytails cause less tension on the scalp compared to tighter braiding styles, making them more comfortable for all-day wear.
What I particularly love about bubble ponytails is how they can transform an ordinary school day look into something special without requiring professional styling skills.
How to style Bubble Ponytail
Creating this eye-catching style takes just about 5 minutes. Here’s what you’ll need:
- 4-6 hair elastics (depending on hair length)
- Comb or brush
- Hair gel or mousse
- Optional: decorative hair accessories
Start with detangled hair—this prevents your ponytail from looking uneven. Gather your hair into a ponytail at your desired height and secure with an elastic. Then, place another elastic 1-2 inches down your ponytail.
The magic happens next—gently tug at the hair between elastics to create that rounded bubble effect. Continue adding elastics down the length of your ponytail, creating bubbles as you go. For a more pronounced effect, place elastics closer together.
Essentially, each section should be evenly sized for a uniform look. You might need to adjust some sections by pulling gently to achieve balanced bubbles.
Tips to keep Bubble Ponytail neat all day
To ensure your bubble ponytail stays perfect throughout the school day, use a lightweight hairspray to tame flyaways and create extra staying power. For additional security, I’ve found that silk scrunchies minimize hair damage while helping bubbles maintain their shape.
If you have thinner hair like me, try teasing each section before creating the bubble—this adds volume and helps the style hold better. Moreover, using a texturizing spray on freshly washed hair keeps everything filled out and elastics firmly in place.
For those with textured hair, applying a small amount of styling cream before creating your bubbles helps maintain frizz-free definition all day. Sleep with a satin scarf or use a satin pillowcase if you want to preserve this style overnight.
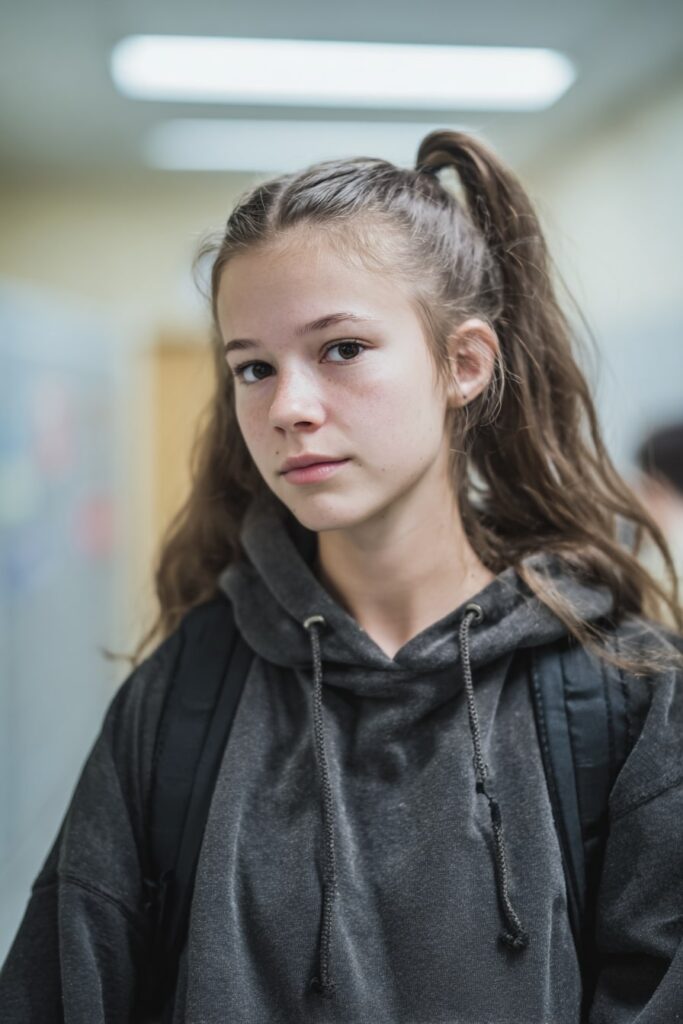
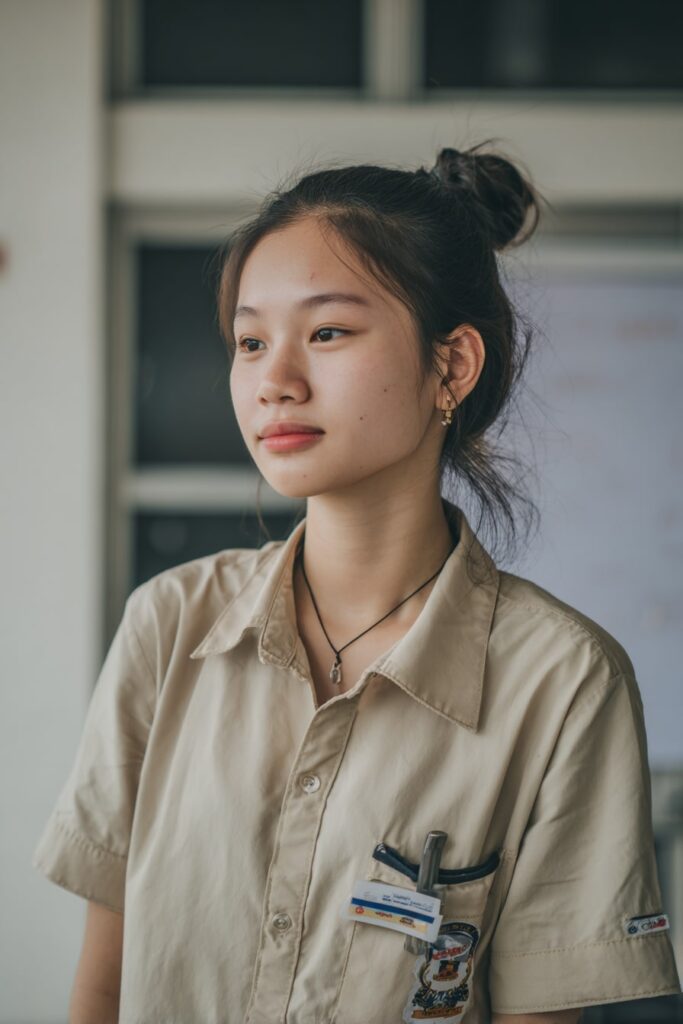
Half-Up Half-Down Bun

When morning chaos strikes, the half-up half-down bun comes to my rescue! This versatile style offers the perfect blend of functionality and fashion, making it my go-to recommendation for students rushing to make the morning bell.
What makes Half-Up Half-Down Bun great for school
The half-up half-down bun stands out as an elegant yet practical choice for school days. First, this style is remarkably quick – taking just two minutes to create, which is crucial on those hectic mornings when you’re running late.
I love how this hairstyle keeps hair securely out of your face throughout the day while still showcasing your length and texture. Since hair typically gets oily first at the scalp, pulling back the top section makes this style perfect for those in-between wash days.
Indeed, I’ve found this look works best with second-day hair – the slight “lived-in” texture provides better grip and staying power. For students with curly hair, this option offers a protective style that prevents breakage while still looking fashionable.
How to style Half-Up Half-Down Bun
Creating this charming style requires minimal tools:
- Brush or comb
- Clear elastic band
- 2-4 bobby pins
- Optional: hairspray or texturizing spray
Start by sectioning off the top portion of your hair – I usually trace from the crown of my ears to the top of my head. Next, smooth back this section and secure it with an elastic. For extra volume, gently tease the roots of this section before pulling it back.
Once secured, twist your ponytail and wrap it around itself to create a small bun. Secure with bobby pins, placing them at different angles for maximum hold.
For a messier, more voluminous look (my personal favorite for school), gently tug on the bun to loosen it slightly and pull out a few face-framing pieces.
Tips to keep Half-Up Half-Down Bun neat all day
To ensure your style lasts from first period through after-school activities, spray the completed bun with a medium-hold hairspray. For extra security when active, try using texturizing spray on the sections before styling – this adds grip that helps everything stay in place.
If your bun feels too heavy or flops over during the day, try using extra large hair pins rather than traditional bobby pins – they provide better hold for thicker hair.
Whenever my bun starts loosening throughout the day, I simply re-twist any fallen strands and secure them with additional pins. Consequently, this makes it one of the easiest styles to maintain during busy school days.
Remember that this style works beautifully with any hair texture – straight, wavy, or curly – making it a truly universal back to school hairstyle.
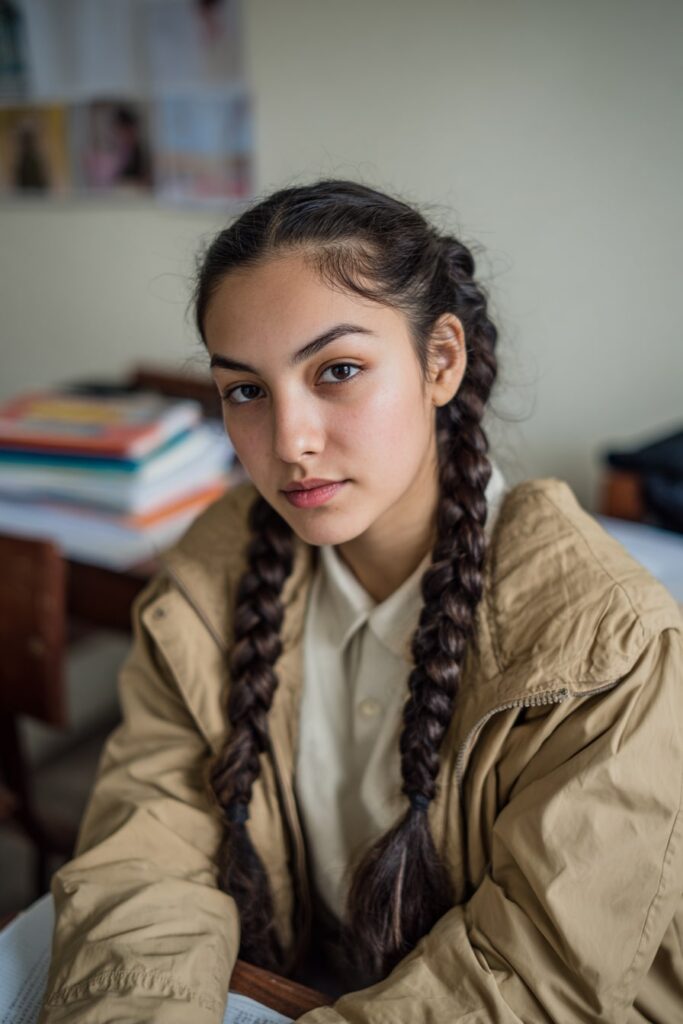
Cornrows with Beads
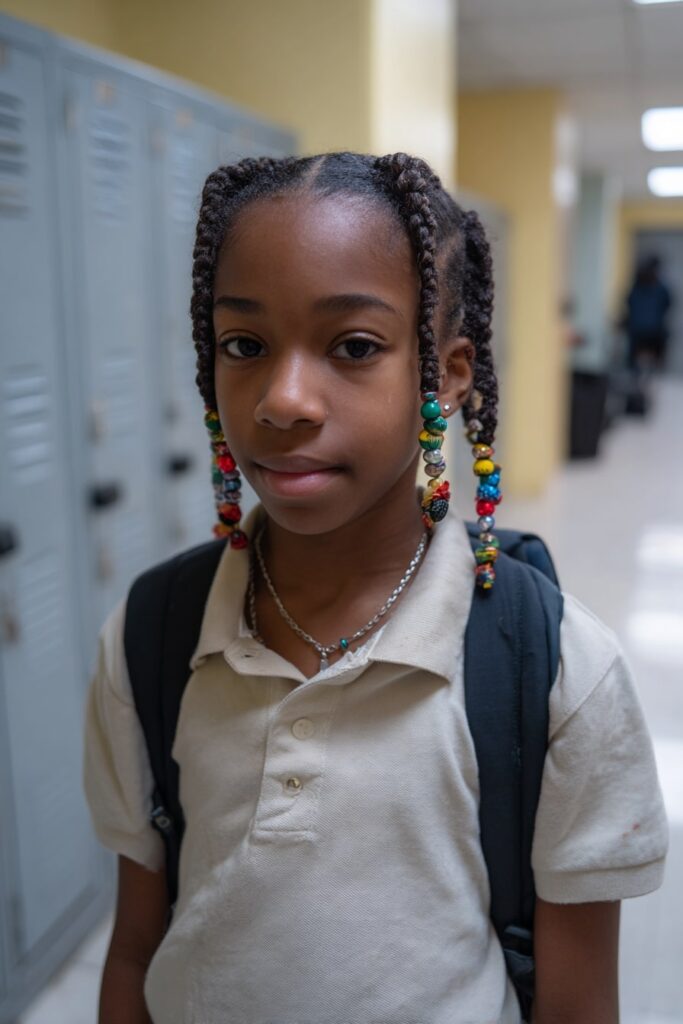
Cornrows with beads have been my trusty school hairstyle solution for years! This protective style combines cultural heritage with practical durability, making it perfect for busy students who need their hair to look fresh for days on end.
What makes Cornrows with Beads great for school
I’ve found cornrows with beads to be exceptionally practical for school settings because they keep hair protected and secured. Most importantly, this style eliminates daily styling needs, giving students (and parents!) precious extra minutes in the morning.
Throughout my experience, cornrows with beads have proven ideal for active students since they withstand physical education classes and playground activities without coming undone. The beads add a fun, personalized touch that allows kids to express their style while maintaining a neat appearance.
Additionally, cornrows serve as an excellent protective style that promotes hair growth by keeping ends tucked away and minimizing manipulation. This makes them perfect for students who want to grow their hair while focusing on schoolwork instead of hair maintenance.
How to style Cornrows with Beads
Creating cornrows with beads typically takes about four hours from start to finish, so I recommend setting aside a weekend afternoon for styling. Initially, you’ll need:
- Shampoo and conditioner
- Leave-in conditioner or oil (African Oil works well)
- Small and large-tooth combs
- Hair elastics
- Beads and a beader tool
- Optional: styling gel for edges
Begin with freshly washed hair, applying conditioner for manageability. Once the hair is damp, I apply oil throughout for moisture retention. To make the style last longer, create medium-sized sections rather than tiny ones.
For beading efficiency, I sort my beads before starting and add them as I complete each braid. This saves time at the end when you’re likely to be tired. For the front section, avoid braiding too tightly, especially around the hairline.
Tips to keep Cornrows with Beads neat all day
To maintain this style throughout busy school days, moisturize the scalp frequently and always tie hair with a satin scarf or bonnet at night. This prevents friction and helps preserve the style for weeks.
For students who are active in sports, secure loose beads with small clear elastics to prevent noise or movement during activities. Subsequently, if any frizz appears, apply a small amount of styling gel with your fingertips.
Importantly, allow the hair to rest between cornrowed styles. After removing the braids, give hair a thorough cleansing with moisturizing products and wait about a week before reinstalling.
For those with sensitive scalps, I always recommend braiding with gentle tension to prevent irritation. This ensures comfort throughout long school days without compromising style integrity.
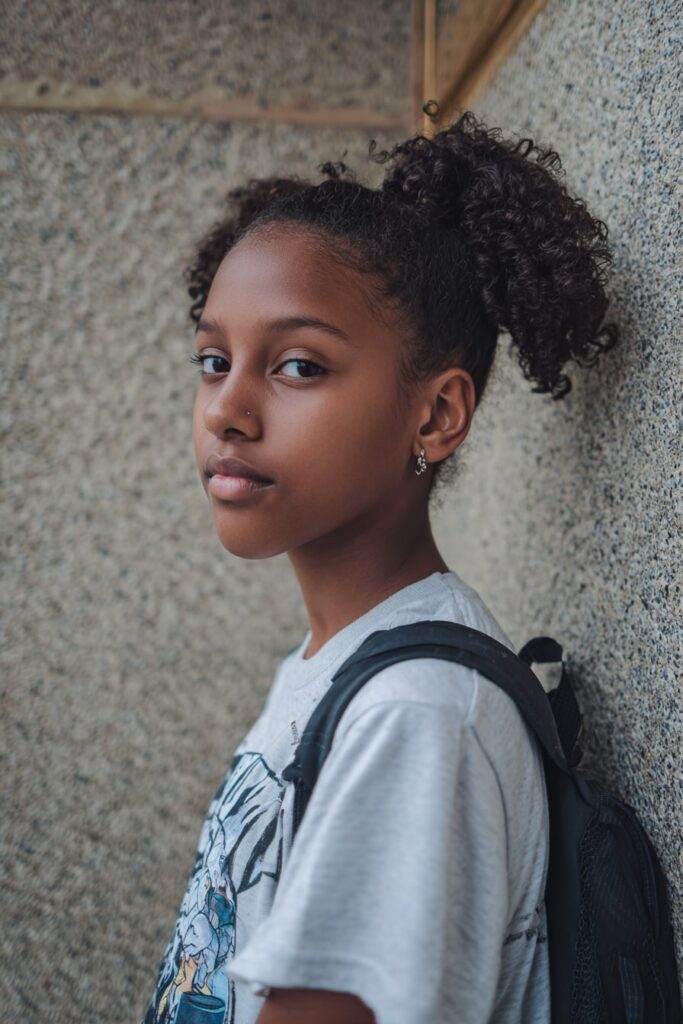
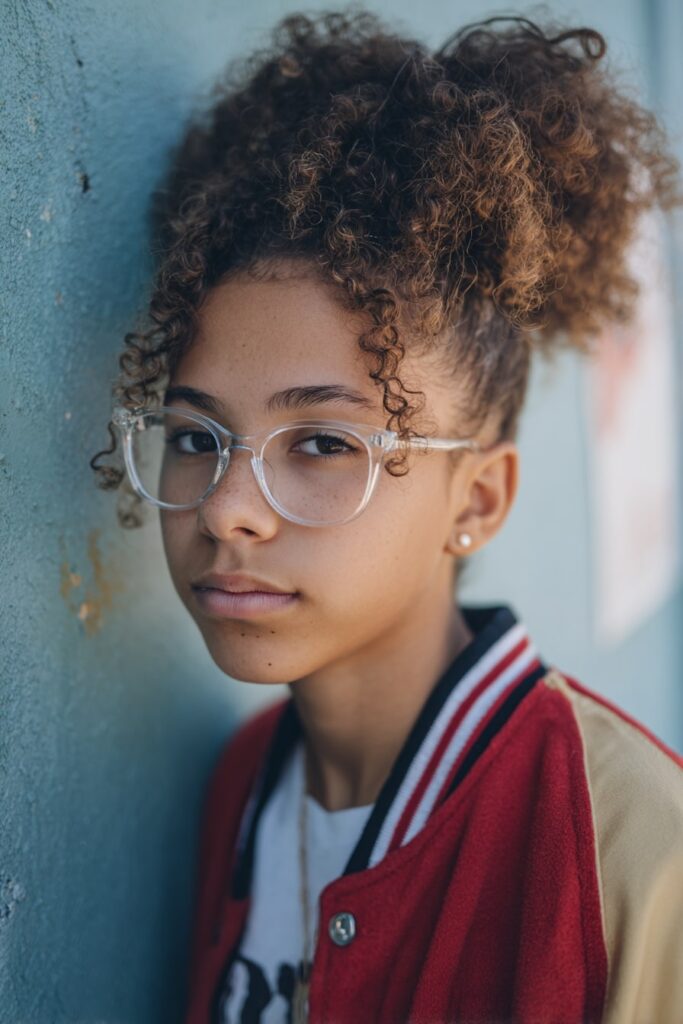
Curly Ponytail with Scrunchie
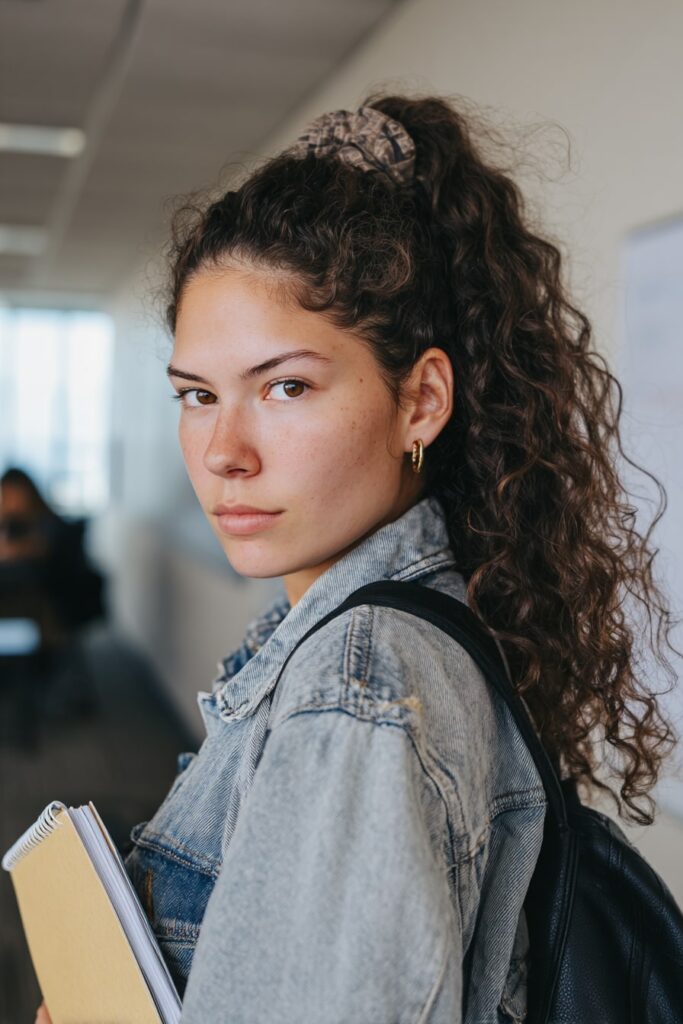
For a truly fuss-free school day, I’ve yet to find anything better than a curly ponytail secured with a silk scrunchie. This effortless style celebrates natural texture yet stays perfectly in place through even the most hectic school schedules.
What makes Curly Ponytail with Scrunchie great for school
Unlike traditional hair ties, silk or satin scrunchies provide a smooth, gentle hold that minimizes friction against curly hair. This gentle touch helps preserve natural oils and moisture, resulting in fewer tangles and significantly less breakage throughout the day. Primarily, these specialty scrunchies distribute pressure more evenly across hair strands, preventing the strain that regular elastics cause.
Likewise, this style shines for busy students because it protects curls from the elements – crucial during changing classroom temperatures or outdoor activities. My students with curly hair consistently report less frizz when using silk scrunchies versus regular hair ties.
This playful hairstyle doubles as a stylish accessory! Available in various colors and sizes, scrunchies complement any school outfit despite taking minimal styling time. Plus, for overnight protection, securing your curls in a loose ponytail with a silk scrunchie helps preserve your curl pattern until morning.
How to style Curly Ponytail with Scrunchie
Creating this style takes merely 3 minutes – perfect for those rushed school mornings! To begin, gather these items:
- Silk or satin scrunchie
- Wide-tooth comb (optional)
- Light styling product
First, gently gather your curls upward without disturbing their natural pattern. For added volume (my favorite trick), create two separate ponytails – secure the bottom layer first, then the top layer, letting the top fall over the bottom for a fuller effect.
Thereafter, place your silk scrunchie around the ponytail base, being careful not to pull too tightly. For a messier, more voluminous look, lightly tug at the crown area to create height.
To elevate this simple style, try positioning the ponytail at different heights depending on your outfit or activities – higher for PE days, lower for a more sophisticated look during presentations.
Mini Twists

Mini twists have become my absolute favorite protective back to school hairstyle! As a busy student (or parent), these small two-strand twists offer both style and practicality that few other hairstyles can match.
What makes Mini Twists great for school
Mini twists excel as a school hairstyle primarily because they’re incredibly low-maintenance once installed. In fact, this style can last for multiple weeks, making morning routines so much easier. Throughout my experience, I’ve found that mini twists give my hair a much-needed break from daily manipulation, which helps prevent breakage during hectic school weeks.
What I truly appreciate about mini twists is their versatility. You can style them in numerous ways—ponytails, buns, half-up styles—perfect for matching different school outfits or activities. Even better, they’re appropriate for formal school events yet practical enough for gym class.
Obviously, the time-saving aspect cannot be overstated. Once your twists are in, you’ll spend minimal time on hair care each morning. Plus, this protective style actively promotes hair growth by keeping ends tucked away and protected.
How to style Mini Twists
Firstly, section your hair into four parts: two in front (parted in middle) and two in back. Begin twisting from the nape of your neck, using a rat-tail comb for clean, even parts.
For the strongest, neatest twists:
- Start each twist with a small braid at the root (about 1/2 inch)
- Continue with a rope-twist technique
- Apply gentle tension as you twist downward
- Leave about 1/4 inch untwisted at the ends
I recommend using products specifically designed for twisting—my favorites include a good twist cream followed by a light hold gel on the ends.
Tips to keep Mini Twists neat all day
To maintain fresh-looking twists throughout school days, mist them lightly with water whenever they appear dry. After moisturizing, apply your favorite sealing oil to lock in hydration.
Nighttime care is equally important—I always wear a protective satin cap to bed, which preserves the style and prevents frizz. You might need to touch up the nape area and edges occasionally, as these sections tend to unravel first.
Given that wash day can be challenging with twists, try using diluted shampoo in an applicator bottle, focusing on your scalp. This keeps your twists and scalp clean without causing excessive frizz or unraveling.
Double French Braid Space Buns
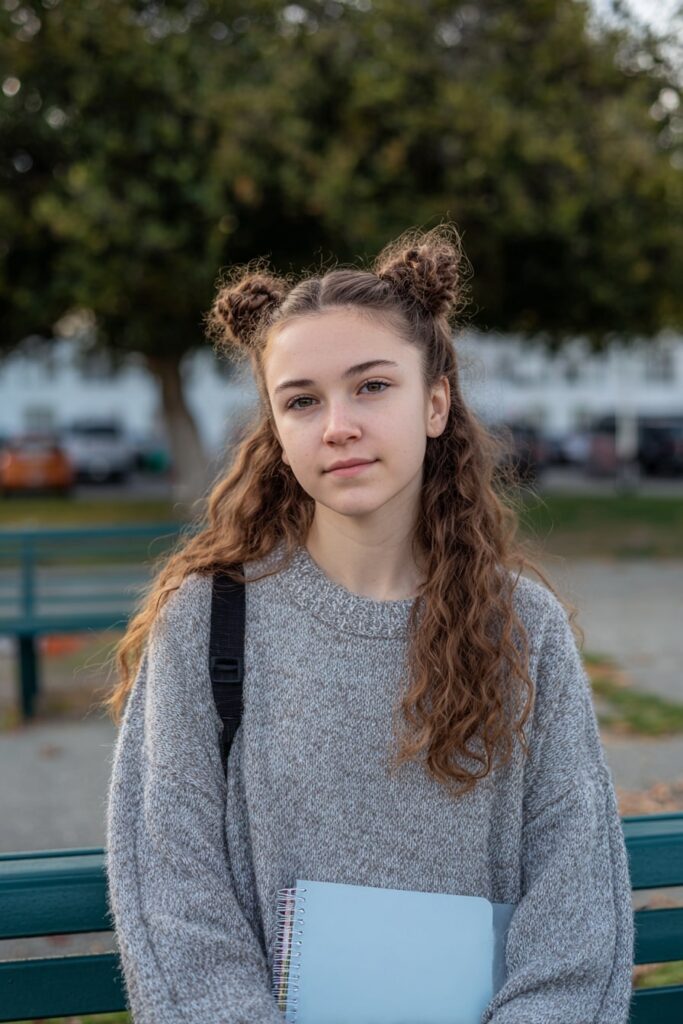
Double French braid space buns are my secret weapon for combining style with practicality on school days. This 90s-inspired look has made a serious comeback, becoming one of my most requested back to school hairstyles among students seeking something that’s both fun and functional.
What makes Double French Braid Space Buns great for school
Double French braid space buns stand out as an excellent school hairstyle primarily because they’re incredibly secure. The combination of braids leading into buns ensures hair stays perfectly in place throughout active school days.
As a matter of fact, this style works wonderfully for medium-length hair because it effectively secures strands that would typically fall out of a regular high bun. I’ve found it’s remarkably comfortable, making it suitable for wearing through long school days without headaches or discomfort.
Students often tell me they love how this hairstyle keeps hair completely off their face – crucial for concentrating during tests or staying cool during PE class. Yet what makes this style truly special is its versatility – it works beautifully for various hair types and occasions.
How to style Double French Braid Space Buns
Creating this eye-catching style requires:
- Comb for clean partings
- Two elastic bands
- Bobby pins
- Optional: styling mousse for added texture
Begin by parting your hair down the middle from front to back. For each side, start a Dutch braid (where you cross sections under rather than over). Take a triangle section at the front, split it into three strands, and begin braiding with outside sections tucked under the middle.
Continue the Dutch braid diagonally toward the crown of your head. Once both braids are complete, secure each with an elastic band. To create fuller-looking braids, gently pull on the edges of each braid section – this technique is called “pancaking”.
Next, twist each braid into a bun at the crown of your head and secure with bobby pins. For extra security, pin in different directions to create a stronger hold. Prior to finishing, tug gently on your buns to adjust their size and position until perfectly balanced.
Typically, I recommend teasing the ponytails slightly before forming the buns – this creates additional volume and makes even thin hair look fuller.
Faux Hawk
Want to make a statement with your back to school style? The faux hawk offers that perfect balance between edgy and appropriate that teachers won’t send you to the principal’s office for! This adaptable style has become increasingly popular among students looking to express their personality while maintaining a school-friendly appearance.
What makes Faux Hawk great for school
The faux hawk strikes an ideal balance between boldness and wearability for school environments. As opposed to a traditional mohawk with shaved sides, the faux hawk features tapered or faded sides with longer hair on top. This creates a more gradual transition that’s both distinctive and versatile.
One major advantage for school settings is its adaptability. I’ve found that students can easily tone it down for classroom presentations then style it more dramatically for after-school activities. Additionally, this style works wonderfully with different hair types and textures – whether straight, wavy, or curly.
For younger students, the faux hawk provides that “cool factor” without the extreme look of a full mohawk. Parents appreciate that the sides are shorter but not shaved, making it more versatile and suitable for school or play.
How to style Faux Hawk
Creating this eye-catching style is surprisingly simple:
- Start with damp hair – towel dry after showering or use a spray bottle to mist
- Apply a palmful of mousse throughout your hair for volume
- Blow dry while combing hair forward and up
- Use pomade, wax, or styling paste (about pea-sized amount) warmed between palms
- Press hands together on either side of your hair, running upward to shape
- For extra hold, finish with light hairspray
Tips to keep Faux Hawk neat all day
To maintain your faux hawk throughout school hours, schedule regular trims every 2-4 weeks to preserve the shape. I recommend washing strategically (2-3 times weekly) with sulfate-free shampoo to prevent stripping natural oils.
For all-day hold, apply product sparingly – too much can weigh hair down rather than lift it up. Focus on the center when styling, pushing hair upward to create that iconic shape. Certainly for active students, setting with light hairspray helps maintain the style through gym class without sacrificing flexibility.
Sleek Braided Topknot
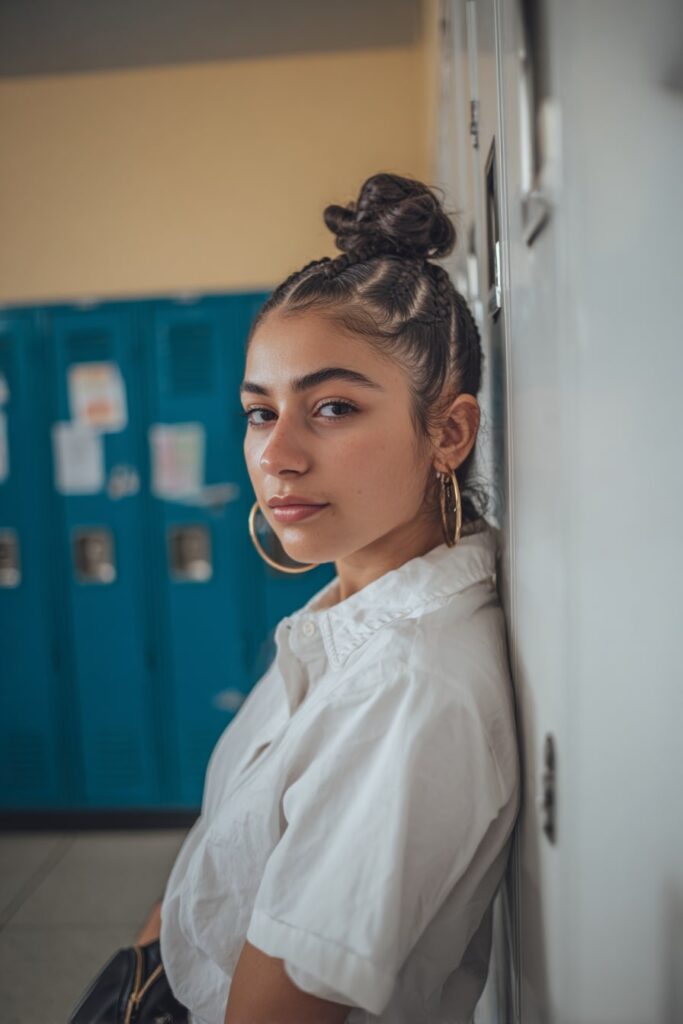
I’ve tried countless updos for school, yet the sleek braided topknot consistently ranks as my top recommendation for students seeking both style and practicality. This updated bun adds a modern twist to a classic look that works beautifully in classroom settings while maintaining a polished appearance all day.
What makes Sleek Braided Topknot great for school
The beauty of this style lies in its versatility—while a regular top knot can easily look messy or lazily done, the braided detail instantly elevates the look with minimal extra effort. Mainly, this hairstyle works for a much broader range of hair lengths than many braided styles, making it accessible to students with shoulder-length cuts as well as those with longer locks.
Throughout my years helping students prepare for school, I’ve noticed this style holds up remarkably well through academic and athletic activities. Even after gym class, the structure remains intact due to the braid providing additional security around the bun.
What I appreciate most about the sleek braided topknot is how it looks intentionally styled even when created in just minutes. No one will ever guess you might not have washed your hair that day—perfect for those hectic school mornings!
How to style Sleek Braided Topknot
To create this polished look, you’ll need:
- Hair elastics (one regular and one small)
- Several bobby pins
- U-shaped pins (they secure better than bobby pins)
- Light-hold hairspray
Start by finger-combing your hair to one side, creating a nice sweep in the front. Pull everything into a high ponytail, catching all stray hairs for a smooth finish. If flyaways are an issue, apply a small amount of styling product as you go.
Next, separate a small section from your ponytail—this will become your braid. Starting near the elastic, neatly braid this section and secure the end with a small elastic.
For the main bun, twist and curl the larger section of hair around the base elastic. Secure with a few bobby pins at the edges, adjusting until you achieve an even, centered bun.
The finishing touch: take your small braid and wrap it smoothly around the base of your bun, covering the seam where the bun meets your head. This detail instantly transforms a basic bun into something special! Secure with U-shaped pins for all-day hold.
Twist-Out with Headband
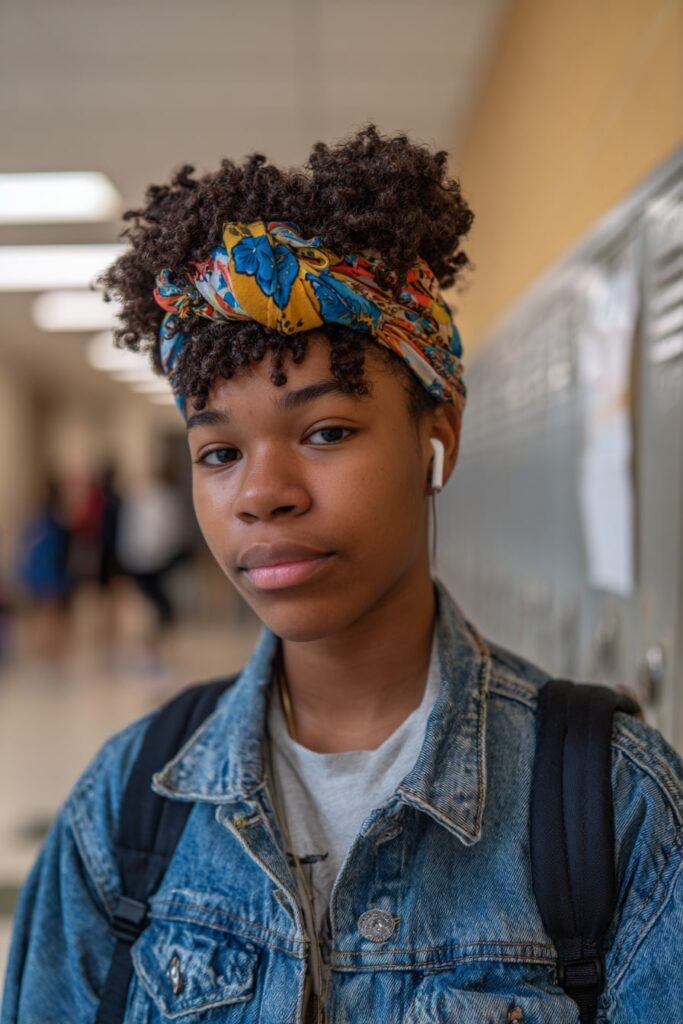
The twist-out with headband combination has saved me countless times during the school year! When my twist-out isn’t looking its absolute best, adding a cute headband instantly transforms it from “meh” to marvelous – making this one of my go-to simple hair styles for school.
What makes Twist-Out with Headband great for school
Interestingly, this versatile style works perfectly for naturally kinky or curly hair, offering endless styling possibilities. One major advantage is how it rescues not-so-perfect twist-outs or handles those inevitable bad hair days we all experience.
Plus, headbands come in endless varieties – from bedazzled barrettes to vibrant African-inspired designs – allowing you to match your school outfits while keeping hair neatly secured. Of course, budget-friendly options exist too; I’ve discovered that clean old stockings make excellent headbands when funds are tight.
Ultimately, this hairstyle combines function with fashion – keeping hair off your face during classes while adding a personalized touch to your look.
How to style Twist-Out with Headband
Creating the perfect twist-out with headband begins with proper preparation:
- Start with a thorough wash using quality shampoo to remove all buildup
- Condition well and detangle while your hair is slippery with conditioner
- Section damp hair and apply your preferred products (I use leave-in conditioner and gel)
- Create twists and allow them to dry completely (about a day and a half for dense coils)
Once your twist-out is complete, simply add your headband, positioning it about an inch from your hairline. Admittedly, I love playing around with a bang/fringe element – sometimes two-strand twisting this front section for extra definition.
Tips to keep Twist-Out with Headband neat all day
To maintain this style throughout the school day, wear a bonnet or scarf at night before sleeping. Understandably, your twist-out will look different each day – that’s part of its charm! Rather than fighting this, I’ve learned to embrace the evolution.
Clearly, keeping hands out of your hair is essential for maintaining definition. If your twist-out begins losing shape, your headband becomes even more valuable, creating a polished look despite any frizz.
For maximum longevity, ensure your twists are completely dry before unraveling them. Taking them down too early or leaving them in too long can lead to less defined results.
Halo Braid

I fell in love with the angelic charm of halo braids years ago, and they’ve remained my top recommendation for students seeking a school hairstyle that’s both practical and ethereal. This crown-like braid that encircles your head creates a gorgeous, almost regal look that’s surprisingly functional for busy school days.
What makes Halo Braid great for school
The halo braid (sometimes called a crown braid) offers remarkable practicality for school settings. First off, it completely frames your face while keeping every strand of hair securely tucked away. This means no distractions during important exams or lab activities!
What I find most impressive about halo braids is their structural integrity—once properly secured, they truly stay put throughout even the most active school day. Plus, they work beautifully across different hair textures and lengths.
My students often tell me they love how this style feels both special and practical. The braided crown creates an elevated look that’s appropriate for presentations or school photos, yet remains comfortable enough for everyday wear.
How to style Halo Braid
Creating a halo braid might seem intimidating at first, nevertheless, with practice, you’ll master it quickly! Here’s my simplified approach:
You’ll need:
- Bobby pins (plenty of them!)
- Hair elastics
- Optional: texturizing spray for grip
Start by creating a deep side part above one eyebrow—plan to braid toward the side with less hair. Begin Dutch braiding (crossing strands under rather than over) to make the braid stand out from your scalp. Pick up hair only from underneath as you go.
Continue braiding diagonally down toward your ear, then around the back of your head. Meanwhile, as you reach the opposite side, start angling the braid upward. The trickiest part? Rounding the corner requires swapping which hand holds each section.
Once you’ve braided all available hair, secure with an elastic. Then, tuck the end under the beginning of your braid and pin securely. For a fuller look, gently tug at the edges of each braid section—what stylists call “pancaking”.
To finish, secure with hairspray for all-day hold. Overall, leaving a few face-framing pieces out can soften the look, making it more romantic and school-appropriate.
Afro Puffs
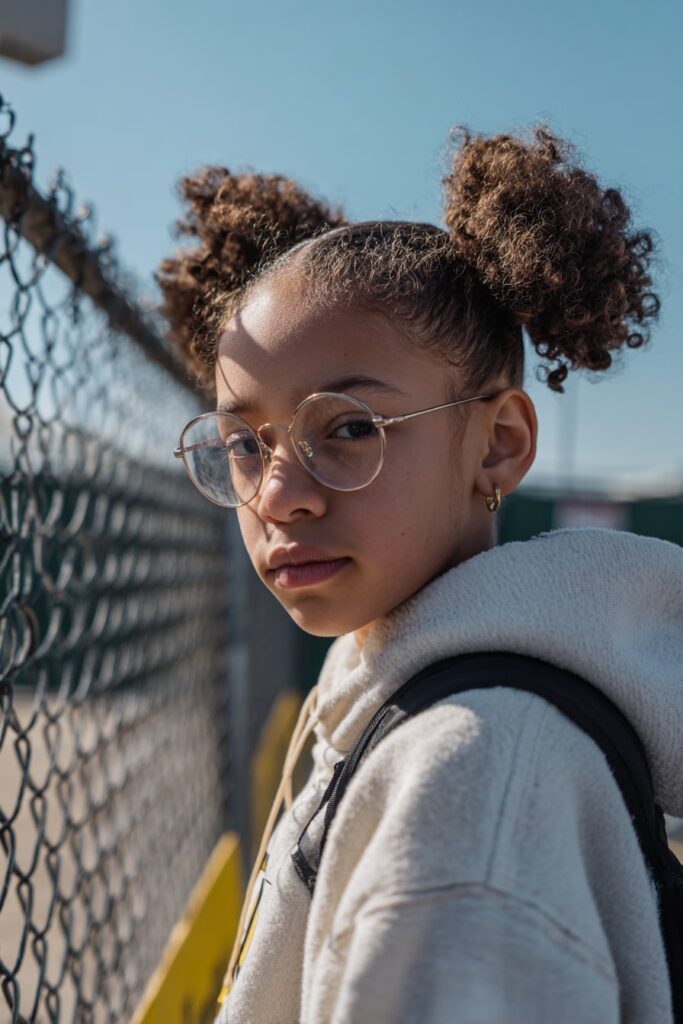
Afro puffs have been my lifesaver throughout the school year! This timeless style isn’t just adorable – it’s one of the most practical hairstyles that celebrates natural texture while keeping maintenance at a minimum.
What makes Afro Puffs great for school
Afro puffs truly shine as a back-to-school option primarily because they’re incredibly quick to create. On those hectic mornings when time is precious, this tried-and-tested favorite takes mere minutes to style. Above all, these versatile puffs work beautifully for various ages and occasions – from elementary school through high school.
Naturally, parents and students alike appreciate that this style keeps hair neatly secured away from the face during classes and physical activities. Furthermore, afro puffs can be dressed up or down depending on the school event – perfect for transitioning from regular class days to special presentations.
Perhaps most importantly, afro puffs celebrate natural hair texture in school environments. With increasing awareness about hair discrimination policies, this style proudly embraces cultural heritage while maintaining a neat, school-appropriate appearance.
How to style Afro Puffs
Creating perfect afro puffs requires just a few simple supplies:
- Leave-in conditioner for hydration
- Edge control gel
- Stretchy headband (I recommend the everyday head wraps from Walmart – two for 88 cents!)
- Optional: decorative accessories like bows or hair clips
Start by applying leave-in conditioner to hydrate your hair thoroughly. Next, apply edge control around the perimeter of your head for a polished look. For creating the puffs, take your stretchy headband and wrap it around your hair – the stretchier the better for comfort and hold.
Understandably, achieving volume is key for this style. Take your pick and gently fluff out each puff to your desired shape and fullness. Finally, define your edges with a small amount of edge control and a bristle brush for those perfect swoops.
Tips to keep Afro Puffs neat all day
To prevent discomfort and potential traction alopecia, try soaking your headband in oil before wearing. This loosens the elastic bonds and reduces tension on your scalp. Alternatively, use a silk scarf, shoelace, or even pantyhose instead of traditional elastics – these allow better control over tightness.
Keeping your hair well-moisturized beneath the style is crucial for preventing breakage. Properly hydrated strands create a protective barrier against friction from headbands.
Admittedly, the same style repeatedly can cause unwanted wear. Consider alternating your afro puffs with other styles throughout the school week to give your hair and edges a break. Whenever possible, remove your puffs before sleeping to let your scalp breathe overnight.
Dutch Braid Pigtails
Dutch braid pigtails have completely transformed my back-to-school hair routine! This timeless style brings a 3D effect to regular braids that not only looks impressive but stays put through even the most chaotic school days.
What makes Dutch Braid Pigtails great for school
Dutch braid pigtails shine as a practical school hairstyle because they work beautifully for both short and long hair alike. Fundamentally, these braids add impressive “wow-factor” while being surprisingly quick to create once you’ve practiced.
One major advantage I’ve discovered is that Dutch braids actually work better than regular braids for shorter hair. Why? As you add sections while working down, you don’t need long hair to create stunning braids.
Generally, this practical, sporty look excels during physical education classes yet can easily be dressed up for presentations or special school events. For students with thinner hair, Dutch braids create the illusion of fuller, thicker hair since the braid sits on top rather than being tucked away.
Notably, after removing your Dutch pigtails, you’ll discover gorgeous heat-free waves – perfect for the next school day. This makes them an ideal protective style that gives your hair a break from hot tools.
How to style Dutch Braid Pigtails
Creating perfect Dutch braid pigtails takes practice, but soon you’ll master this look in just 5-10 minutes:
- Divide your hair into two even sections and secure one side temporarily
- Take a small section at the front and divide into three equal parts
- Begin crossing sections underneath each other (unlike French braids where you cross over)
- Add hair to your right section and cross under the middle, then repeat with the left
- Continue braiding down the back of your head, maintaining even tension
- Once you reach your nape, secure with a small elastic
- Repeat these steps on the other side
For extra volume, gently pull at the edges of each braid section after finishing – stylists call this “pancaking” and it instantly makes braids appear fuller.
High Puff with Bangs
The high puff with bangs has consistently been my ultimate rescue style on mornings when I’m running behind yet still need to look put-together for school. This adaptable style perfectly balances practicality with flair, making it my secret weapon throughout the school year.
What makes High Puff with Bangs great for school
Interestingly, what makes this style truly exceptional is its adaptability. On days when I’m prone to acne or my skin feels oily, I can easily pin the bangs back with bobby pins for a modified look. This two-in-one versatility means I can change my style midday without carrying extra hair accessories.
The high puff with bangs works remarkably well for different hair textures, including type 4 hair. In my experience, it looks especially stunning when styled with curly bangs, creating a playful yet polished appearance that’s appropriate for any school environment.
Ordinarily, hairstyles that keep hair off your face and neck are ideal for concentrating during tests or staying comfortable in warm classrooms. This style accomplishes both while still looking intentionally styled rather than hastily thrown together.
How to style High Puff with Bangs
Creating this eye-catching look requires minimal supplies:
- Spray bottle with water
- Eco styler gel
- Rat-tail comb
- Bandana or elastic headband
- Bobby pins for securing
I start with either fresh hair or an old wash-and-go style, depending on my morning schedule. First, I spritz water on the front section and apply a small amount of gel to manage my edges.
Next, I create a triangle-shaped part at the front of my hair for the bangs. Using my bandana, I tie it around my head behind the triangle section and double-knot it securely. Then I pull the back section of my hair up high.
Throughout my school days, if I want a more dramatic look, I might add small side pieces by pulling out a few strands from my three-strand twists. For days when I want the bangs out of my face, I simply pin them back for a sleek, hump-like shape at the front.
Simple Chignon
For a timeless, sophisticated look that never goes out of style, the simple chignon has been my reliable companion throughout countless school days. This French-inspired style (pronounced “sheen-yon”) might sound fancy, but it’s actually just a neatly arranged low bun that exudes effortless elegance.
What makes Simple Chignon great for school
The chignon stands out as an excellent school hairstyle primarily because it offers that perfect balance between casual and formal. Hence, it works beautifully for both regular class days and special school events. Typically, this low bun keeps all hair securely away from your face—crucial when concentrating during exams or lab work.
In addition, the chignon works remarkably well for all hair types and textures, making it universally flattering. Accordingly, as long as your hair reaches at least collarbone length, you can create this polished style. I’ve found that chignons are particularly perfect for second-day hair—adding practicality for those busy school mornings when washing isn’t an option.
How to style Simple Chignon
Creating this elegant style requires minimal supplies:
- Hair elastics
- Bobby pins (several)
- Optional: light-hold hairspray
- Optional: texturizing spray for extra grip
Begin by parting your hair down the middle and smoothing it behind your ears. Subsequently, gather your hair at the nape of your neck into a low ponytail. Next, twist the ponytail around itself in a counter-clockwise direction, creating a coil or “doughnut” shape around the base.
Secure your chignon with bobby pins, placing them at different angles for maximum hold. For thicker hair, create two ponytails—wrap the top one over the bottom, then twist the bottom around and pin both in place.
Tips to keep Simple Chignon neat all day
For all-day hold, consider using a texturizing spray or dry shampoo before styling to add grip. Alternatively, if you’re working with freshly washed hair, a light-hold hairspray helps maintain structure without stiffness.
Presently, my favorite trick involves pulling gently at the edges of the bun after it’s pinned to create the perfect shape and fullness. Ultimately, for a more formal school event, try a slicked-back version using a strong-hold gel before creating your chignon.
For maximum security, cross your bobby pins in an “X” pattern when inserting them—this creates stronger hold than parallel pins. Formerly, I struggled with chignons coming loose by afternoon, until discovering that U-shaped pins provide better hold than standard bobby pins for thicker hair types.
Conclusion
Finding the perfect back-to-school hairstyle doesn’t have to be a morning struggle anymore! After trying countless styles over the years, these 14 options truly stand out as my go-to recommendations for students facing hectic school days.
What makes these hairstyles particularly special is their staying power. Whether you’re running between classes, participating in PE, or presenting a project, your hair will remain neat and stylish from first bell to dismissal. Additionally, most of these styles require just a few minutes to create, giving you precious extra time during those rushed mornings.
My personal favorites change depending on the day and occasion. Some mornings call for the simplicity of a high puff with bangs, while special school events might warrant the elegance of a sleek braided topknot. Undoubtedly, the bubble ponytail remains my most-requested style among students seeking something trendy yet practical.
Remember that practice makes perfect! The first few attempts at styles like Dutch braids or halo braids might take longer, but you’ll soon master them with regular practice. Furthermore, keeping a small emergency kit with bobby pins and a travel-sized hairspray in your backpack can help maintain your style throughout the day.
These hairstyles work beautifully across different hair types, textures, and lengths. Obviously, some styles might require minor adjustments based on your specific hair, though the fundamental techniques remain the same.
School days bring enough stress without adding hair troubles to the mix. Therefore, having a repertoire of reliable styles saves valuable morning time while keeping you looking put-together throughout your busy day. These 14 options offer something for everyone – from protective styles that promote growth to quick fixes for those inevitable running-late mornings.
Mix and match these styles throughout your school week for variety, or find your signature look that becomes your personal trademark. Ultimately, the perfect school hairstyle balances practicality with personal expression, keeping you comfortable and confident as you focus on what truly matters – learning and enjoying your school experience!