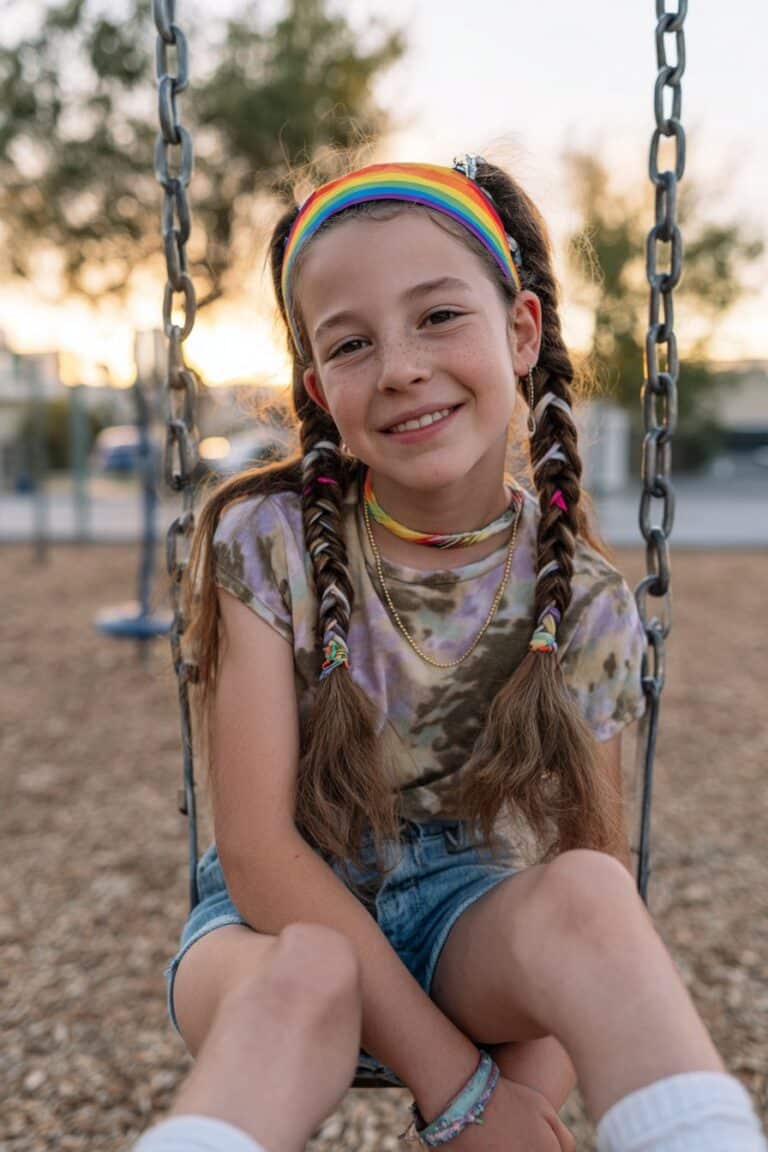
Ever spent 20 minutes perfecting your child’s hairstyle only to see it completely undone by lunchtime? I’ve been there too, and it’s frustrating!
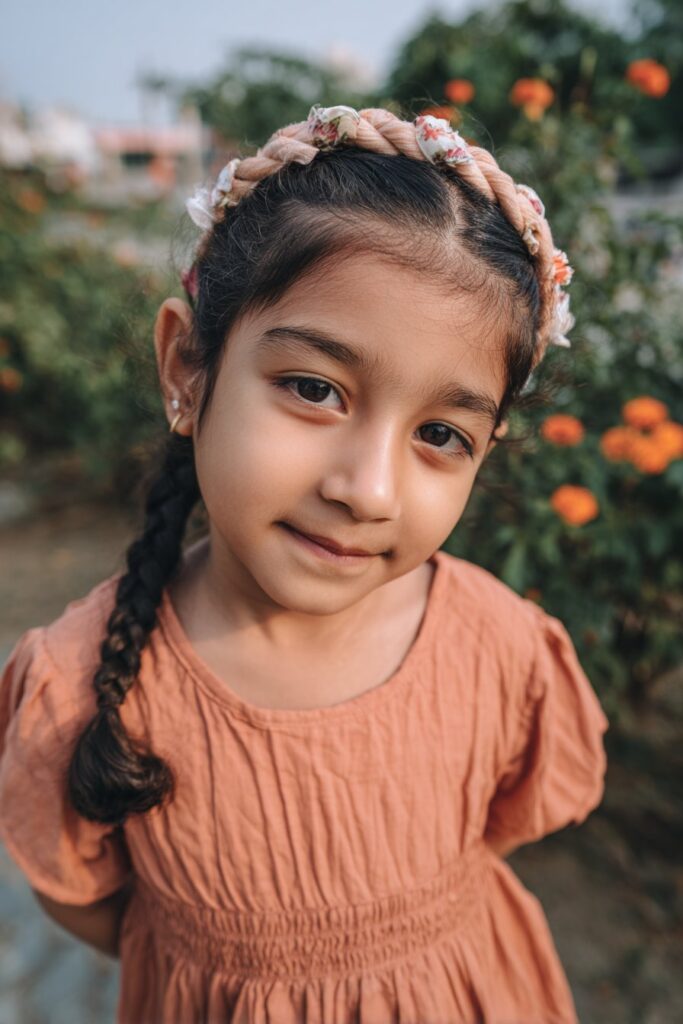
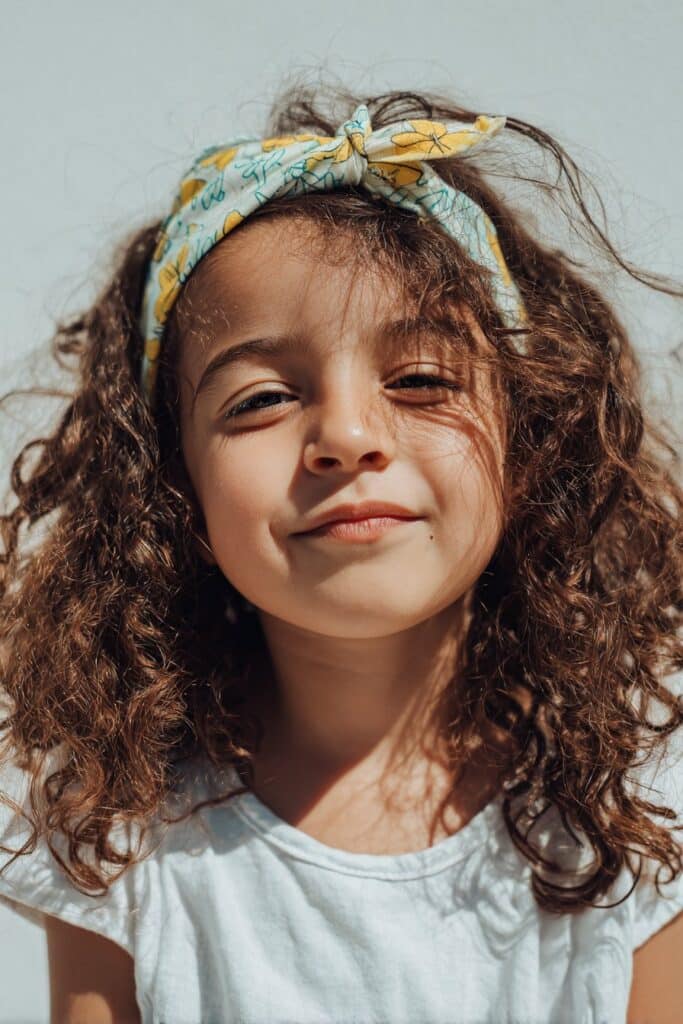
Kids hair headband styles have become my secret weapon for school days, special occasions, and everything in between. Not only are these hairstyles incredibly versatile, but they also stay put all day while looking absolutely adorable. The half up, half down style with a headband balances neatness and natural flow perfectly, while adding cute accessories like bows keeps hair in place and adds personality. What I love most about these hair styles with headband options is how they work for all ages and hair types. Whether your little one has straight, wavy, or curly hair, there’s a headband hairstyle that will work beautifully.
Fortunately, creating these headband hairstyles for little girls doesn’t require professional skills or hours of your morning. In fact, most of these looks can be achieved in just 5 minutes! From playful puffs that work for kids of all ages to styles that showcase healthy, shiny hair, I’ve gathered 15 easy headband hairstyles kids can rock confidently from morning until bedtime. Let me show you how to style hair with headband accessories for looks that are both practical and absolutely adorable.
Double Puff Headband Style

The Double Puff Headband Style has saved me countless mornings with my little ones! This playful yet practical hairstyle combines the classic puff with a secure headband that creates both style and stability.
How to style Double Puff Headband Style
Creating this adorable kids hair headband style takes just minutes:
- Start by combing all the hair backward to remove tangles completely
- Create a neat horizontal middle part, dividing hair into two equal sections
- Take a headband with bristles or texture (these provide better grip) and place it over the head, sliding it toward the crown
- Move the headband slightly back and forth at the same position to secure it firmly
- Use a brush to slick-comb each side upward
- Secure each section with puff cuffs or hair ties to create two distinct puffs
For extra security, I sometimes add a drop of texturizing spray before placing the headband. This creates friction that helps everything stay put throughout active days.
Why Double Puff Headband Style stays put
The secret to this headband hairstyles for little girls staying in place all day is proper sizing. If your headband constantly slides back, it’s likely too small! When a headband is undersized, it spends the day trying to contract back to its original size, pushing itself backward off the head.
Furthermore, these tricks make this hair style with headband exceptionally secure:
- Using a headband with bristles or texture that grips hair
- Adding bobby pins through the headband at strategic points
- Applying texturizing powder for additional friction
- Criss-crossing bobby pins inside the hair rolls
Best hair types for Double Puff Headband Style
The Double Puff works beautifully across different hair types, though slight modifications help perfect it. For straight hair, texturizing spray creates needed grip. Wavy hair naturally holds the style well with minimal product.
Curly and coily textures create the most voluminous puffs. However, if your child has particularly slippery hair, try these modifications:
- Use pantyhose material instead of regular elastics for better grip
- Double the headband twice on the head before sliding it back
- Add velvet ribbon to the underside of the headband for extra friction
This style has become a go-to in my household because it’s both practical for school days and adorable enough for special occasions!
Half-Up Headband with Braided Crown

I fell in love with the Half-Up Headband with Braided Crown look the first time I tried it on my daughter. This stunning yet practical style offers that perfect balance of romantic, bohemian charm while keeping hair neatly secured throughout the day.
How to style Half-Up Headband with Braided Crown
Creating this gorgeous kids hair headband style requires just a few simple steps:
- Start by creating a side part (I find this looks more polished than a center part)
- Take a section of hair from the front hairline on the heavier side of the part
- Divide this section into three equal pieces and begin a Dutch braid (crossing under rather than over)
- As you braid, add hair from along the hairline into each outside strand
- Continue braiding around the back of the head, adding hair only from the top portion
- Once you reach the opposite ear, continue with a regular braid to the end
- Secure with a small elastic band
- Gently “pancake” the braid by carefully pulling the edges outward to create fullness
- Wrap the braid around like a headband and secure with bobby pins
For little ones with shorter hair, simply add a decorative headband underneath the braid for extra security and a pop of color.
Why Half-Up Headband with Braided Crown stays put
This hairstyle remains secure since the braid itself creates natural tension against the scalp. Additionally, the half-up style distributes this tension evenly across the head.
Since the braided crown is essentially created from the child’s own hair, it naturally conforms to their head shape, making it far more secure than a store-bought headband alone.
The trick to making this style last is proper pinning technique. I place bobby pins in a criss-cross pattern underneath the braid, pointing in opposite directions. This creates a strong anchor point that resists even the most active playground sessions!
Best hair types for Half-Up Headband with Braided Crown
One reason I adore this headband hairstyle for little girls is its versatility across different hair types.
Straight hair creates a sleek, polished crown braid that stays remarkably neat. For fine hair that tends to slip, a light texturizing spray before braiding adds crucial grip.
Wavy and curly hair naturally gives the braid beautiful dimension and texture. Moreover, curly hair often holds the style exceptionally well without needing extra product.
Even children with braids can adapt this style by creating a half-crown using the existing braids—a stunning variation that celebrates natural texture while keeping hair secure all day.
High Puff with Elastic Headband

My daughter’s curly hair was a challenge until I discovered the High Puff with Elastic Headband! This style has become our go-to for school days and active weekends, offering both polish and practicality.
How to style High Puff with Elastic Headband
Creating this adorable kids hair headband style takes just a few minutes:
- Start with slightly moistened hair (I use a light water spray)
- Smooth your hair upward toward the crown area
- Apply a small amount of gel to the sides and back for better hold
- Double an elastic headband and place it over the head
- Position the band high on the crown for a true high puff look
- Slide it backward slightly, then gently rock it back and forth to secure
- Tuck any shorter pieces underneath the band
- Shape the puff by gently pulling hair forward over the band
- Secure with bobby pins if needed, especially at the front
For extra neatness, I sometimes add a second thin headband around the base of the puff to smooth any flyaways.
Why High Puff with Elastic Headband stays put
Firstly, pre-stretching your elastic headband is crucial! An overly tight band will gradually slide upward throughout the day as it tries to return to its original size.
Actually, there are several tricks to ensure this hair style with headband stays secure:
- Soak your headband in oil beforehand to loosen the elastic bonds
- Use a satin or silk scarf instead of elastic for better control
- Create texture at the roots with a light texturizing spray
- Secure with strategically placed bobby pins pointing toward the face
Overnight preparation helps tremendously. Applying moisturizer and using a satin scarf to lay edges before styling creates a smooth foundation that helps the headband grip better.
Best hair types for High Puff with Elastic Headband
This headband hairstyle for little girls works beautifully with curly and coily textures which naturally create volume in the puff. For straight or fine hair, adding texturizing spray beforehand helps create enough friction to prevent slipping.
Textured hair types benefit from proper moisturizing before styling – this prevents breakage at pressure points where the headband sits. Throughout the day, the headband gently slides upward, so for children with shorter hair at the nape, additional bobby pins may help secure those areas.
Side Braid with Floral Headband
Looking for a hairstyle that combines practicality with a touch of whimsy? The Side Braid with Floral Headband became an instant favorite in our household after my daughter wore it to her friend’s outdoor birthday party—it stayed perfectly intact despite hours of games and dancing!
How to style Side Braid with Floral Headband
Creating this enchanting kids hair headband style requires just a few simple steps:
- Begin by adding texture spray to slightly damp hair and run a curling iron through to create soft spirals
- Spray lightly with hairspray and gently brush through the curls
- Create a side part where your child’s natural part begins
- Take a section of hair from the heavier side of the part
- Start a Dutch braid (crossing under instead of over) along the side of the head
- Continue braiding around toward the nape, adding hair only from the top section
- Once you reach the desired endpoint, secure with a clear elastic
- Gently pull on the edges of the braid to “pancake” it, creating width and fullness
- Position your floral headband over the braid, securing with bobby pins
For extra staying power, leave some soft, shorter pieces around the face—these frame the features beautifully while adding a relaxed feel.
Why Side Braid with Floral Headband stays put
The secret to this hair style with headband lasting all day lies in proper foundation work. Curling the hair beforehand creates texture that naturally helps the braid grip. Additionally, the Dutch braid technique (braiding under rather than over) creates a raised braid that forms a natural anchor for the headband.
Bobby pins placed strategically—sliding downward through the top of the braid and upward through the bottom—create invisible security points. For floral headbands specifically, choosing ones with a slight grip or texture underneath prevents sliding.
Best hair types for Side Braid with Floral Headband
This headband hairstyle for little girls works wonderfully across various hair types. Fine hair benefits from texture spray beforehand to create grip, whereas naturally curly or wavy hair holds the style exceptionally well without additional product.
For longer hair, this style offers effortless elegance that’s perfect for rustic or outdoor occasions. Children with shoulder-length hair can still achieve a modified version by creating a shorter side braid and using a slightly wider headband for balance.
Overall, this versatile headband hairstyles kids option combines practicality with ethereal charm—making it perfect for everything from playground dates to special celebrations.
Low Bun with Braided Headband

For elegant simplicity that works for both school days and special occasions, the Low Bun with Braided Headband has become my secret weapon. This romantic yet practical style consistently wows other parents who can’t believe how quickly it comes together!
How to style Low Bun with Braided Headband
Creating this polished kids hair headband style takes just minutes:
- Begin by brushing hair thoroughly and creating a side part
- Take a small section of hair from near the part
- Divide into three strands and start a French lace braid (adding hair only from one side)
- Continue braiding around the head toward the opposite ear
- Secure the completed braid with a small elastic
- Gather all remaining hair, including the end of your braid, into a low ponytail
- Twist the ponytail and wrap it into a bun shape
- Secure with pins, tucking ends underneath
Naturally, adding a decorative headband over the braid creates extra security and elegance.
Why Low Bun with Braided Headband stays put
The genius of this hair style with headband lies in its dual-securing method. The braid acts as an anchor while the bun provides balanced weight distribution. For long-lasting hold, I’ve found these tricks indispensable:
- Apply texturizing powder where the headband rests to create friction
- Use bobby pins with the wavy side against the scalp for better grip
- Take a 5-minute “headband break” midday to prevent headaches
- Spritz the inside of the headband with hairspray before placing
Best hair types for Low Bun with Braided Headband
This headband hairstyles for little girls works beautifully across different hair textures. Shoulder-length or longer hair is ideal, although shorter styles can adapt with modifications. Straight hair creates a sleek, polished look, whereas wavy or curly hair adds natural volume and texture to both the braid and bun.
Even more importantly, this style stays secure during active days, making it perfect for sports practices or playground adventures!
Twisted Bangs with Bow Headband

Bangs can be the trickiest part of any child’s hairstyle! That’s why the Twisted Bangs with Bow Headband has become our morning game-changer—perfect for those days when front pieces refuse to cooperate.
How to style Twisted Bangs with Bow Headband
Creating this adorable kids hair headband style is surprisingly simple:
- Brush bangs forward and divide them into two equal sections
- Twist each section away from the face (twist outward)
- Secure with a small amount of lightweight hairspray
- Place your bow headband about an inch behind the twists
- Tuck the twisted sections underneath the headband
- Gently adjust for comfort, ensuring the bow sits centered
For wispy or middle-parted bangs, a braided or twisted thin headband frames the face beautifully while securing those shorter pieces.
Why Twisted Bangs with Bow Headband stays put
This hair style with headband stays secure primarily because of the double-securing method. The twisted bangs create natural tension while the headband locks everything in place.
Fabric choice makes a huge difference! For maximum staying power, select headbands with knot details or bows on top—these add friction that prevents slipping. Wide fabric or sponge bands hold blunt bangs intact without disrupting their shape.
Additionally, applying a tiny amount of styling wax beforehand creates essential grip without that crunchy feeling.
Best hair types for Twisted Bangs with Bow Headband
This versatile headband hairstyle for little girls works across multiple hair types, with some smart adaptations:
For fine or straight hair: Lightweight cotton or knotted fabric headbands grip gently without flattening bangs. Notably, fabric-covered elastic headbands rest softly against the scalp without causing discomfort.
For thick or curly hair: Stretchy fabrics like nylon blends or soft spandex provide comfortable hold. Velvet or soft sponge materials offer both style and superior grip.
Consequently, this adaptable style transforms frustrating bang days into adorable headband opportunities—changing the entire look with minimal effort!
Curly Puff with Satin Headband

The combination of texture and comfort makes the Curly Puff with Satin Headband my absolute favorite for busy mornings! This protective style brilliantly showcases natural curls while keeping hair securely in place.
How to style Curly Puff with Satin Headband
Creating this effortless kids hair headband style takes minimal effort:
- Brush your child’s hair upward toward the crown area
- Cut your satin headband in half for better control of puff size
- Place the headband on backwards, pulling hair up and over to the side
- Use a banding tie to help hold hair up in the front
- Shape the puff gently with your fingers
Fortunately, no product application, brushing, or edge-laying is required!
Why Curly Puff with Satin Headband stays put
The magic lies in the fabric choice. Unlike cotton accessories that absorb moisture, satin preserves hair hydration. Throughout the day, the satin creates minimal friction against hair strands.
For active children, choose wider headbands with gentle teeth or built-in combs to anchor better amid voluminous hair.
Best hair types for Curly Puff with Satin Headband
This headband hairstyle for little girls works perfectly with:
- Thick or curly textures (choose wider turban styles)
- Short Afros (the headband adds charm to their appearance)
- Stretched or blown-out hair (great for protective styling days)
Indeed, this style brilliantly combines moisture protection with all-day security!
Half-Up Twists with Glitter Headband

Finding hairstyles that sparkle with personality yet remain practical has always been a challenge. The Half-Up Twists with Glitter Headband offers both glamor and security for special events or everyday wear.
How to style Half-Up Twists with Glitter Headband
To achieve this enchanting look:
- Create a side part along your child’s natural part line
- Form a small triangle starting at the back of the part, extending toward the front
- Section remaining hair into a temporary ponytail
- Begin Dutch braiding by dividing front section into three pieces
- Cross strands under the middle section (unlike traditional braids)
- Add hair only from the right side while braiding along the part line
- Once all sectioned hair is incorporated, continue braiding downward
- Secure with a small elastic
- Repeat on opposite side
- Apply glitter headband after both twists are complete
Afterward, curl loose hair for extra dimension or leave natural.
Why Half-Up Twists with Glitter Headband stays put
This style remains secure throughout the day primarily because the Dutch braiding technique creates natural tension. Additionally, placing the glitter headband over the finished twists provides a secondary anchor point. Finally, the half-up structure balances weight distribution across the head, preventing slippage even during active play.
Best hair types for Half-Up Twists with Glitter Headband
This versatile style works beautifully across various textures. Medium to long hair creates the most dramatic effect, yet shoulder-length cuts adapt well too. Naturally, wavy or curly hair adds delightful texture beneath the headband, therefore requiring minimal styling afterward.
Space Buns with Stretchy Headband

Space buns paired with a stretchy headband became my ultimate solution for school mornings and afternoon activities! This playful style keeps hair secure while adding a fun, trendy element kids absolutely love.
How to style Space Buns with Stretchy Headband
Creating this look requires minimal effort:
- Part hair down the middle for symmetrical buns
- Gather each side into a ponytail where you want the buns positioned
- On the final loop of your elastic, pull hair only partially through, leaving the ends tucked in
- Hold the bun with one hand as you pull the elastic over (not under) the bun
- Shape by gently pulling at the base for a messier look
- Secure with bobby pins for perfect symmetry
Place a stretchy headband across the front to keep everything secure plus add style!
Why Space Buns with Stretchy Headband stays put
The headband size matters significantly—too small a headband will actually push backward all day as it tries returning to its original size. Choose headbands with slight interior grip or velvet lining.
This style works wonderfully on unwashed hair which provides natural grip. For freshly washed hair, apply texture spray beforehand.
Best hair types for Space Buns with Stretchy Headband
Fortunately, this versatile style accommodates long, medium, or even shorter hair. It’s ideal for all textures, including fine hair that typically struggles with traditional headbands. For active children, choose no-snag elastics that won’t damage hair.
Side Ponytail with Fabric Headband

A fabric headband paired with a side ponytail has consistently rescued our most chaotic mornings! This classic combination creates an effortlessly polished look that works for everything from school photos to playground adventures.
How to style Side Ponytail with Fabric Headband
Creating this adorable look takes minimal effort:
- Brush hair thoroughly to remove tangles
- Place the fabric headband on backwards, letting it rest comfortably
- Pull hair up and over to one side
- Secure with a hair tie, doubling it for extra hold
- Shape the ponytail by gently pulling at sections for volume
For added style, you can tuck and adjust the fabric width by folding the sides inward or extending them outward.
Why Side Ponytail with Fabric Headband stays put
The textured underside of fabric headbands creates natural friction against hair, preventing slipping. Jersey headbands work exceptionally well as their slight stretch provides comfortable tension without causing headaches.
Bobby pins strategically placed underneath can rescue any slipping headband throughout busy days.
Best hair types for Side Ponytail with Fabric Headband
This versatile style accommodates virtually all hair types! Thick hair benefits from wider fabric bands that distribute pressure evenly, whereas fine hair gains volume and texture from the contrast between smooth fabric and styled ponytail.
Medium to long hair creates the most dramatic side ponytail effect, yet shoulder-length cuts adapt beautifully with slight modifications.
Top Knot with Knotted Headband

Few hairstyles combine convenience and style as effectively as the Top Knot with Knotted Headband! This fashionable kids hair headband style has saved many of my early mornings, especially on days when washing hair simply isn’t happening.
How to style Top Knot with Knotted Headband
Creating this look requires minimal effort:
- Gather all hair toward the crown and secure with an elastic
- Twist hair into a neat bun or messy knot depending on preferred style
- Cut a fabric strip approximately 5-6″ wide by 22″ long
- Place your fabric strip perpendicular to the headband
- Tie a loose knot around the middle of the band
- Twist the fabric ends as you tighten so the adhesive side faces the top
- Carefully tighten the knot, ensuring fabric ends will conceal headband edges
Why Top Knot with Knotted Headband stays put
The beauty of this hair style with headband lies in proper fabric selection. Stretchy knit fabrics work wonderfully as they conform to the head shape without causing pressure points. Hence, pre-stretching your headband prevents it from gradually sliding upward throughout active days.
Best hair types for Top Knot with Knotted Headband
Generally, this headband hairstyles for little girls works across all hair types. Straight-haired children benefit from texture spray beforehand for extra grip. Naturally wavy or curly hair provides built-in friction that helps everything stay perfectly positioned all day long.
Rubber Band Braids with Headband

The rubber band braided headband perfectly blends practicality with bohemian elegance! I discovered this versatile style when preparing my daughter for her dance recital, and it quickly became our go-to option for busy weekdays.
How to style Rubber Band Braids with Headband
Creating this polished look requires minimal effort:
- Start with a side parting and section hair around the head beneath the hairline
- Position your child comfortably with their head sideways (I use a piano stool, but a pillow works too)
- Take a small section of hair and divide into three pieces
- Begin a lace braid by adding hair only from one side as you braid
- Continue braiding over the parting line for a neater finish
- Secure with colorful rubber bands every 1-2 inches
- Wrap the completed braid around as a headband and pin securely
Why Rubber Band Braids with Headband stays put
The secret lies in proper preparation! Applying texturizing spray beforehand enhances grip for silky or fine hair. Likewise, strategic bobby pin placement (matching your hair color) creates invisible security points while maintaining a seamless appearance.
Best hair types for Rubber Band Braids with Headband
This style works beautifully on medium to long hair. Occasionally, I add different braid types—fishtail or Dutch—for more texture and intricacy. Plus, it’s functional for active kids, keeping hair neatly away from the face during sports or playtime!
Loose Waves with Butterfly Headband
The whimsical charm of butterfly headbands combined with loose waves creates a hairstyle my daughters absolutely adore! This no-heat styling method doubles as both a practical solution and a delightful fashion statement.
How to style Loose Waves with Butterfly Headband
Creating these gorgeous waves requires minimal effort:
- Start with dry hair that has styling products applied—mousse works wonderfully for creating grip
- Place a stretchy, fabric headband over the forehead, above the ears, and around the base of the neck
- Split hair in half and pull it forward
- Take small sections (smaller for tighter curls, larger for looser waves) and wrap them around the headband
- Continue wrapping sections around the band, joining each with the rest of the hair
- Leave in for an hour while getting ready or overnight for deeper waves
- Gently remove the headband and spray lightly to set the curls
- Add your butterfly headband about one inch from the hairline
Why Loose Waves with Butterfly Headband stays put
The textured waves created naturally grip the butterfly headband better than straight hair. Meanwhile, proper headband placement—about an inch from the hairline—prevents slipping. For extra security, bobby pins strategically placed at the base anchor the headband firmly.
Best hair types for Loose Waves with Butterfly Headband
This style works beautifully on medium to thick hair with natural texture. As a result, shoulder-length or longer hair creates the most dramatic wave effect. In this case, fine hair benefits from texturizing spray beforehand for essential grip.
Mini Afro Puffs with Colorful Headband

Mini afro puffs paired with colorful headbands have rescued many busy school mornings in our household! This playful yet protective style celebrates natural texture while keeping little ones comfortable throughout active days.
How to style Mini Afro Puffs with Colorful Headband
Creating this adorable look requires minimal tools:
- Gently brush hair upward toward the crown
- Divide hair into equal sections (typically 4-6 for mini puffs)
- Secure each section with small elastic bands
- Add a drop of moisturizing product to each puff
- Fluff each puff gently with your fingers
- Place a colorful headband about an inch behind the hairline
Why Mini Afro Puffs with Colorful Headband stays put
Afro-textured hair naturally creates friction against headbands, providing superior grip throughout the day. Plus, separating hair into multiple puffs distributes tension evenly across the scalp, preventing any single section from becoming uncomfortable.
Best hair types for Mini Afro Puffs with Colorful Headband
This style works beautifully on type 4 hair textures, primarily 4B-4C patterns. It’s perfect for kids with shorter afros as the headband adds a stylish element while helping define the puffs. Naturally, stretched or blown-out hair creates more dramatic puffs, whereas tightly coiled textures form adorable compact puffs that frame the face perfectly.
Classic French Braid with Ribbon Headband

The timeless elegance of a French braid paired with a ribbon headband never fails to impress! This combination has been my go-to for my daughter’s dance recitals, school picture days, and any time we need a polished look that lasts.
How to style Classic French Braid with Ribbon Headband
Initially, gather your supplies: comb, rubber bands, and a long ribbon. Next:
- Brush hair thoroughly to remove tangles
- For a single braid, gather three equal sections at the crown
- Cross the right section over the middle, subsequently cross the left over the new middle
- As you continue, add small pieces of hair to each outside strand before crossing
- Once you reach the nape, secure with a rubber band
- Wrap a long ribbon like a headband, tying at the nape
- Alternatively, weave ribbon directly into the braid for extra color
Why Classic French Braid with Ribbon Headband stays put
French braids naturally create tension against the scalp, forming a secure foundation. Plus, the crossing-under technique creates a raised braid that anchors the ribbon perfectly. For stubborn flyaways, a light hairspray works wonders!
Best hair types for Classic French Braid with Ribbon Headband
Most importantly, this style works beautifully across different textures. Straight hair creates sleek braids with ribbon visibility, obviously making it perfect for color coordination. Textured hair provides natural grip that helps everything stay in place all day.
Conclusion
After trying countless hairstyles that fell apart before lunch, these headband styles have truly been game-changers for my daughters and me. Most importantly, each option combines both practicality and adorable style without requiring professional skills or excessive time.
Throughout my parenting journey, I’ve discovered that the secret to headbands staying put lies in proper sizing, texture, and strategic placement. Additionally, choosing the right style for your child’s specific hair type makes all the difference between constant adjustments and all-day security.
Whether you’re dealing with fine straight hair or voluminous curls, there’s definitely a perfect headband hairstyle waiting to become your new go-to. The double puff works wonderfully for texture and volume, while the half-up twisted style keeps wispy bangs neatly contained during active play.
Certainly, some mornings still bring hair challenges, but these versatile styles have transformed our routine from frustration to fun. My daughters now look forward to choosing which headband style they’ll sport each day, often requesting the space buns for school and the braided crown for special occasions.
Furthermore, I’ve found that alternating between styles helps prevent any single area of the scalp from becoming tender from repeated tension. This rotation approach keeps hair healthy while expanding your little one’s style repertoire.
Though mastering these techniques might require a bit of practice initially, the time investment pays off tremendously. Soon enough, you’ll complete these looks in five minutes flat, leaving more time for breakfast and last-minute homework checks before rushing out the door.
Above all, watching my girls confidently wear these styles that stay beautiful from morning until bedtime brings me genuine joy. Their headband hairstyles have become signature looks that perfectly blend practicality with their unique personalities—something every parent can appreciate during the beautiful chaos of raising children.