
Summer curly hairstyles used to be my worst nightmare. Trust me, I’ve spent countless summers battling frizz, sweat, and that uncomfortable feeling of hair sticking to my neck during heatwaves.
Fortunately, those days are behind me! I’ve discovered that our curly locks actually have a secret superpower – they can hold styles better than most hairsprays. This makes them perfect for creating volume and texture in summer hairstyles. Over the years, I’ve experimented with everything from the classic half-updo that gives that carefree summer vibe to the cooling pineapple hairstyle that keeps your neck breezy while letting those curls fly free.
If you’re tired of the same old routine, 2025 is your year to embrace those natural curls. The trend of celebrating natural frizz and texture is gaining serious momentum, and summer is the perfect time to experiment since the heat makes wash-and-go styles easier to air dry. Whether you’re looking for curly hairstyles for summer beach days or easy beach hairstyles for curly hair that won’t collapse in humidity, I’ve got you covered. From chic high ponytails to playful space buns, these summer hairstyles for curly hair will keep you looking fabulous without fighting your natural texture.
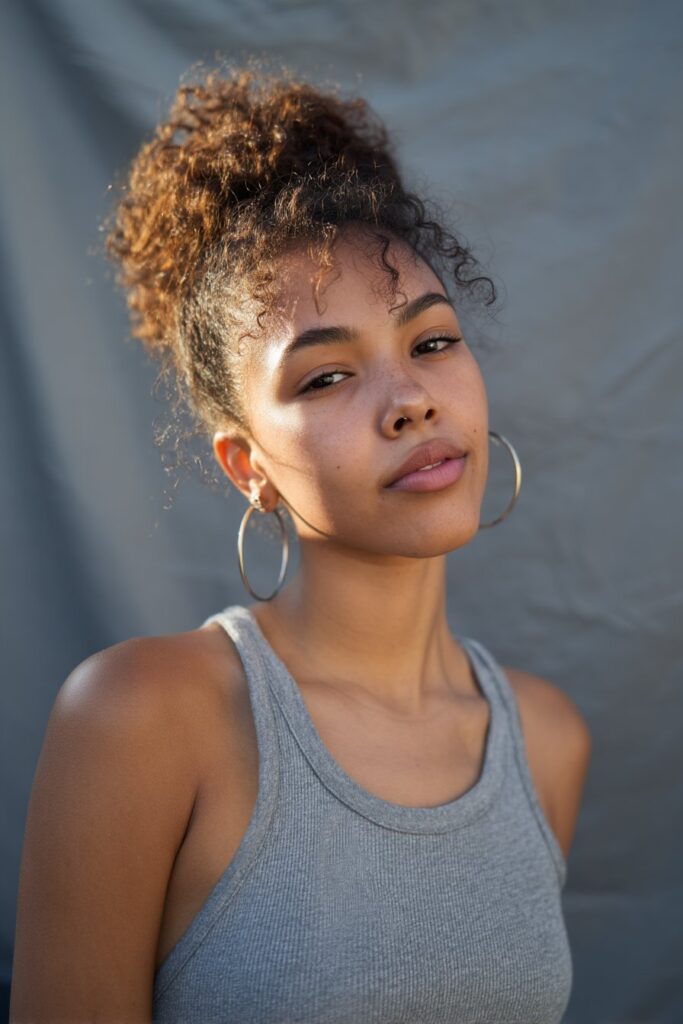
Chic High Ponytail
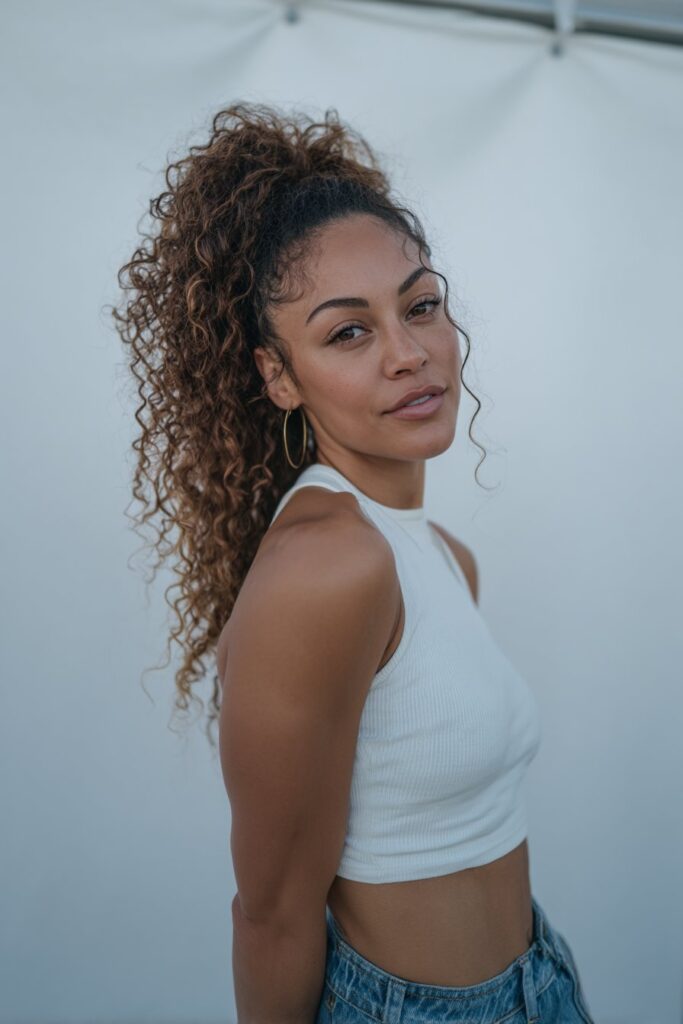
The chic high ponytail has become my go-to summer curly hairstyle when I need something that transitions effortlessly from day to night. This versatile updo keeps my curls under control while adding instant polish to any look.
Style Overview
The perfect high ponytail sits right at the crown of your head—not too far forward and not too far back. This placement creates that perfect framing effect that showcases your facial features. For curly hair specifically, this style offers two gorgeous variations: sleek or textured.
The sleek version requires thoroughly wetting your hair first, then applying a styling gel evenly throughout before brushing everything upward. I’ve found that using a soft, fabric-covered elastic prevents damage and unwanted dents in your curls. Furthermore, double elastics provide extra security for thicker hair textures.
Alternatively, the textured high pony embraces your natural volume. Instead of completely slicking back, you can create a deliberately fuller, bouncy effect by gently teasing the crown area and pulling out a few curls around your face for that effortlessly chic look.
Why It Works in Summer
High ponytails are practically made for hot summer days. First of all, they keep hair completely off your neck and face, which notably reduces sweating and discomfort when temperatures soar.
Beyond the comfort factor, this style offers impressive versatility. I can wear it to beach outings, barbecues, or even dress it up for evening events. Additionally, it’s incredibly low-maintenance—perfect when you’re active and don’t want to worry about constant touch-ups.
Another summer benefit? The ponytail actually showcases your gorgeous curl pattern rather than fighting against it. In fact, the height of the style allows your curls to cascade beautifully, creating a waterfall effect that’s both eye-catching and practical.
Belle Hathaway’s Pro Tip
The secret to a long-lasting high ponytail that doesn’t sag throughout the day? My game-changing “anchor technique.” After securing your ponytail with an elastic, add a small claw clip just beneath the ponytail holder. This provides structure and support, essentially preventing that midday droop without requiring an uncomfortably tight elastic.
For curly hair specifically, I recommend prepping each section with a heat protectant spray before styling. This extra step protects your curls from damage and helps maintain definition.
Most important, don’t fight those wispy edges! Instead of overloading with product trying to achieve perfect smoothness, embrace those face-framing tendrils. They create a soft, feminine look that balances the boldness of the high ponytail—especially for summer beach hairstyles for curly hair when a bit of natural texture adds to the carefree vibe.
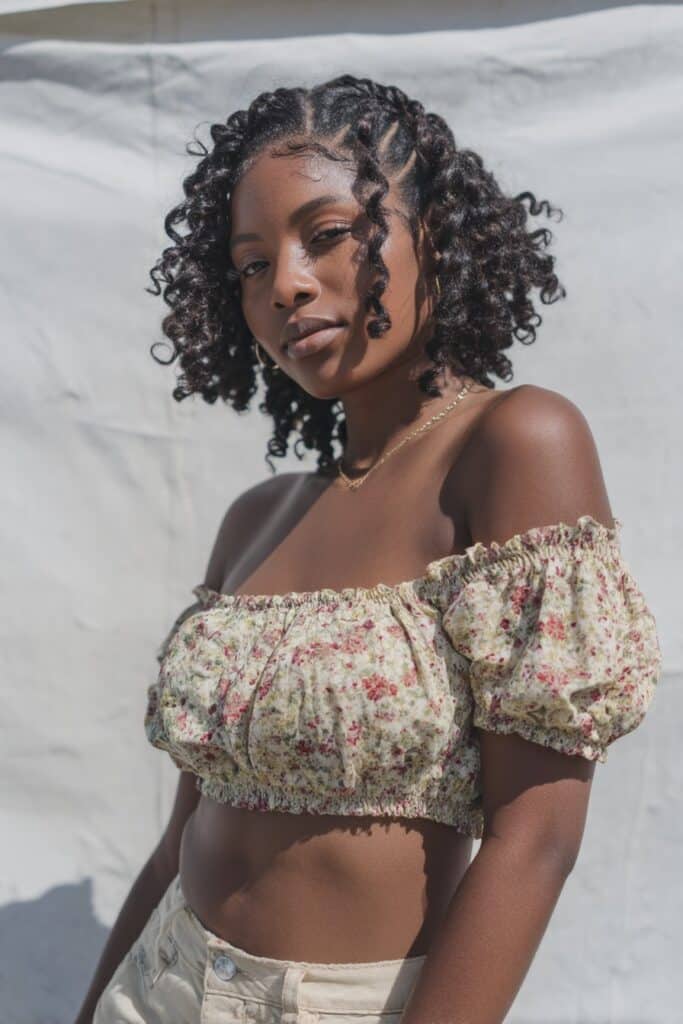
Half-Up Space Buns
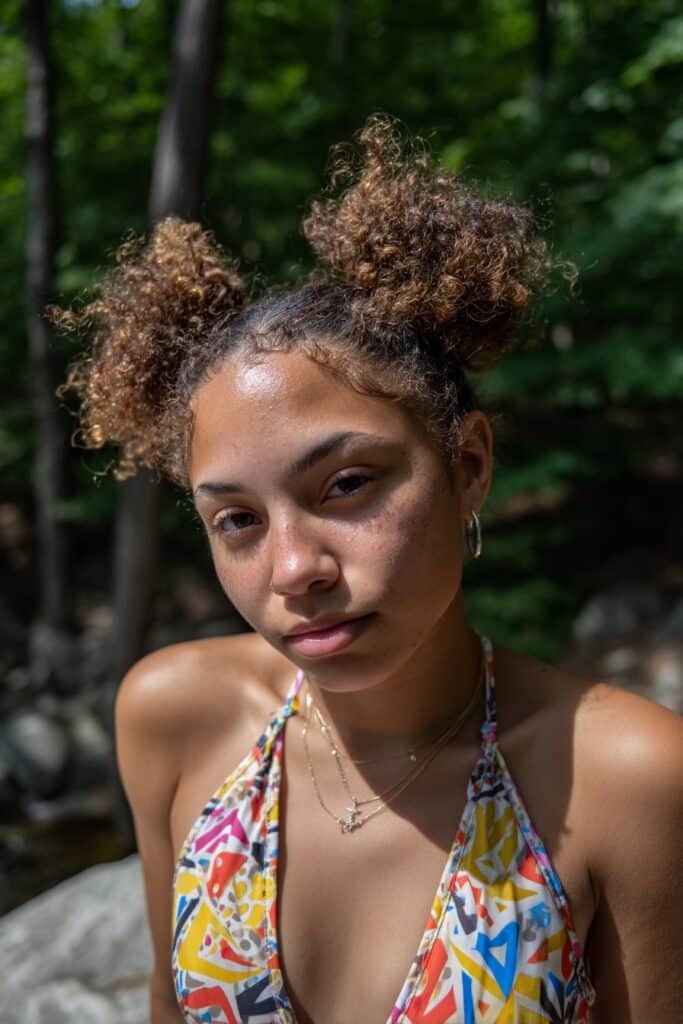
When the summer heat hits its peak, half-up space buns become my secret weapon for curly hair clients. This playful yet practical style keeps hair off your face while showing off your gorgeous curls—truly the best of both worlds for summer adventures.
Style Overview
Half-up space buns combine the freedom of wearing your curls down with the security of having the top portion styled away from your face. The look features two small, rounded buns positioned on either side of the crown while the remaining hair flows freely.
Creating this summer-perfect style is surprisingly simple:
- Start with second or third-day curls (this style actually holds better on hair that’s not freshly washed)
- Create a middle part from forehead to crown
- Section off the top half of your hair on both sides
- Twist each section away from your face
- Wrap into small buns and secure with bobby pins (usually one per bun is sufficient for medium thickness hair)
What makes this style particularly wonderful for curly hair is how it works with your natural texture. Those little flyaways and extra volume that sometimes frustrate us? They become charming features that add character to these buns!
Why It Works in Summer
Beyond the obvious cuteness factor, half-up space buns offer practical benefits that make them ideal curly hairstyles for summer.
First, they keep hair off your face and neck—crucial during those sweltering days when the last thing you want is curls sticking to your skin. Moreover, this style requires minimal product, allowing your scalp to breathe better in humid conditions.
Unlike fully tied-up styles that can lead to sweaty scalps, the half-up approach maintains airflow while still providing style. Consequently, it’s perfect for beach days or music festivals where you need something that withstands activity but still showcases your natural texture.
Belle Hathaway’s Pro Tip
After years of styling curly hair, I’ve discovered the secret to perfect half-up space buns lies in the prep and placement. For clients with 3c/4a textures, I recommend slightly teasing the sections before twisting to create fuller, more balanced buns.
Placement is equally important—position your buns slightly forward rather than directly on top for a more flattering face-framing effect. Furthermore, leaving a few tendrils around your face softens the look dramatically.
For overnight preservation, sleep with a satin bonnet—this prevents friction that could disturb your carefully crafted buns while maintaining moisture in your curls.
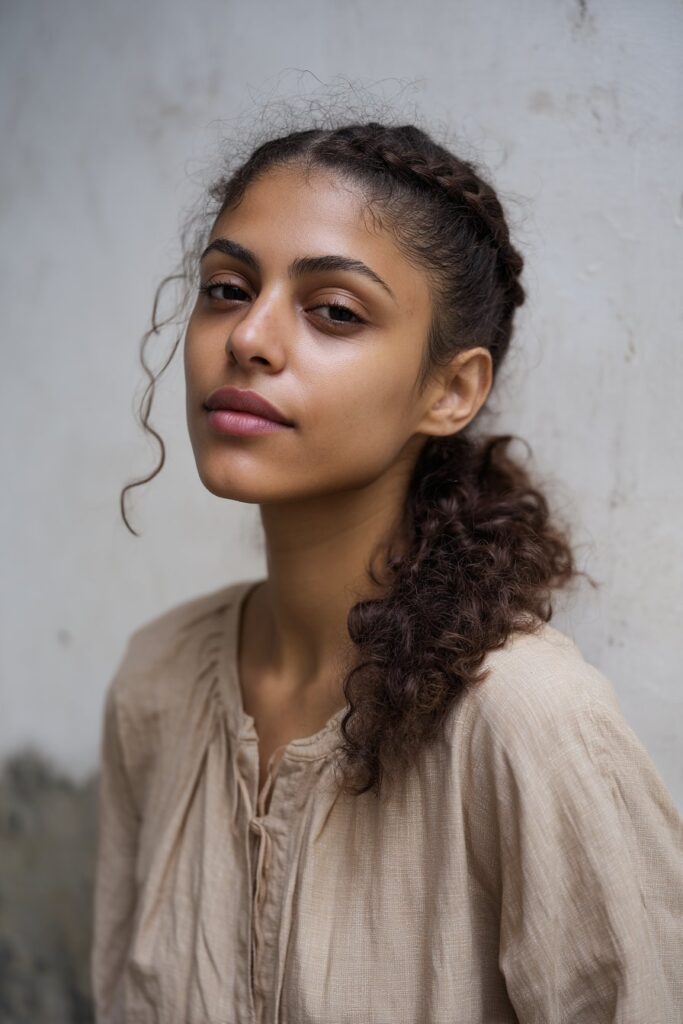
Dutch Braids
Dutch braids have earned their place as my favorite protective style for curly hair in the summer months. As someone who’s styled countless curly heads, I’ve found that this technique perfectly balances practicality with style when temperatures rise.
Style Overview
Dutch braids are essentially reverse braids where you cross hair strands underneath rather than over, creating that beautiful raised braid effect. Initially, I was drawn to this style because of how exceptionally well it works with curly and textured hair. The reverse braiding technique actually showcases your natural texture while keeping everything secure.
Creating Dutch braids involves these key steps:
- Split your hair into three equal sections
- Cross strands under instead of over
- Add hair from both sides bit by bit as you work down
- Keep hands close to your head for better control
What makes this style truly versatile is that it works beautifully on both wet and dry hair. I often recommend it for second or third-day curls when your hair already has some natural texture to work with. For my clients with medium to long hair, this style provides the perfect solution when humidity has their curls going wild.
Why It Works in Summer
Dutch braids truly shine during hot weather for several practical reasons. Primarily, they keep your hair completely off your neck and face – a lifesaver when temperatures soar. Furthermore, they serve as an excellent protective style, minimizing damage from sun exposure and reducing manipulation.
Unlike some styles that collapse in humidity, Dutch braids actually hold up better in summer conditions. The tighter you create them, the longer they last – typically looking neat for 2-3 days, making them ideal for beach trips or active weekends.
Certainly, one of the greatest benefits is how they double as a treatment opportunity. I often pair Dutch braids with a hydrating hair oil, allowing it to deeply penetrate while you wear the style. This combats the drying effects of summer sun and salt water.
Belle Hathaway’s Pro Tip
After years of braiding, I’ve discovered the secret to perfect Dutch braids lies in your hand positioning. Place the far right strand between your left hand’s pointer finger and thumb for optimal control. This grip helps create smoother transitions throughout the braid.
Altogether, the time investment is reasonable – your first attempts might take about 30 minutes, but with practice, you’ll get it down to 15-20 minutes. Start with slightly damp (not soaking wet) hair for best results.
Afterward, sleep with a satin bonnet to preserve your braids overnight. This simple step prevents frizz and keeps everything looking fresh for days – extending your style through multiple beach days or pool parties.
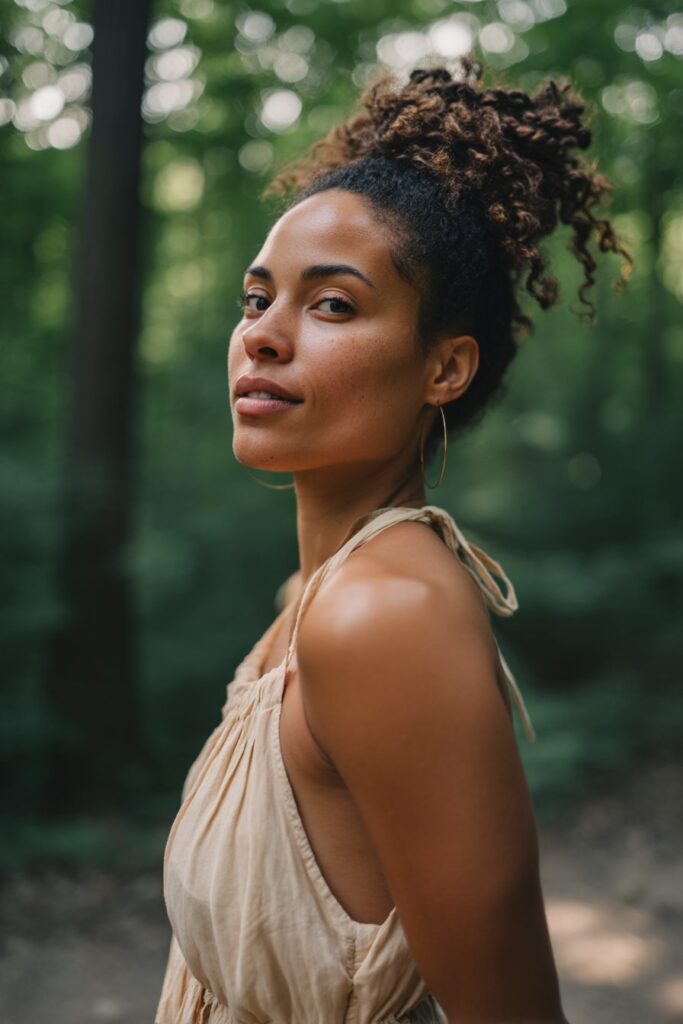
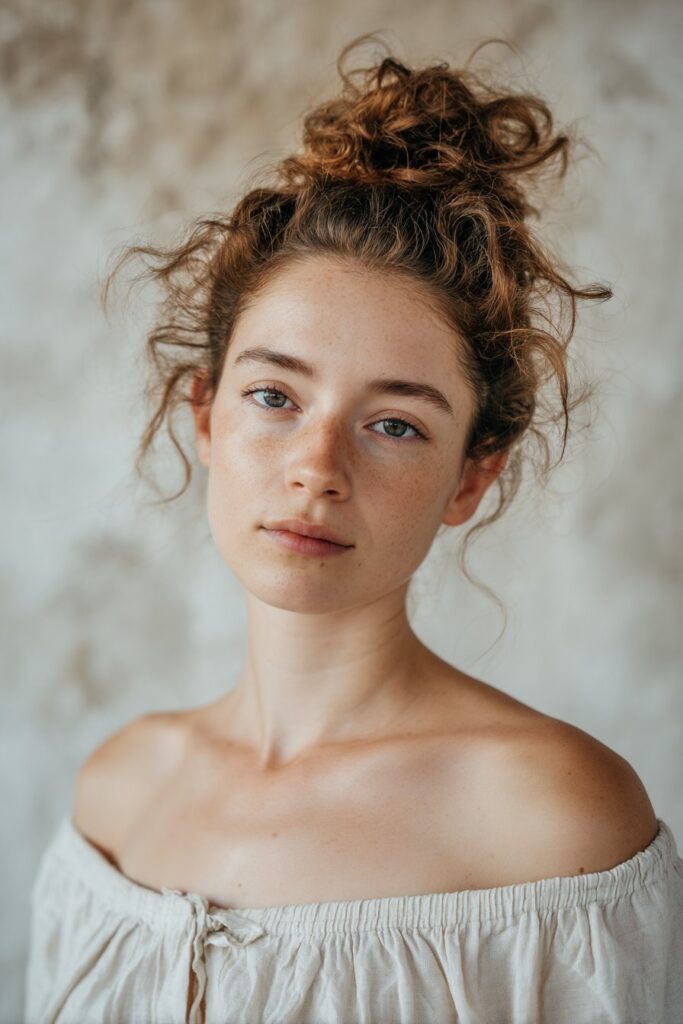
Curly Top Knot
For those sweltering summer days when even a ponytail feels too hot, the curly top knot offers the perfect solution. I’ve found this style to be incredibly versatile whether you’re headed to the beach or just trying to survive a humidity spike.
Style Overview
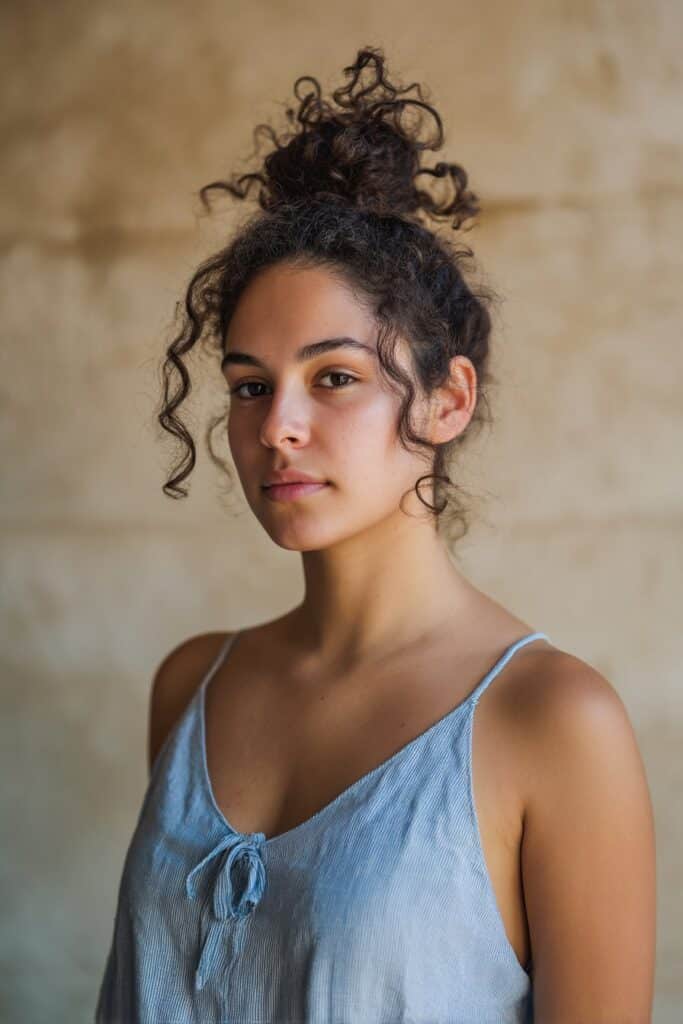
The curly top knot is essentially a high bun positioned at the crown of your head that showcases your natural curl pattern while keeping everything contained. Unlike sleek buns, this style celebrates volume and texture.
To create this look, you’ll need:
- Hair elastic or bungee
- Optional donut padding for extra volume
- Bobby pins
- Leave-in conditioner spray
Begin by gathering your curls into a high ponytail using your fingertips rather than a brush to maintain your curl pattern. For thicker hair, focus on securing one section at a time to make the process more manageable. After creating your ponytail, twist the hair and wrap it around the base, tucking ends underneath. Secure with bobby pins, then gently loosen areas that feel too tight by using your fingertips to create that perfectly imperfect look.
Why It Works in Summer
The top knot truly shines during hot weather primarily because it keeps hair completely off your neck and face. This makes it ideal for beach days, bike rides, or anytime you need your hair secured without sacrificing style.
Moreover, this versatile style works beautifully on second or third-day curls – no need for freshly washed hair! Accordingly, when humidity levels soar, this style actually improves rather than falls apart. Typically, I recommend this for clients who need a quick fix when their curls have been stretched out from previous styling.
Belle Hathaway’s Pro Tip
Truly, the secret to a long-lasting curly top knot lies in how you secure it. Rather than using just one hair tie, I recommend using two elastics at the base of your bun. This double-securing technique prevents slipping throughout active summer days.
For maximum hold without headaches, try the “loosen up” technique – after creating your bun, gently pull at the roots to prevent too much tension on your scalp. Furthermore, if frizz concerns you, lightly mist leave-in conditioner before styling to refresh your curls without weighing them down.
Bubble Braids
Bubble braids have quickly become one of my favorite summer styles for clients with textured hair. I love recommending this playful yet practical option that looks complex but requires zero braiding skills!
Style Overview
Bubble braids are essentially ponytails divided into segments with multiple hair elastics placed at intervals, creating bubble-like sections between each band. What makes them perfect for curly hair is how they showcase your natural texture while keeping everything contained.
Creating this style is remarkably simple:
- Secure your hair into a ponytail (high, low, or side position works)
- Add elastic bands down the length of your ponytail, spacing them 1-2 inches apart
- Gently pull the hair between each elastic outward to create the “bubble” effect
The beauty of bubble braids lies in their versatility. You can create them as pigtails for a more playful look or a single bubble braid for something more sophisticated. For those with shorter curly locks, simply make your bubbles smaller and closer together—the style works surprisingly well regardless of length.
Why It Works in Summer
Bubble braids excel as summer curly hairstyles primarily because they’re incredibly quick to create—just 5 minutes from start to finish. This makes them ideal for those mornings when you’re rushing to the beach or pool.
Undoubtedly, their practical benefits shine brightest during hot weather. Like other updos, they keep hair off your neck and face, however, bubble braids offer more breathability than tighter styles while still maintaining control over frizz.
Furthermore, they’re perfect for summer festivals or parties since they last remarkably well throughout the day. Unlike many styles that collapse in humidity, bubble braids actually maintain their shape better in summer conditions. The multiple elastics provide structure that withstands swimming, dancing, or just lounging in the heat.
Belle Hathaway’s Pro Tip
Frankly, the secret to stunning bubble braids is all about the “pull.” After placing each elastic, I always tell my clients to use their fingertips to gently tug the hair outward in all directions. This creates fuller, more defined bubbles without adding extra product.
For curly-haired clients specifically, I recommend applying a lightweight cream before styling to minimize frizz without weighing down your natural texture. Subsequently, you can add fun accessories between bubbles—mini scrunchies, ribbons, or even tiny flowers add personality to this already playful style.
To preserve overnight, simply wrap in a silk scarf—this maintains your bubbles while preventing friction that could disturb your carefully crafted style.
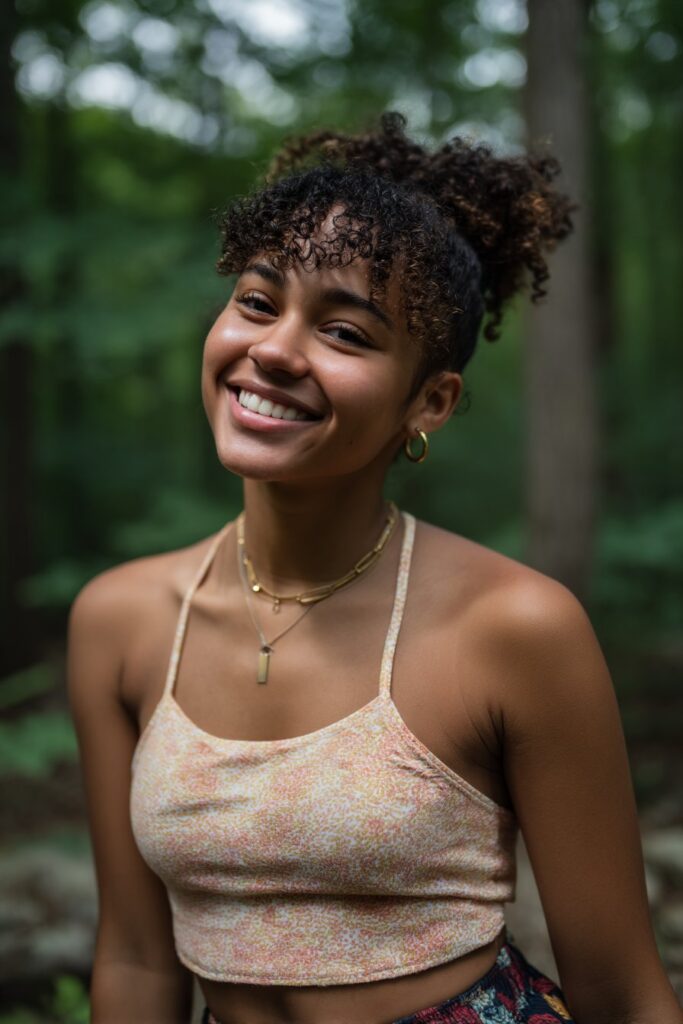
Pineapple Updo
The pineapple updo has saved my curls countless times during sticky summer nights. This whimsical yet functional style might look like you’re sporting a tropical fruit on your head—hence the name—but don’t let that fool you. It’s one of the most effective techniques for preserving curl definition overnight or keeping cool during scorching days.
Style Overview
The pineapple method involves gathering your curls at the highest point of your head, creating a loose, high ponytail that resembles the leafy crown of a pineapple. Unlike traditional ponytails, this style prioritizes looseness to prevent disrupting your curl pattern.
To create this look:
- Flip your head forward and gather all your curls at the top of your head
- Secure with a silk or satin scrunchie, keeping tension as loose as possible
- For shorter curls or heavily layered hair, create multiple mini-pineapples throughout your head
What makes this style truly versatile is how it works for various curl types and lengths. Though primarily known as an overnight protective technique, the pineapple has evolved into a stylish daytime look perfect for keeping cool while showcasing your curl pattern.
Why It Works in Summer
The pineapple updo truly shines as a summer style primarily because it lifts curls away from your neck and face, preventing unwanted tangles and frizz. Beyond comfort, this technique helps shield your curls from summer hazards like chlorine, salt water, and excessive sun exposure.
Furthermore, it’s remarkably versatile—you can wear it to the beach, then refresh your curls simply by removing the scrunchie and shaking your hair out. This makes it ideal for vacations when you want to minimize styling time.
Despite its simplicity, the pineapple method delivers impressive benefits. It protects your curl pattern from flattening, reduces tangling while you sleep or swim, minimizes breakage, and significantly decreases frizz and flyaways.
Belle Hathaway’s Pro Tip
For truly outstanding results with the pineapple method, fabric choice makes all the difference. I always tell my clients to pair this style with a silk or satin pillowcase. This combination creates the ultimate anti-frizz environment for your curls.
Likewise, the scrunchie material matters tremendously. Opt for silk or satin varieties as they cause less friction than cotton ones. Thus, your curls maintain definition without unnecessary damage.
Finally, consider this my favorite multi-day styling hack: pineapple your curls nightly, then in the morning, simply remove the tie, flip your head over, and gently shake out your curls. Mist lightly with water if needed, and you’ve extended your wash day for nearly two weeks!
Half-Up Fishtail Braid
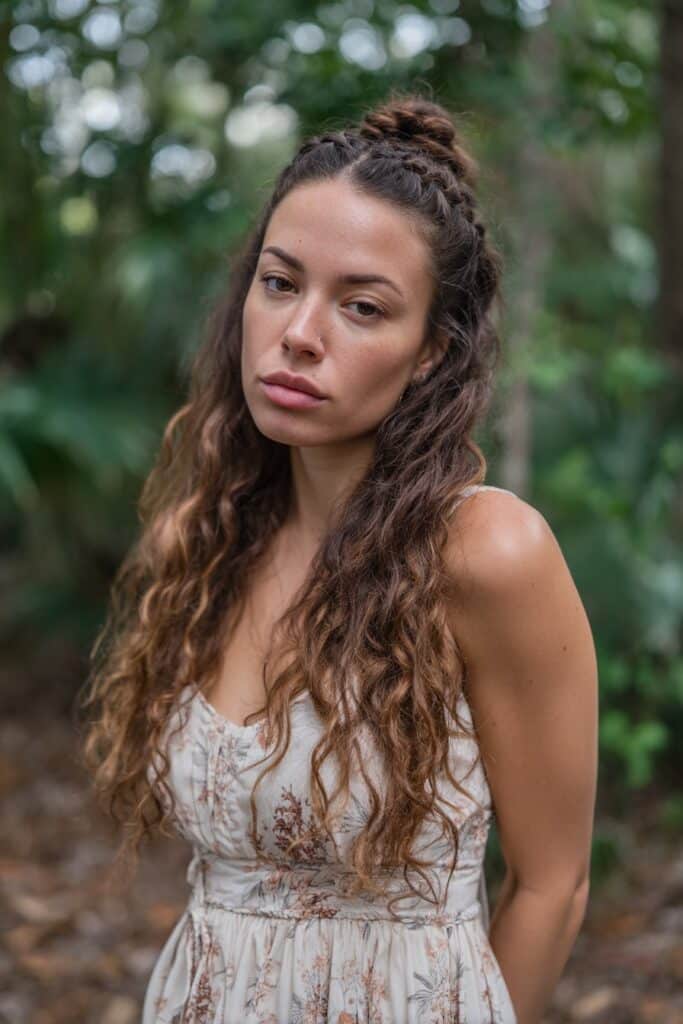
I’ve fallen in love with the half-up fishtail braid as a go-to summer style that perfectly balances sophistication and practicality. This romantic bohemian look has become my secret weapon for clients who want something that stands out without requiring professional-level skills.
Style Overview
The half-up fishtail braid combines the best of both worlds—it keeps the top portion of your hair secured while allowing your gorgeous curls to flow freely underneath. What makes it truly special is how it showcases curly texture, making your braid pop even more if you have highlights or naturally sun-lightened hair.
Creating this look involves:
- Starting with loose waves or your natural curl pattern
- Separating the top section of your hair (about one-third)
- Dividing this section into two equal parts
- Creating the fishtail by taking small pieces from each section’s outer edge and crossing them over
- Securing with a clear elastic when you reach the end
For curly hair specifically, the smaller the pieces you cross over, the more detailed your fishtail will appear. Naturally, the texture in curly hair gives this braid extra dimension that straight-haired folks often try to create artificially!
Why It Works in Summer
Half-up fishtail braids excel as summer styles primarily because they offer versatility for any occasion—from casual beach days to evening events. They work beautifully with curly hair that’s been slightly stretched or has natural volume.
This style creates the perfect balance between keeping hair off your face while still showcasing your curls. Unlike fully tied-back styles, the half-up approach maintains airflow to your neck, keeping you cooler when temperatures rise.
Furthermore, this style transitions effortlessly between settings. It looks equally impressive with a backless dress for formal events or paired with casual beachwear.
Belle Hathaway’s Pro Tip
The secret to a truly outstanding half-up fishtail lies in what I call the “massage and pull” technique. After completing your braid, gently massage it with one hand while holding the end with the other. This loosens the braid just enough to create the illusion of thickness.
Additionally, pull small pieces from within the braid away from your head for a deliberately messy, fuller appearance. This technique transforms an otherwise perfect braid into something that looks effortlessly chic.
For clients with naturally curly hair, I recommend applying a lightweight curl-defining cream before starting. This enhances definition without weighing down your style, giving you that perfect balance of polished yet relaxed.
Silk Scarf Wrap
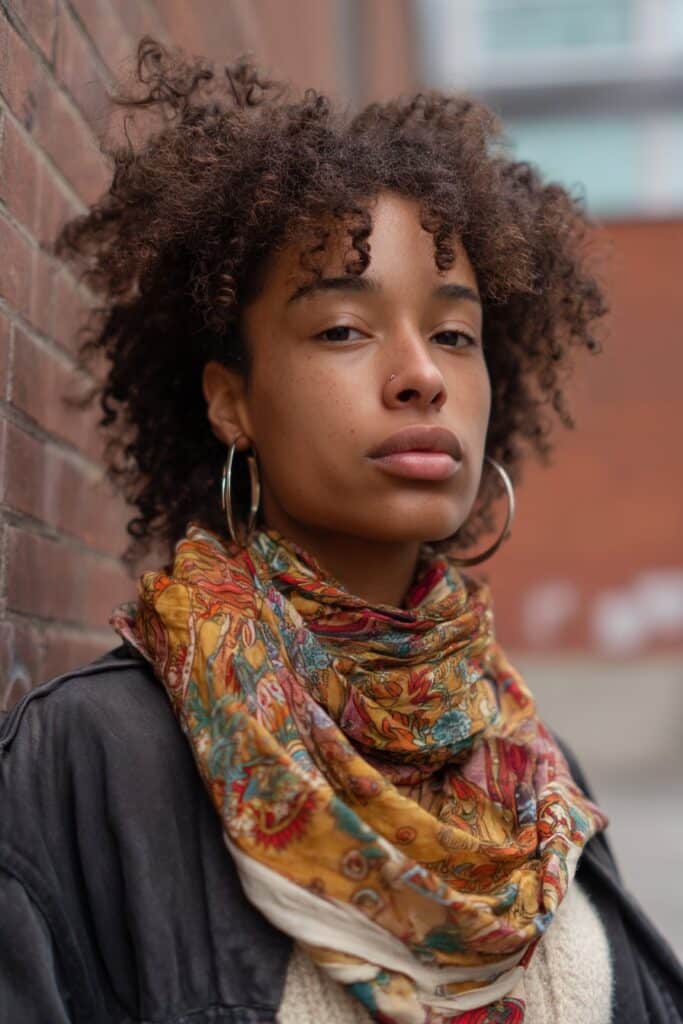
A silk scarf isn’t just an accessory—it’s a secret weapon in my summer curly hair arsenal. After years of styling curly hair, I’ve found that this simple fabric square offers remarkable benefits that can literally save your curls on the most challenging summer days.
Style Overview
The silk scarf wrap technique involves using a square scarf (preferably silk or vegan silk) to create protective and stylish arrangements for curly hair. What makes this style particularly valuable is its versatility—you can wear it as a headband, full head wrap, or even wrap your ponytail for instant polish.
To create a basic wrap, simply fold your square scarf into a triangle, place the center at your forehead, bring the ends to the back of your head, and tie securely. For a more elegant look, twist the scarf before wrapping it around your head for that vintage-inspired style.
I recommend choosing vegan silk (100% polyester alternative) over traditional silk as it’s more sustainable. Indeed, traditional silk production unfortunately requires killing silkworms to harvest usable thread. Naturally, vegan options provide the same benefits without animal harm.
Why It Works in Summer
Silk scarves truly excel as summer accessories for curly hair for multiple practical reasons. First, they provide crucial protection from harsh sun rays that can damage and dry out curls. Moreover, silk fabric minimizes frizz while preserving your hair’s natural moisture—essentially acting as a barrier against humidity.
Whenever I’m at the beach, my silk scarf creates a protective layer between my curls and environmental stressors like sand, wind, and salt water. Additionally, it prevents painful tangling and snagging when pulling sweaters on and off or resting against car headrests.
Belle Hathaway’s Pro Tip
For maximum security that lasts all day, I always recommend the “double knot” technique—secure your scarf both at the front and back. Simply tie it first under your chin, then bring the ends up and tie again at the crown of your head.
For nighttime protection, transform your daytime scarf into an overnight preservation tool. This creates an unmatched silk barrier that maintains definition while you sleep, letting you wake up with refreshed curls ready for another summer day.
French Braided Low Ponytail
The French braided low ponytail has become the cornerstone of my curly hair arsenal for those summer days when I need something both elegant and functional. This timeless style offers the perfect blend of sophistication and practicality that keeps curls tamed without sacrificing style.
Style Overview
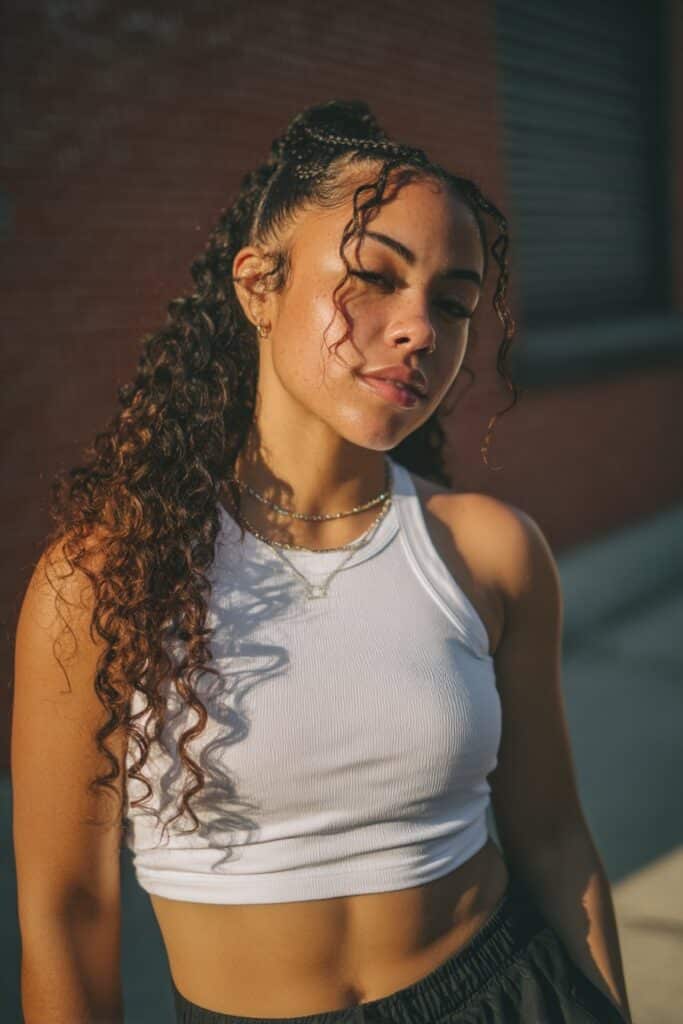
The French braided low ponytail begins with a braid that travels elegantly from the front of your head toward the back, creating a beautiful textured path that leads into a gathered ponytail. What makes this style particularly flattering for curly hair is how it incorporates your natural texture while keeping everything controlled.
To create this look, I start with a triangle section at the front of the head rather than taking the entire section. This creates a more defined braid that sits beautifully along the crown. The key technique involves crossing hair underneath the middle strand (sometimes called an “inside out” French braid) which makes the braid sit on top of your head rather than flat against it.
As you continue braiding toward the nape, gradually incorporate more hair until you reach about two-thirds down your head. At this point, secure the remaining hair into a low ponytail positioned at the back of your head.
Why It Works in Summer
This style truly shines as a summer option primarily because it keeps hair completely off your face while allowing the ponytail to showcase your gorgeous curls. Functionally, it works well for all summer activities – from beach days to outdoor events.
The French braided portion acts as a stylish anchor that holds everything in place even through humidity and heat. Plus, you can wear this style for multiple days, making it perfect for vacations when styling time is limited.
Belle Hathaway’s Pro Tip
For maximum security without discomfort, I always recommend slightly dampening your hair before starting. Additionally, protect your curls by applying a heat protectant spray before any styling. My favorite finishing touch involves wrapping a small strand of hair around the elastic band – this simple detail elevates the entire look from casual to elegant.
Triple Buns

Triple buns offer blessed relief for those of us with headache-prone scalps! Whenever clients complain about heavy styles that cause tension, this trio arrangement is my immediate recommendation – it distributes weight perfectly across your head.
Style Overview
Triple buns create a beautiful, balanced arrangement that works wonderfully with natural curly texture. To begin with, the style involves creating three separate buns positioned strategically on your head. There are two main approaches I love: vertical arrangement (stacked down the back of your head) or side-by-side placement at similar height.
For the vertical arrangement, start by sectioning your hair into three parts from top to bottom. Create a bun with each section, securing with elastics and pins as needed. The side-by-side version requires parting your hair into three equal horizontal sections across the back of your head, then forming each into its own bun.
What makes triple buns truly magical for curly hair is how they maintain your texture while creating gorgeous waves as they dry. For curly-haired clients with lots of volume, I sometimes recommend creating four or five buns instead of three to better distribute weight.
Why It Works in Summer
On the whole, triple buns excel in hot weather for several practical reasons. First, they split the pressure on your scalp across multiple points, preventing that tell-tale bun headache that often comes from single heavy styles. For the purpose of summer comfort, this distribution makes all the difference during long, hot days.
As a result of their structure, triple buns also allow better airflow to your scalp compared to single bun styles. Additionally, they work beautifully in wet hair – not only do they help your curls dry more evenly, but they also create beautiful waves as they set.
Belle Hathaway’s Pro Tip
My secret technique for perfect triple buns? Think “scaffold before style.” I always secure each section with a hair elastic first before creating the actual bun. This two-step approach provides crucial support for the structure.
For added dimension, try incorporating rope twists into your triple buns. Simply twist each section before forming it into a bun – this creates gorgeous texture that peeks through your style. To that end, you’ll have a multi-dimensional look that’s both practical and eye-catching.
For best results, consider your hair length and density. If you’re blessed with thick curls, don’t hesitate to add more buns – four or five can work even better for distributing weight.
Pinned Curls with Clips
Pin curls have made an impressive comeback in my styling repertoire, especially for clients wanting that vintage-inspired glamor with modern convenience. This timeless technique creates stunning waves that withstand summer humidity better than almost any other style I’ve tried.
Style Overview
Pin curls involve winding small sections of hair around your finger and securing them flat against your head with clips. The magic happens when these coiled sections cool in position, resulting in bouncy, defined curls that last remarkably longer than regular curling iron styles.
To create this look:
- Start with slightly damp hair (not soaking wet)
- Section hair into manageable parts
- Take small strands and wrap around your fingers into circular shapes
- Secure each curl flat against your head using duckbill clips
- Let set for at least 10 minutes (longer for stronger hold)
What makes pin curls truly versatile is how they work with various hair lengths and textures. For those with naturally curly hair, this technique helps define your existing pattern while adding structure and longevity.
Why It Works in Summer
Pin curls excel in summer conditions primarily because they’re heat-free—no additional styling tools required after the initial setting. Furthermore, they maintain their shape remarkably well through humidity, making them perfect for beach days or outdoor events.
The staying power of pin curls truly outshines regular styling methods. Once set, these curls can last ALL DAY without falling flat—yes, seriously! This makes them ideal for summer weddings, holidays, or any occasion where you need your style to withstand heat and activity.
Belle Hathaway’s Pro Tip
My secret for maximum hold? Setting time makes all the difference. While 10 minutes works for a quick refresh, leaving pin curls in for 30+ minutes creates dramatically longer-lasting results. For special events, I sometimes recommend setting overnight with a silk scarf for protection.
After removing the clips, resist the urge to immediately brush through. Instead, gently separate curls with your fingers first, then lightly brush for that perfect vintage wave pattern.
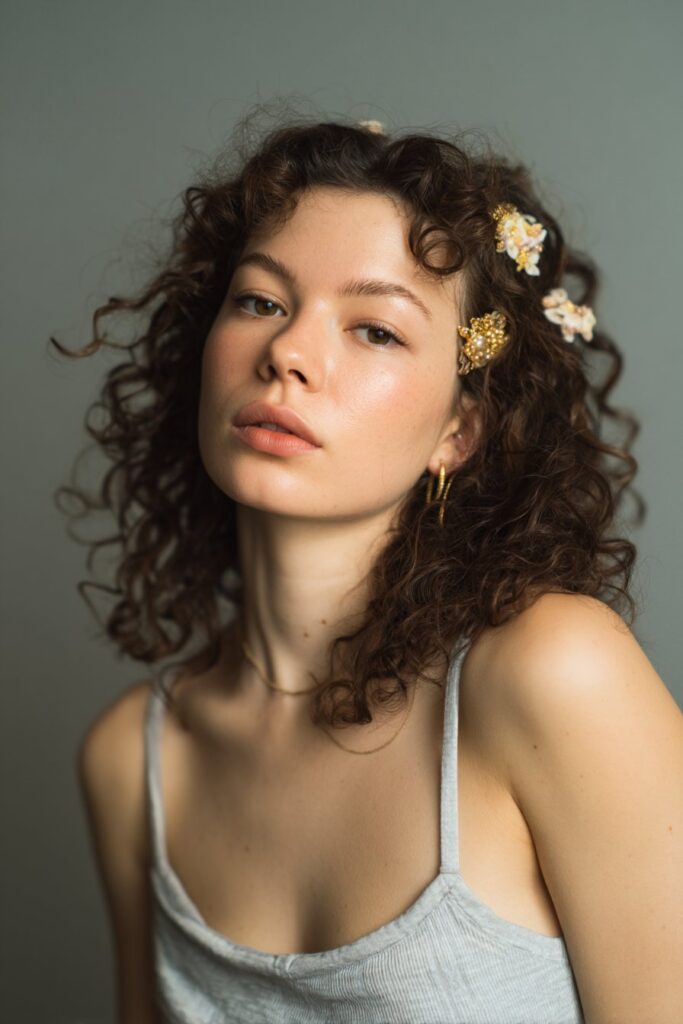
Half-Updo with Twists
The twisted half-updo has become a revelation for my clients with curly hair who need a beautiful yet uncomplicated summer style. This romantic look offers that perfect balance between wearing your curls down while keeping your face framed beautifully.
Style Overview
This charming style involves taking sections of hair near your temples and twisting them back toward the crown, creating an elegant frame around your face. Fundamentally, it’s simpler than braids but delivers equally gorgeous results. The beauty of this style lies in its versatility – you can create it with loose waves or embrace your natural curl pattern.
Creating this look takes surprisingly little time – approximately 2 minutes once you’ve practiced a few times. The basic steps include:
- Start with loose waves or your natural curl pattern
- Take one section by your temple and twist it upward and back
- Secure with bobby pins at the crown
- Repeat on the opposite side
- Tuck the ends of each twist under the opposite side for that seamless finish
Why It Works in Summer
Beyond its romantic appearance, the twisted half-updo excels as a summer style primarily because it keeps hair off your face without requiring full commitment to an updo. In addition, it works wonderfully as a solution for those days when you need to look polished but have limited time.
For curly-haired beauties, this style actually improves with texture – those natural waves give the twists dimension and character that straight hair often lacks.
Belle Hathaway’s Pro Tip
My secret for the perfect twisted half-updo? Master the “tuck and pin” technique. After creating both twists, I recommend inserting your bobby pins at a slight angle, first pushing straight in, then turning slightly opposite the twist direction before turning into the twist. In essence, this creates a secure anchor that prevents slipping throughout active summer days.
Braided Front Crown
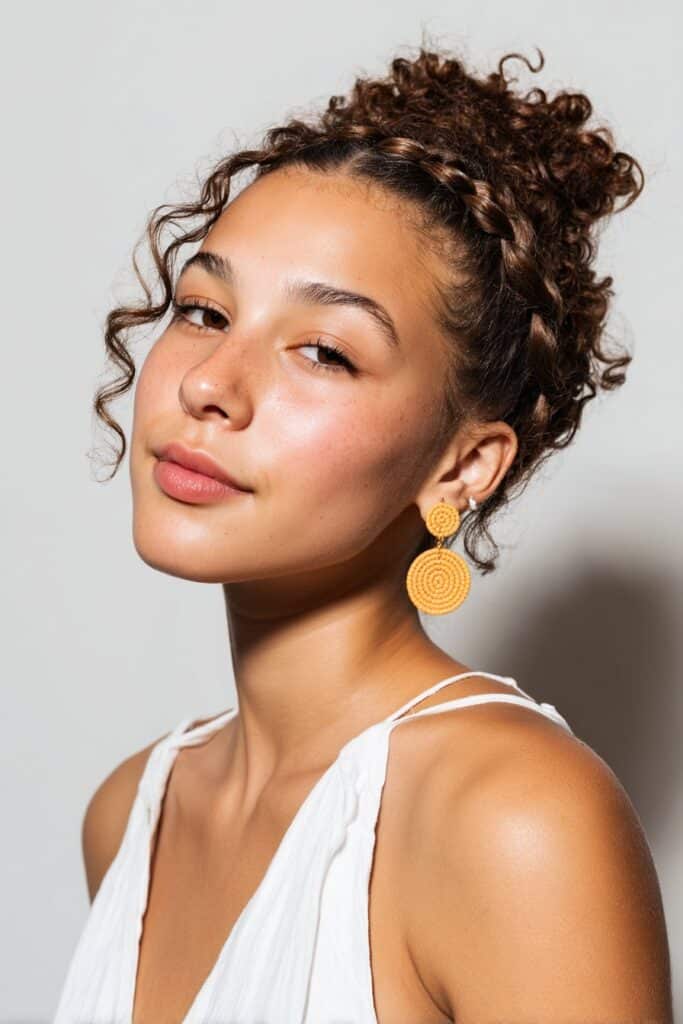
My favorite crown-worthy style for curly hair has always been the braided front crown. This regal-looking technique creates a beautiful halo effect that frames your face while showcasing your natural texture.
Style Overview
The braided front crown involves creating a Dutch braid (where you cross strands under instead of over) that forms a perfect circle around your head. Generally, you’ll want to position the braid a couple of inches back from your hairline to ensure enough hair remains to cover the center area.
When working with curly hair, I’ve found it’s crucial to “go with your curls” rather than fighting them. This approach significantly reduces frizz and makes the style look more natural. For curly-haired clients, I recommend taking in whole curls rather than splitting them up, which can cause unwanted knots and tangles.
The technique requires some practice initially—my arms got surprisingly tired the first few times I attempted it! Nevertheless, with experience, it becomes much easier. After braiding, I always stretch the braid between my fingers to create thickness and fullness, making the hair appear more voluminous.
Why It Works in Summer
The braided front crown primarily excels during hot weather because it beautifully keeps hair off your neck and face. Furthermore, this style creates excellent airflow around your scalp, preventing that uncomfortable sweaty feeling that comes with many summer styles.
I particularly love recommending this style for beach vacations because it stays intact remarkably well through various activities. The secure braided structure withstands swimming, dancing, and other summer adventures without constant retouching.
Belle Hathaway’s Pro Tip
My game-changing discovery for the perfect braided front crown is what I call the “moisture-texture balance.” Before styling, I lightly mist curls with a leave-in conditioner spray—this gives just enough slip for braiding without causing frizz.
For overnight preservation, I advise my clients to sleep with a satin bonnet, which prevents friction and keeps everything in place. This simple step extends the life of your crown braid by days, making it perfect for long weekends or festivals where styling time is limited.
Relaxed Messy Bun
Nothing says “effortlessly chic” quite like the relaxed messy bun – my trusted companion through countless summer styling emergencies. This deliberately undone look has saved my clients’ curls (and my own) through the hottest, stickiest days imaginable.
Style Overview
The relaxed messy bun is essentially a low-set chignon with an intentionally loose structure. What makes it special is the shape – it should be slightly wide and almost triangular, not perfectly round. Creating this look requires embracing imperfection – the key is keeping it loose for that perfect bohemian flair.
Start by gathering your hair into a low ponytail. Then, twist the ponytail so loosely that it barely appears twisted at all. This gentle manipulation allows your natural curl pattern to shine through while maintaining control. Next, shape the twisted hair into a loose knot, allowing wispy pieces to escape softly around your face.
The beauty of this style lies in its versatility – it works magnificently with unwashed hair, as natural scalp oils and leftover products add grip that helps your style hold better. Plus, the same technique can create both a casual daytime look or an elegant evening style with just a few adjustments.
Why It Works in Summer
The relaxed messy bun truly shines throughout summer primarily because it keeps your curls contained without feeling tight or restricting. Meanwhile, the wispy face-framing pieces provide softness without the discomfort of hair sticking to your neck.
This style functions brilliantly as a “second-day” hairstyle when you’re skipping wash day – perfect for beach trips or active weekends. Furthermore, it transitions seamlessly between occasions – wear it with a sundress for brunch or dress it up with accessories for evening events.
Belle Hathaway’s Pro Tip
My game-changing discovery for the perfect messy bun is what I call the “draping technique.” After creating your basic bun, gently pull small sections around your face for that soft, framing effect. These wisps should look deliberately placed rather than messy.
Soon after securing your bun, pull gently at the edges to create fullness without losing structure. Presently, this technique works best with slightly textured hair, so don’t be afraid to add a bit of sea salt spray first if your curls are very defined.
Curly Bangs with Volume
Curly bangs paired with maximum volume create that perfect balance of playful and polished I’m always encouraging my clients to try. From personal experience, this style completely transformed my summer hair game—giving me both face-framing definition and that coveted crown volume.
Style Overview
Creating voluminous curly bangs requires understanding that the bangs themselves aren’t actually the challenge—it’s achieving proper volume on top that makes everything look proportional. First, I recommend using a diffuser on the lowest air setting with highest heat to lift those upper layers, carefully drying while flipping hair forward. As a stylist, I’ve found that flat clips positioned strategically at the roots help those clumps stand up beautifully, creating instant height.
For optimal styling, I wait until hair is about 80% dry before twisting small sections of curly bangs. The less you handle curls, naturally, the better their shape maintains itself. Thereafter, I gently separate each section with a tiny bit of serum on my fingertips for definition without weighing down the curls.
Why It Works in Summer
Throughout summer, curly bangs with volume offer that rare combination of style and practicality. Above all, they frame your face while allowing airflow to your forehead—crucial during those sweltering days. In view of changing humidity levels, this style actually improves rather than collapses, with natural texture becoming more pronounced.
For beach days, I’ve discovered curly bangs cut slightly above the eyebrows (when dry) create the perfect length. Should humidity increase, they won’t suddenly hang in your eyes, yet they remain long enough to be pulled back with a cute barrette if needed.
Belle Hathaway’s Pro Tip
My game-changing technique for perfect curly bangs involves what I call the “80-20 approach.” I use a microfiber towel or old t-shirt immediately after washing to help curls maintain their natural definition. In contrast to rough towels, these gentler materials preserve curl pattern while removing excess moisture.
For maximum volume without damage, skip the teasing and instead flip your head forward during diffusing—moving the diffuser in circular motions around your roots. Prior to this, I always remind clients that a healthy scalp forms the foundation for gorgeous, voluminous curly bangs.
Conclusion
Summer no longer needs to be a season of hair frustration for those of us blessed with curls. Throughout my years as a stylist, these fifteen versatile styles have repeatedly proven their worth during the hottest months. Certainly, each option offers unique benefits—from the practical pineapple updo that keeps your neck cool to the elegant half-up fishtail braid perfect for special occasions.
What makes these styles truly special? Above all, they work with your natural texture rather than fighting against it. Your curls actually become an asset rather than something to “manage” or “control.” The silk scarf wrap protects delicate strands from harsh sun, while space buns offer that perfect playful vibe for beach days without sacrificing comfort.
My clients often tell me the biggest revelation comes from discovering how these styles adapt to their specific curl pattern. Some styles even improve as humidity rises! The relaxed messy bun, for instance, gains character throughout the day as natural texture emerges.
After trying countless techniques over the years, I’ve learned that the best summer styles share three essential qualities: they keep hair off your neck, minimize manipulation, and embrace rather than fight frizz. These fifteen options tick all those boxes while offering enough variety to match any summer occasion.
Ultimately, summer should be about enjoying life, not stressing over your hair. These styles free you to focus on making memories rather than constantly battling the elements. Though finding your perfect summer style might take some experimentation, the confidence that comes from wearing your natural texture proudly makes it absolutely worthwhile. Which of these styles will you try first for your summer adventures?